Mariposa
Brief: Crease a final project using CNC milling
Processes: CNC Milling, CAD, CAM
Duration: 4 weeks
Context: Individual Project for my Computer-Aided Product Creation course
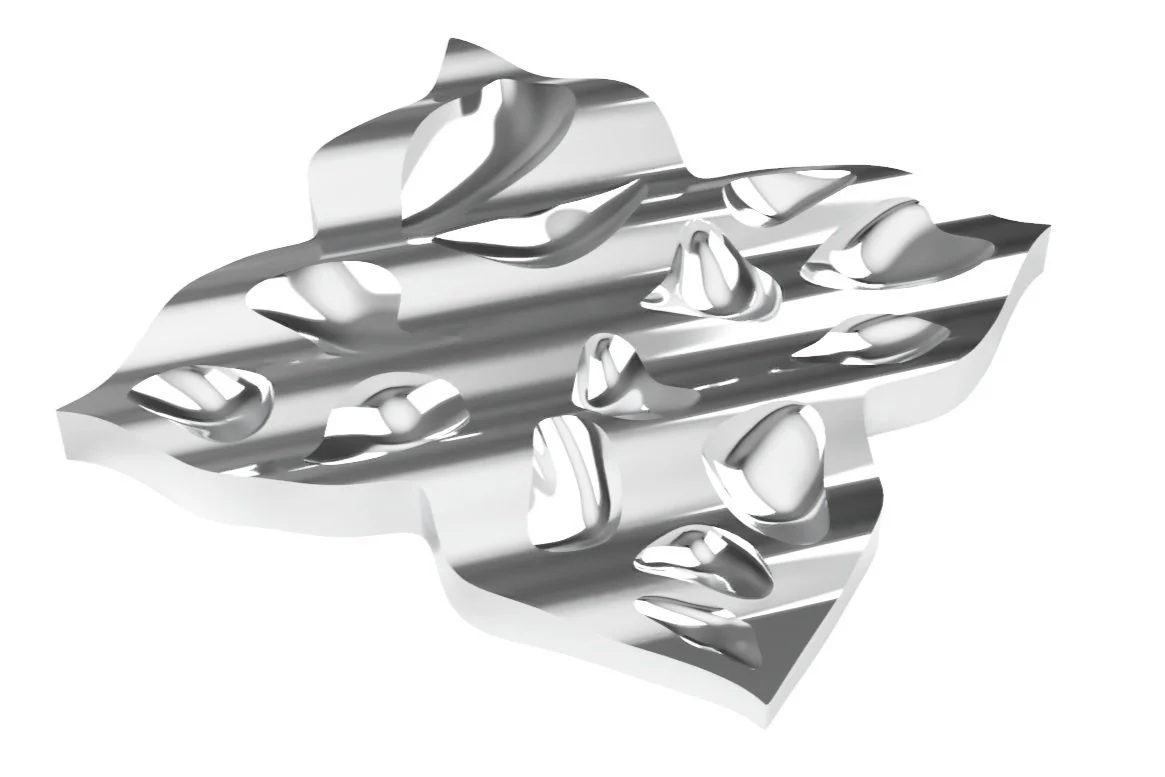
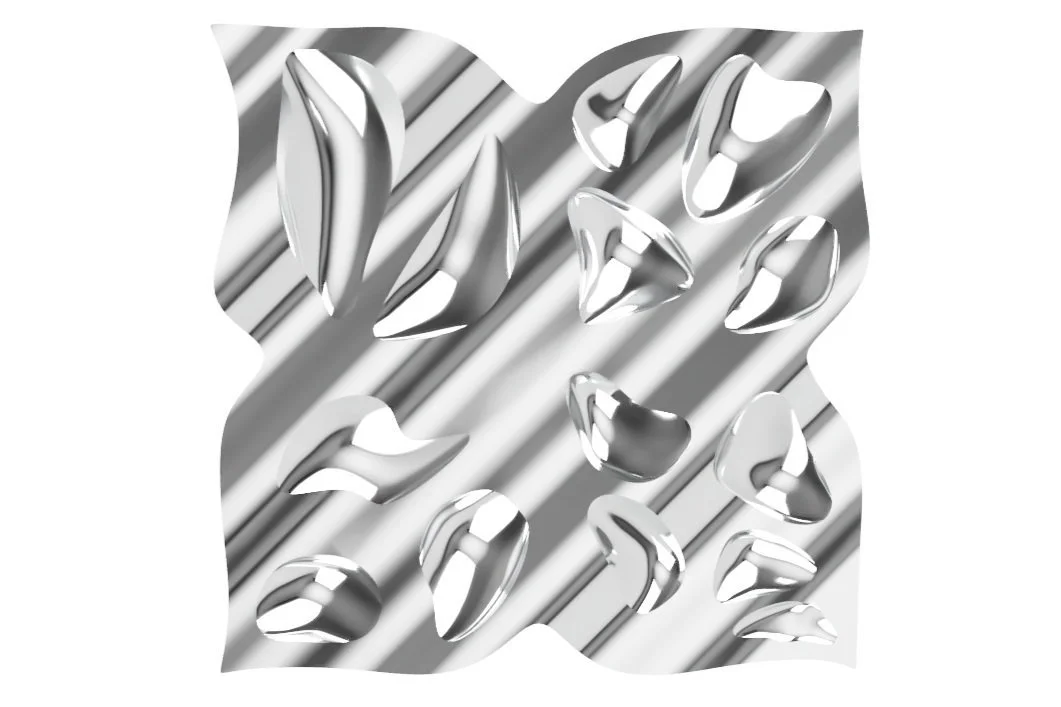
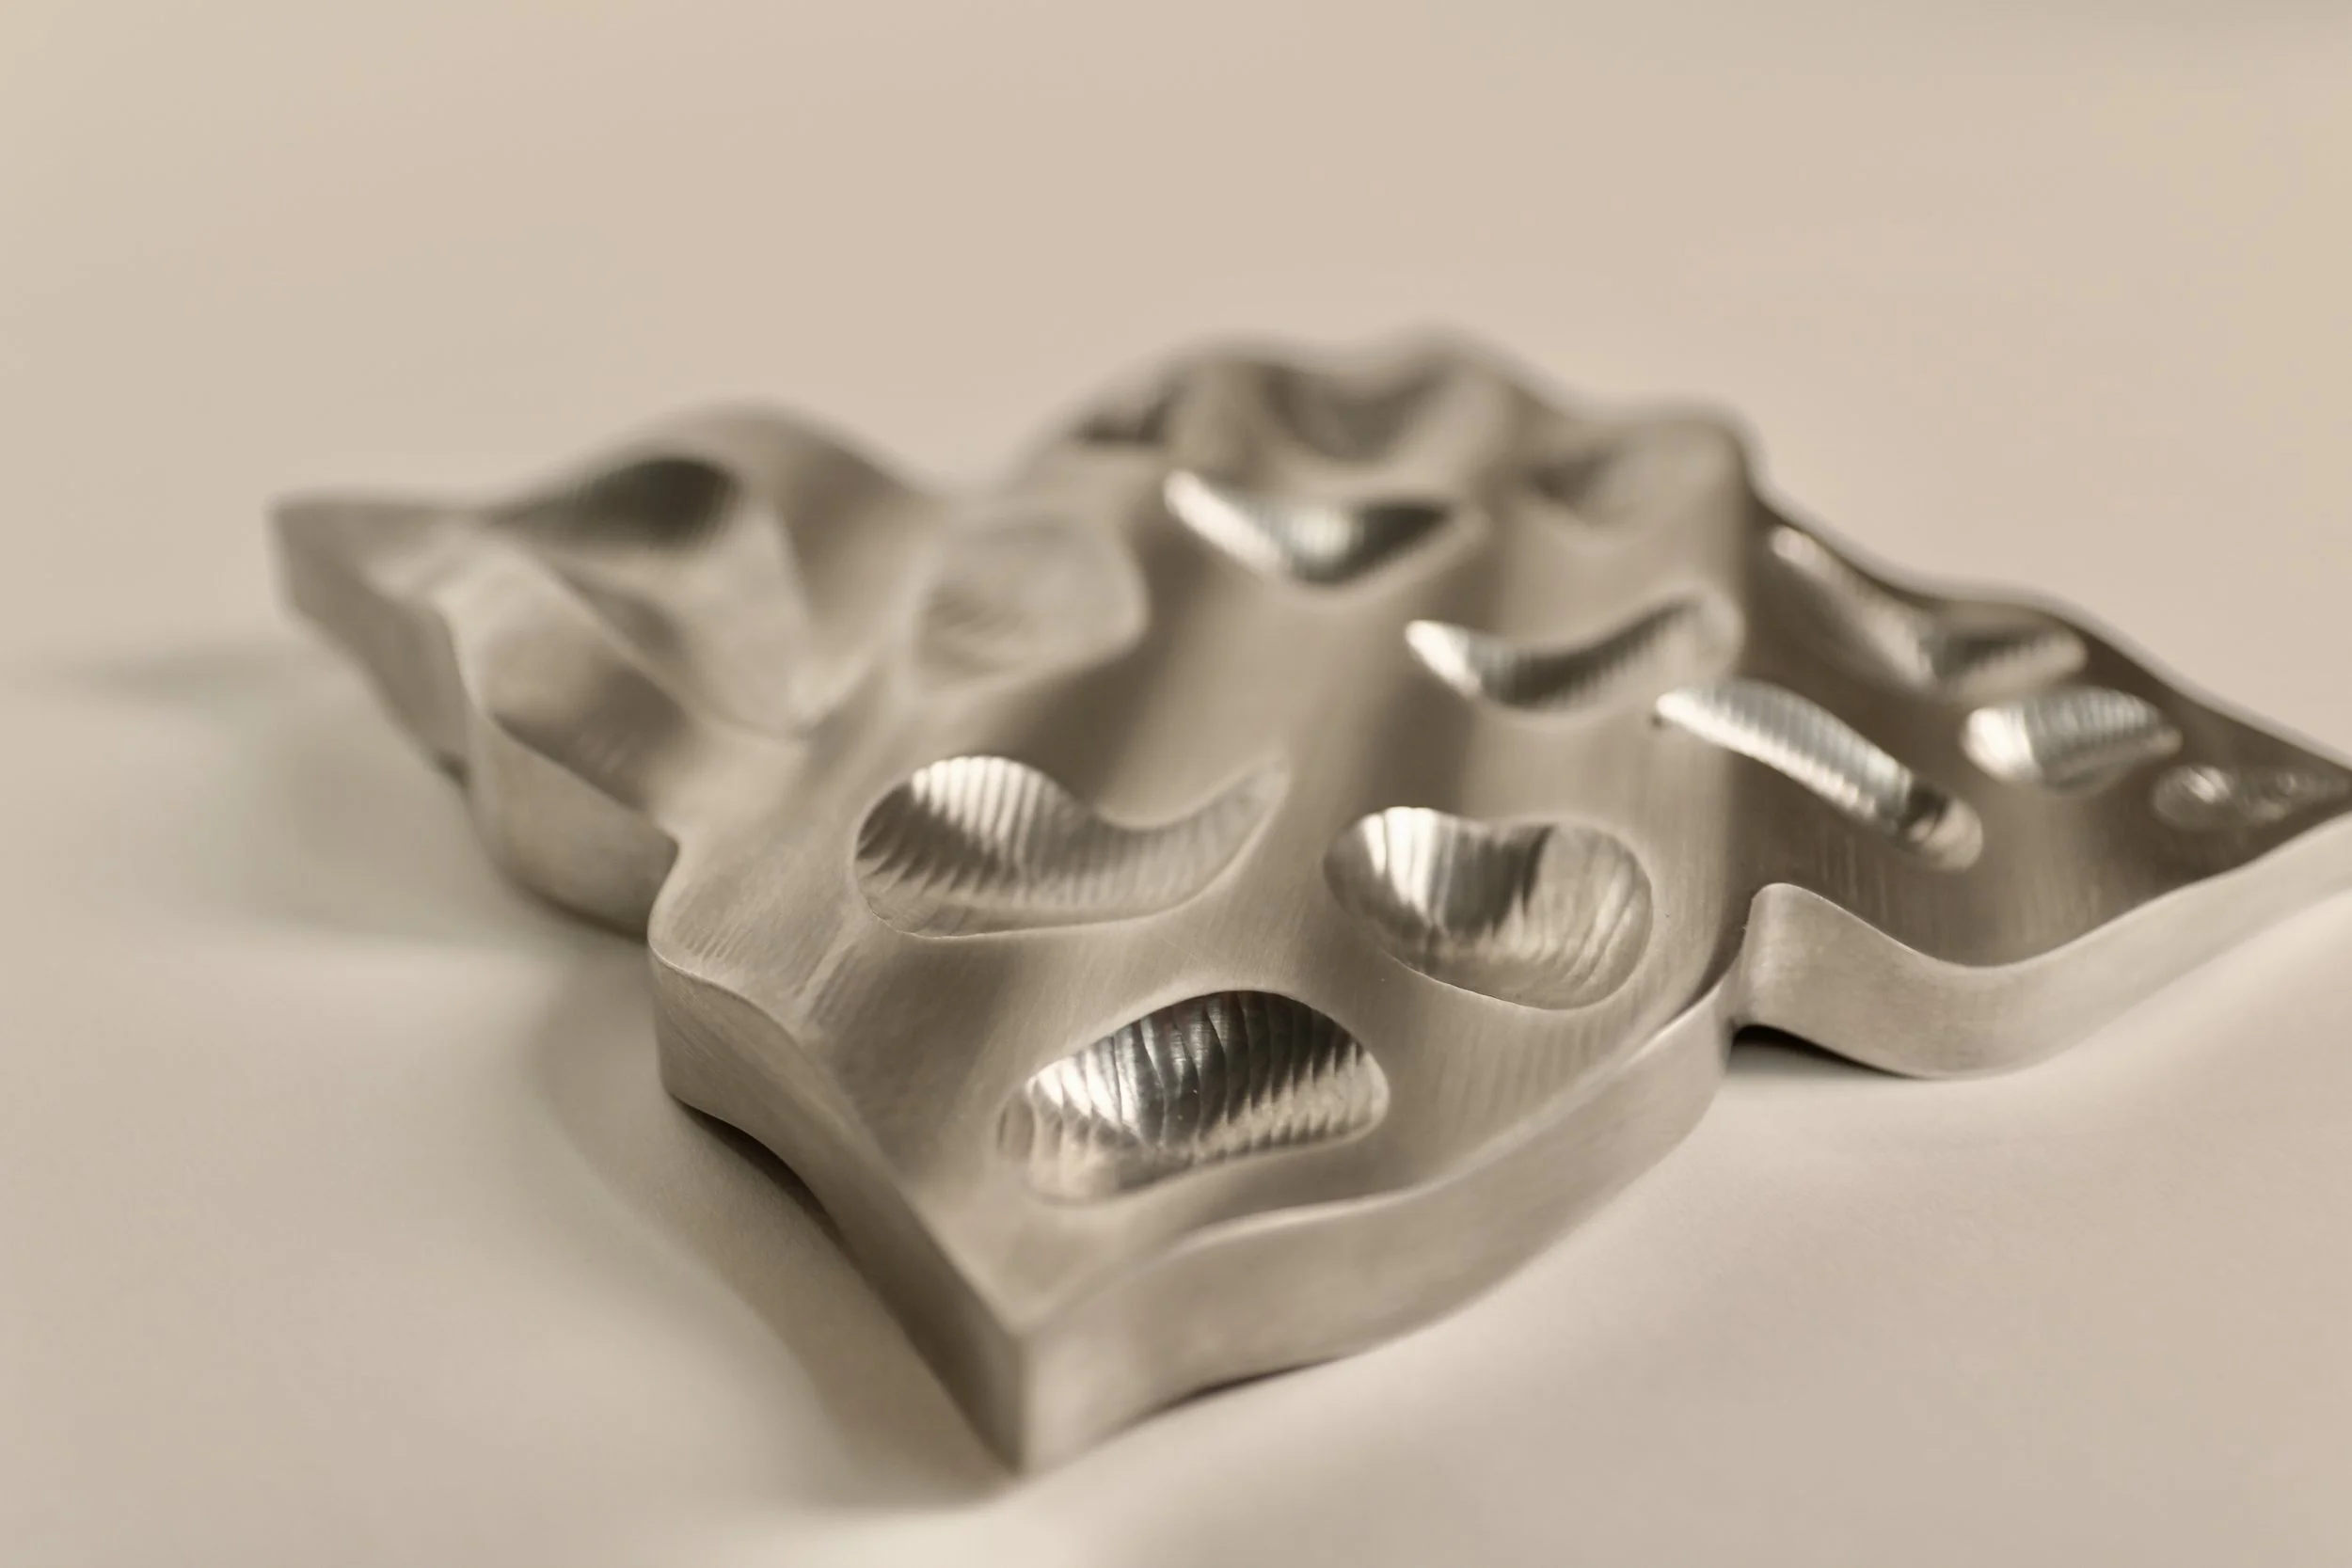
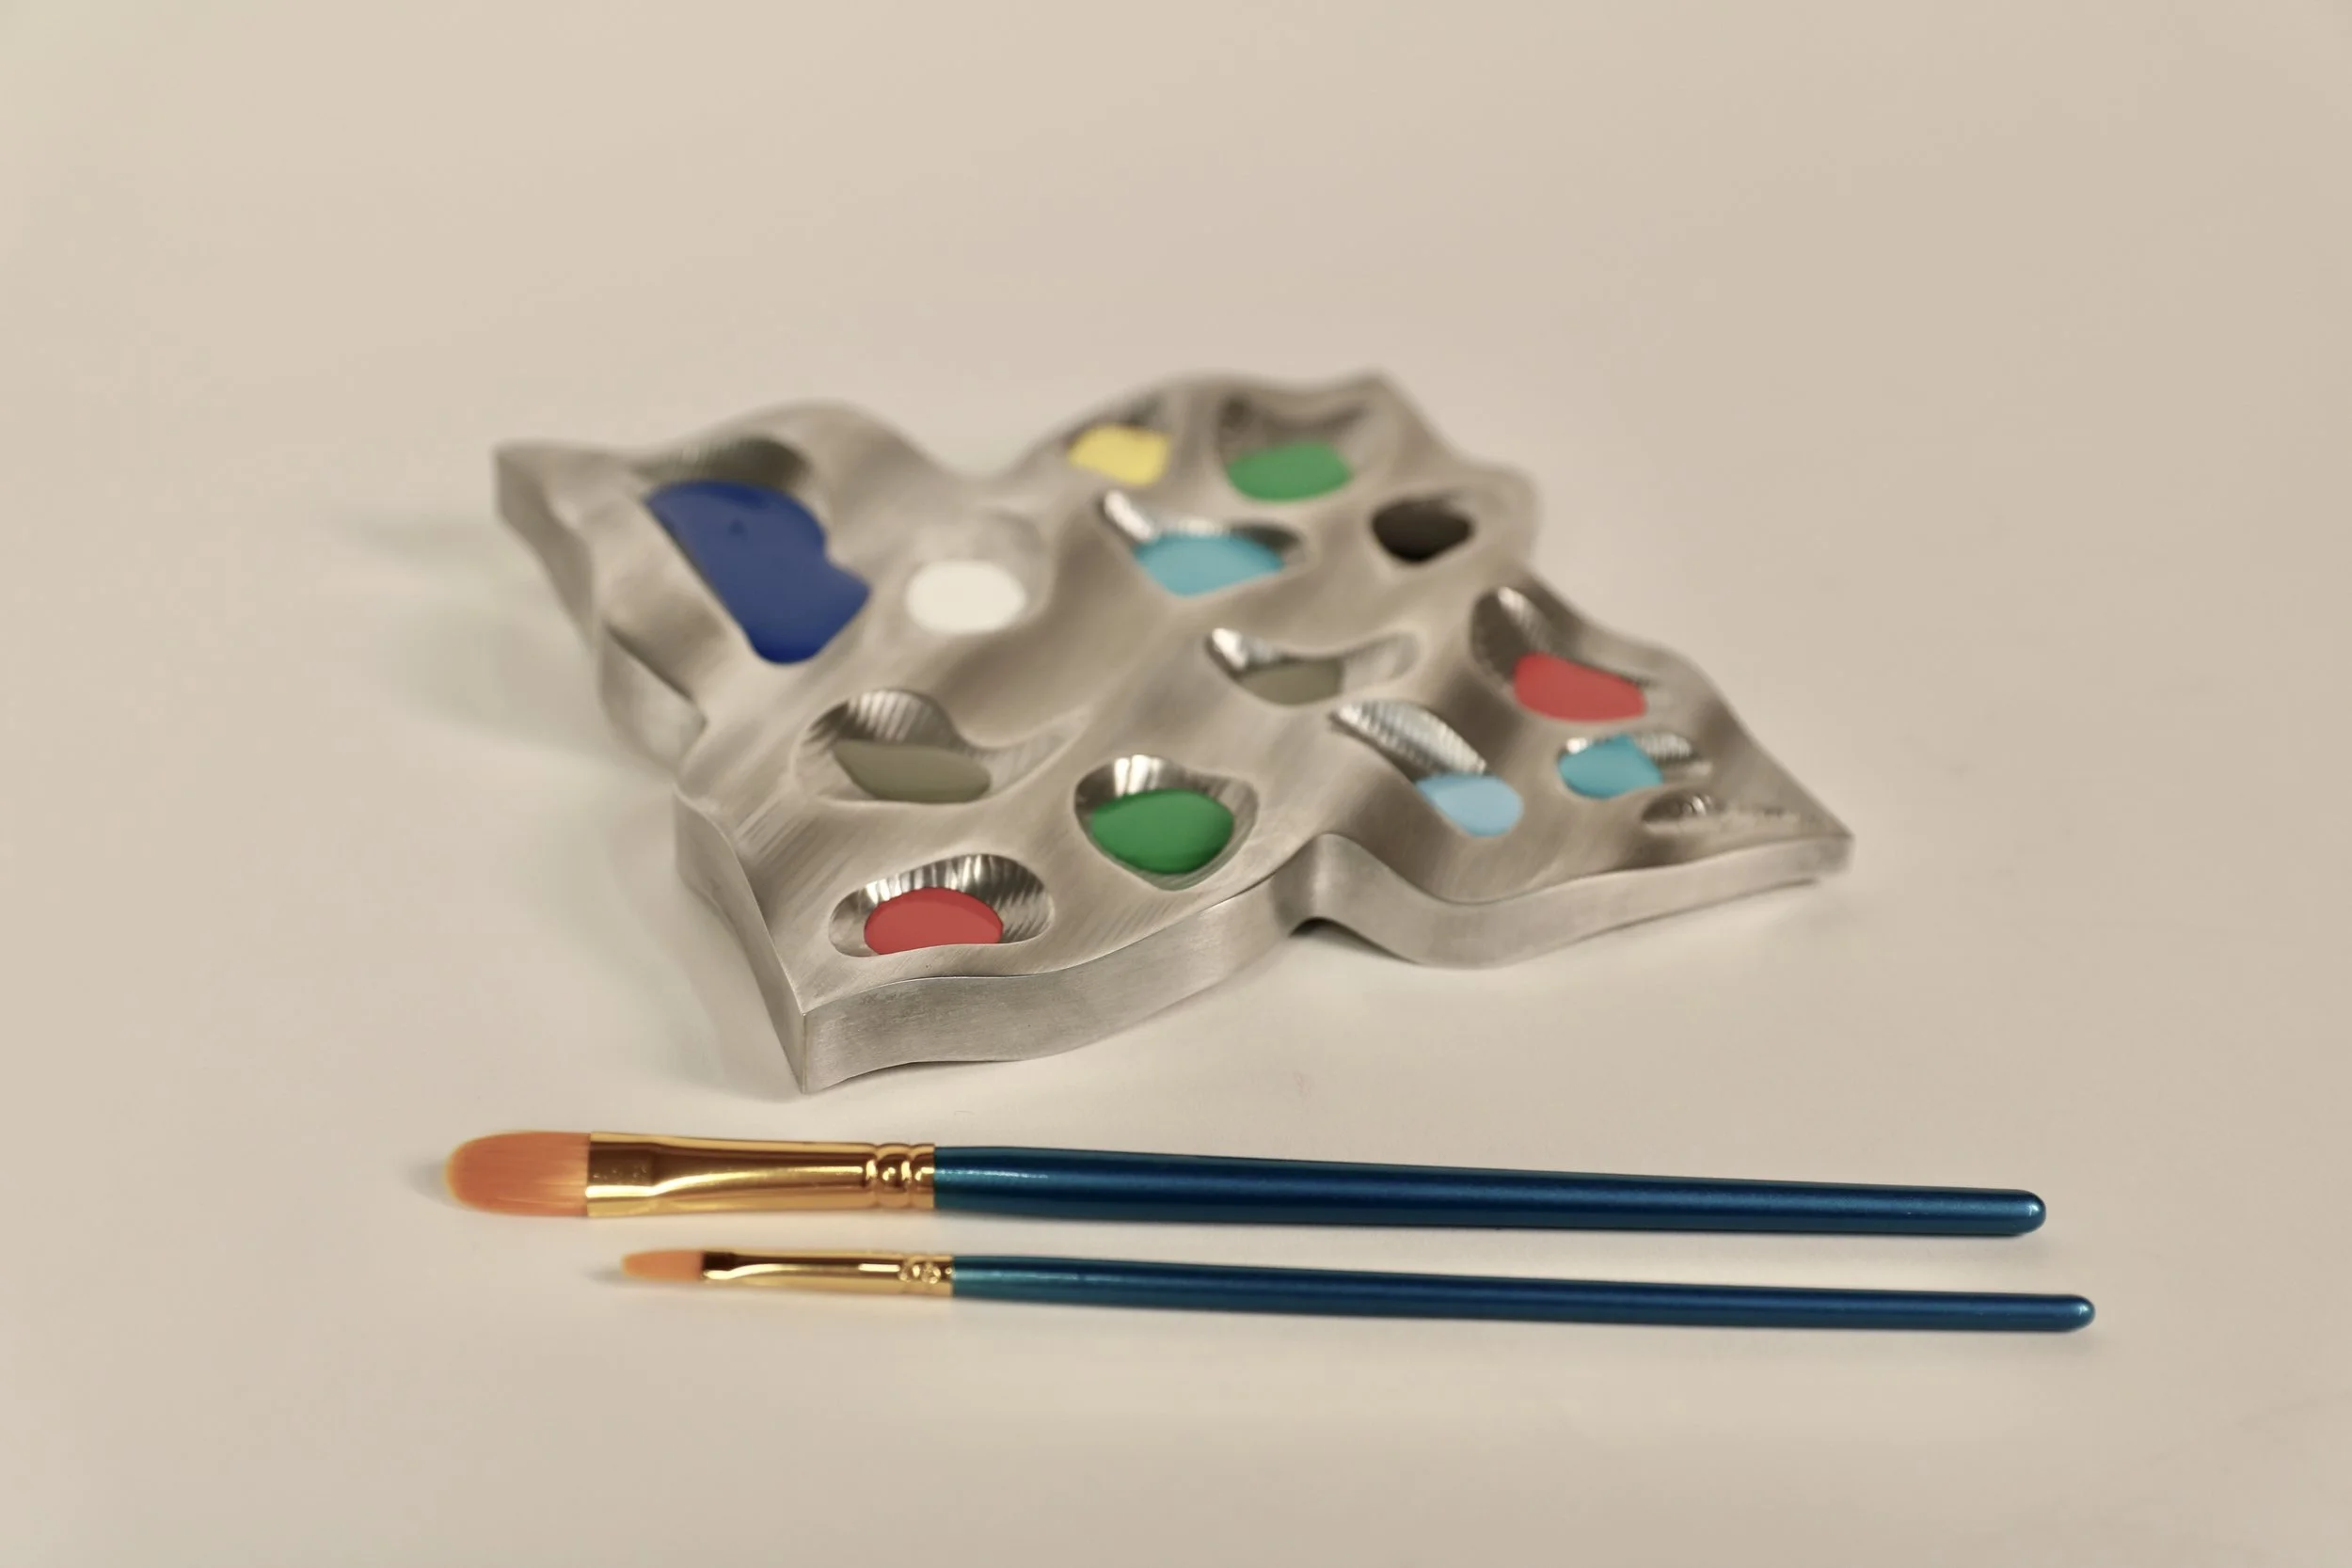
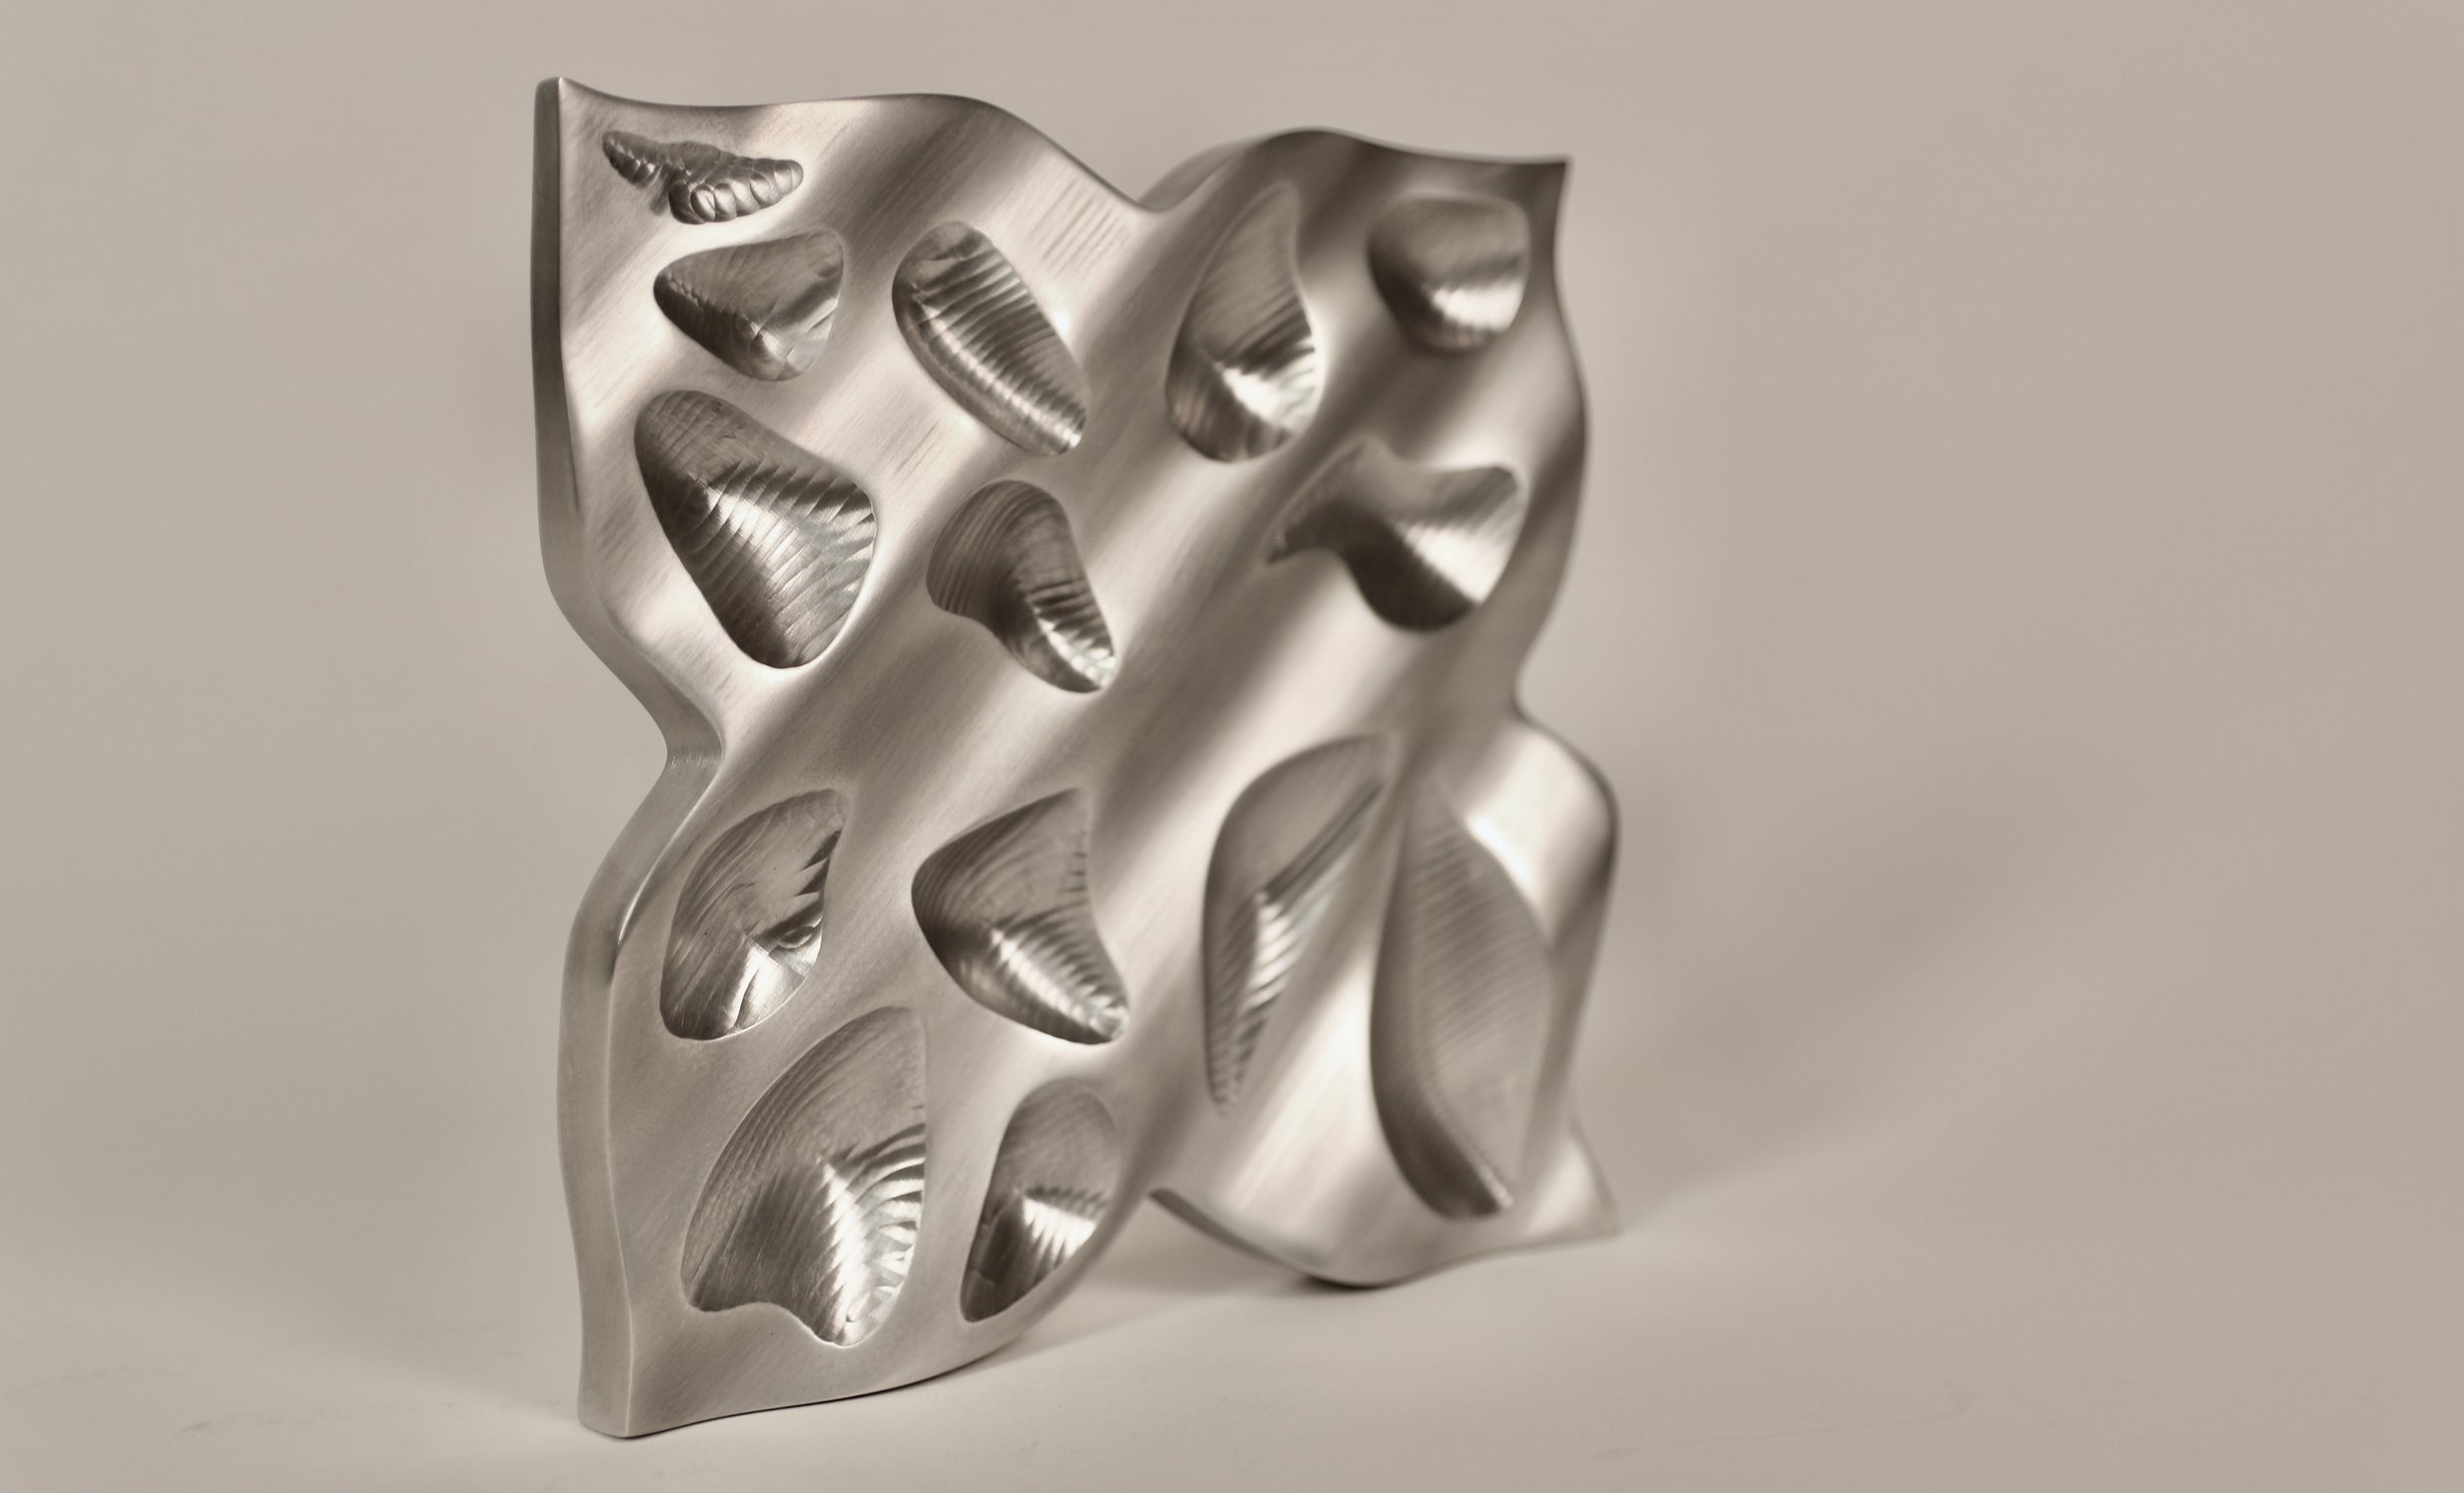
As my final project for ME 318: Computer-Aided Product Creation, I made an organically shaped paint palette inspired by butterflies and the butterfly effect. This project focused on lateral thinking, a process of considering a wide range of options iteratively and branching out indefinitely. The chosen form was organic in nature, creating new learnings both in CAD and CAM. Ultimately, the final piece was machined with a CNC Mill, using one wax and part flip, and sanded to create a smooth finish and highlight contrasting geometries within the part.
Lateral Thinking
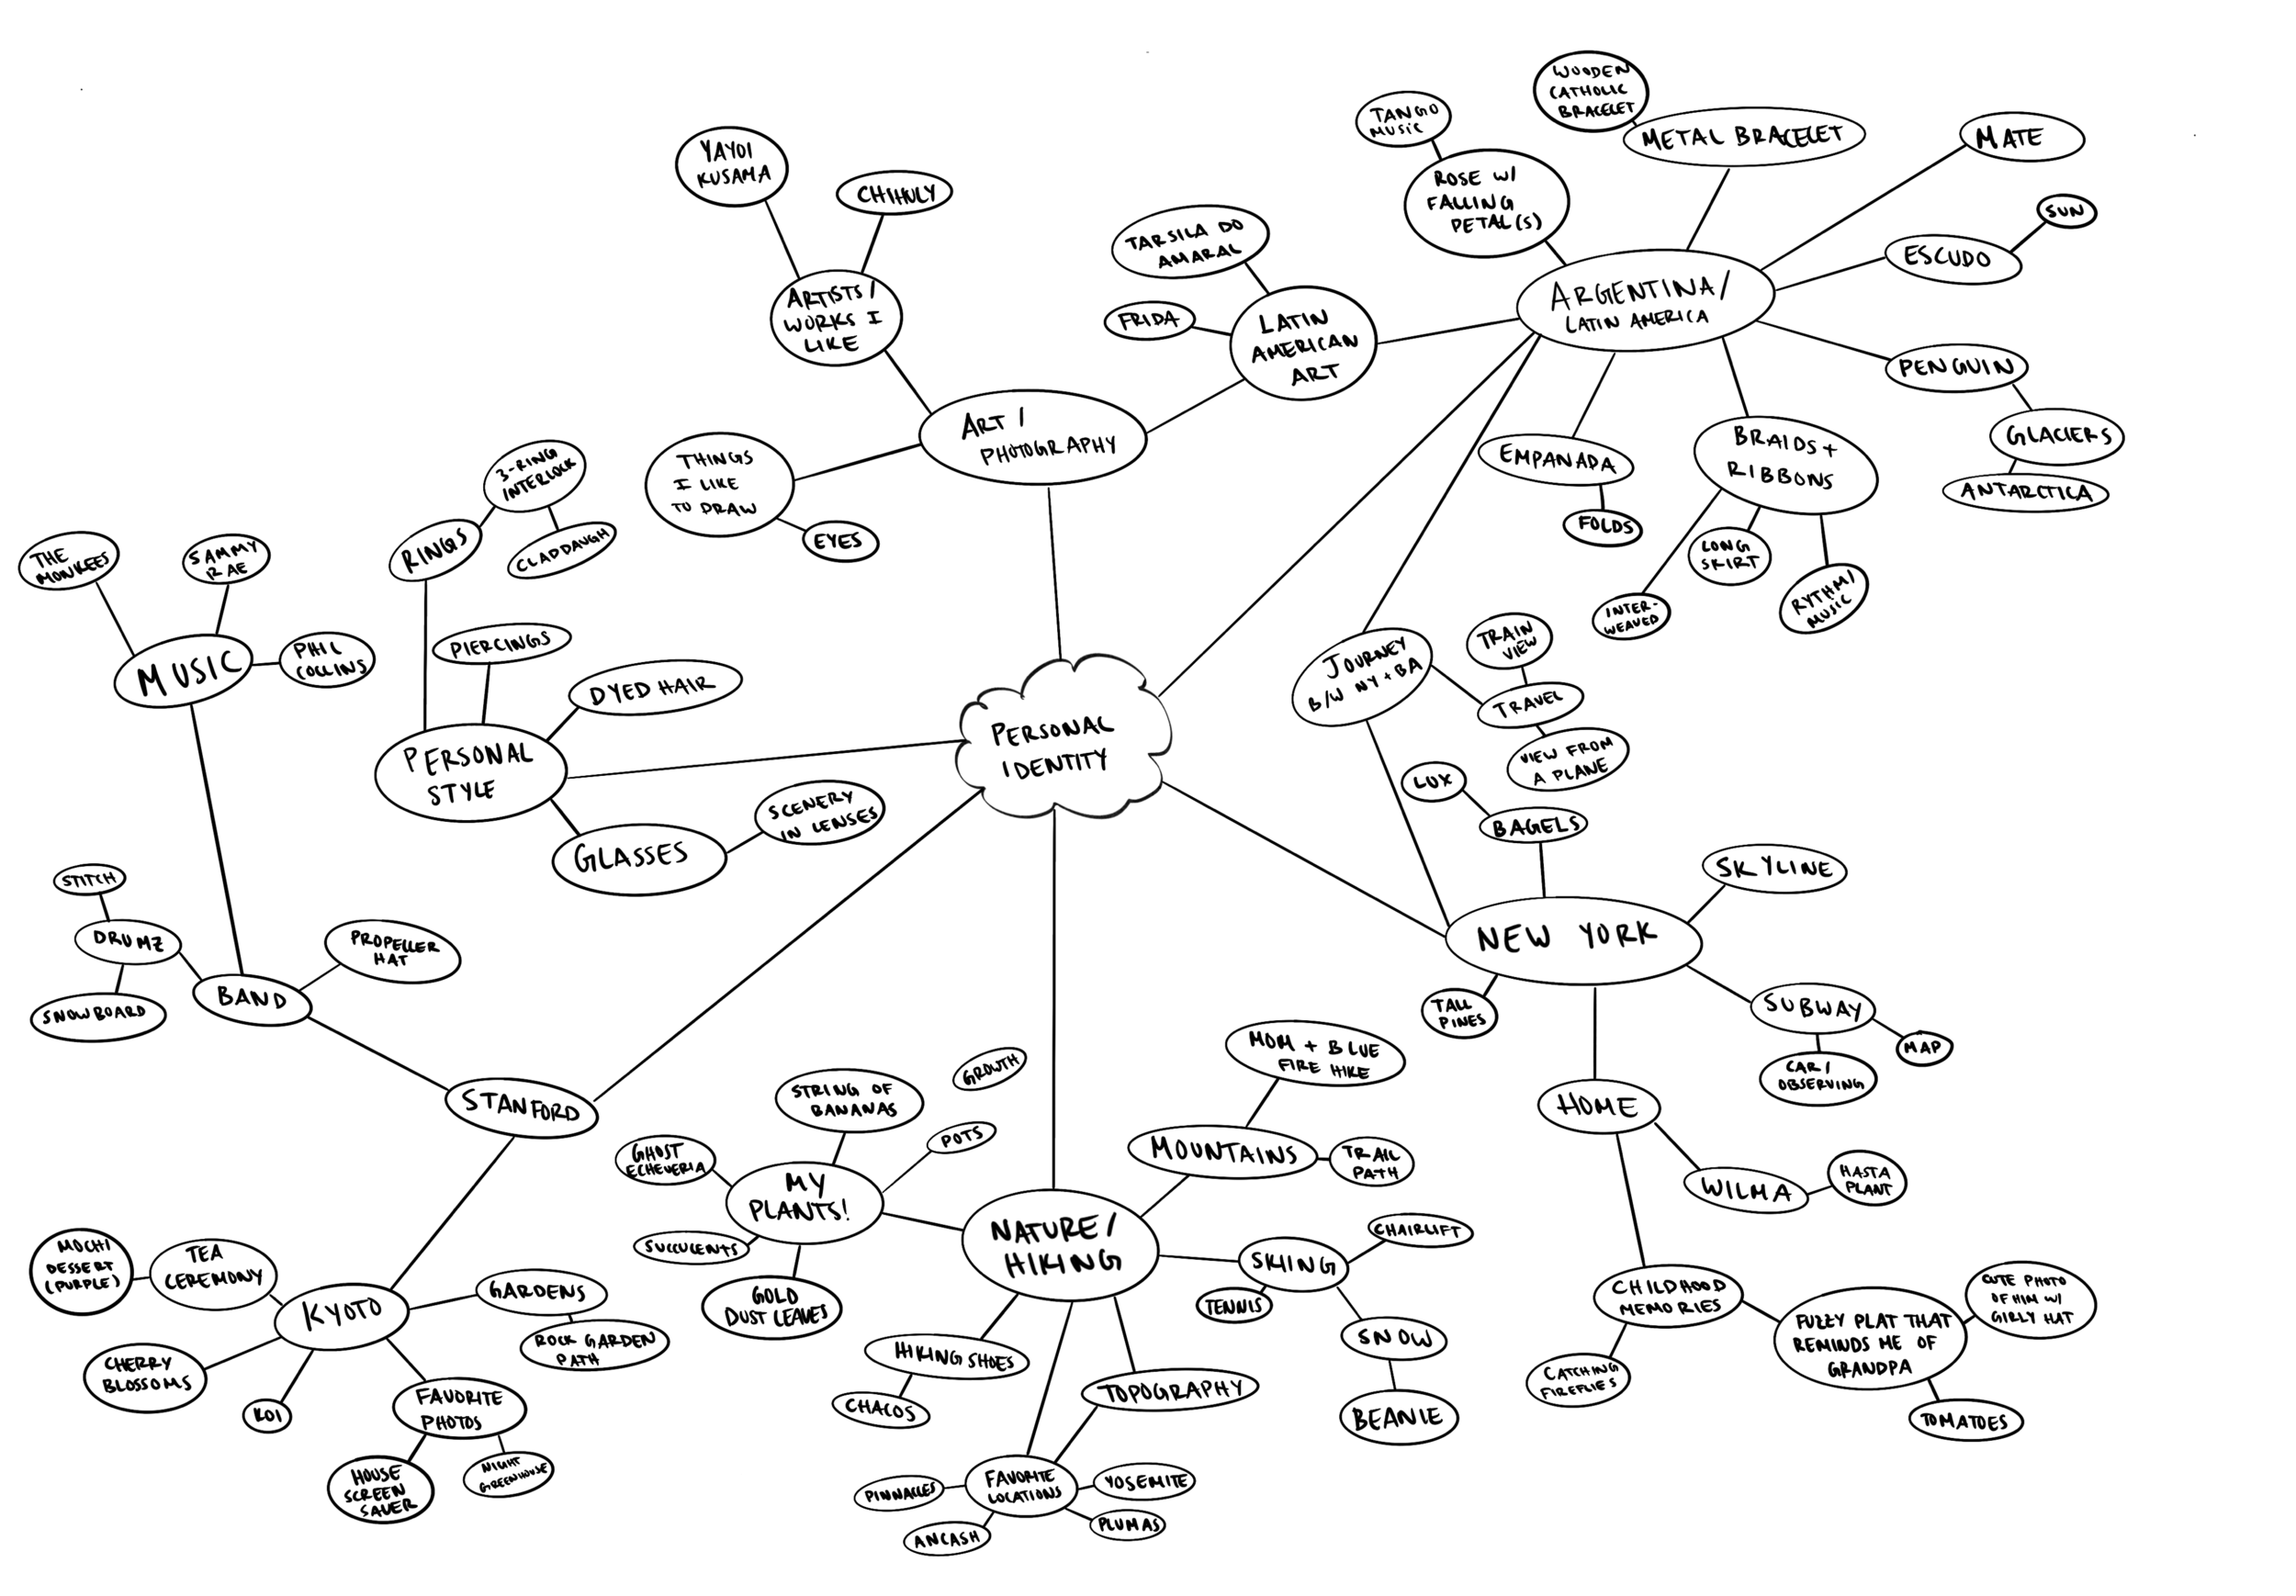
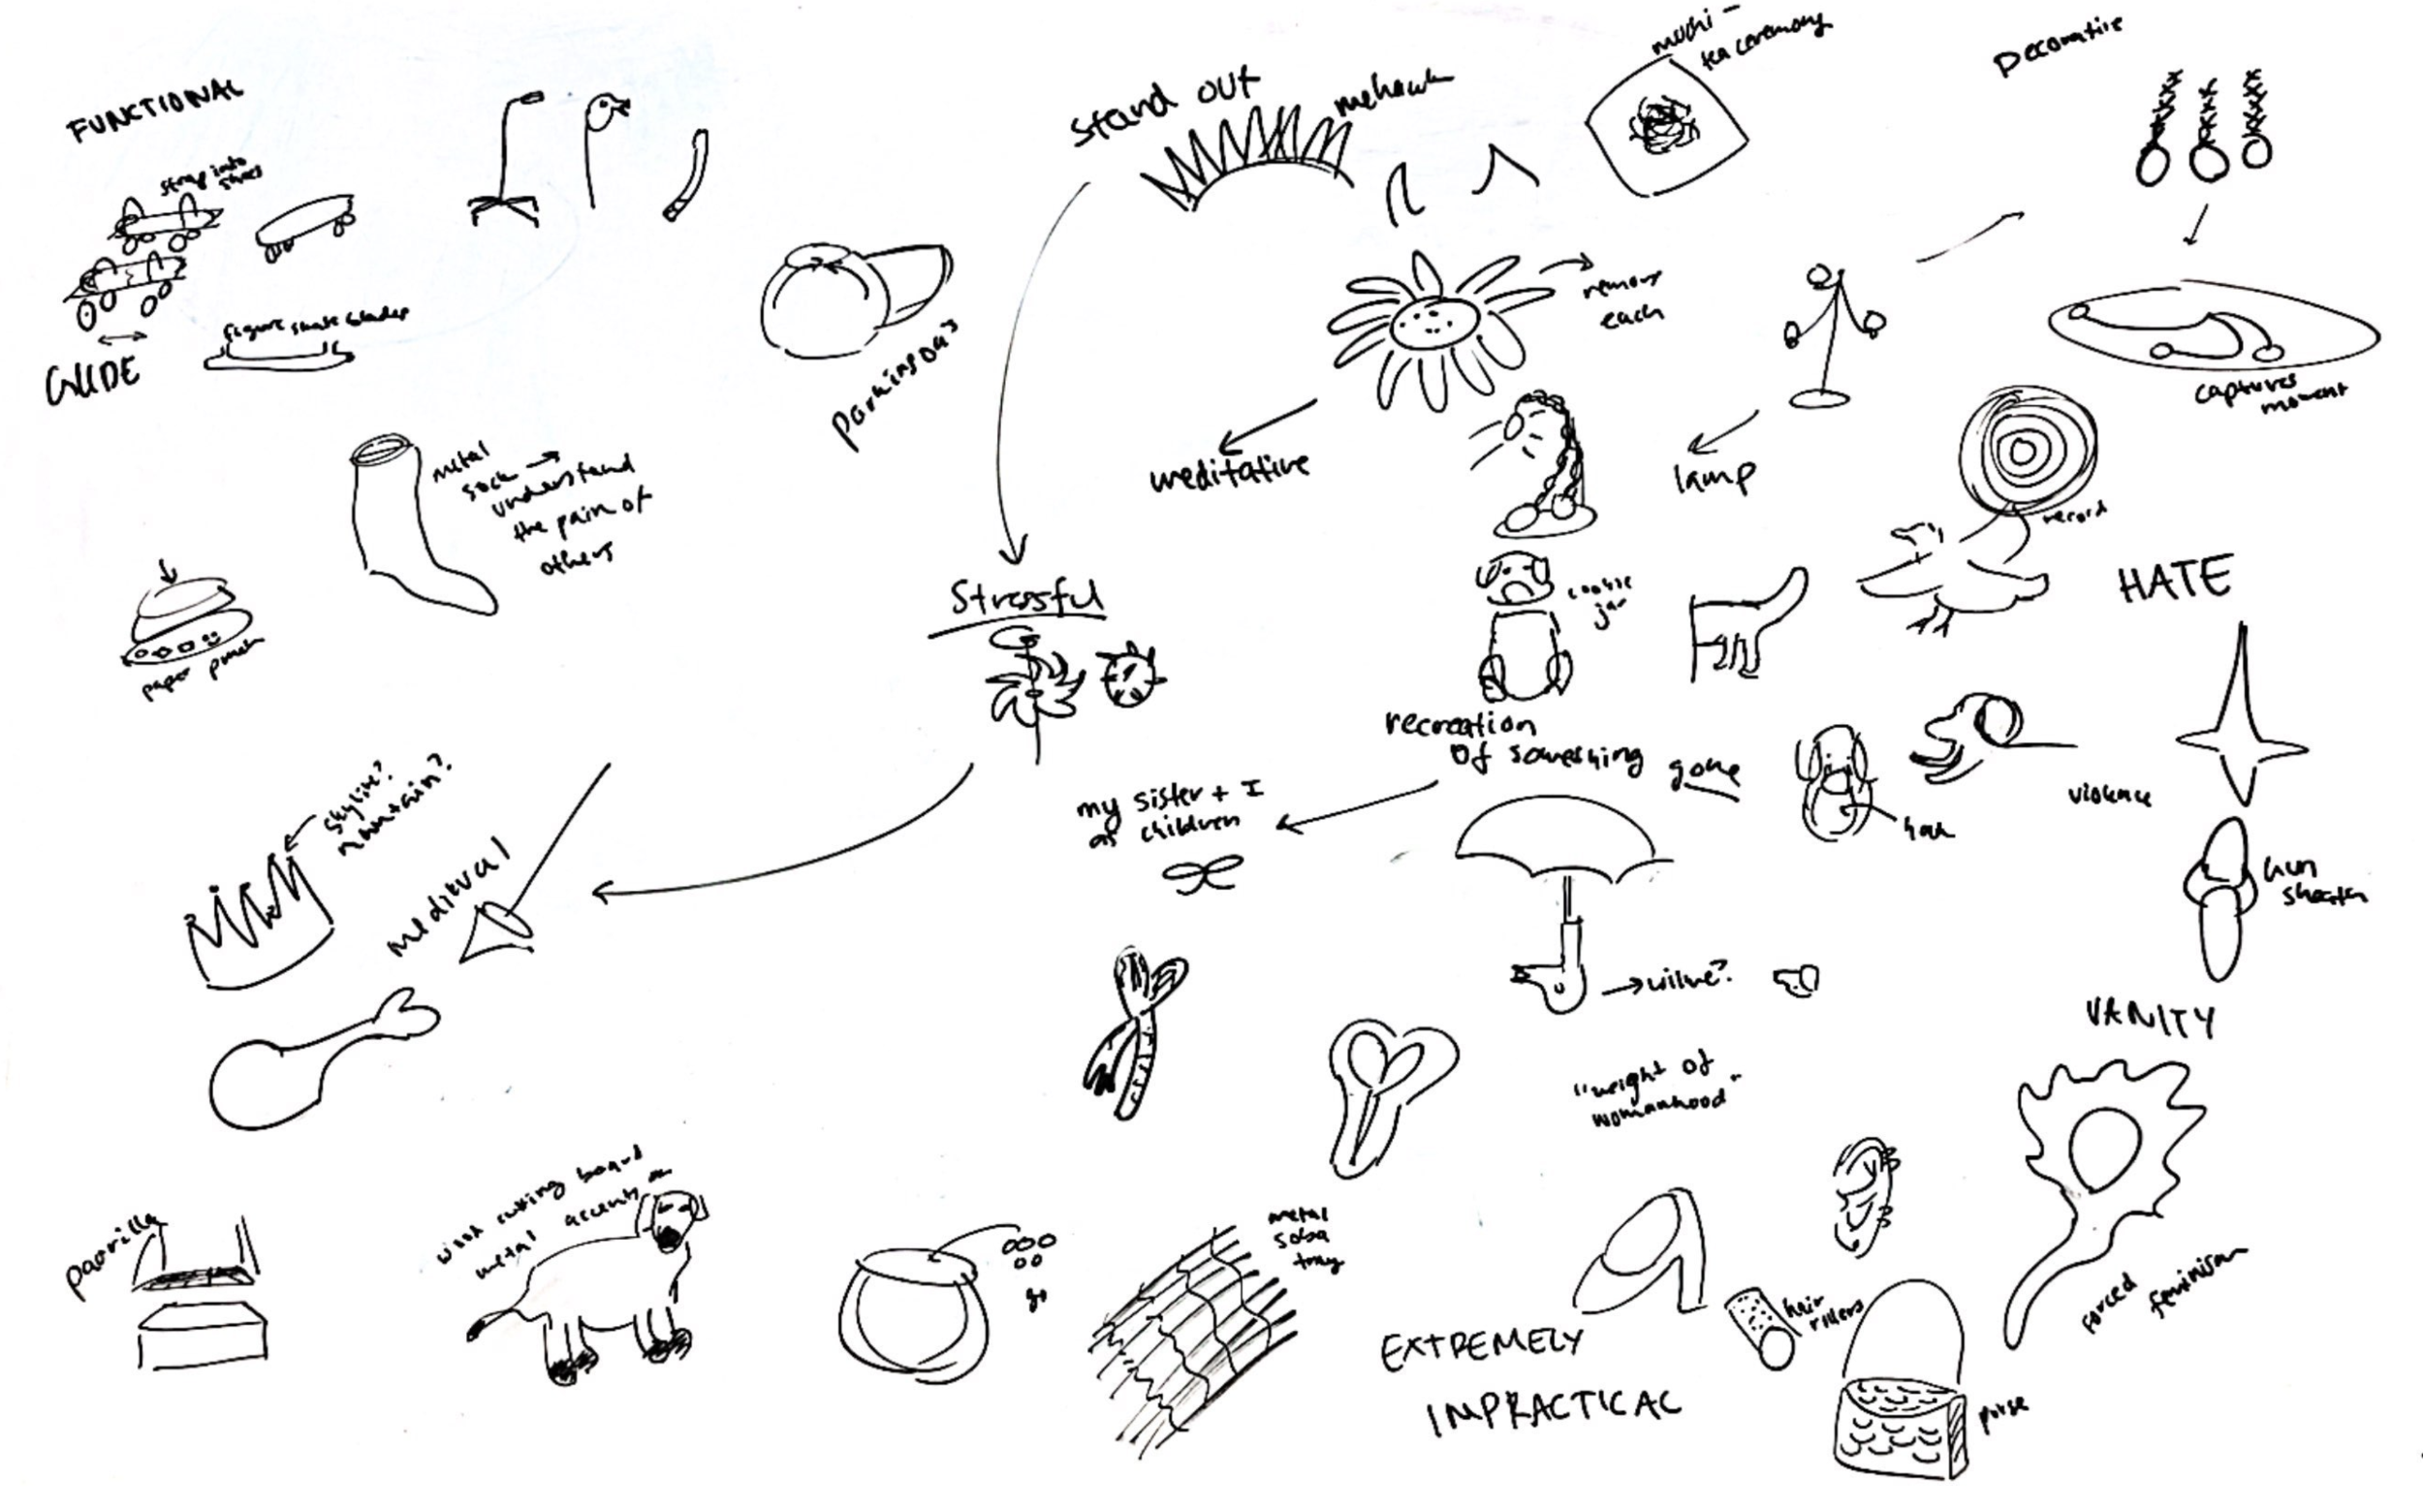
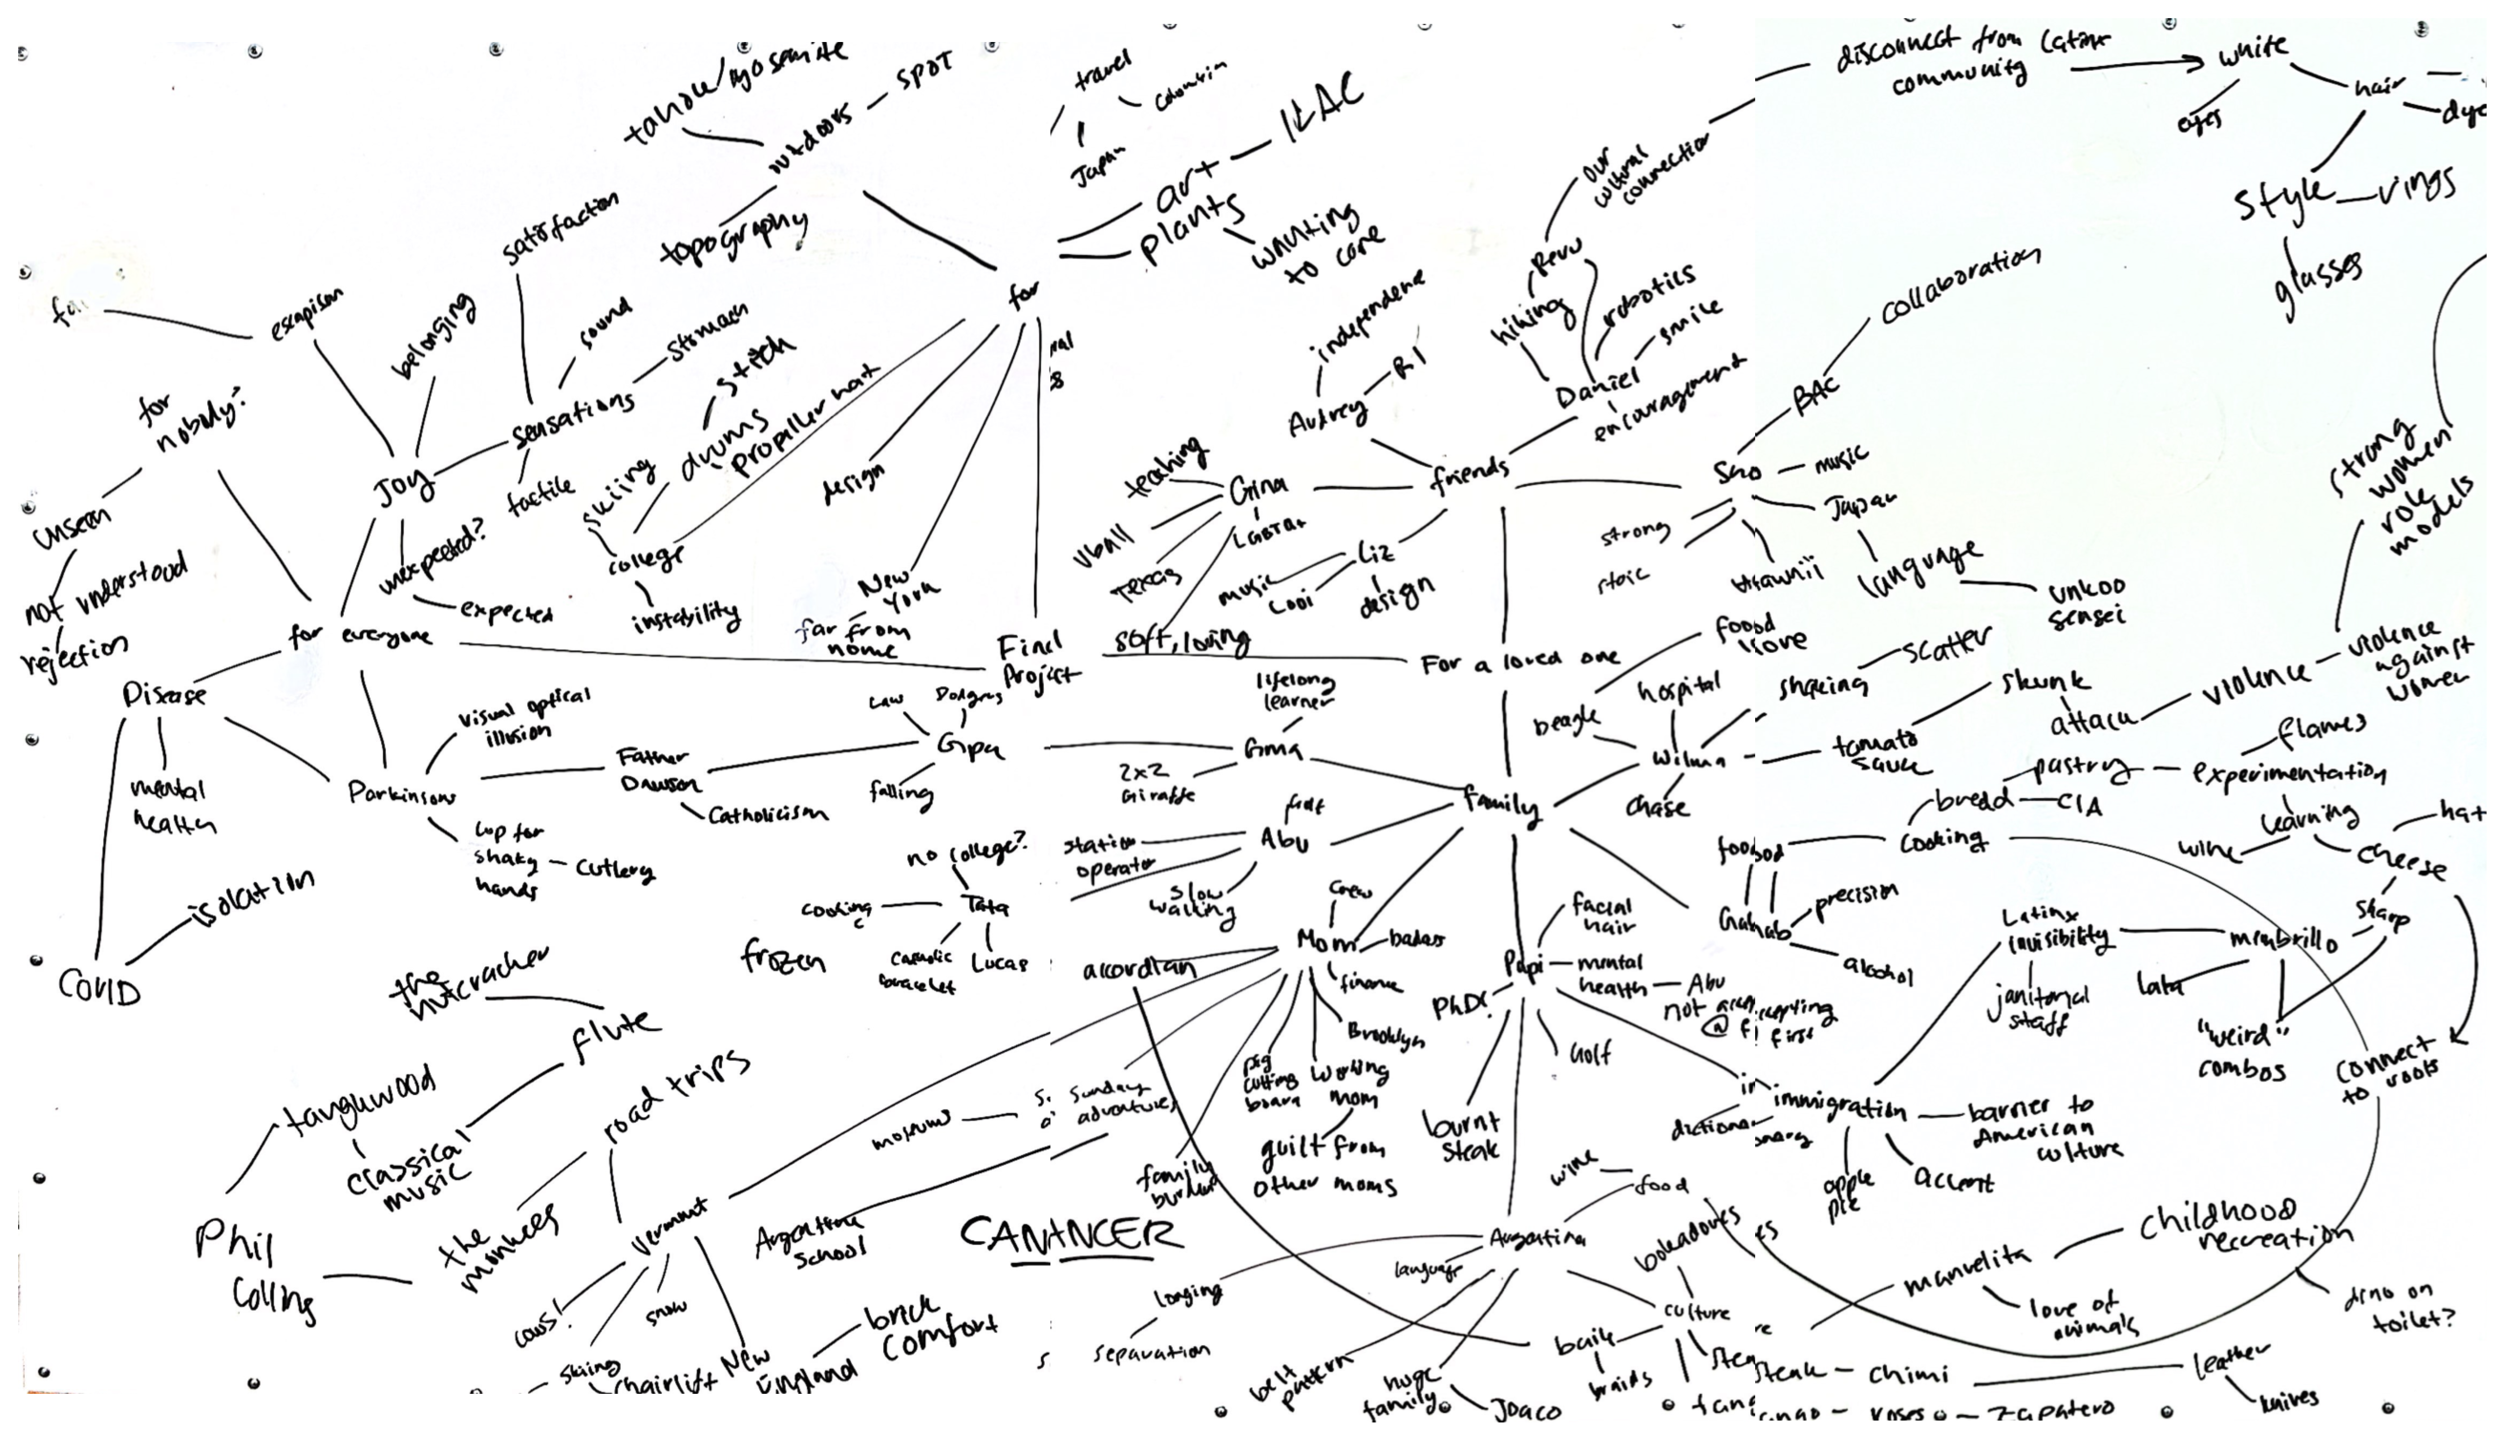
Through the lateral thiking process, I explored a wide range of ideas for this project, pushing myself to think broadly. This process included a series of brainstorming activities, including mindmapping, generating broad ideas, and consistently scrapping all ideas and starting over.
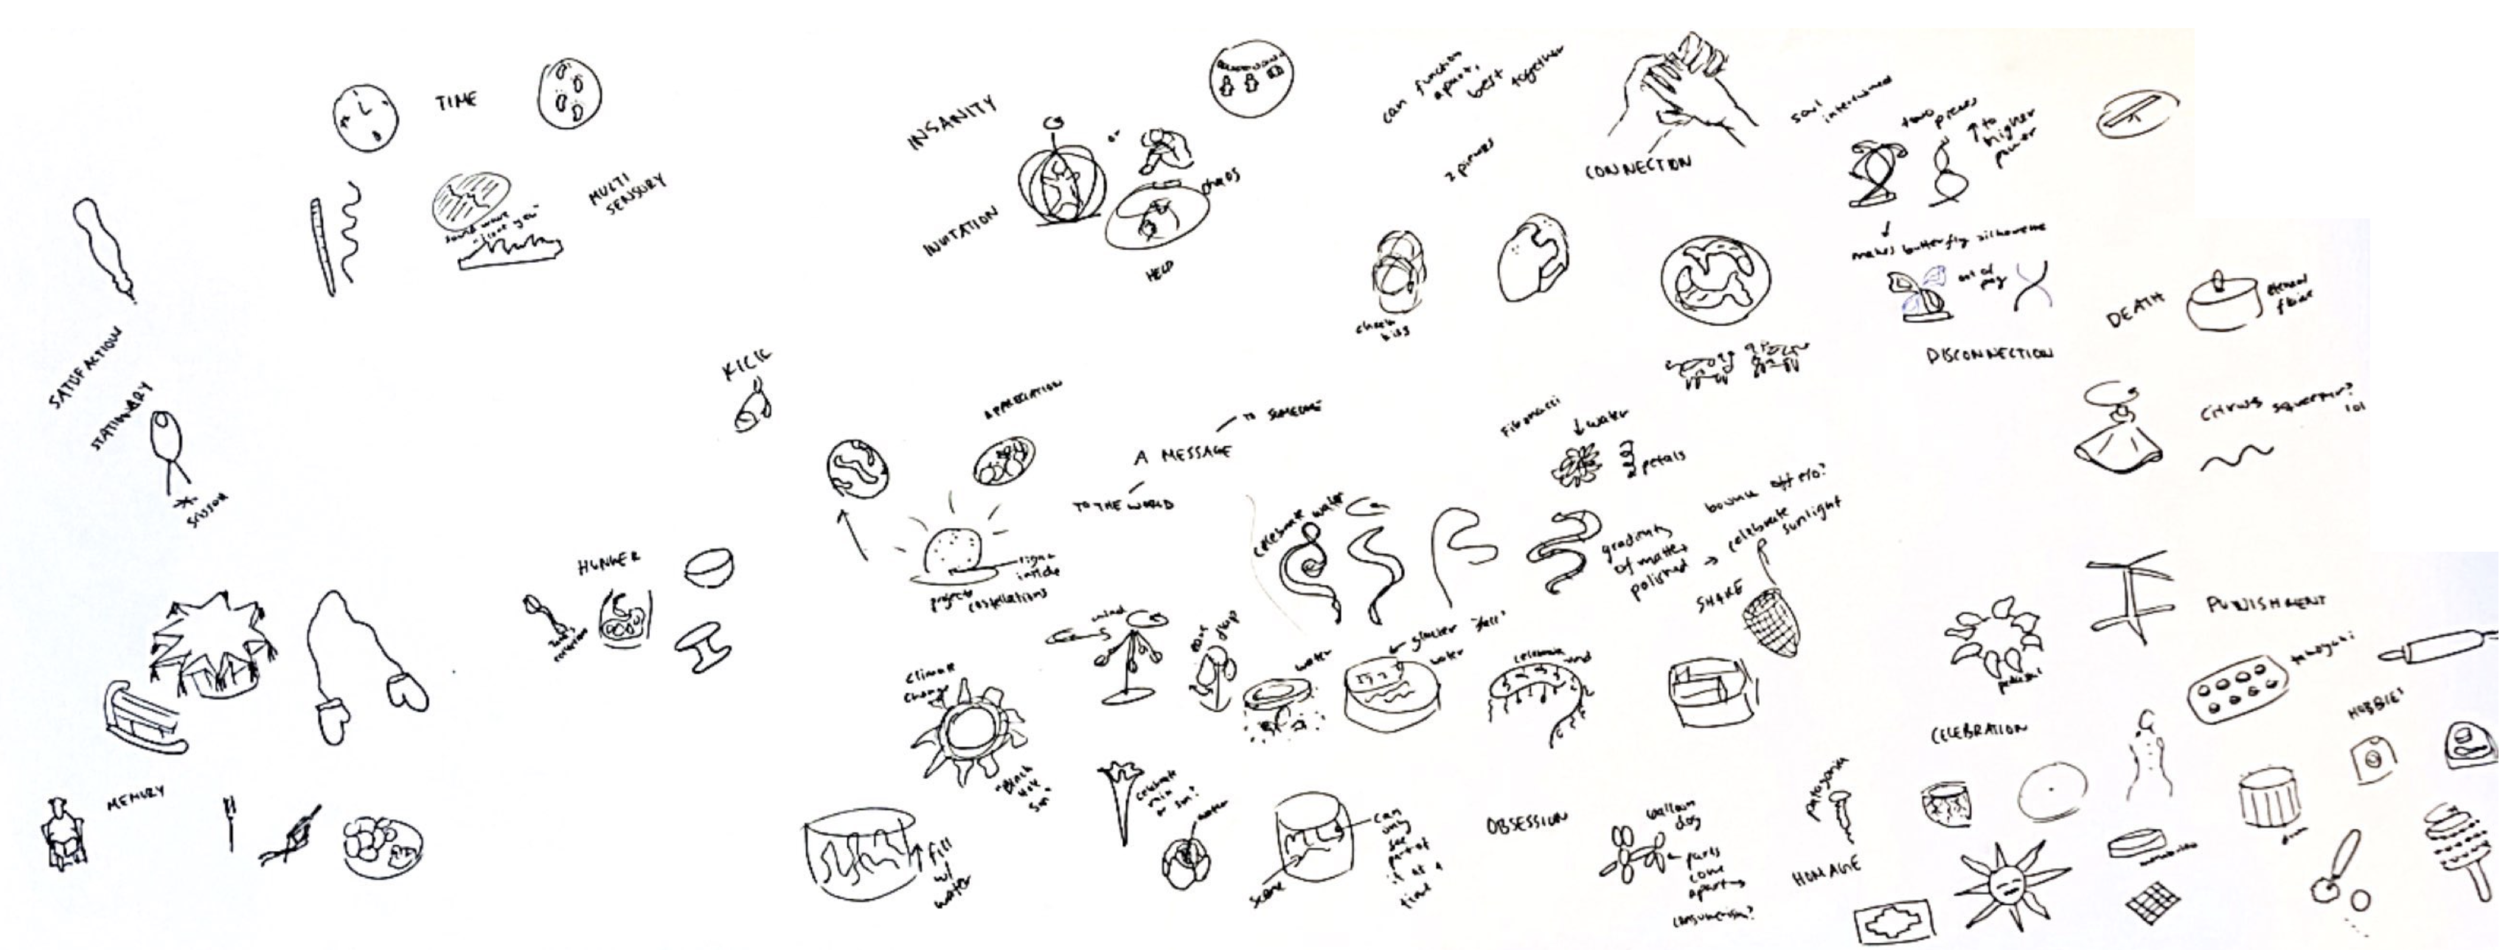
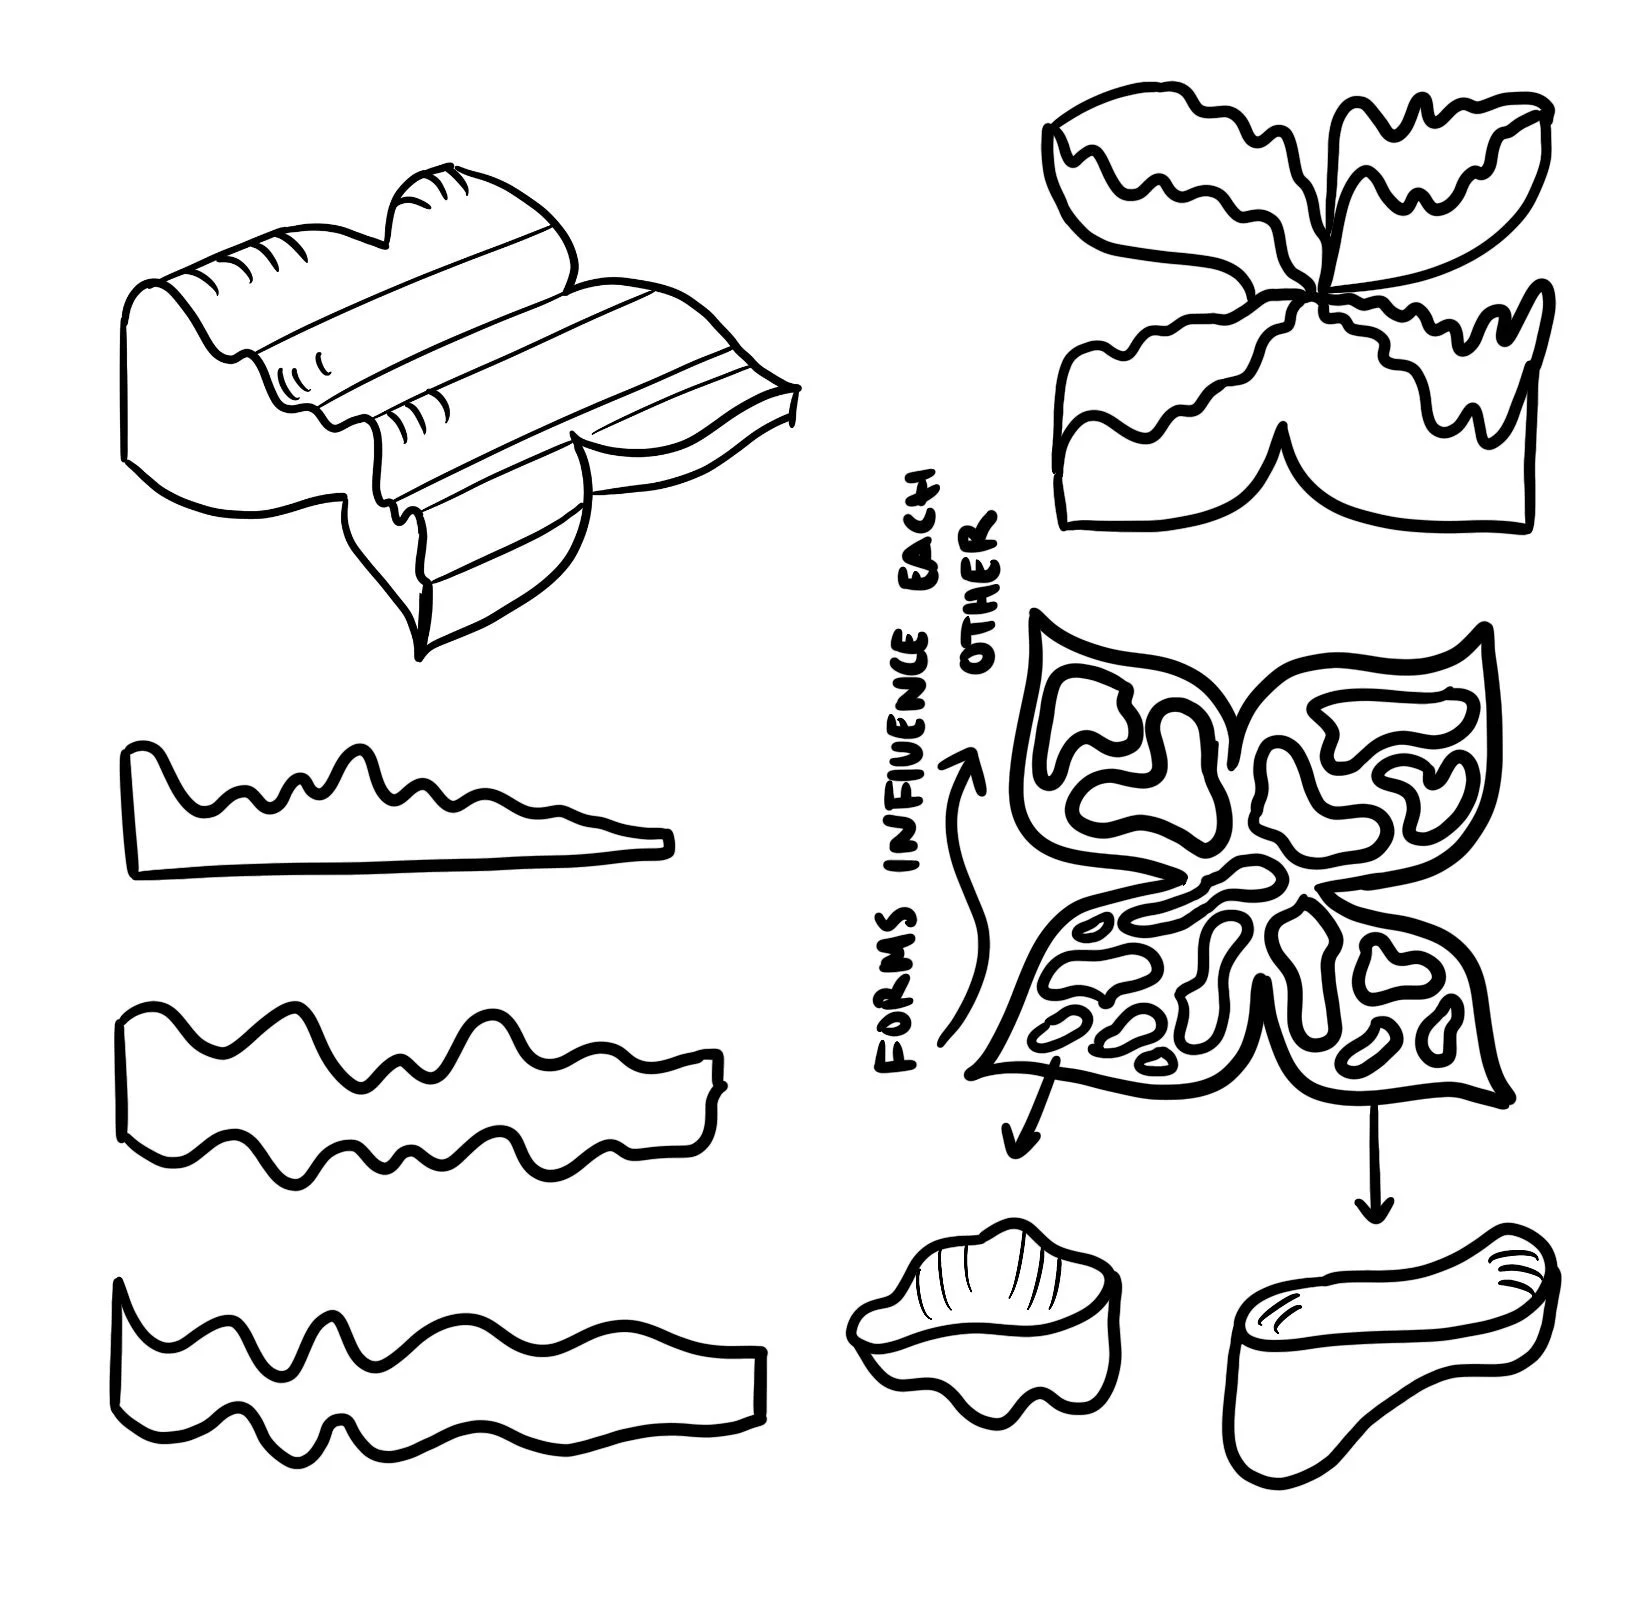
Next, I pursued visual exploration by quickly sketching designs and concepts, focusing on drastic opposition. When at a loss for new ideas, I questioned why I liked or disliked certain ideas and tried to create others by honoing in on my pre-existing opinions. Often, I found that going against my gut instinct resulted in a plethora of completely new ideas.
Butterfly Concept
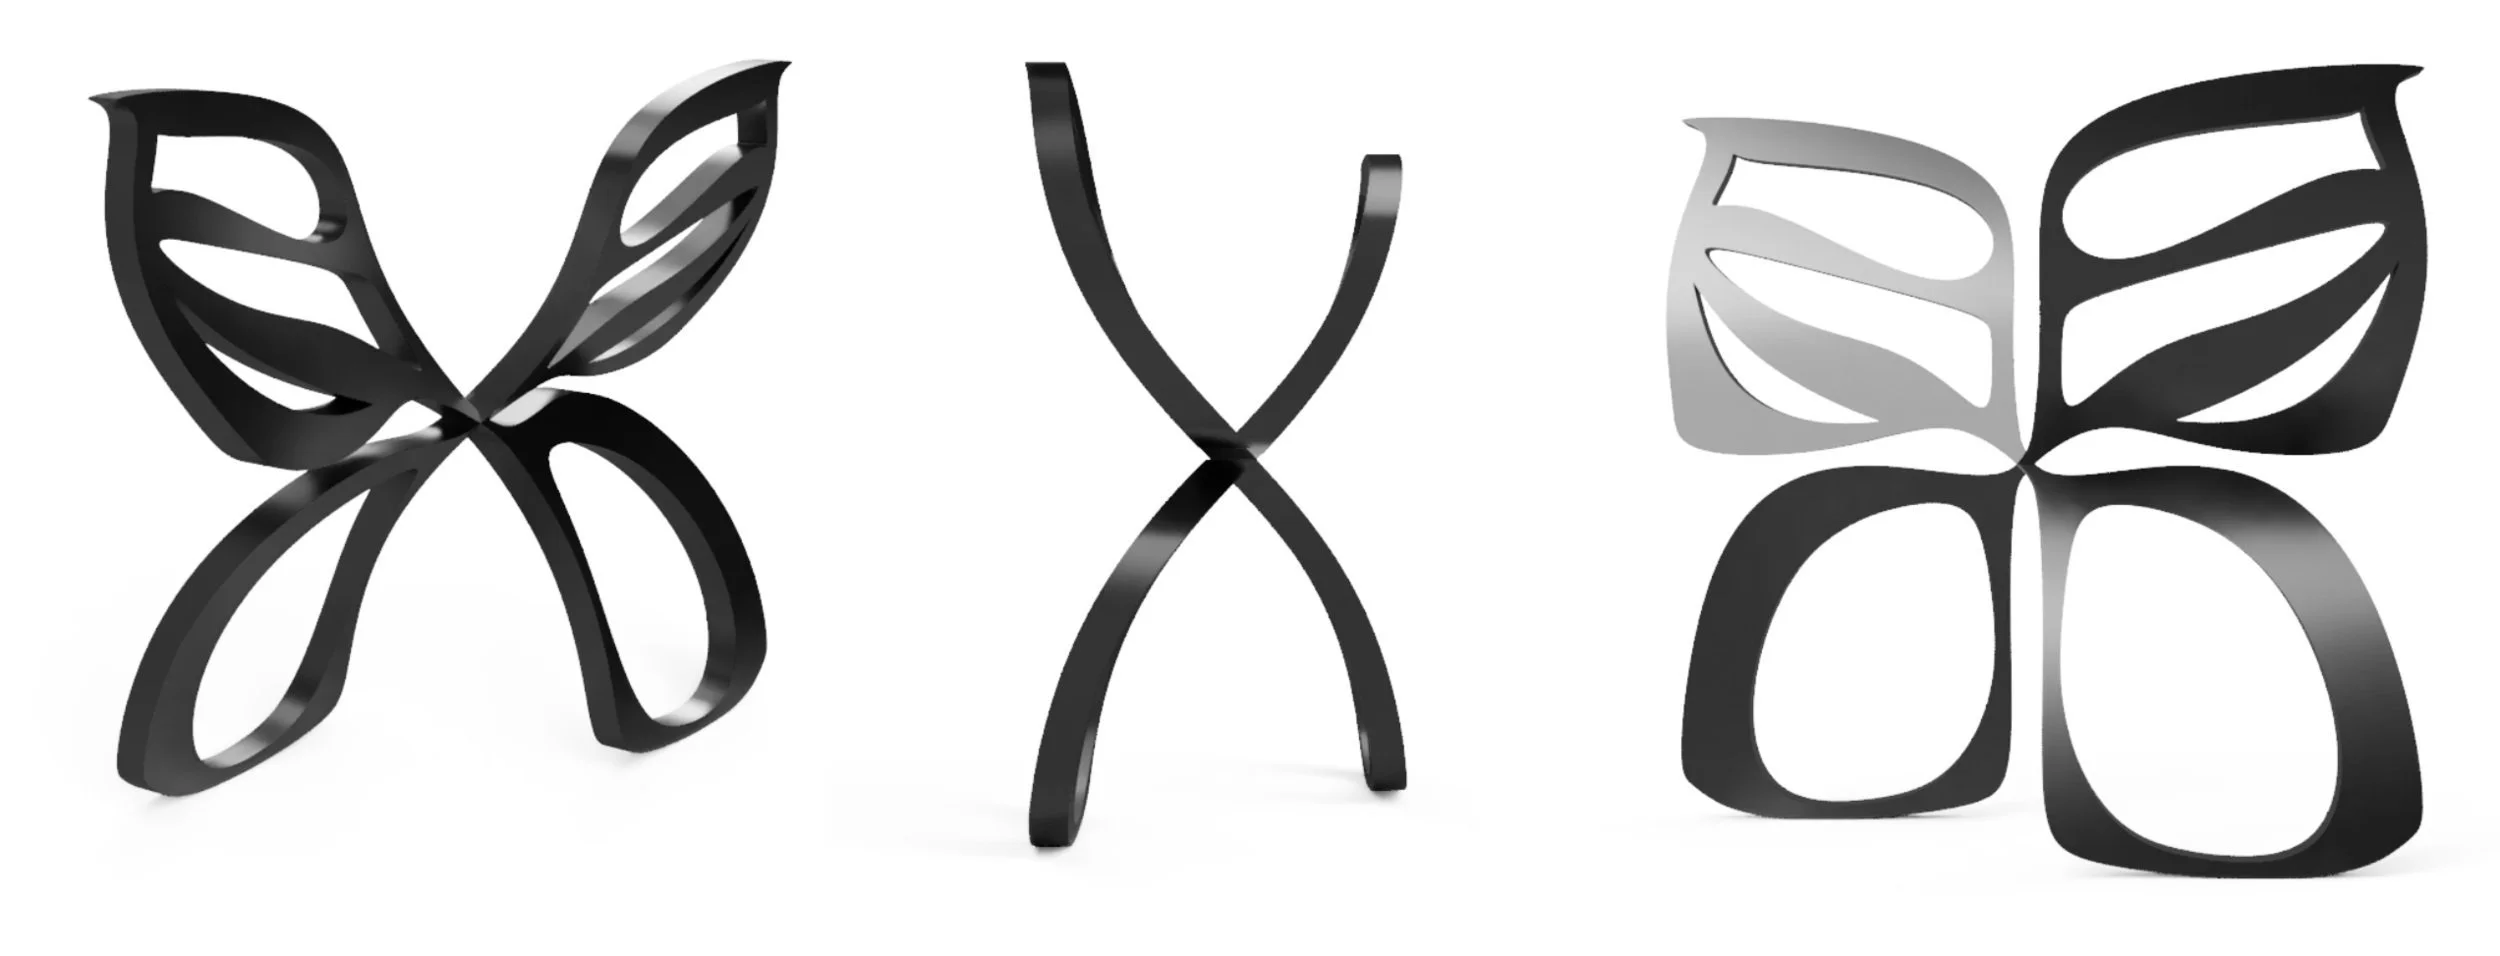
Of all the ideas, the concept of the butterfly most stood out to me. In my family, the butterfly represents the passing of a loved one, and focuses on the fleeting moments where we can feel connected to someone far away. I pursued this idea through a two-piece sculpture, where each piece incldued the diagonal wings and would cross over each other. Each part, when separate, is an interesting organic shape without clear meaning. When together, the parts relate to each other in space such that the butterfly form is conveyed. For this concept, I explored a variety of considerations, including how to hold the parts up, the orientations of the wings, and their geometries in three axes. The most favored concept was modeled in Fusion 360.
Butterfly Exploration
To explore the concept of the butterfly further, I spent time questioning what elements of the current design I’d enjoyed and pushed myself to reconsider. Through this process, I became interested in the butterfly effect - the sensitive dependence on initial conditions in which a small change in one state of a deterministic nonlinear system can result in large differences in a later state. This concept resonated with me in relation to death, and ultimately the beauty and futility of life.
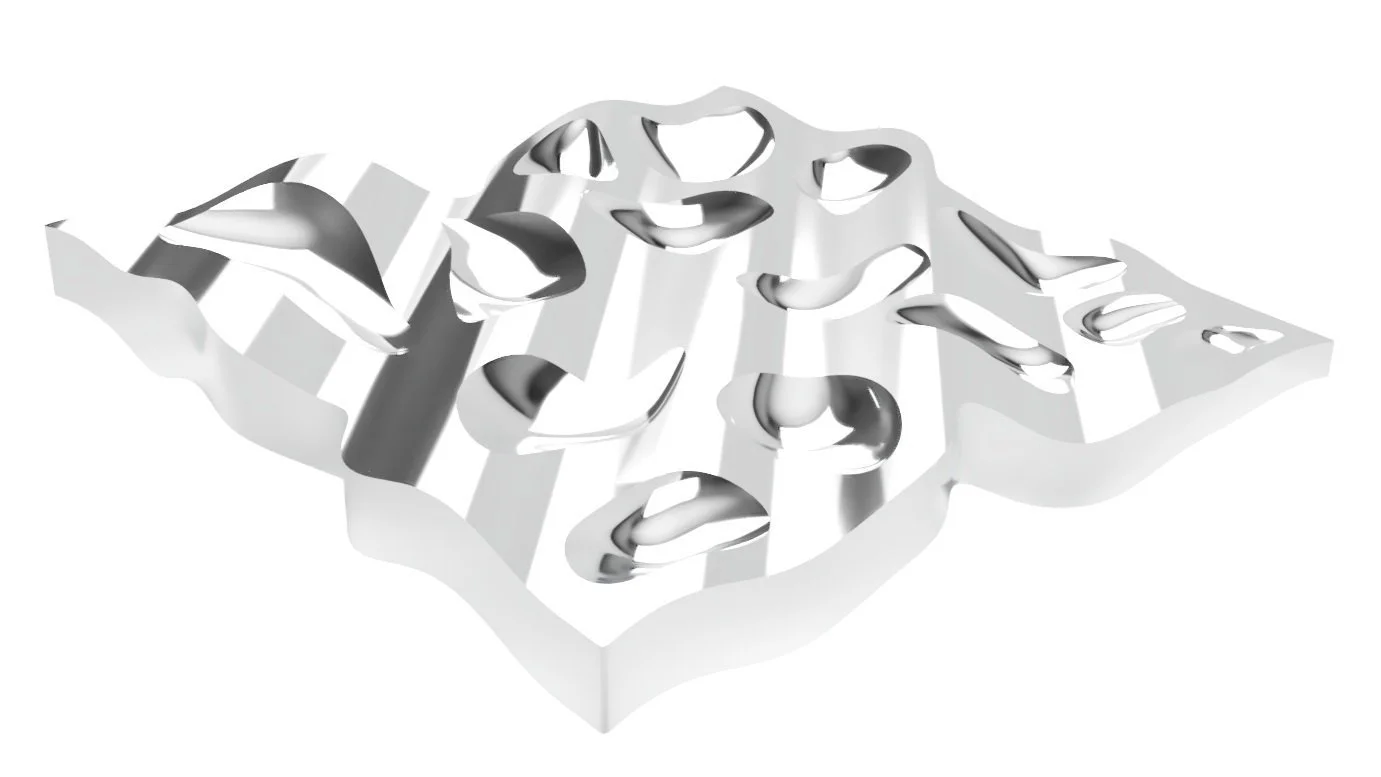
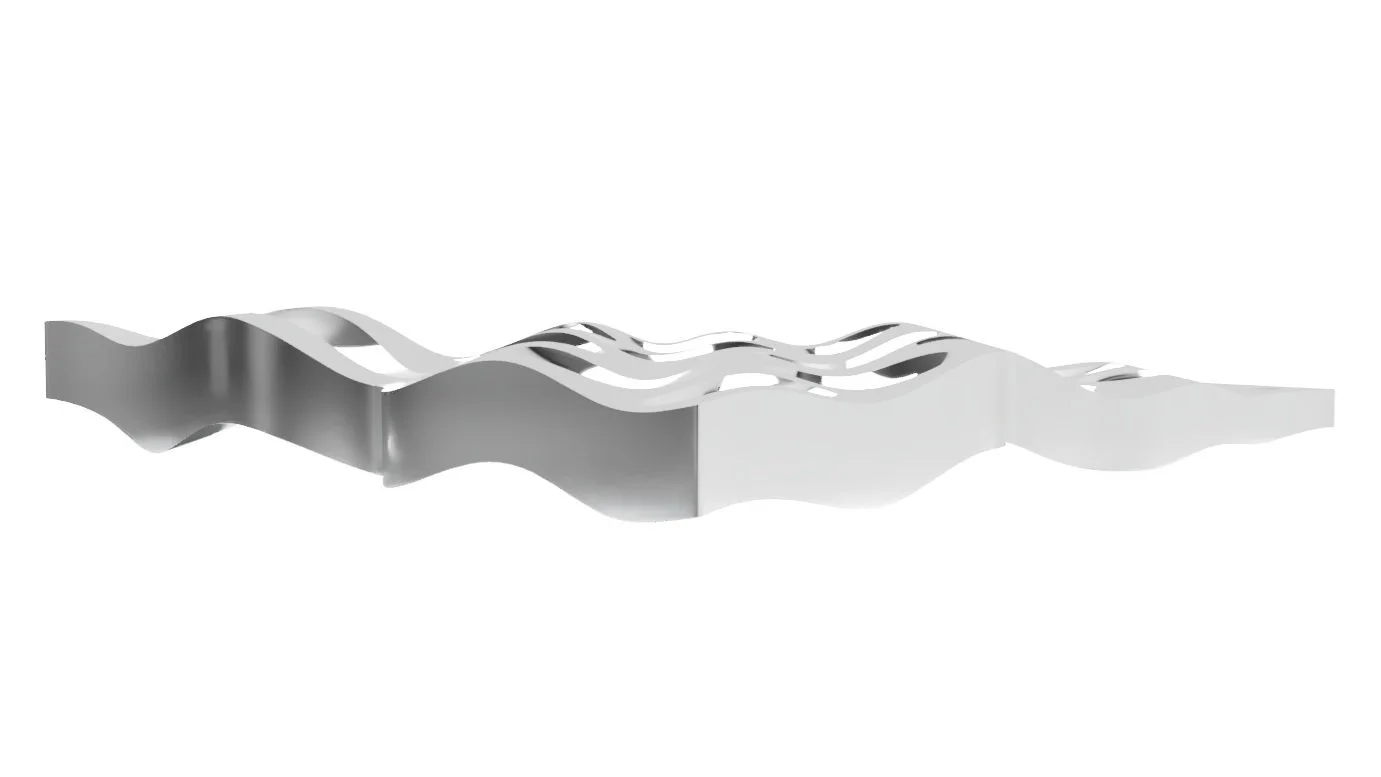
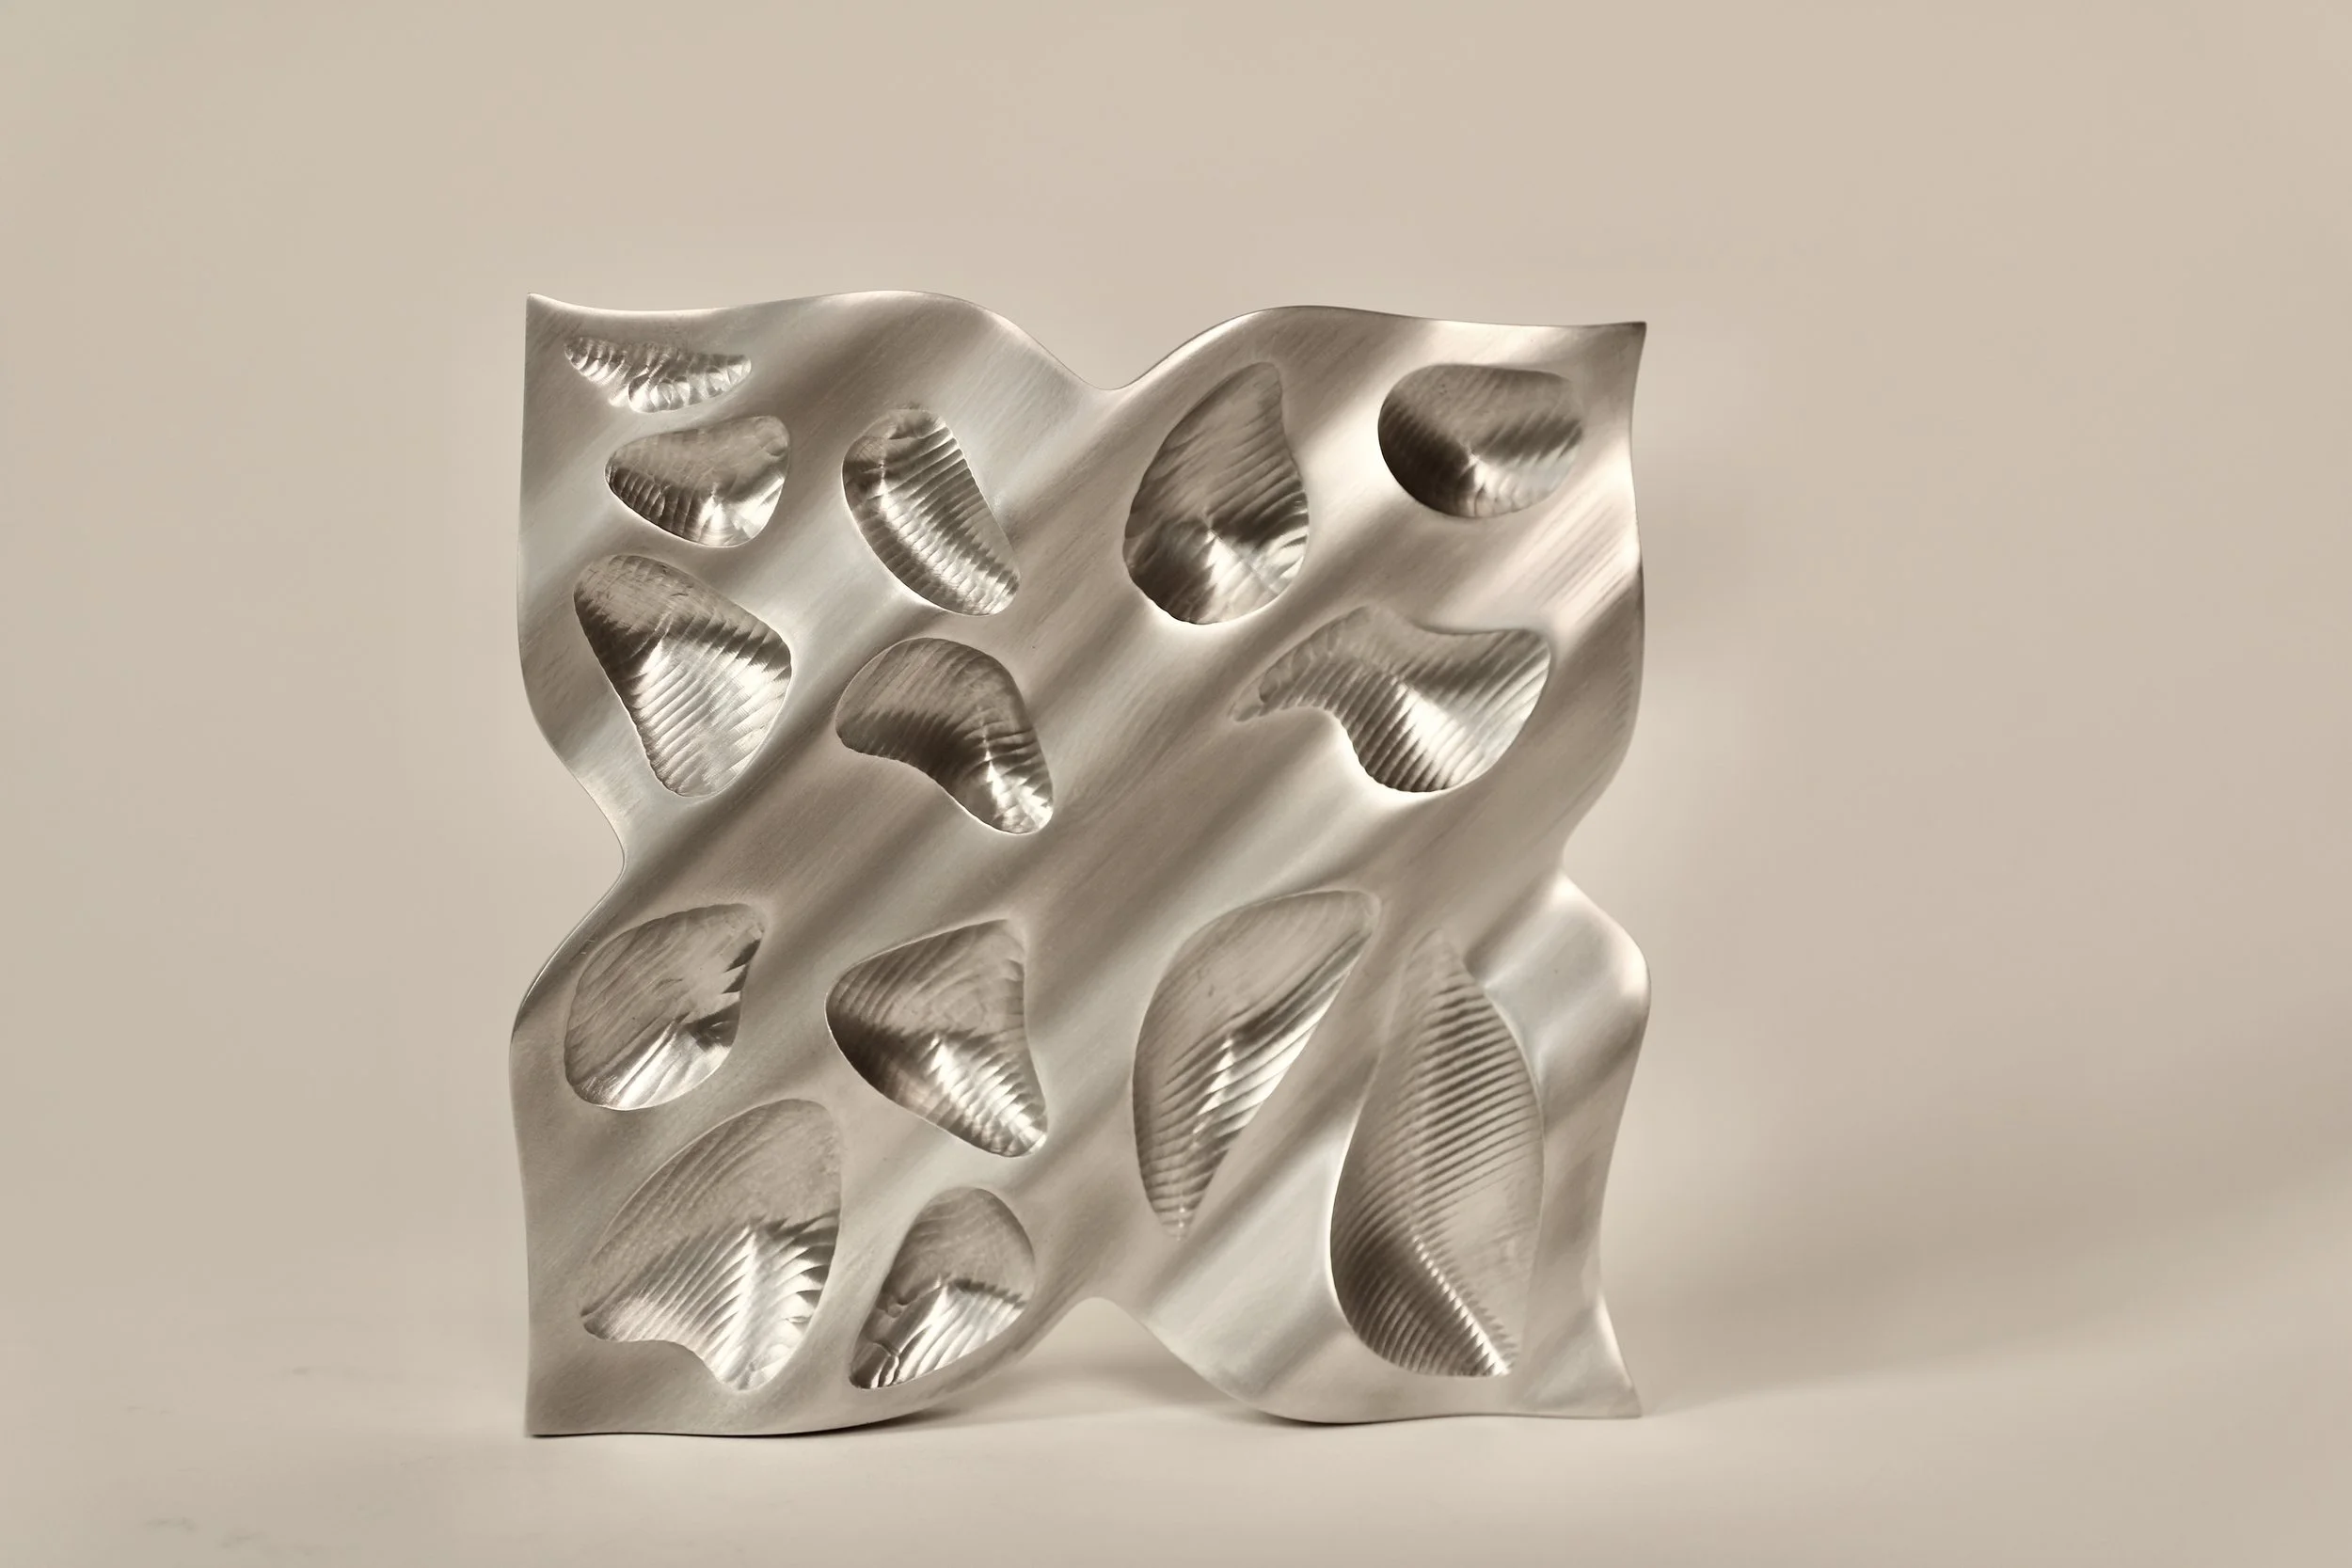
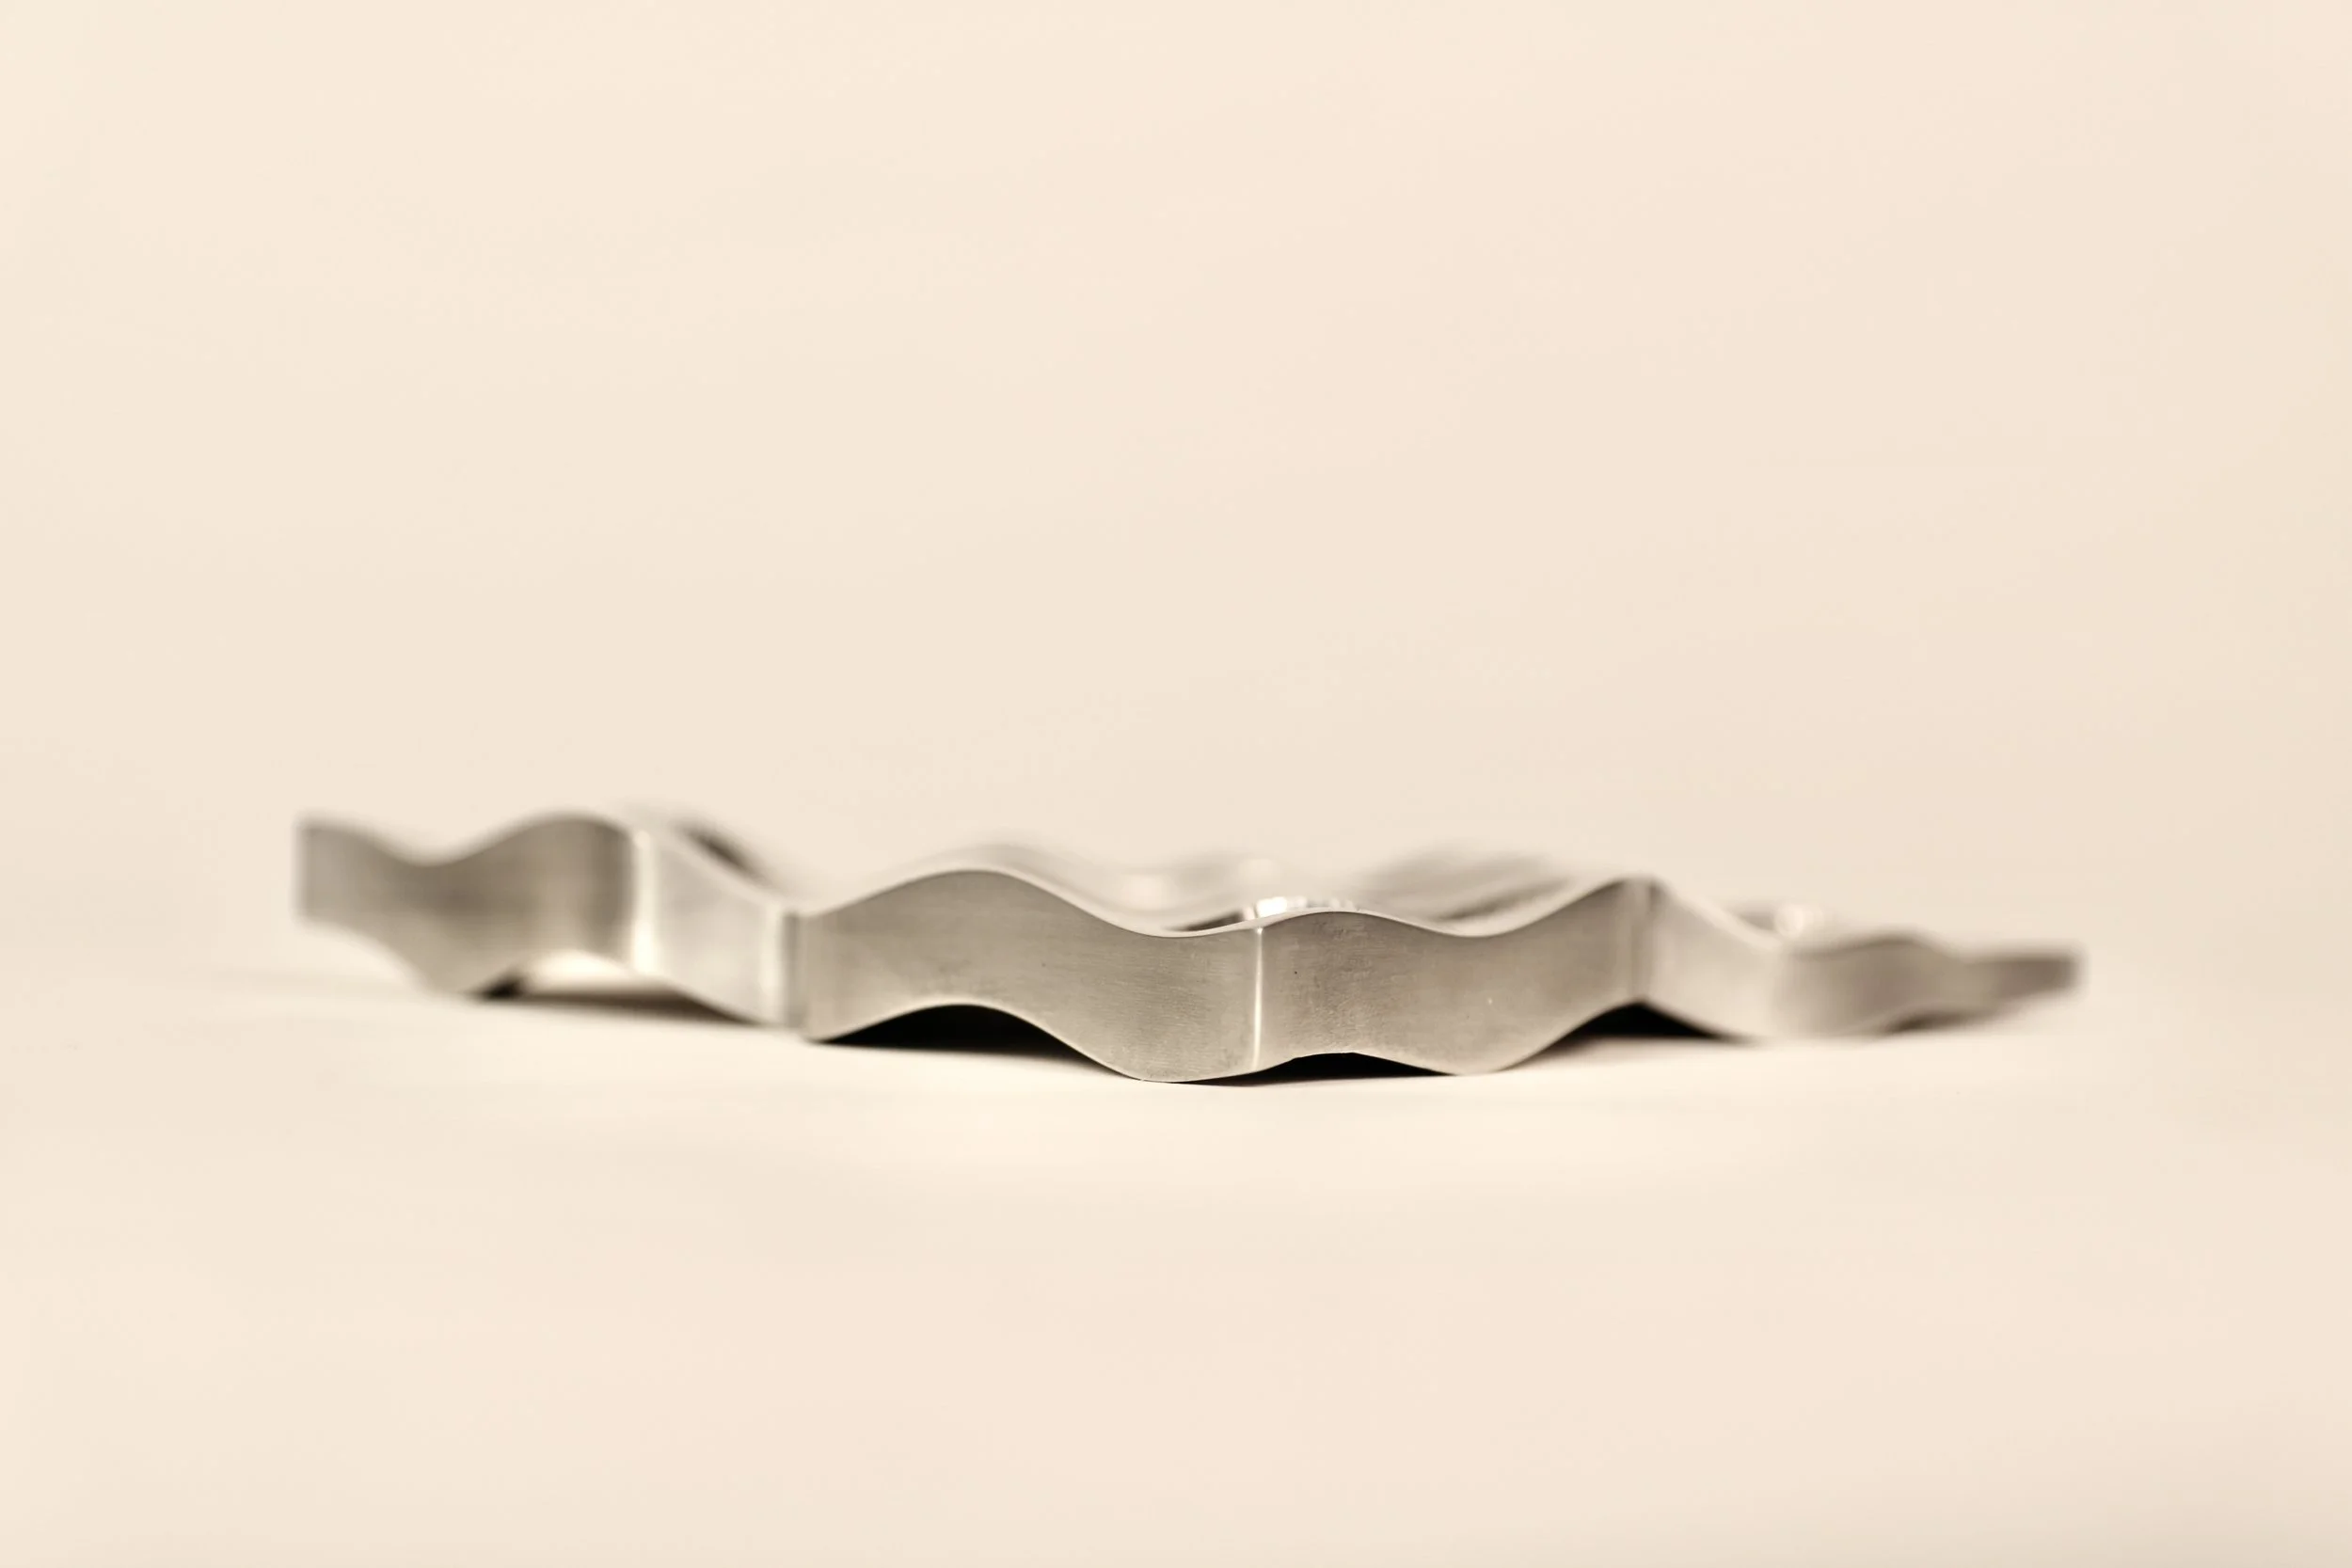
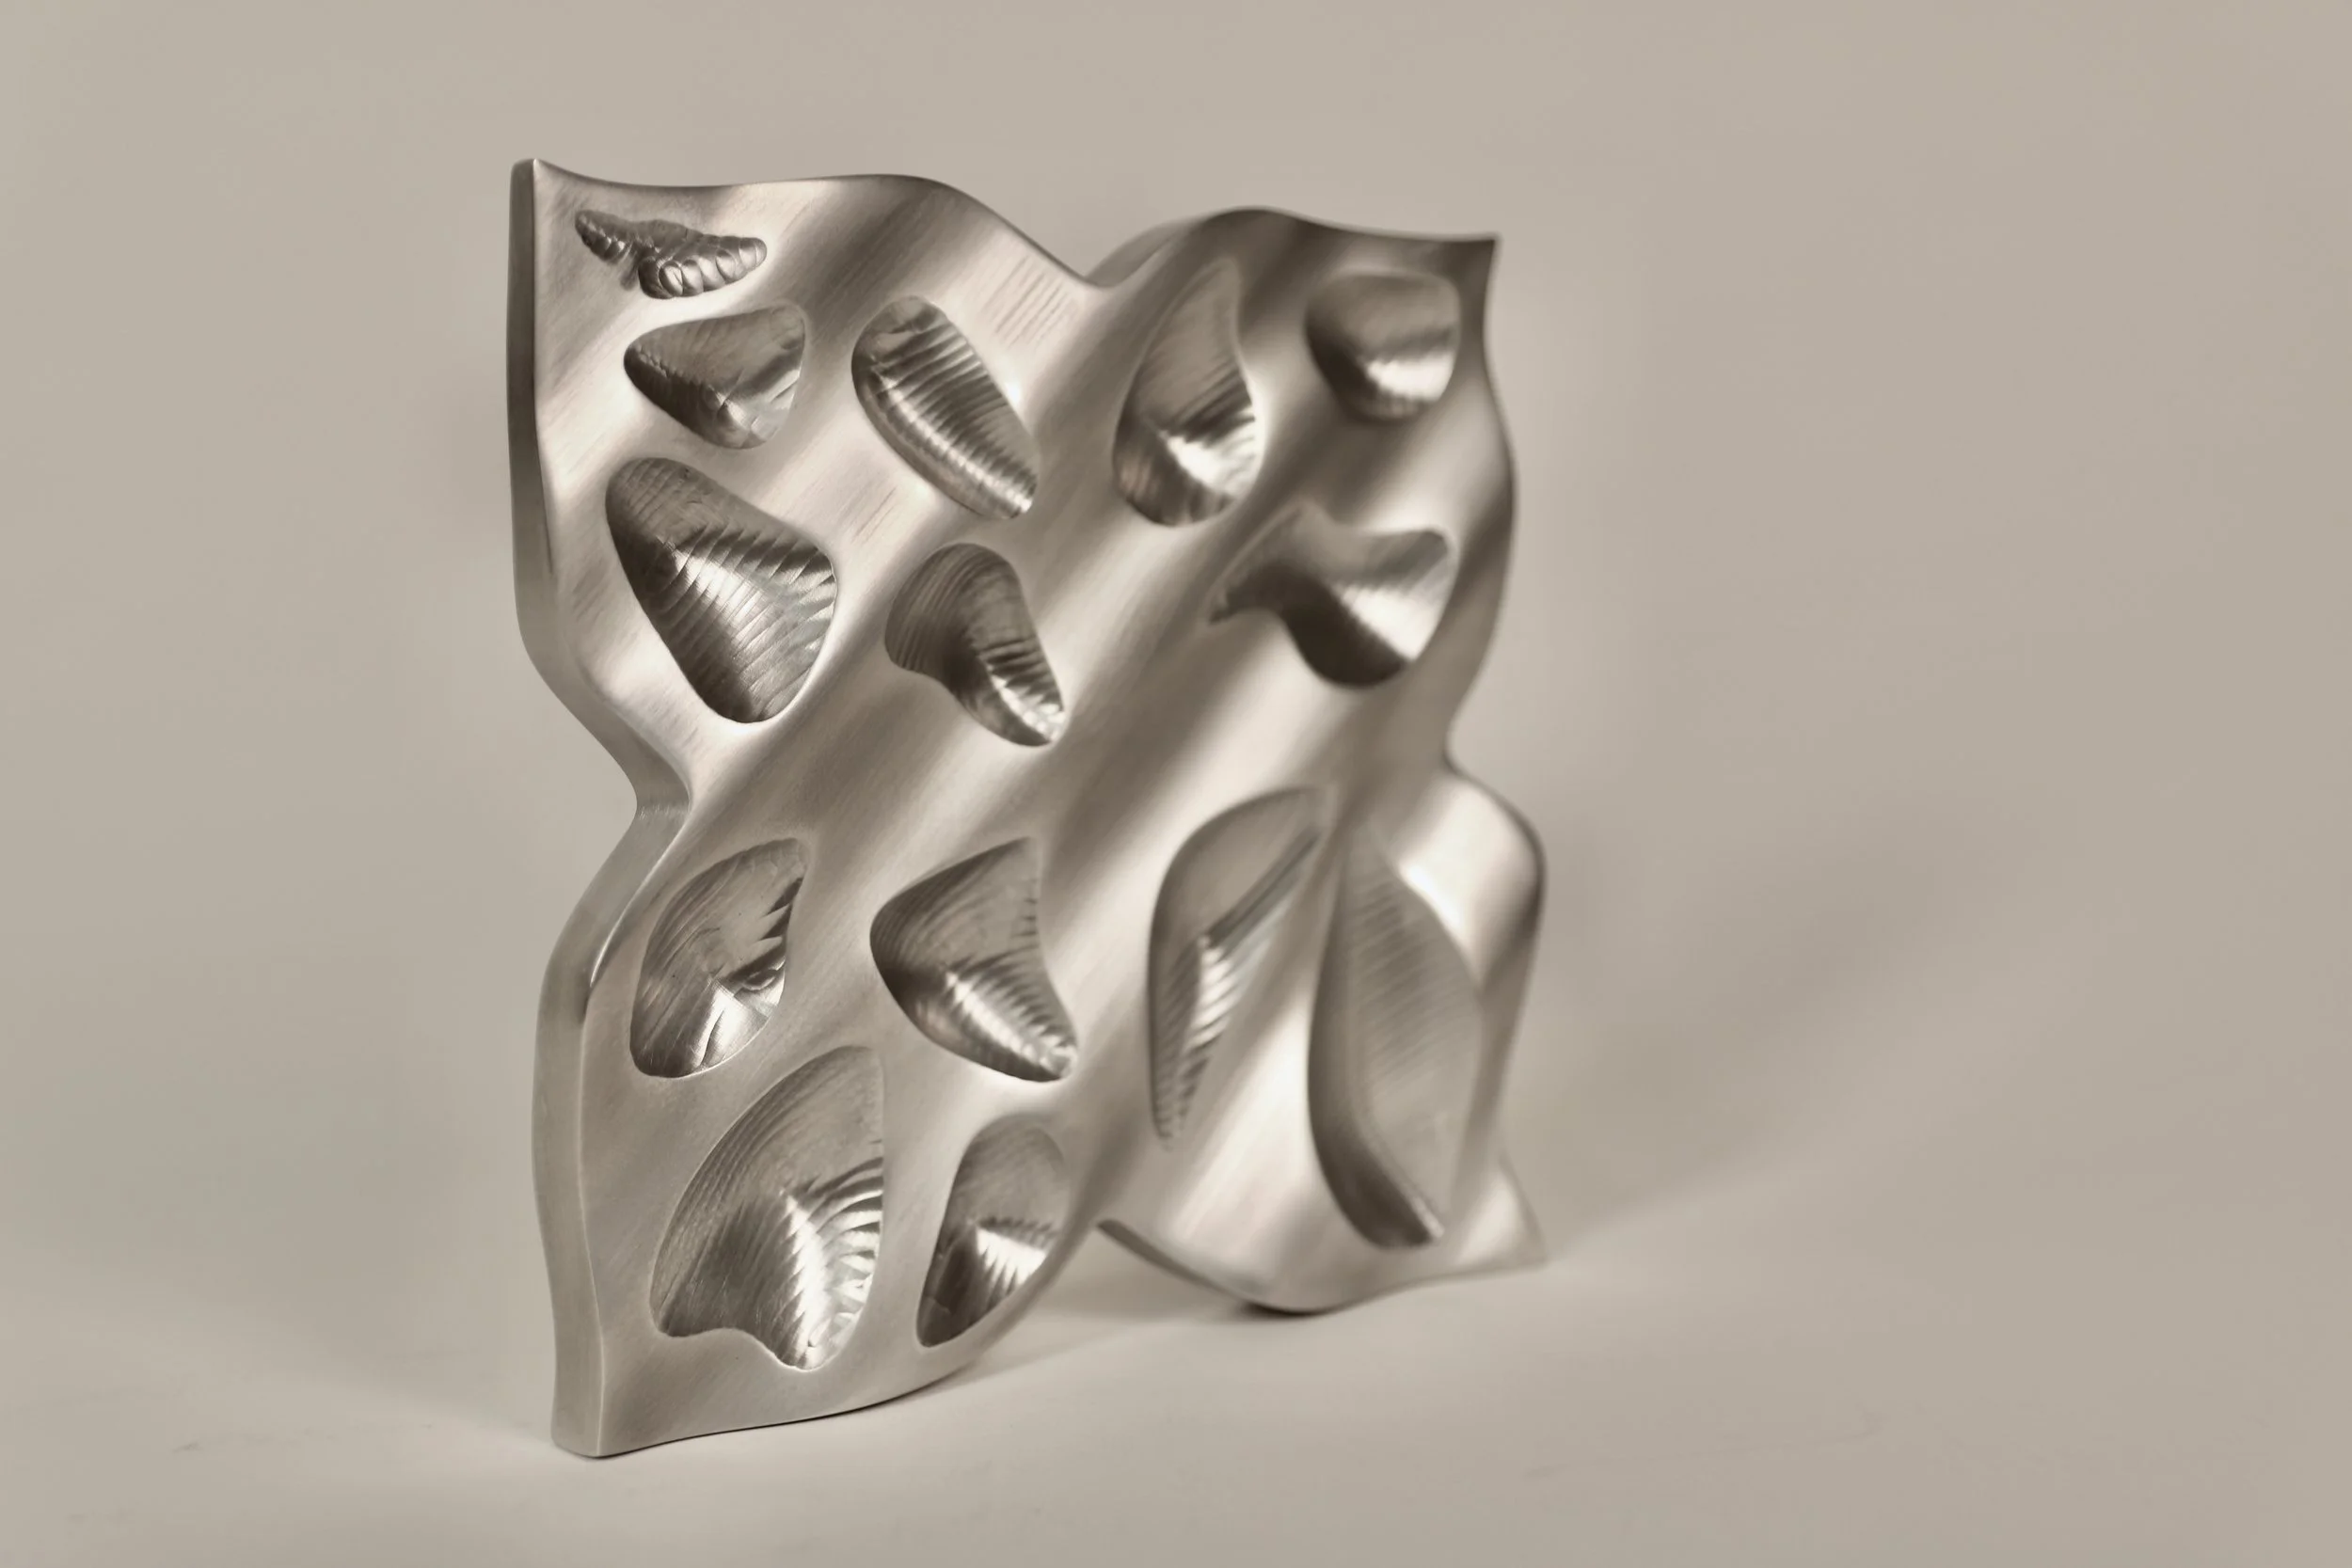
Here, I explored physical representations of the butterfly effect, by applying it to the rigid symmetries associated with butterflies. The butterfly effect is shown through the changing geometries of the side of the part, ebbing and flowing unevenly. Where as a butterfly would boast precise symmetry, this representation shows the details of each wing in varying organic geometric shape that vary in quantity, size, and relationship to each other. This resulted in the creation of MARIPOSA (“butterfly” in Spanish), a paint palette that cherishes a loved one through understanding life as both a butterfly, beautiful, delicate - and the butterfly effect, chaotic, unpredictable.
CAD
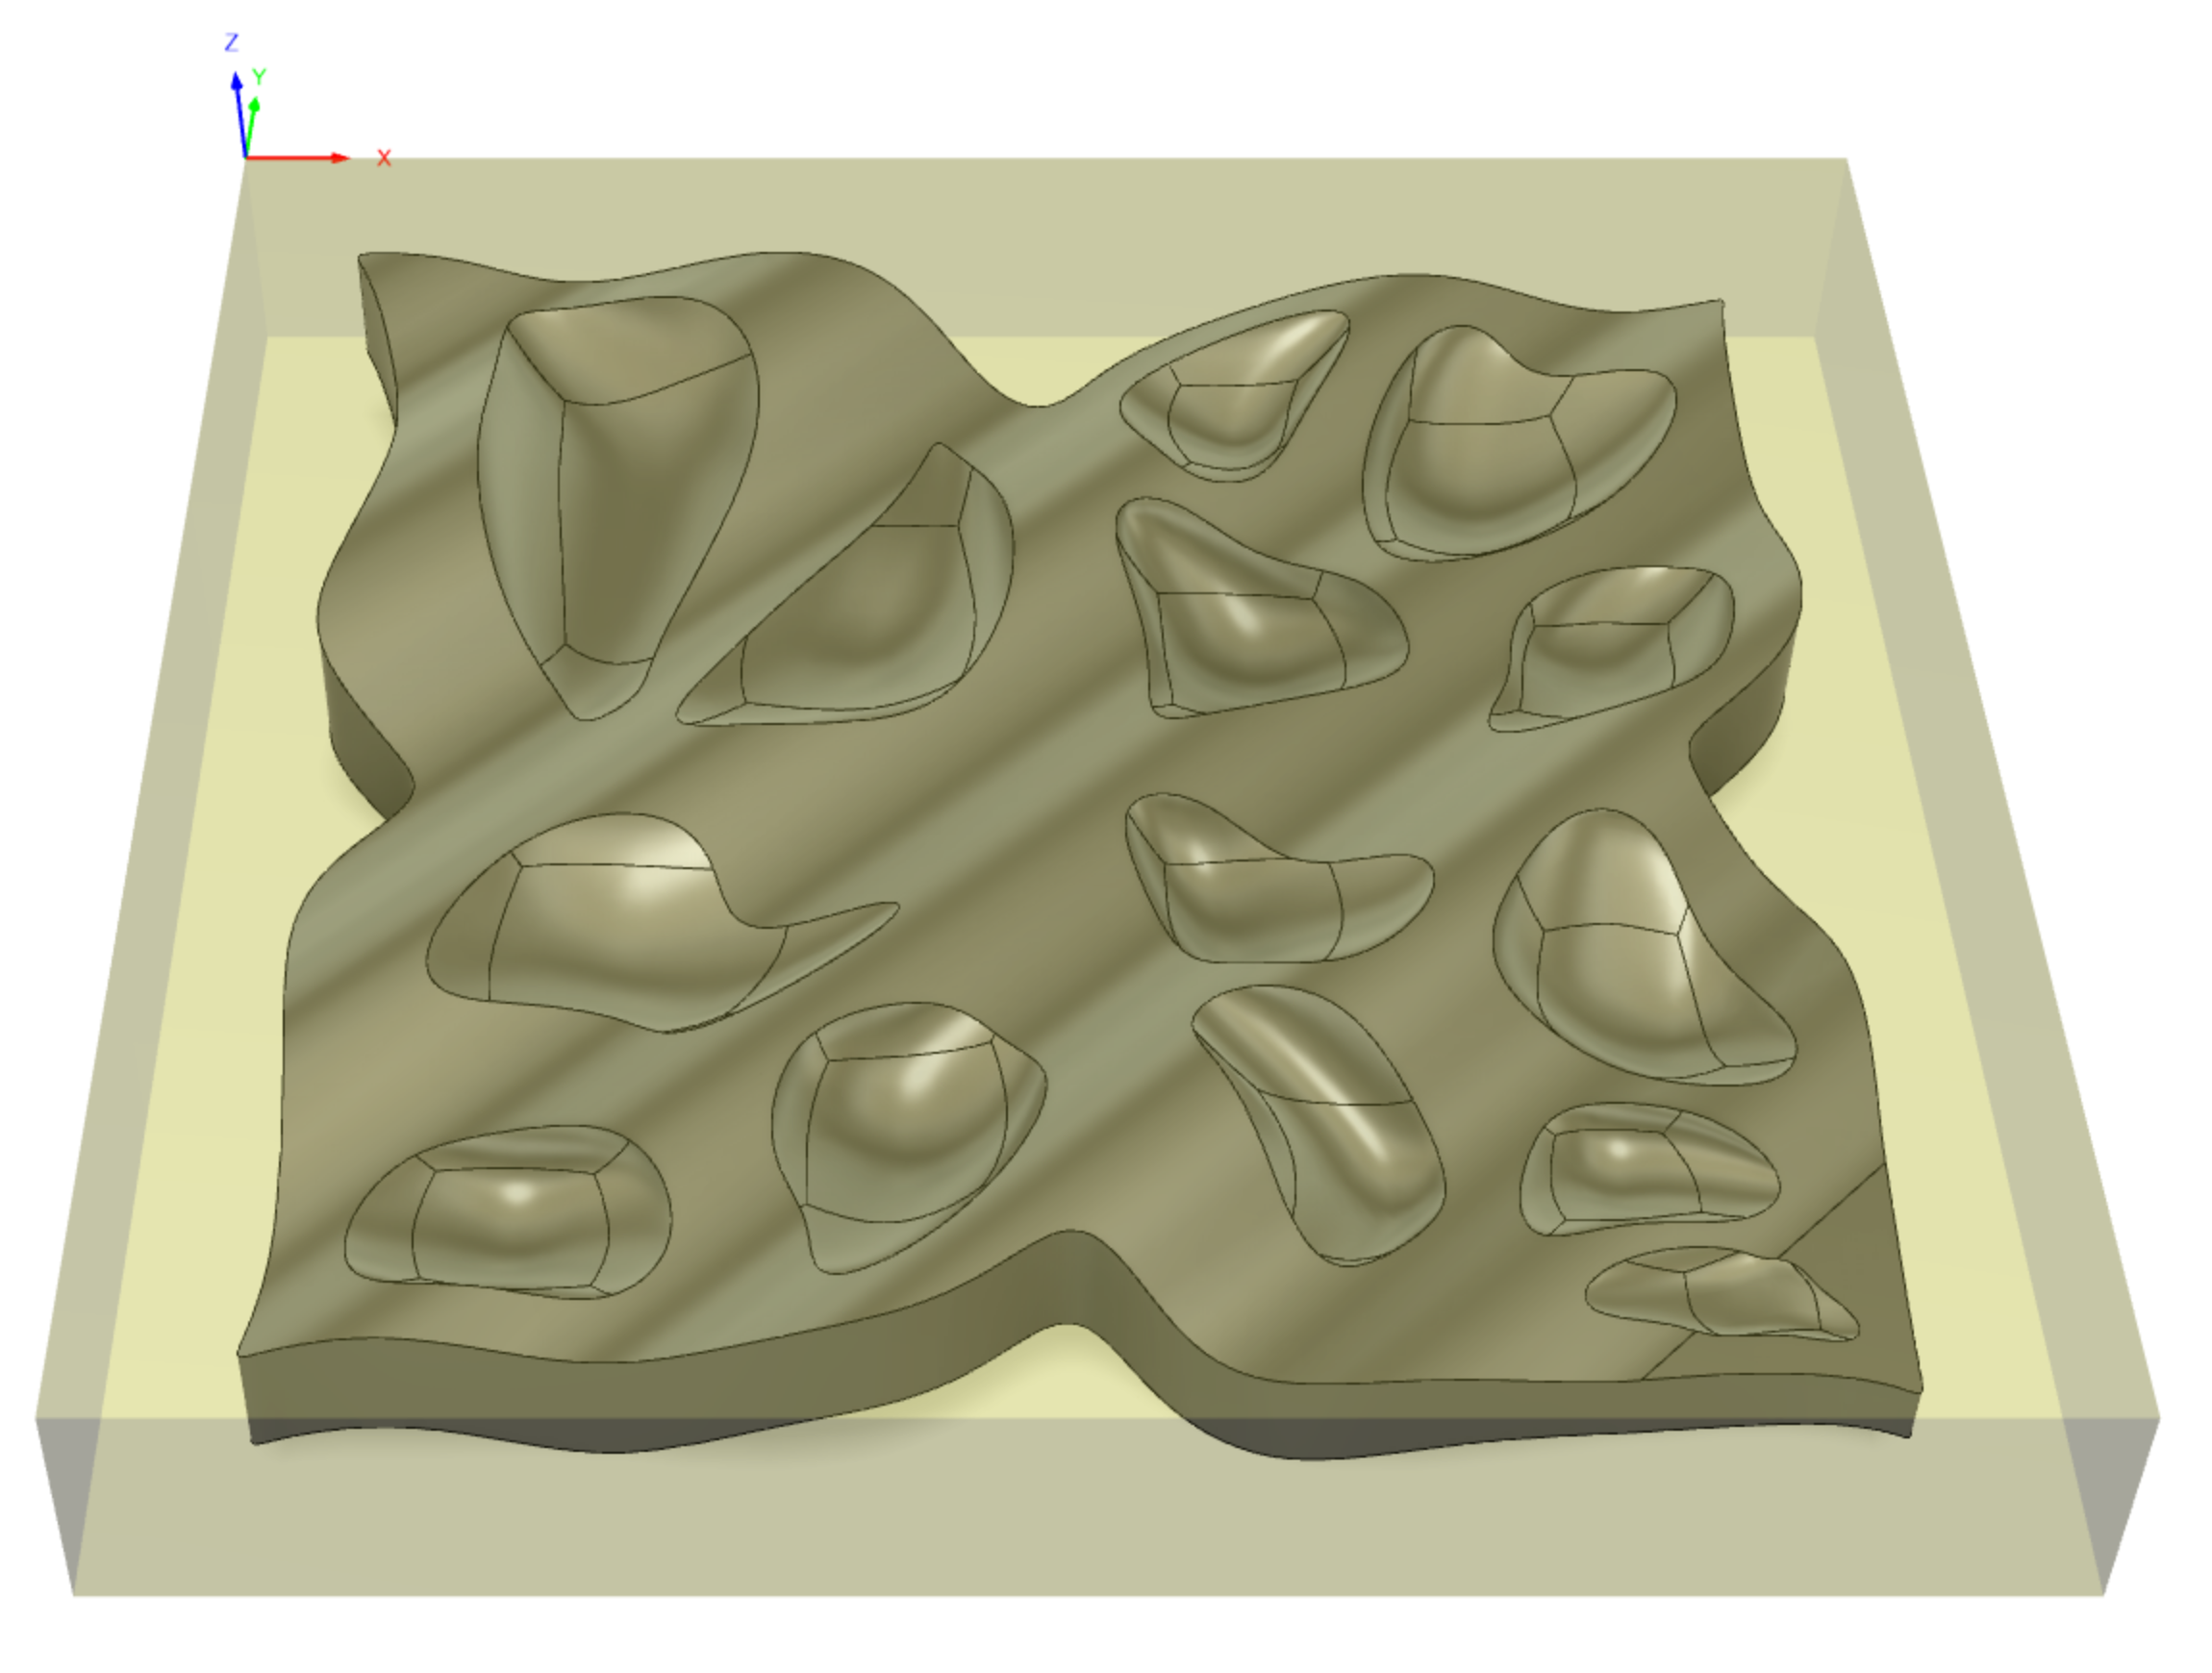
Creating these organic indentations posed a significant learning challenge. The side profile of the part flowed up and down and the part is about 0.5'“ thick at its thickest part, so any small changes to the indentations risked non-machinable undercuts, risky thin cross sections, or the loss of visible indentations. To achieve these forms, I created a T-spline quadball for each indentation and adjusted the shape for visual taste. Once pleased, I lowered the forms to reach the base part and use them as cutting forms. From there, I was able to troubleshoot which forms resulted in one of various potential errors. After much adjustment, I was able to create a flowing form with indentations that flowed in three axes.
CAM
Side 1
Tools:
0.5” Flat End Mill
0.25” Flat End Mill
0.5” Ball End Mill
0.375” Ball End Mill
Side 2
Tools:
0.5” Flat End Mill
0.25” Flat End Mill
0.5” Ball End Mill
To ensure alignment, the coordinate systems for both operations were chosen to be the same relative to the CNC, requiring only a manual turn of the stock along the Y axis.
Machining
MARIPOSA was machined using a Haas VF-2 CNC Mill, made out of 6061 Aluminum. The machining steps included 4.5 hours of total machining, the addition of wax, and a part flip.
Side 1
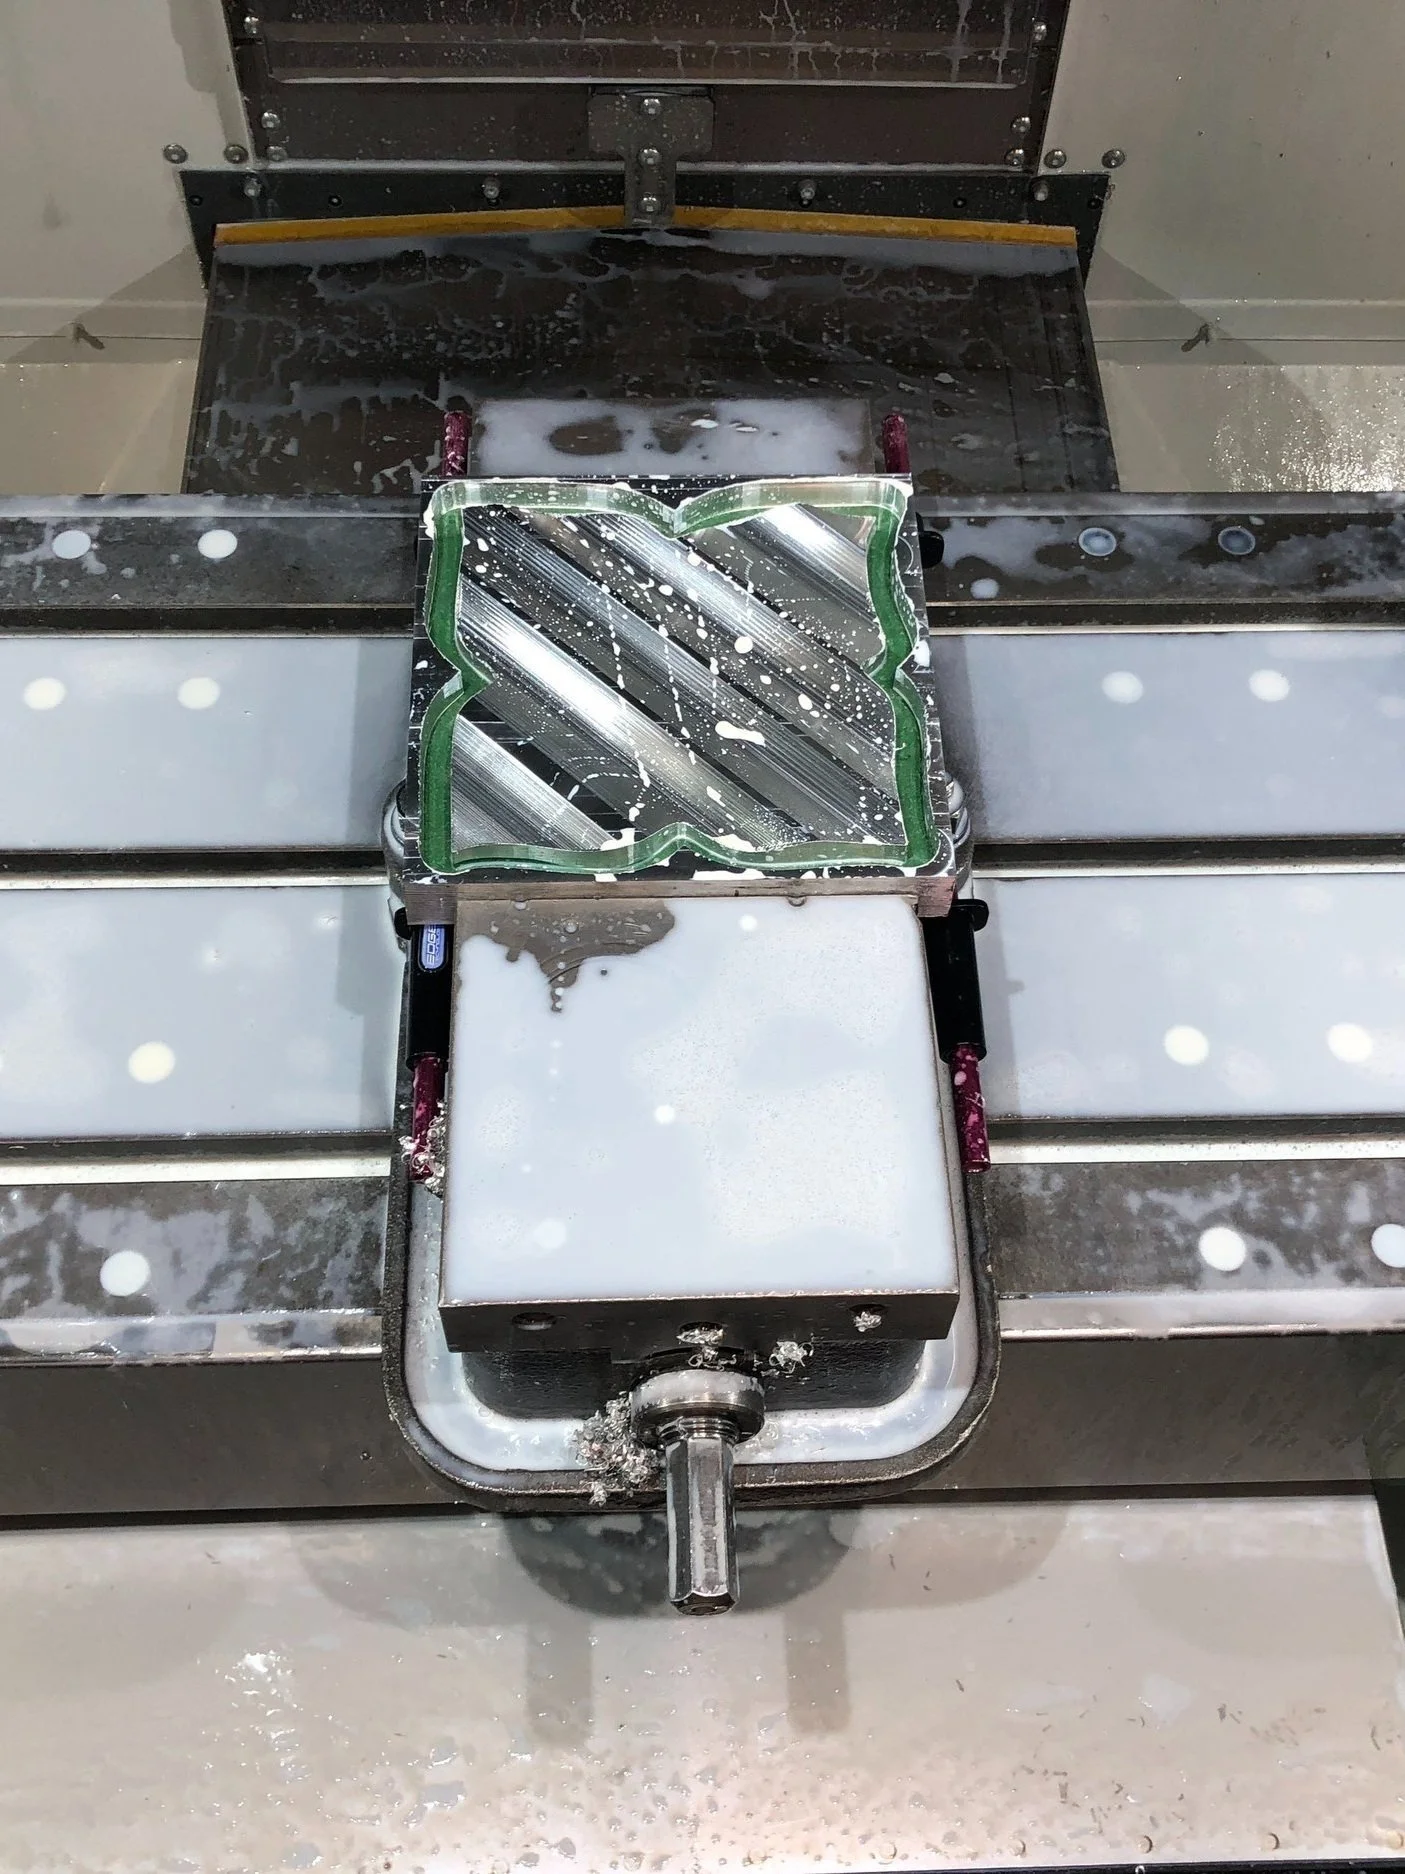
For the first size, the top face was machined and cut out. To ensure the proper negative space was left for adding wax, I made sure to cut the perimeter of the part just deep enough to allow for 0.25” of wax, while making sure there were no tool collisions. For the complicated top surface, I used a parallel finishing pass. This would then create interesting machining lines for a stark contrast on the final part.
Finishing
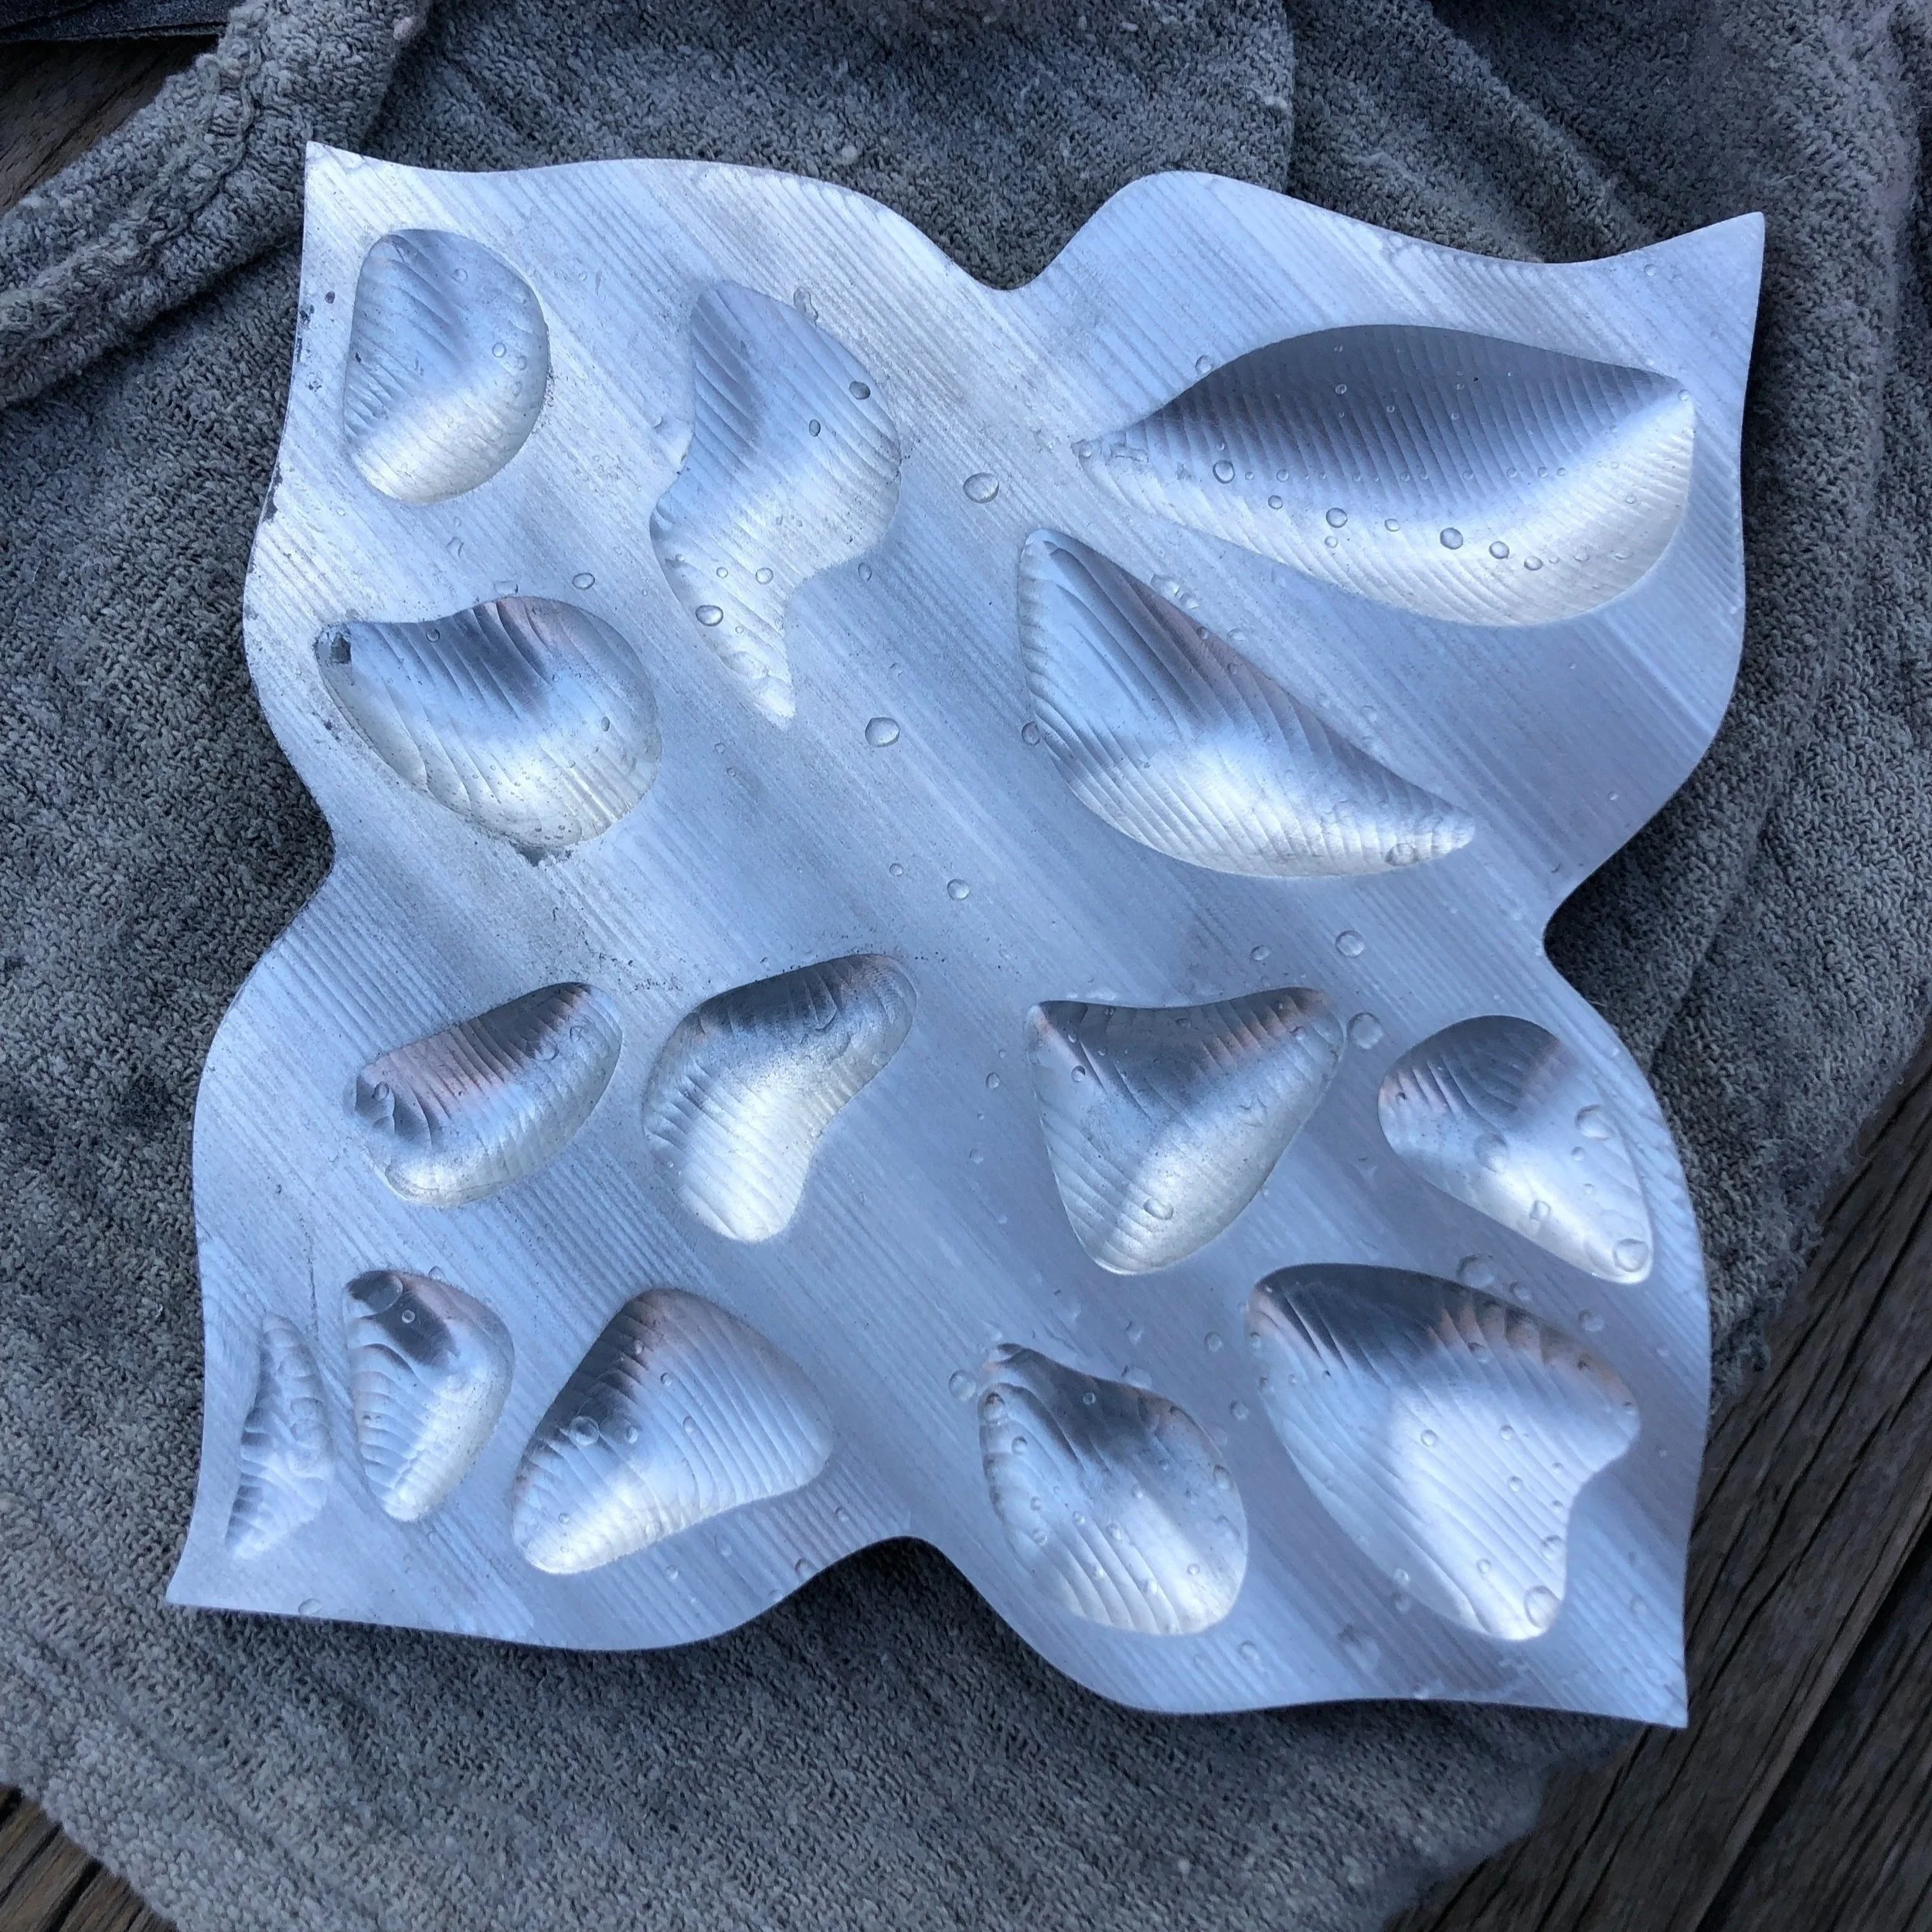
To free the part from the wax, it was placed in an oven to melt the wax, followed by a hot bath of mineral oil to remove the smaller remains.
Lastly, the part was sanded and polished thoroughly on the exterior sides, and the top and bottom surfaces. The organic indents were not sanded in order to highlight the contrast between the top surface and the crevices.
Side 2: Part Flip & Wax
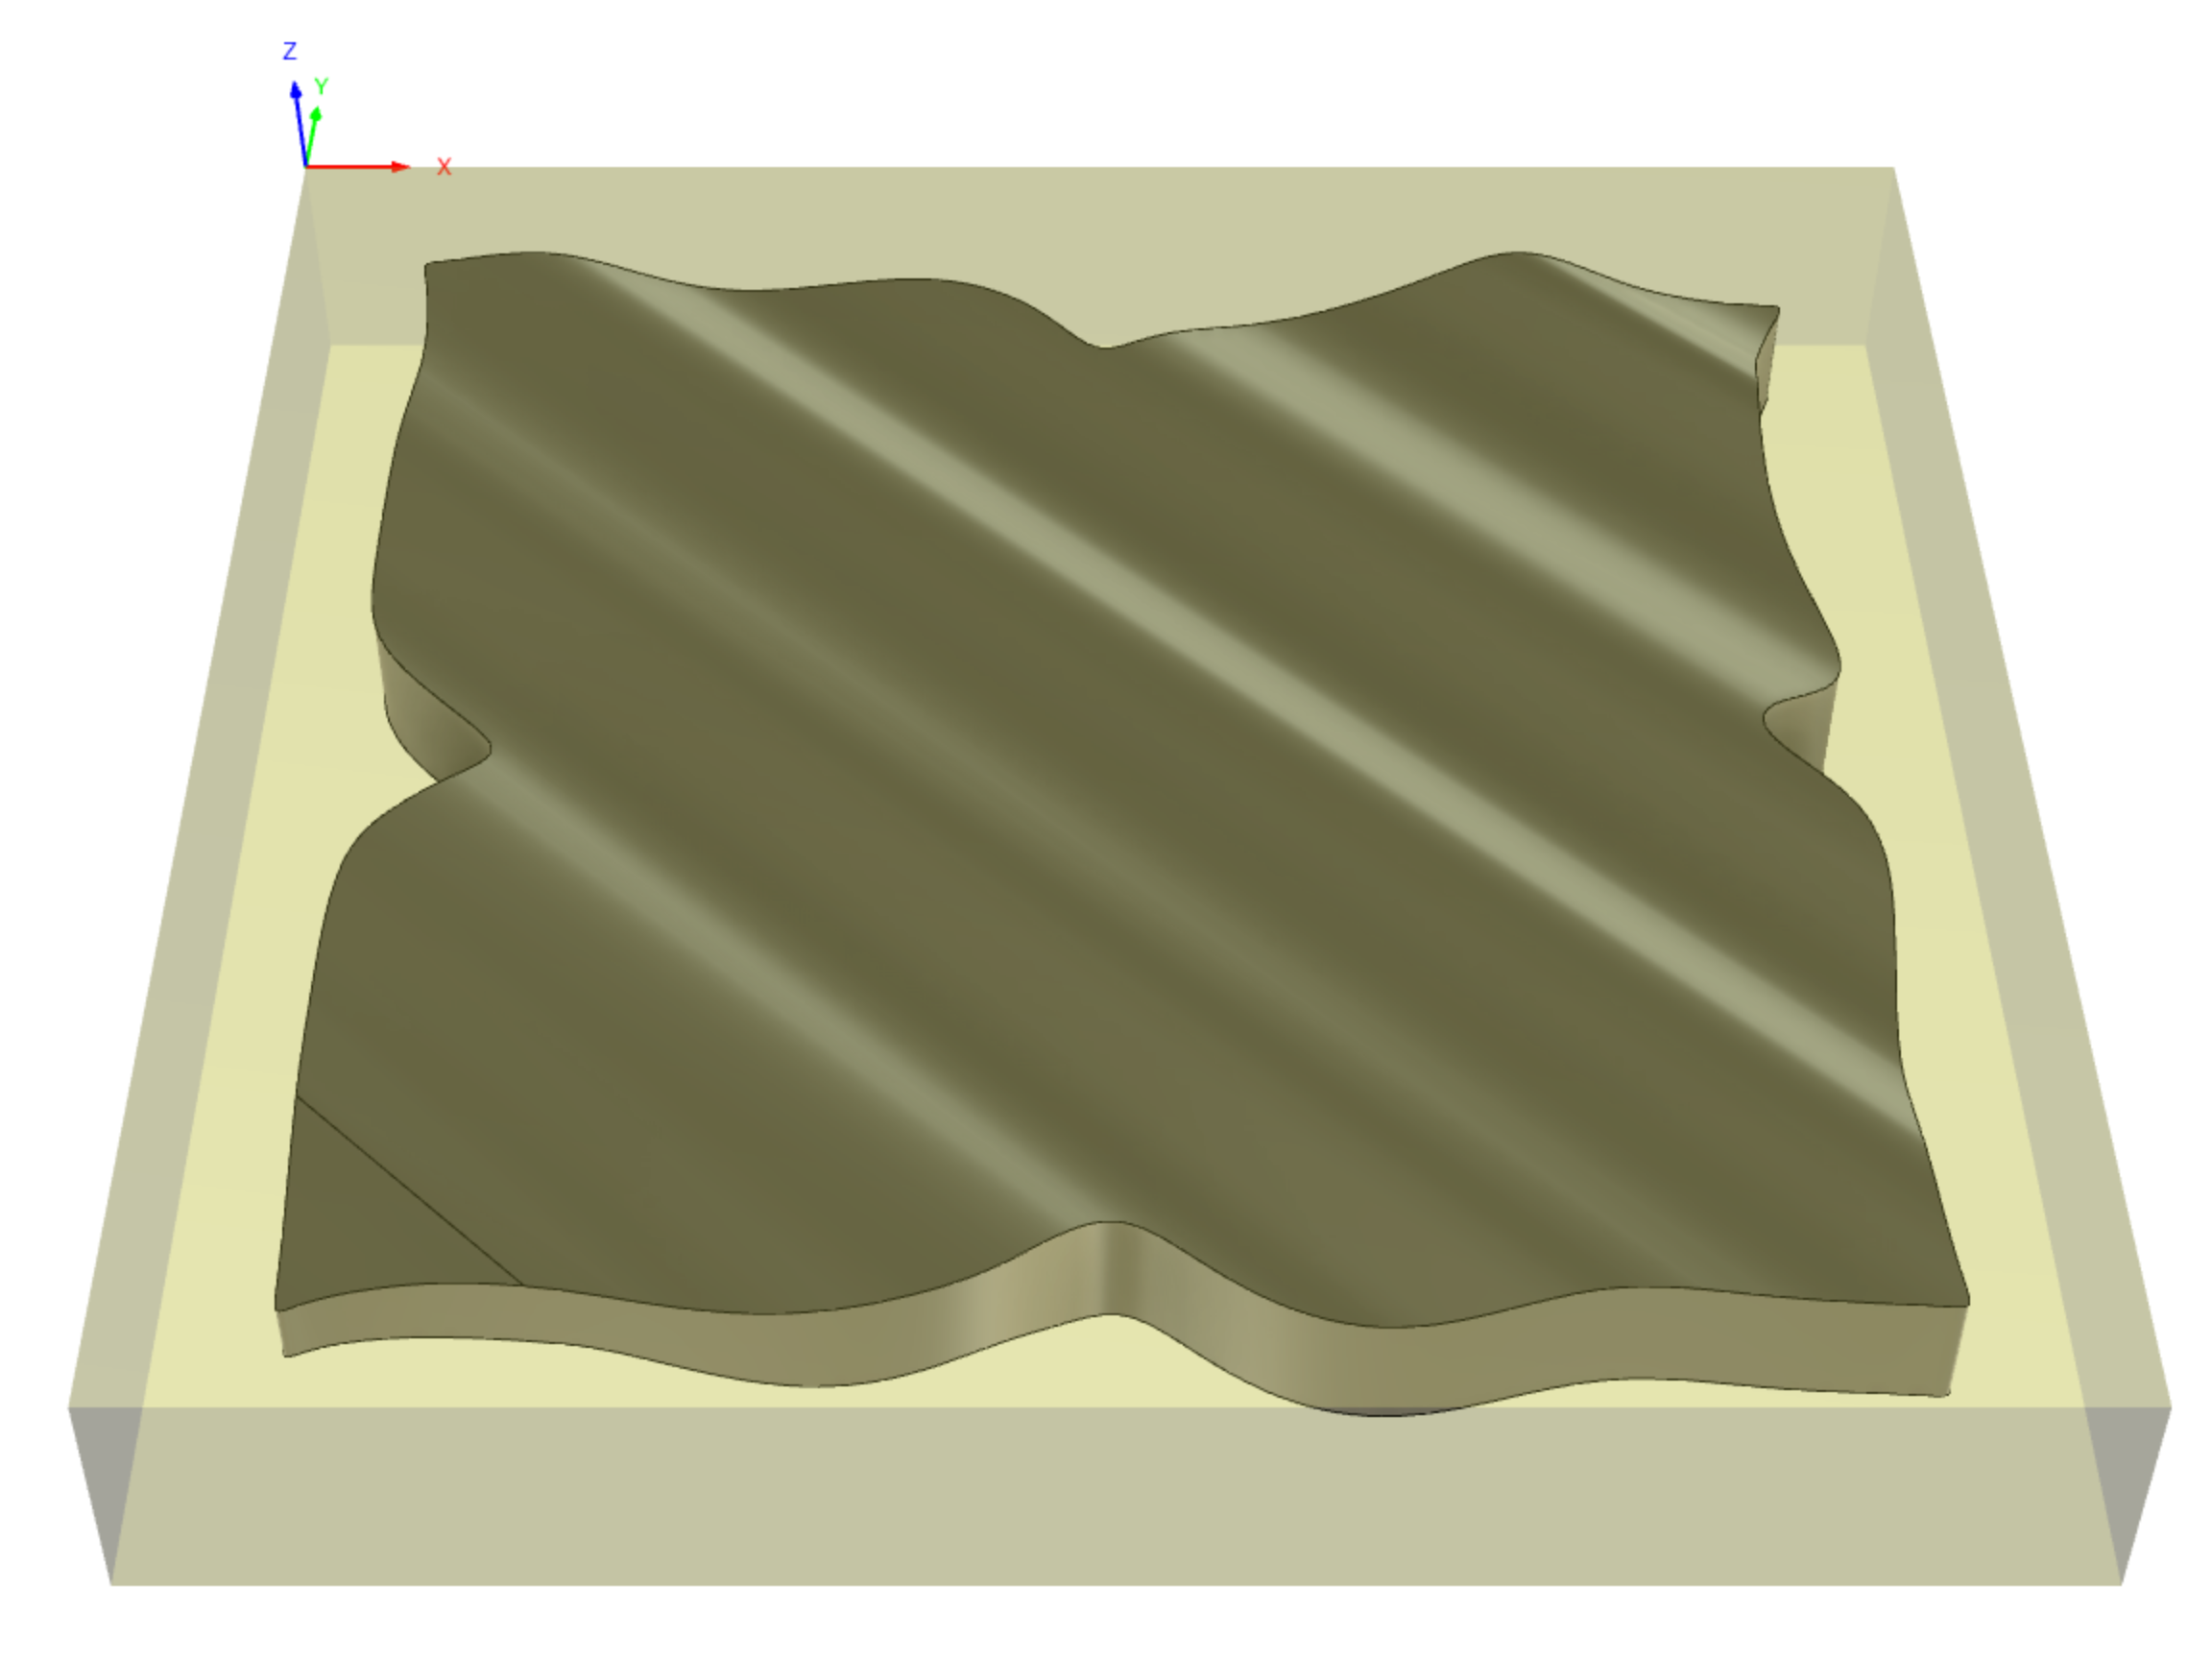
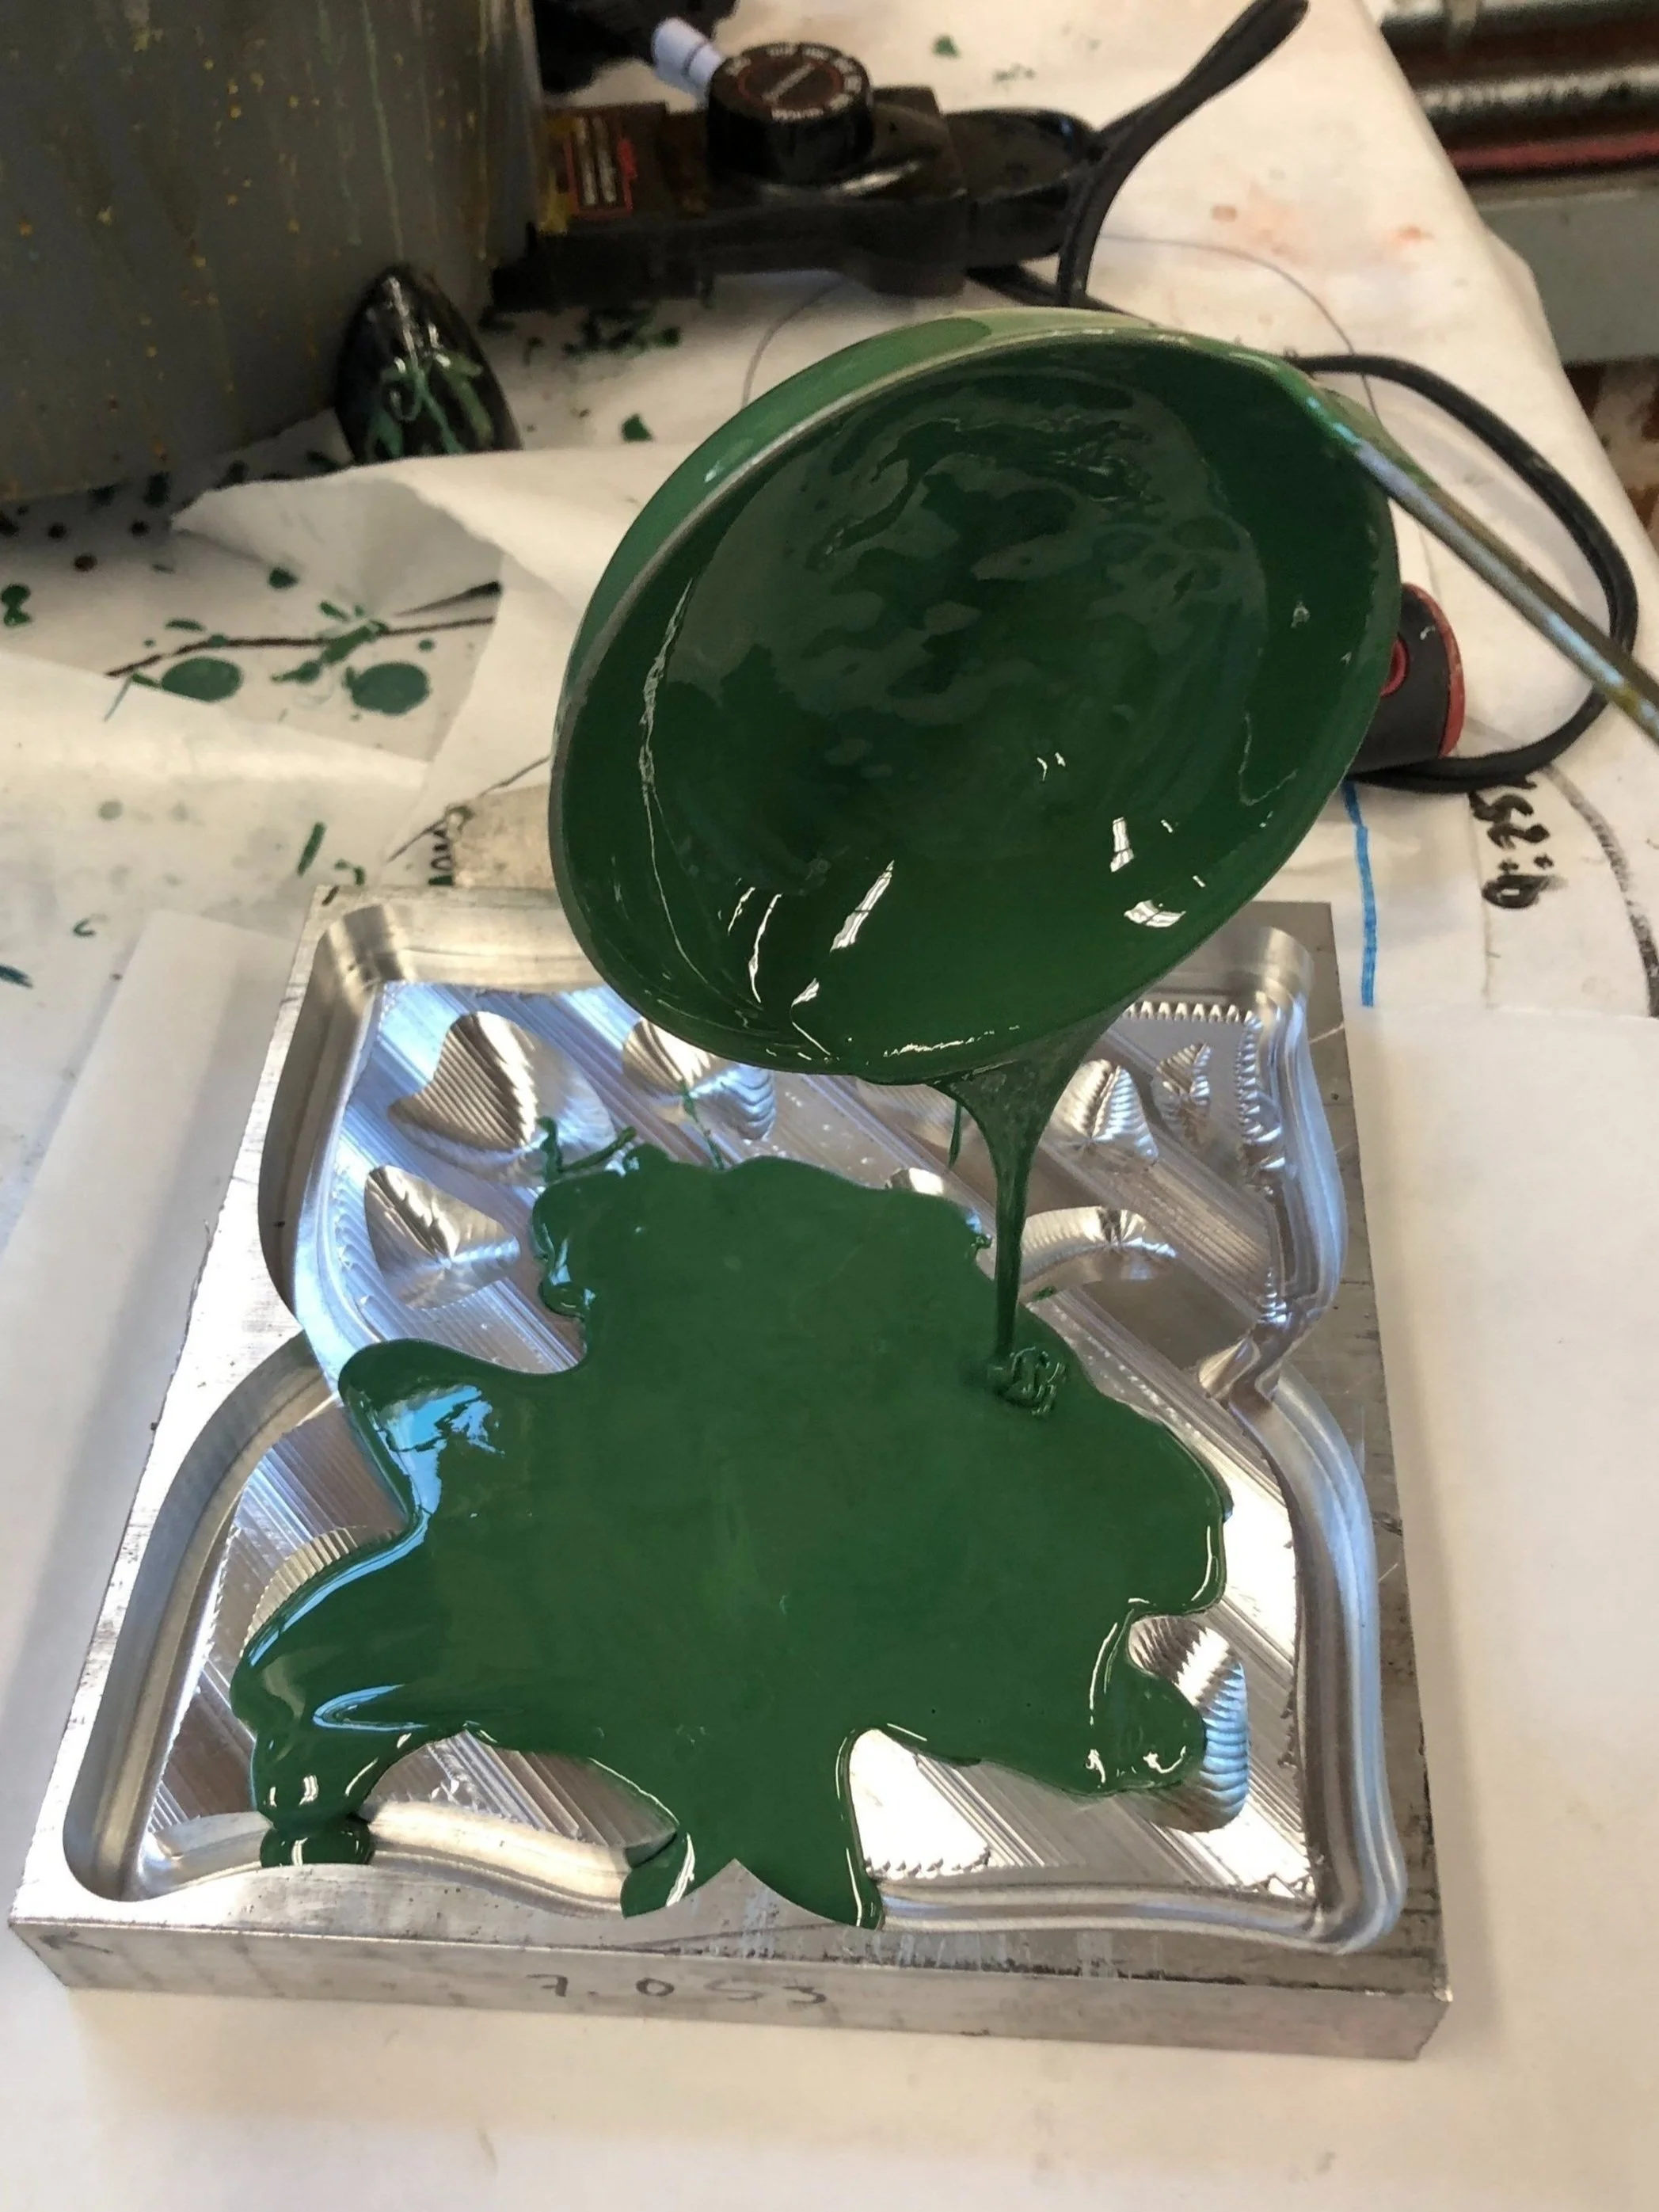
To machine the second half of the part and release it with smooth exterior lines, I filled the first side with wax. The wax would then provide support lost by the metal that was machined away on the first side, so that the part could support itself while machining the second side. First, the wax was removed using a shell mill, and then the part was flipped, being cautious to enture coordinate systems were correctly aligned. The second side of machining started by creating the flowing top surface, again using a parallel finishing pass, and ended by cutting a pocket along the exterior lines to release the part.

