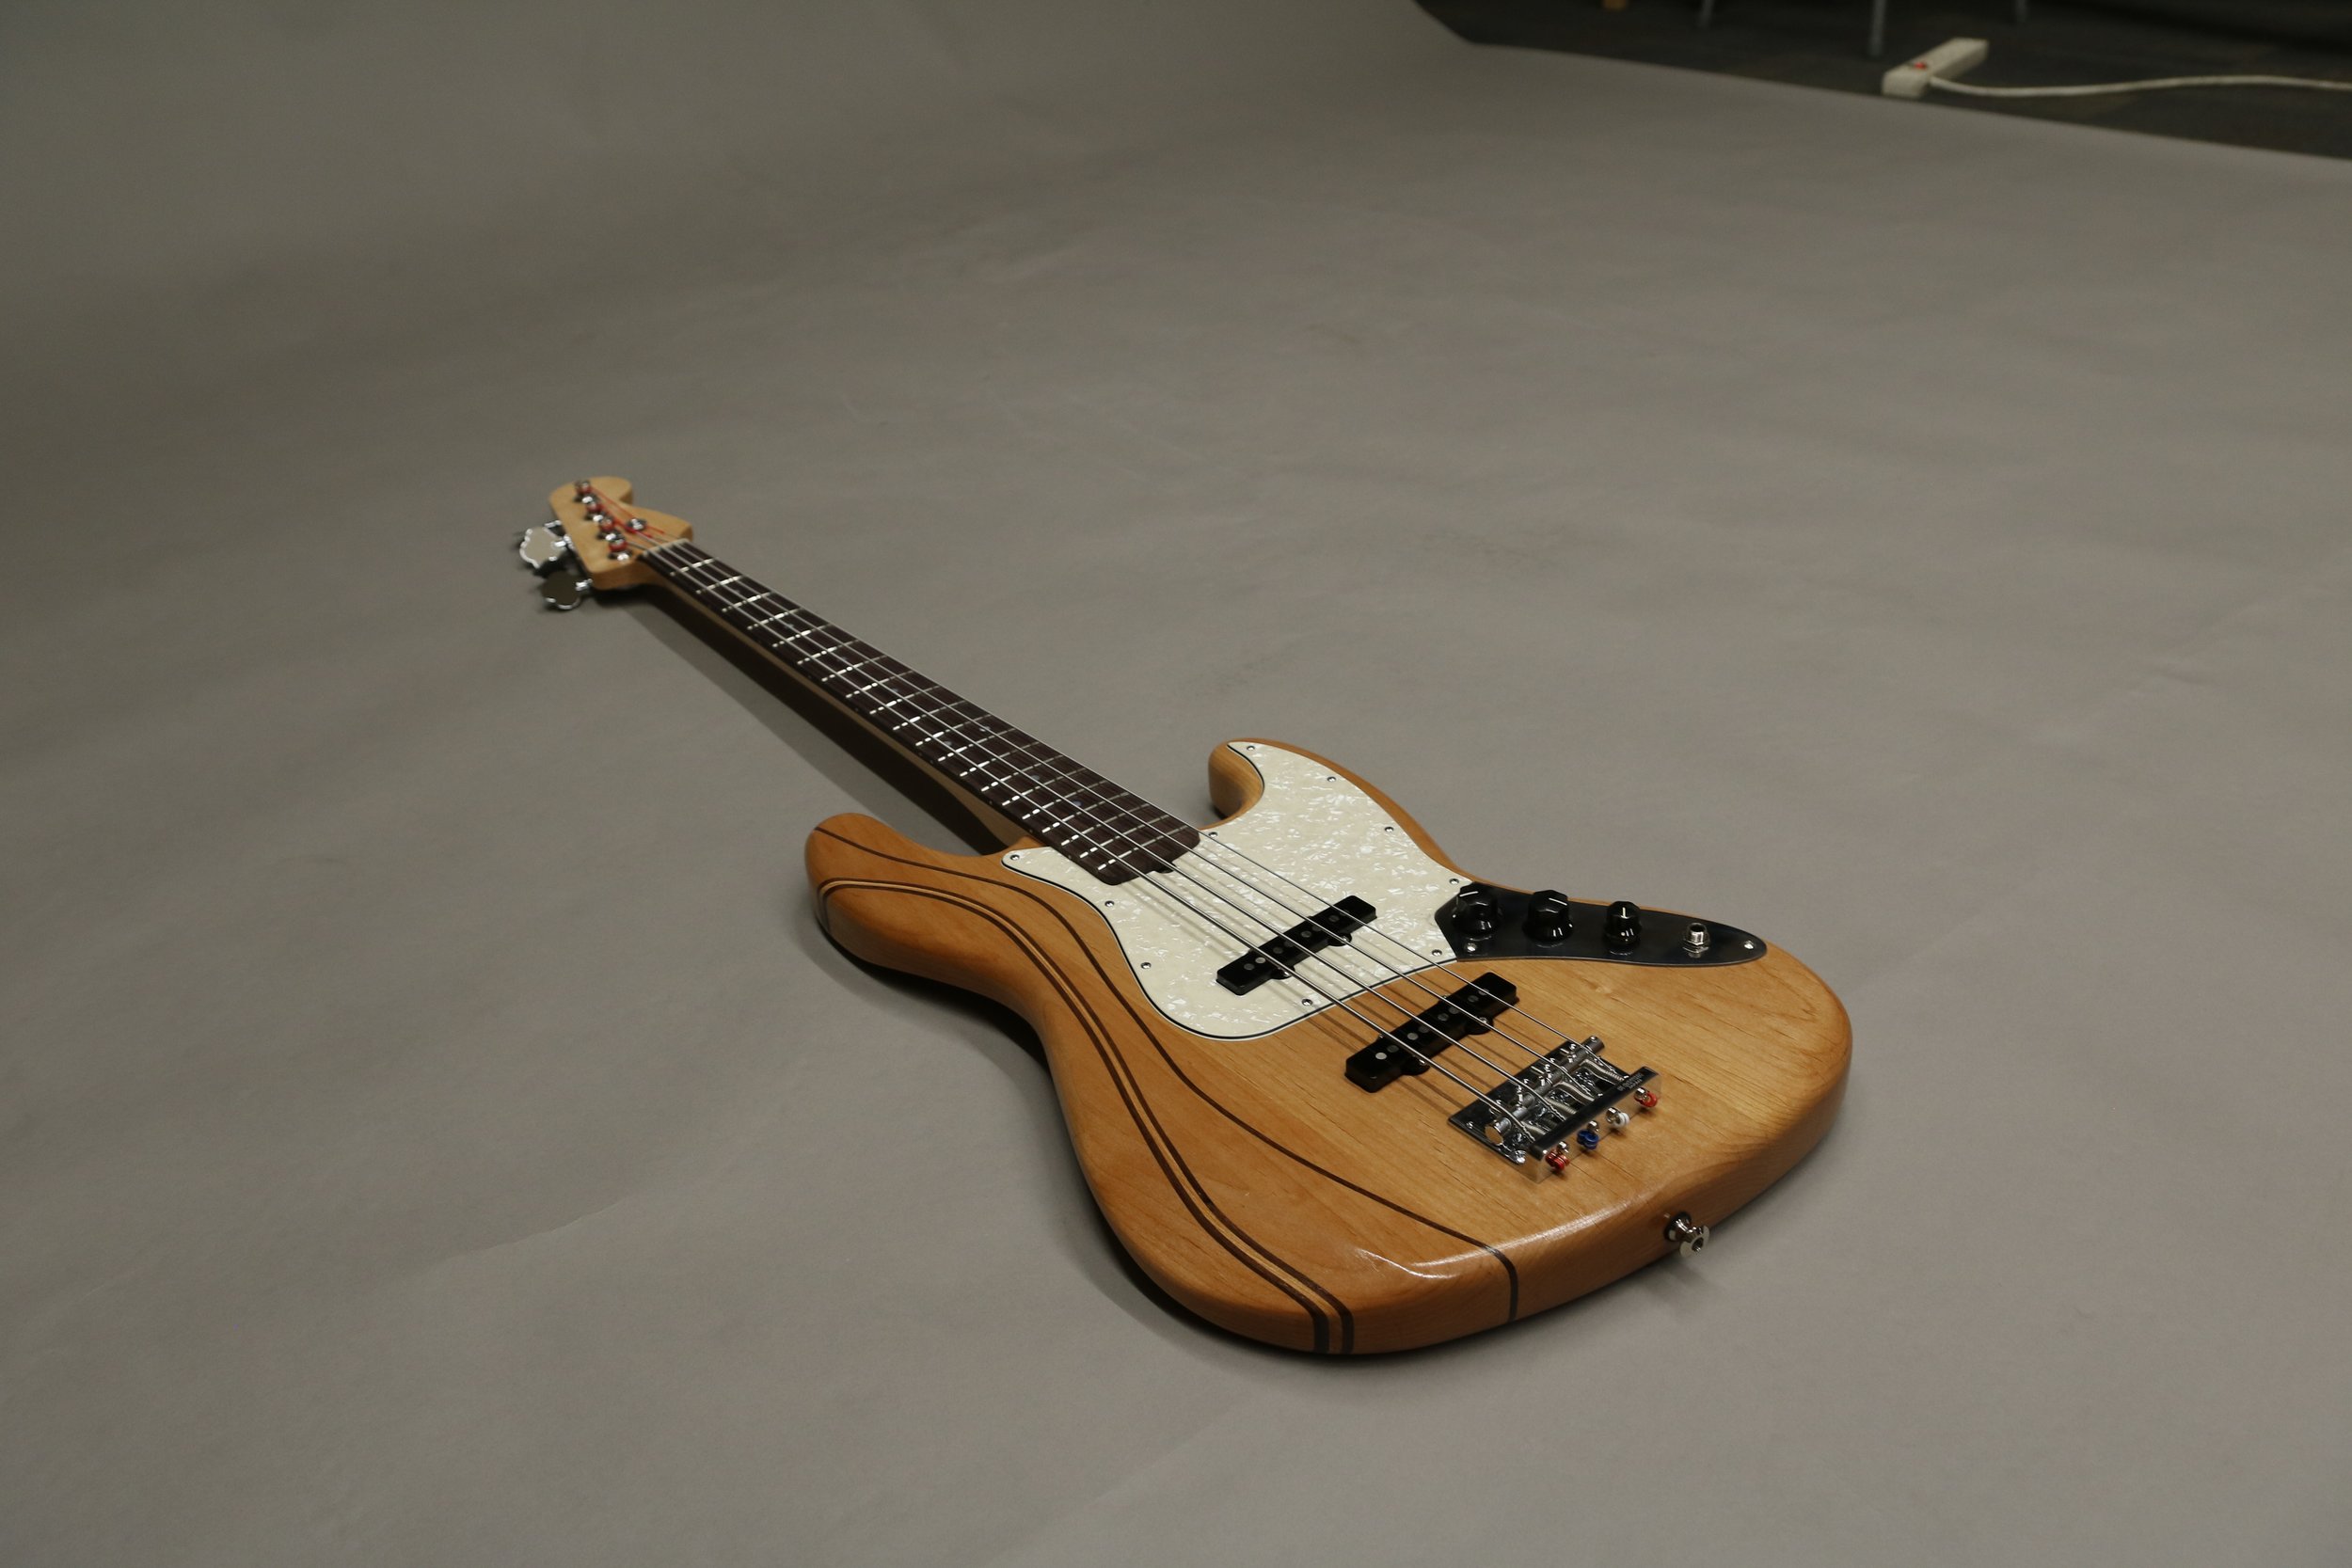
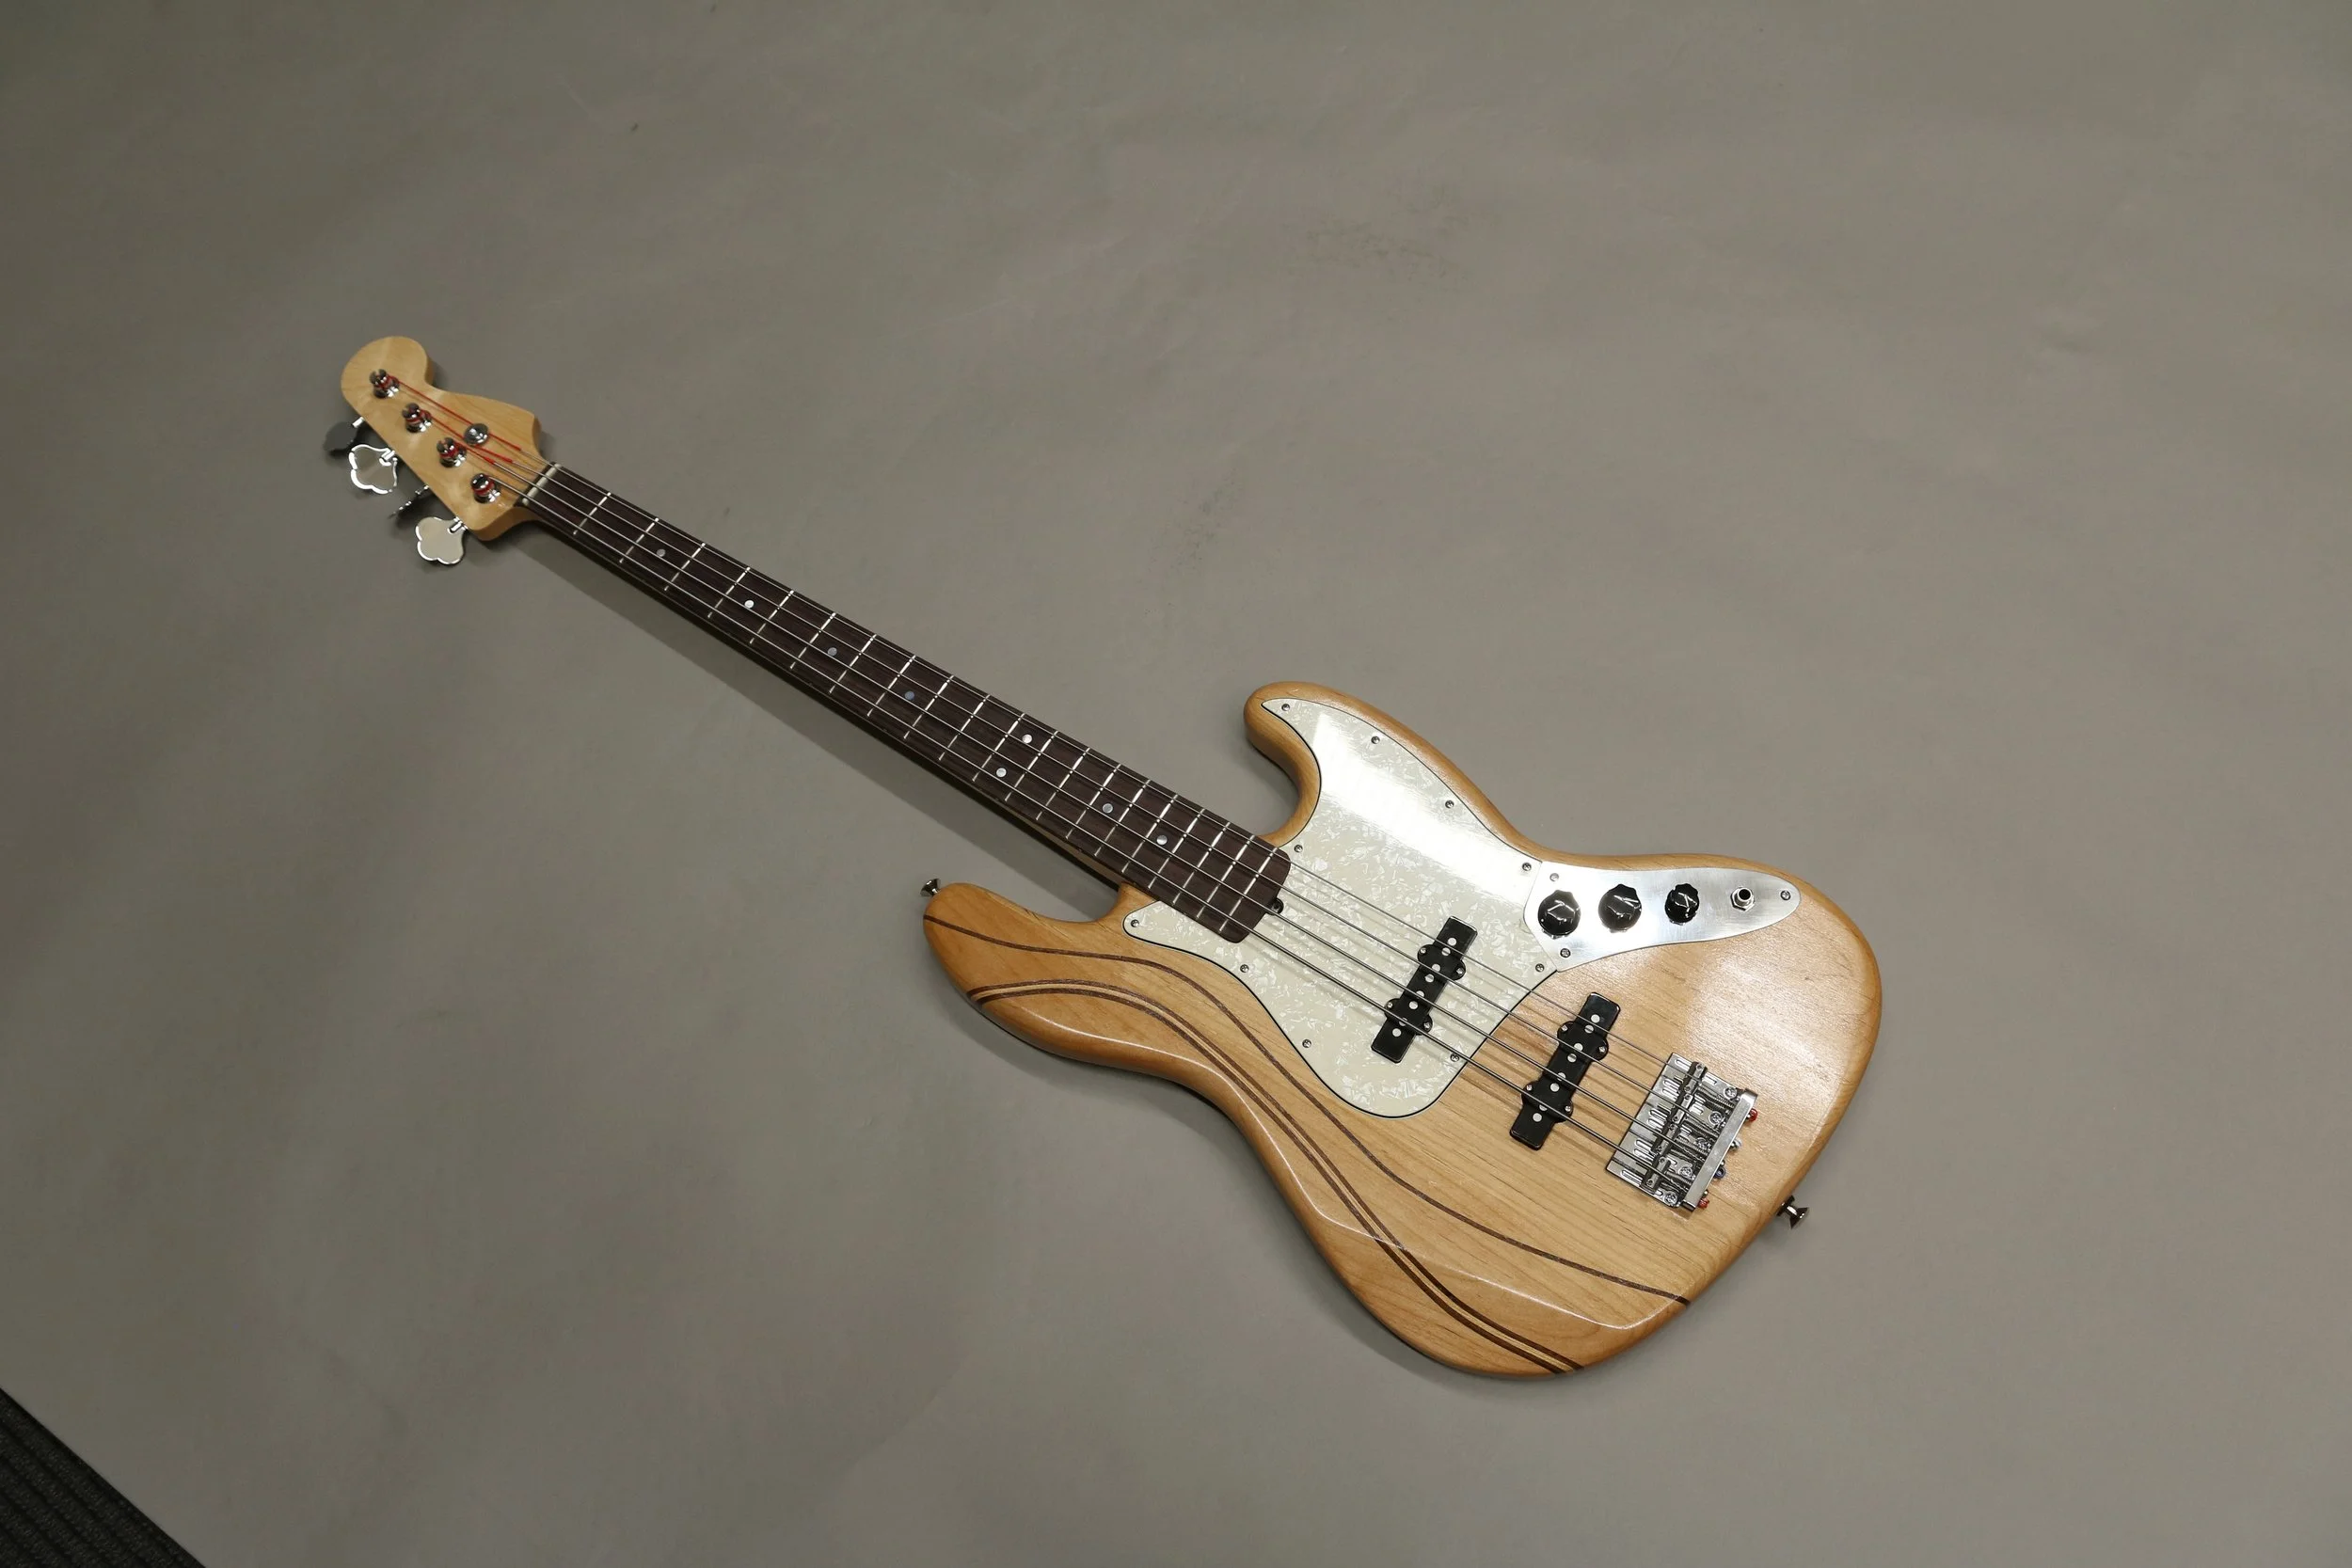
Wave Jazz Bass
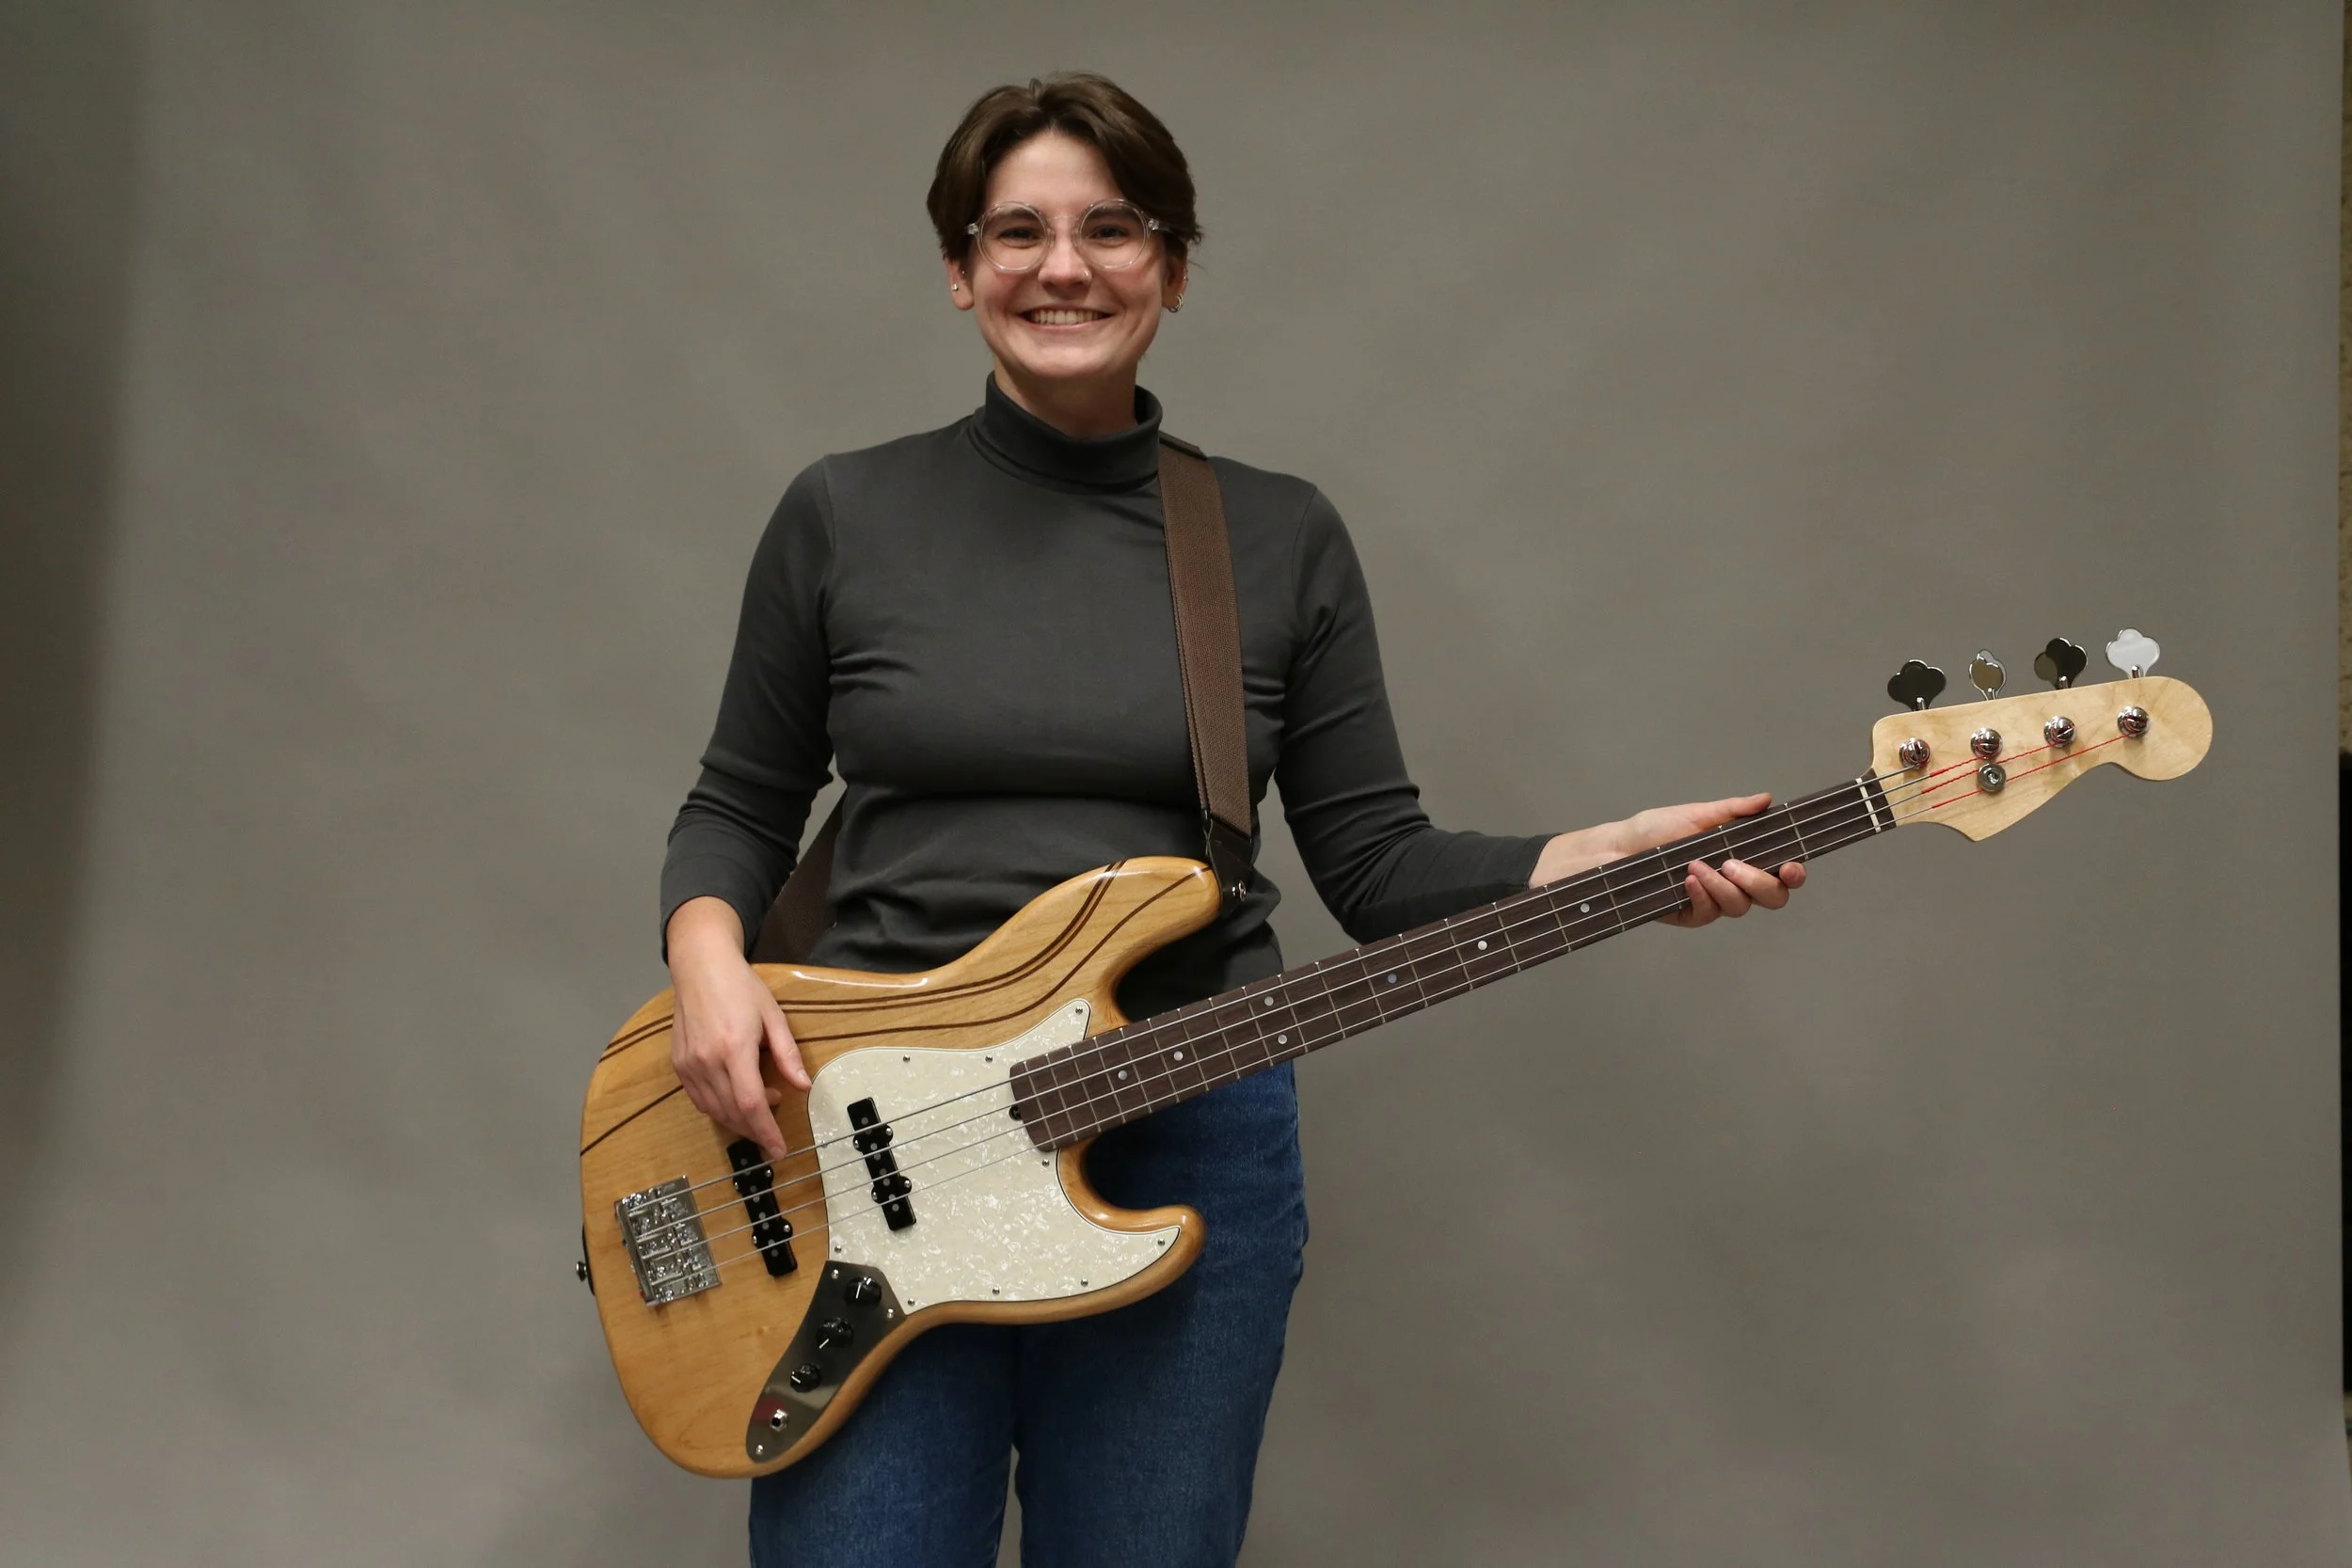
Brief: Build a fully functional jazz bass from scratch
Processes: CNC routing, woodworking, fretting, electronics
Duration: 10 weeks
Context: Individual project
Inspiration
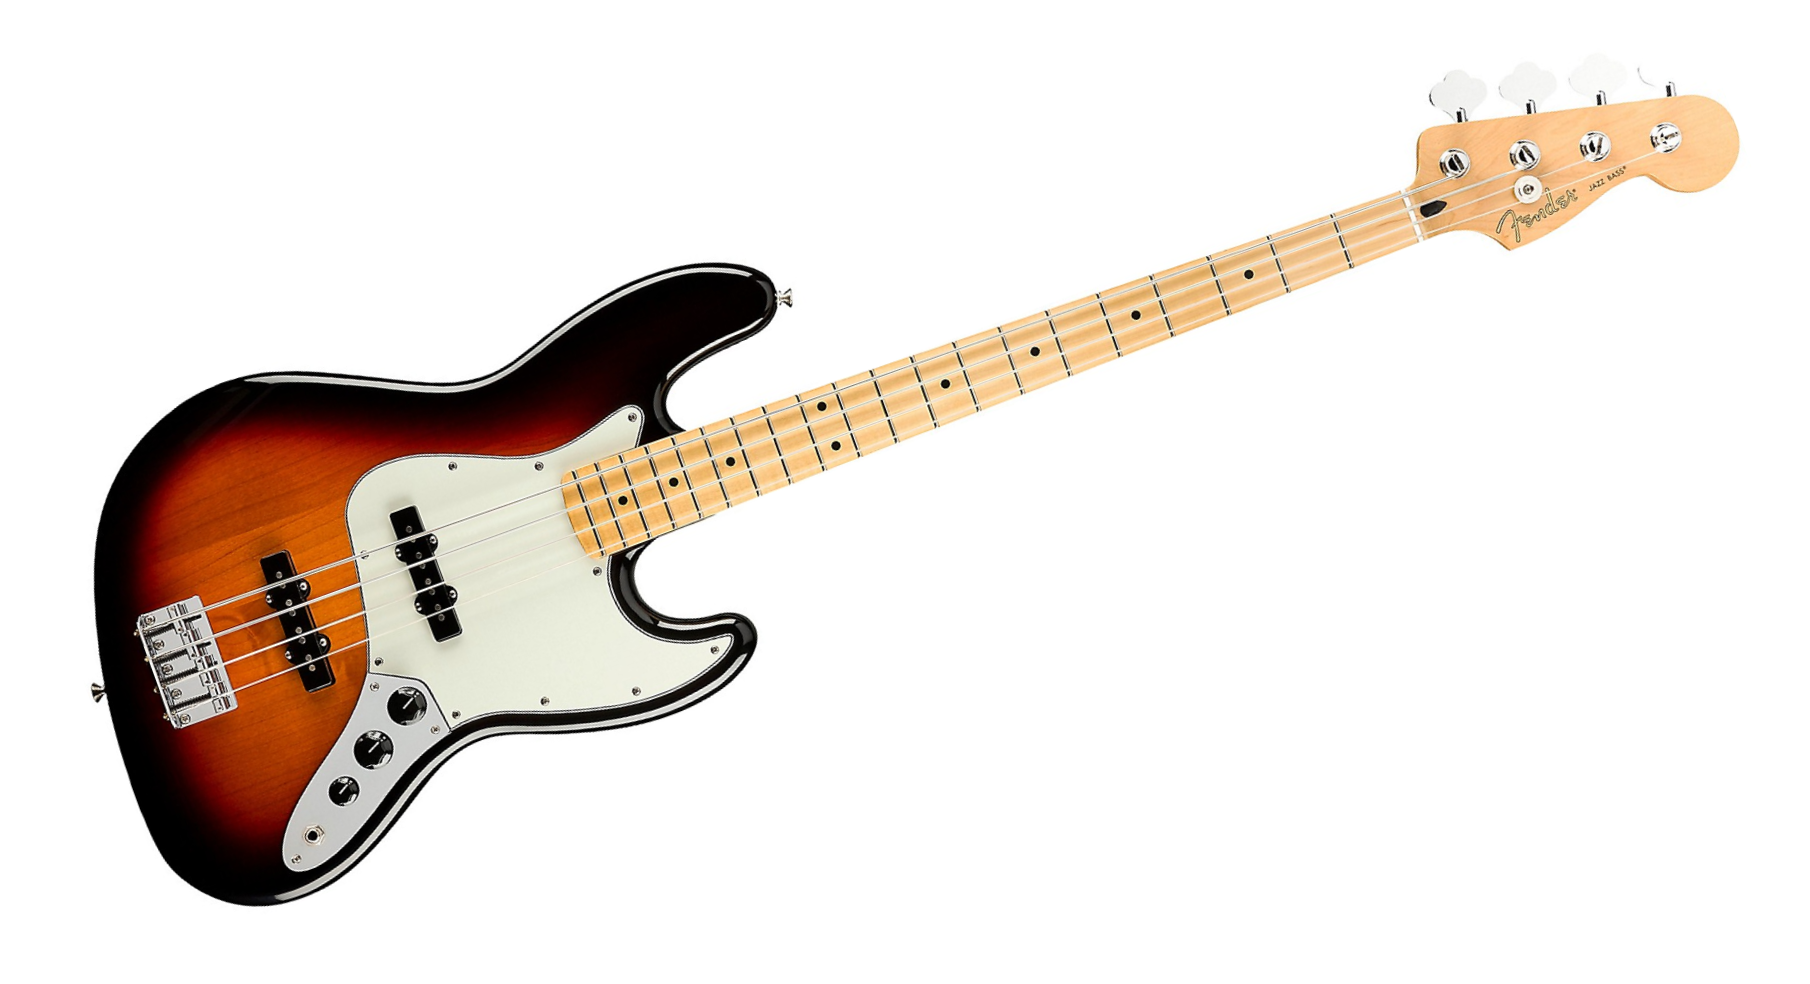
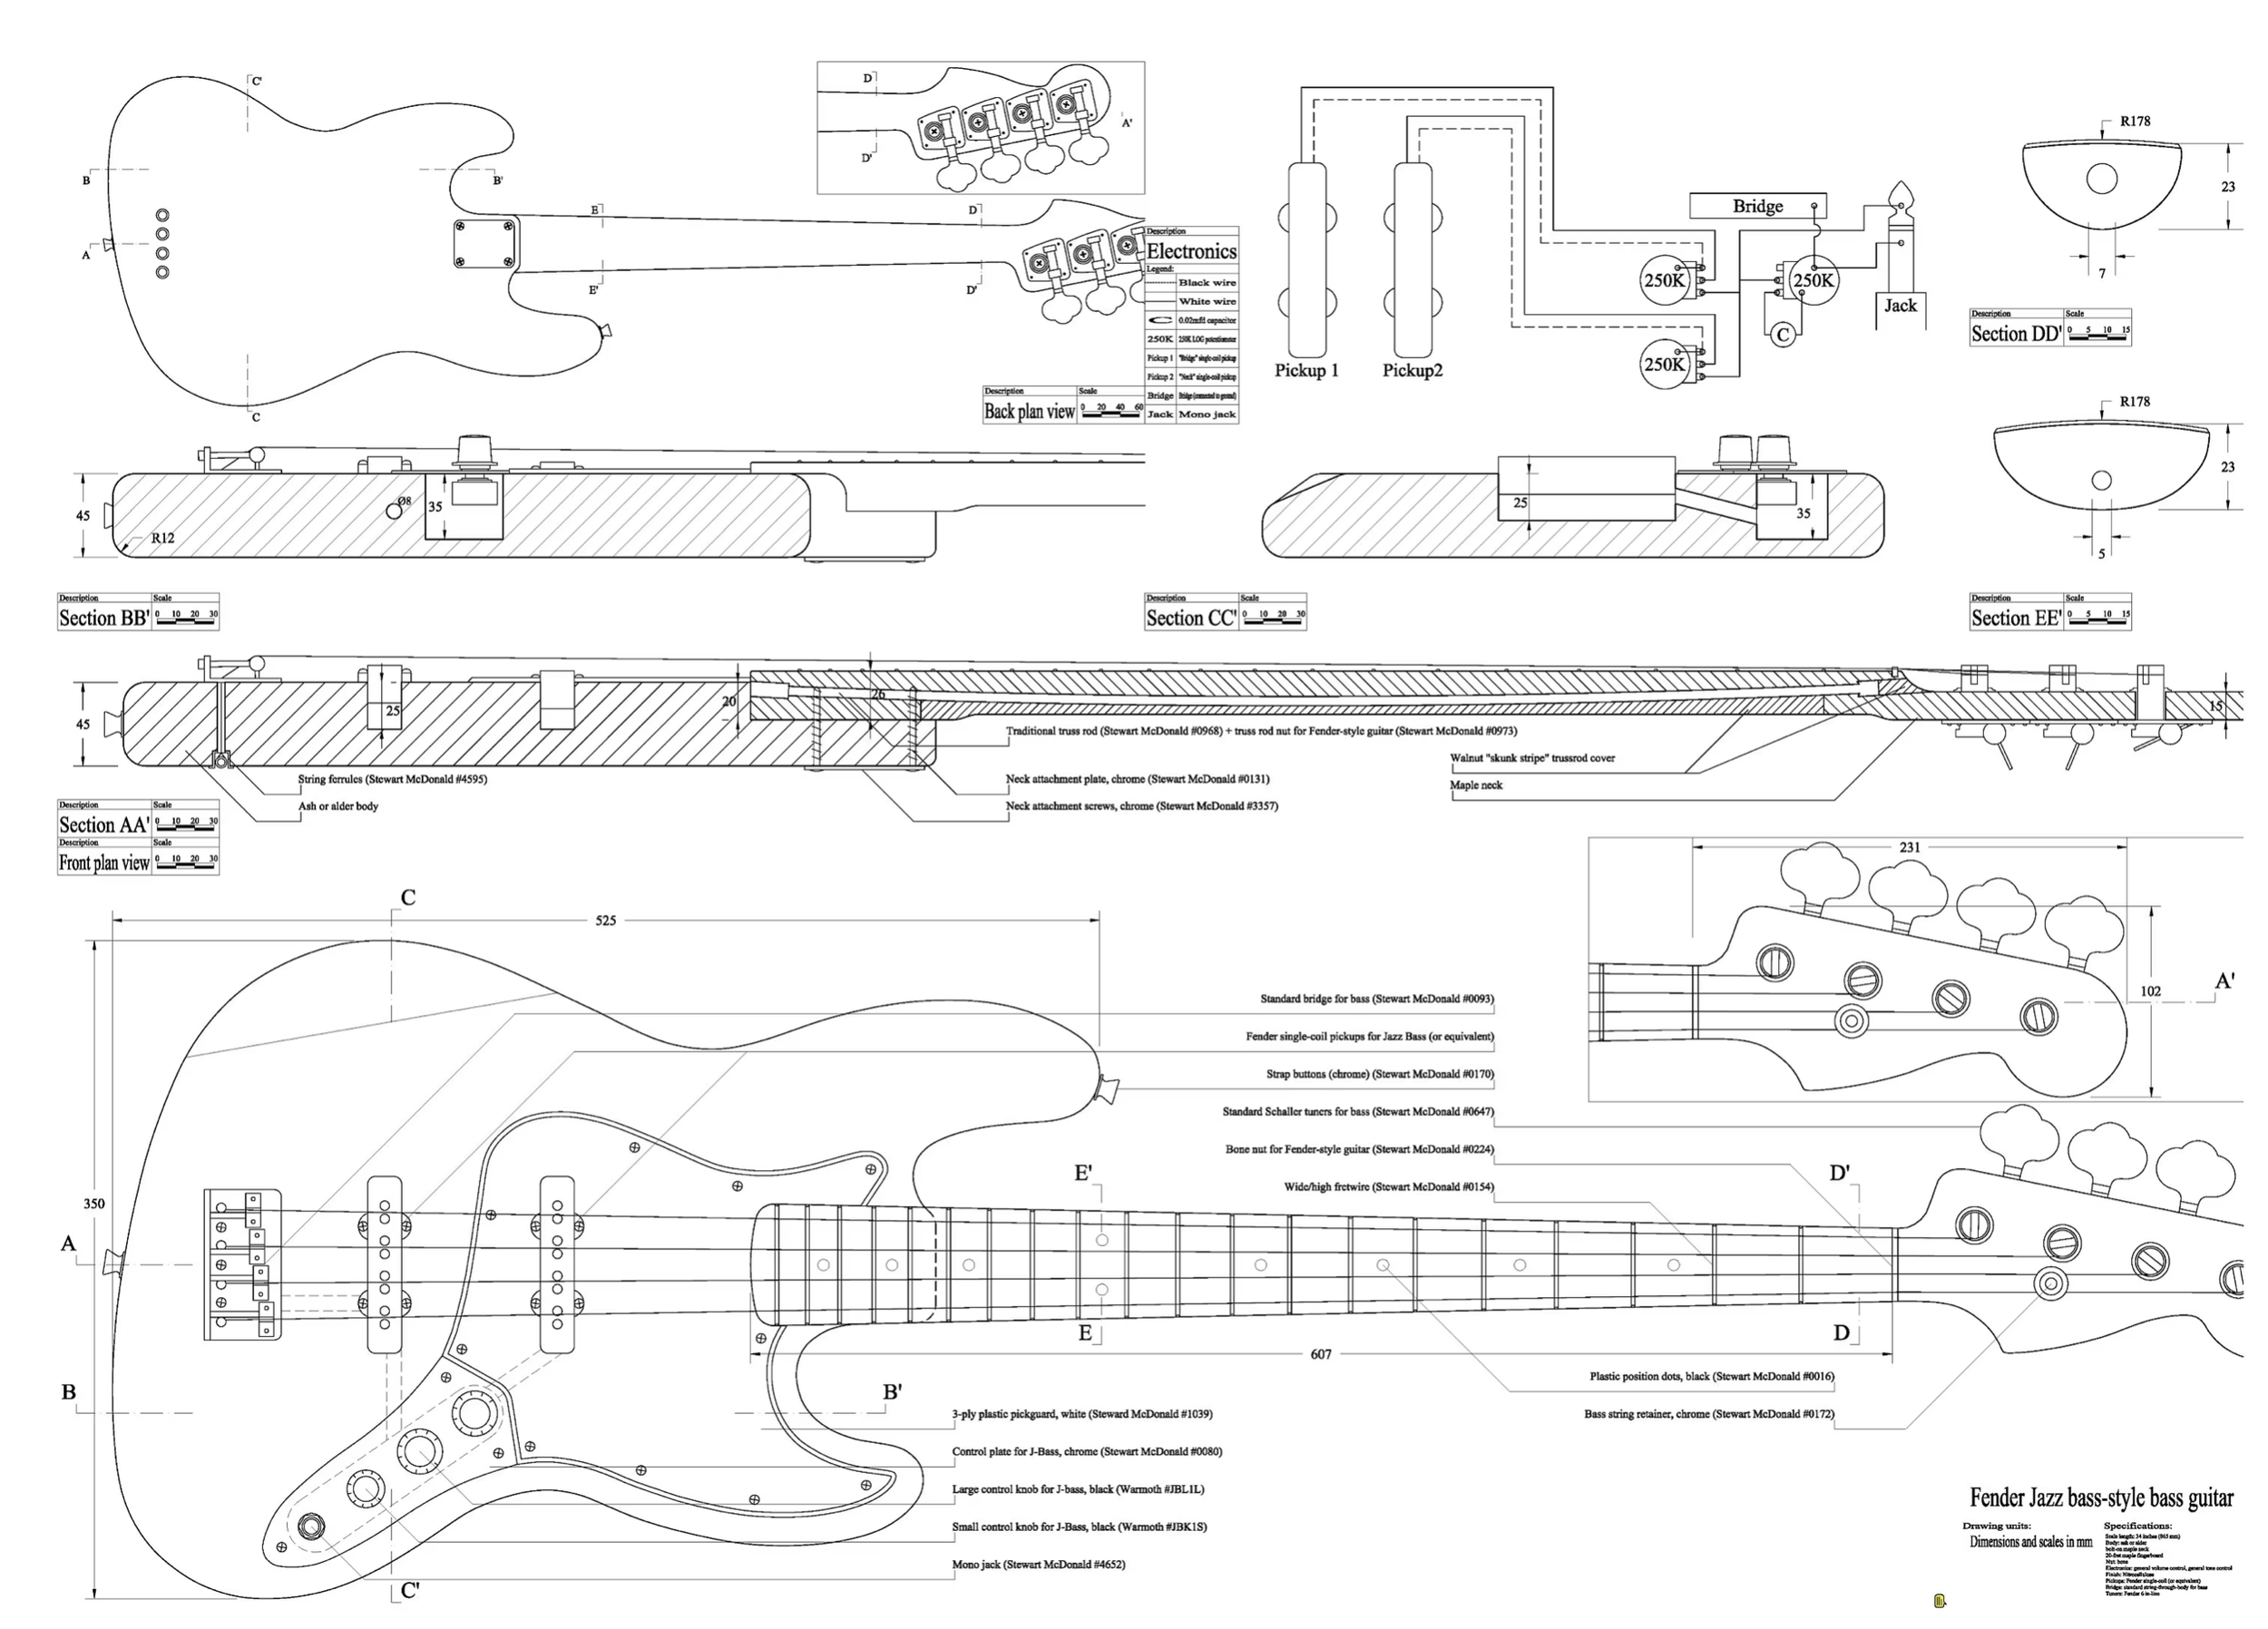
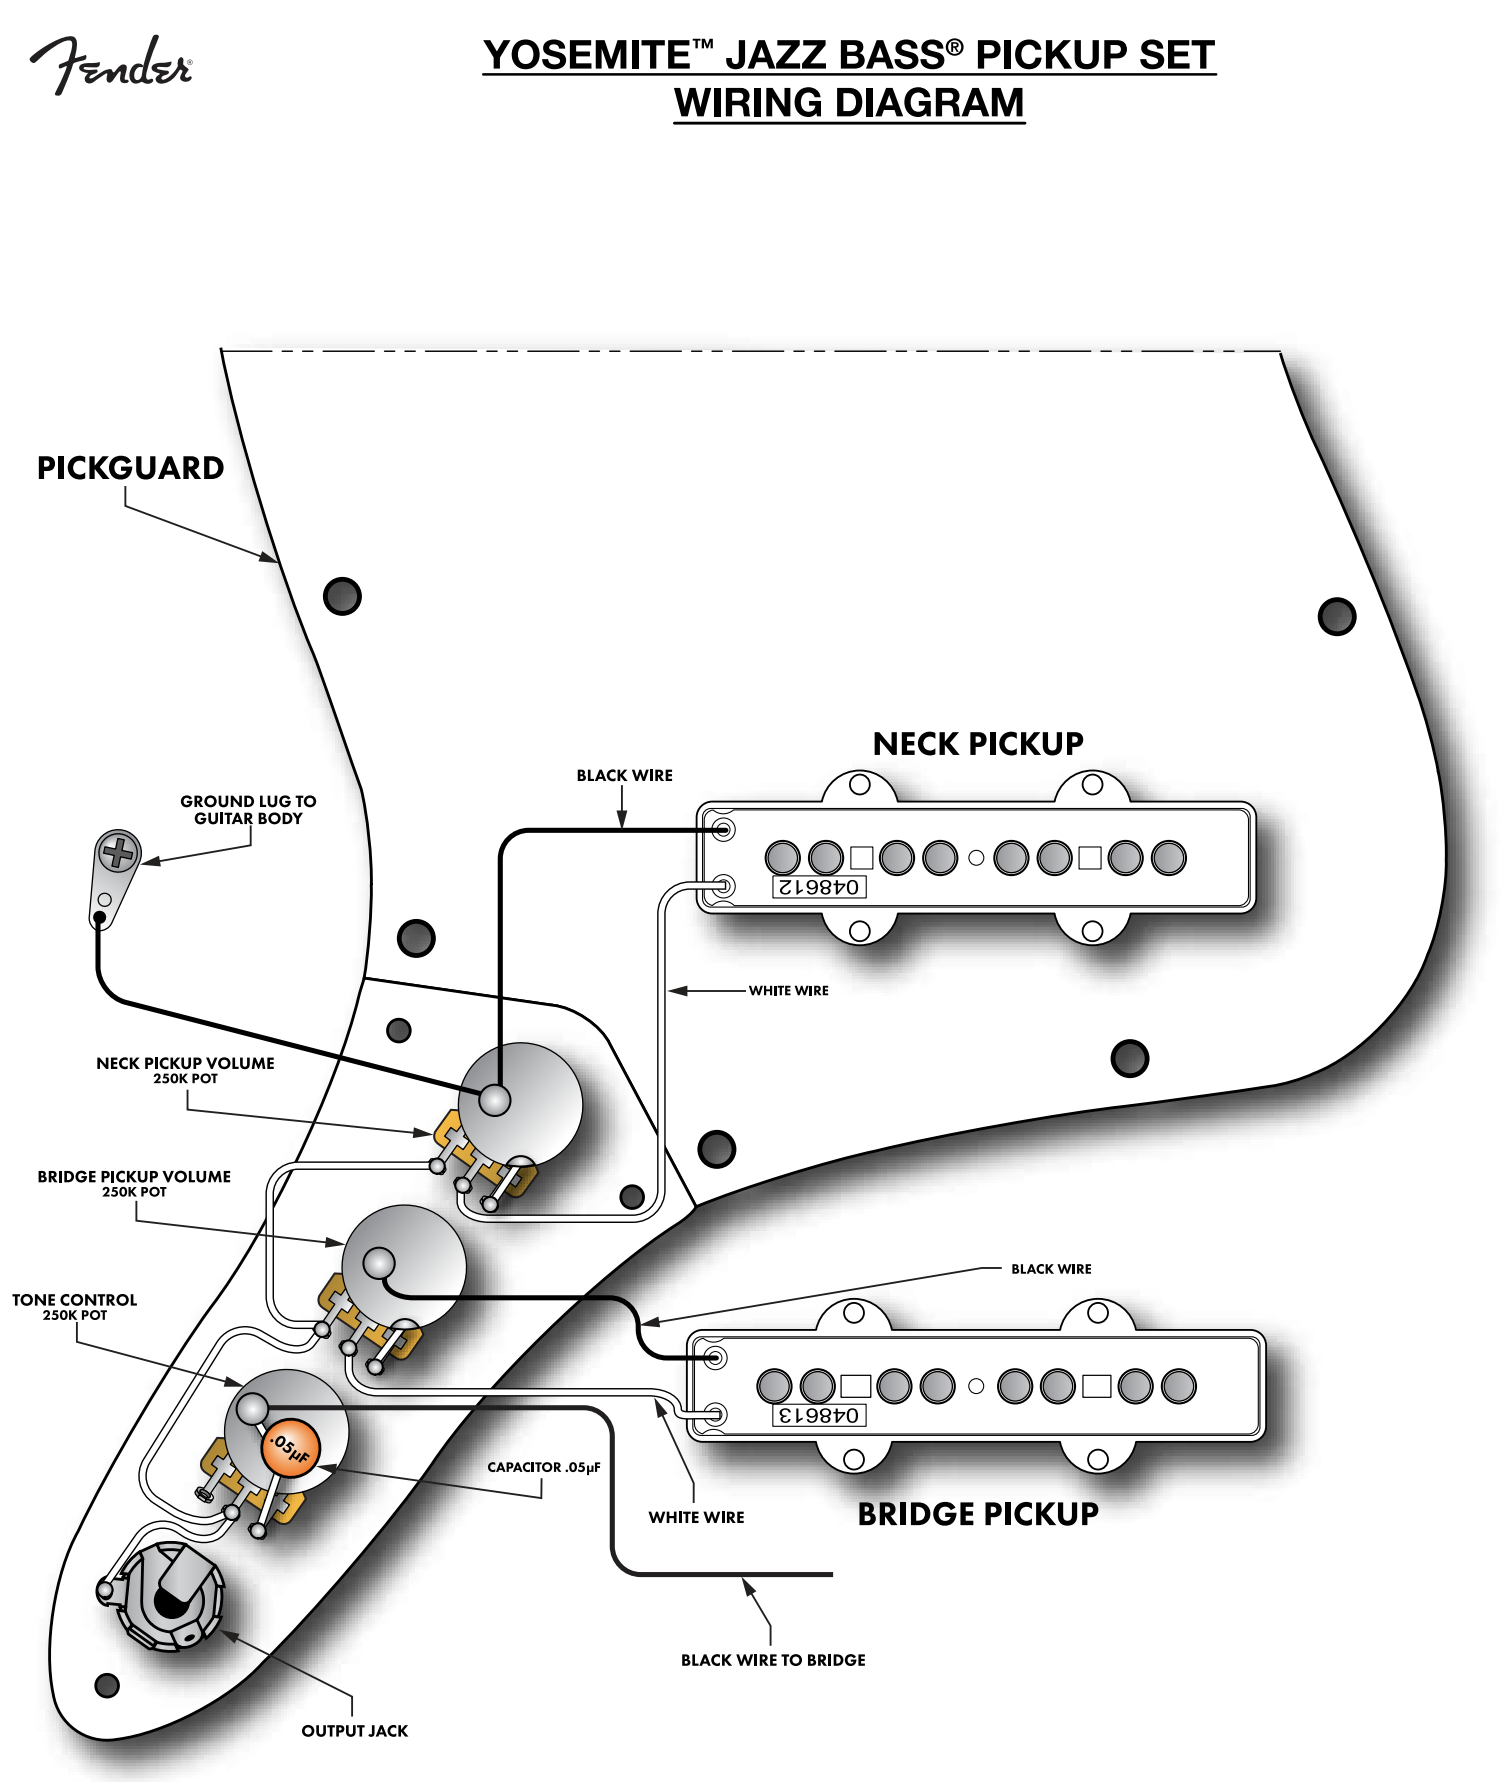
After taking a course in DSP (digital signal processing) last quarter, I became more excited about digital music and electronics. At that time, I realized that some of the electronic components of popular instruments were those I now understood comfortably. As such, I decided that an exciting challenge would be to combine woodworking and electronics into one project. Although I do not play bass myself, I wanted to make an electronic instrument that would be utilized by a loved one. This bass design is largely inspired by the classic Fender Jazz Bass. In order to extend the longevity of the the instrument, I felt it’s important to utilize hardware that is readily available so that it can be maintained. Additionally, since this is a popular design, there is relatively ample documentation online in terms of quasi-engineering drawings, including the one shown here that I referenced often. Various luthiers show the process of making instruments online, which was very helpful to understand the order of operations and why certain features are incorporated.
Design
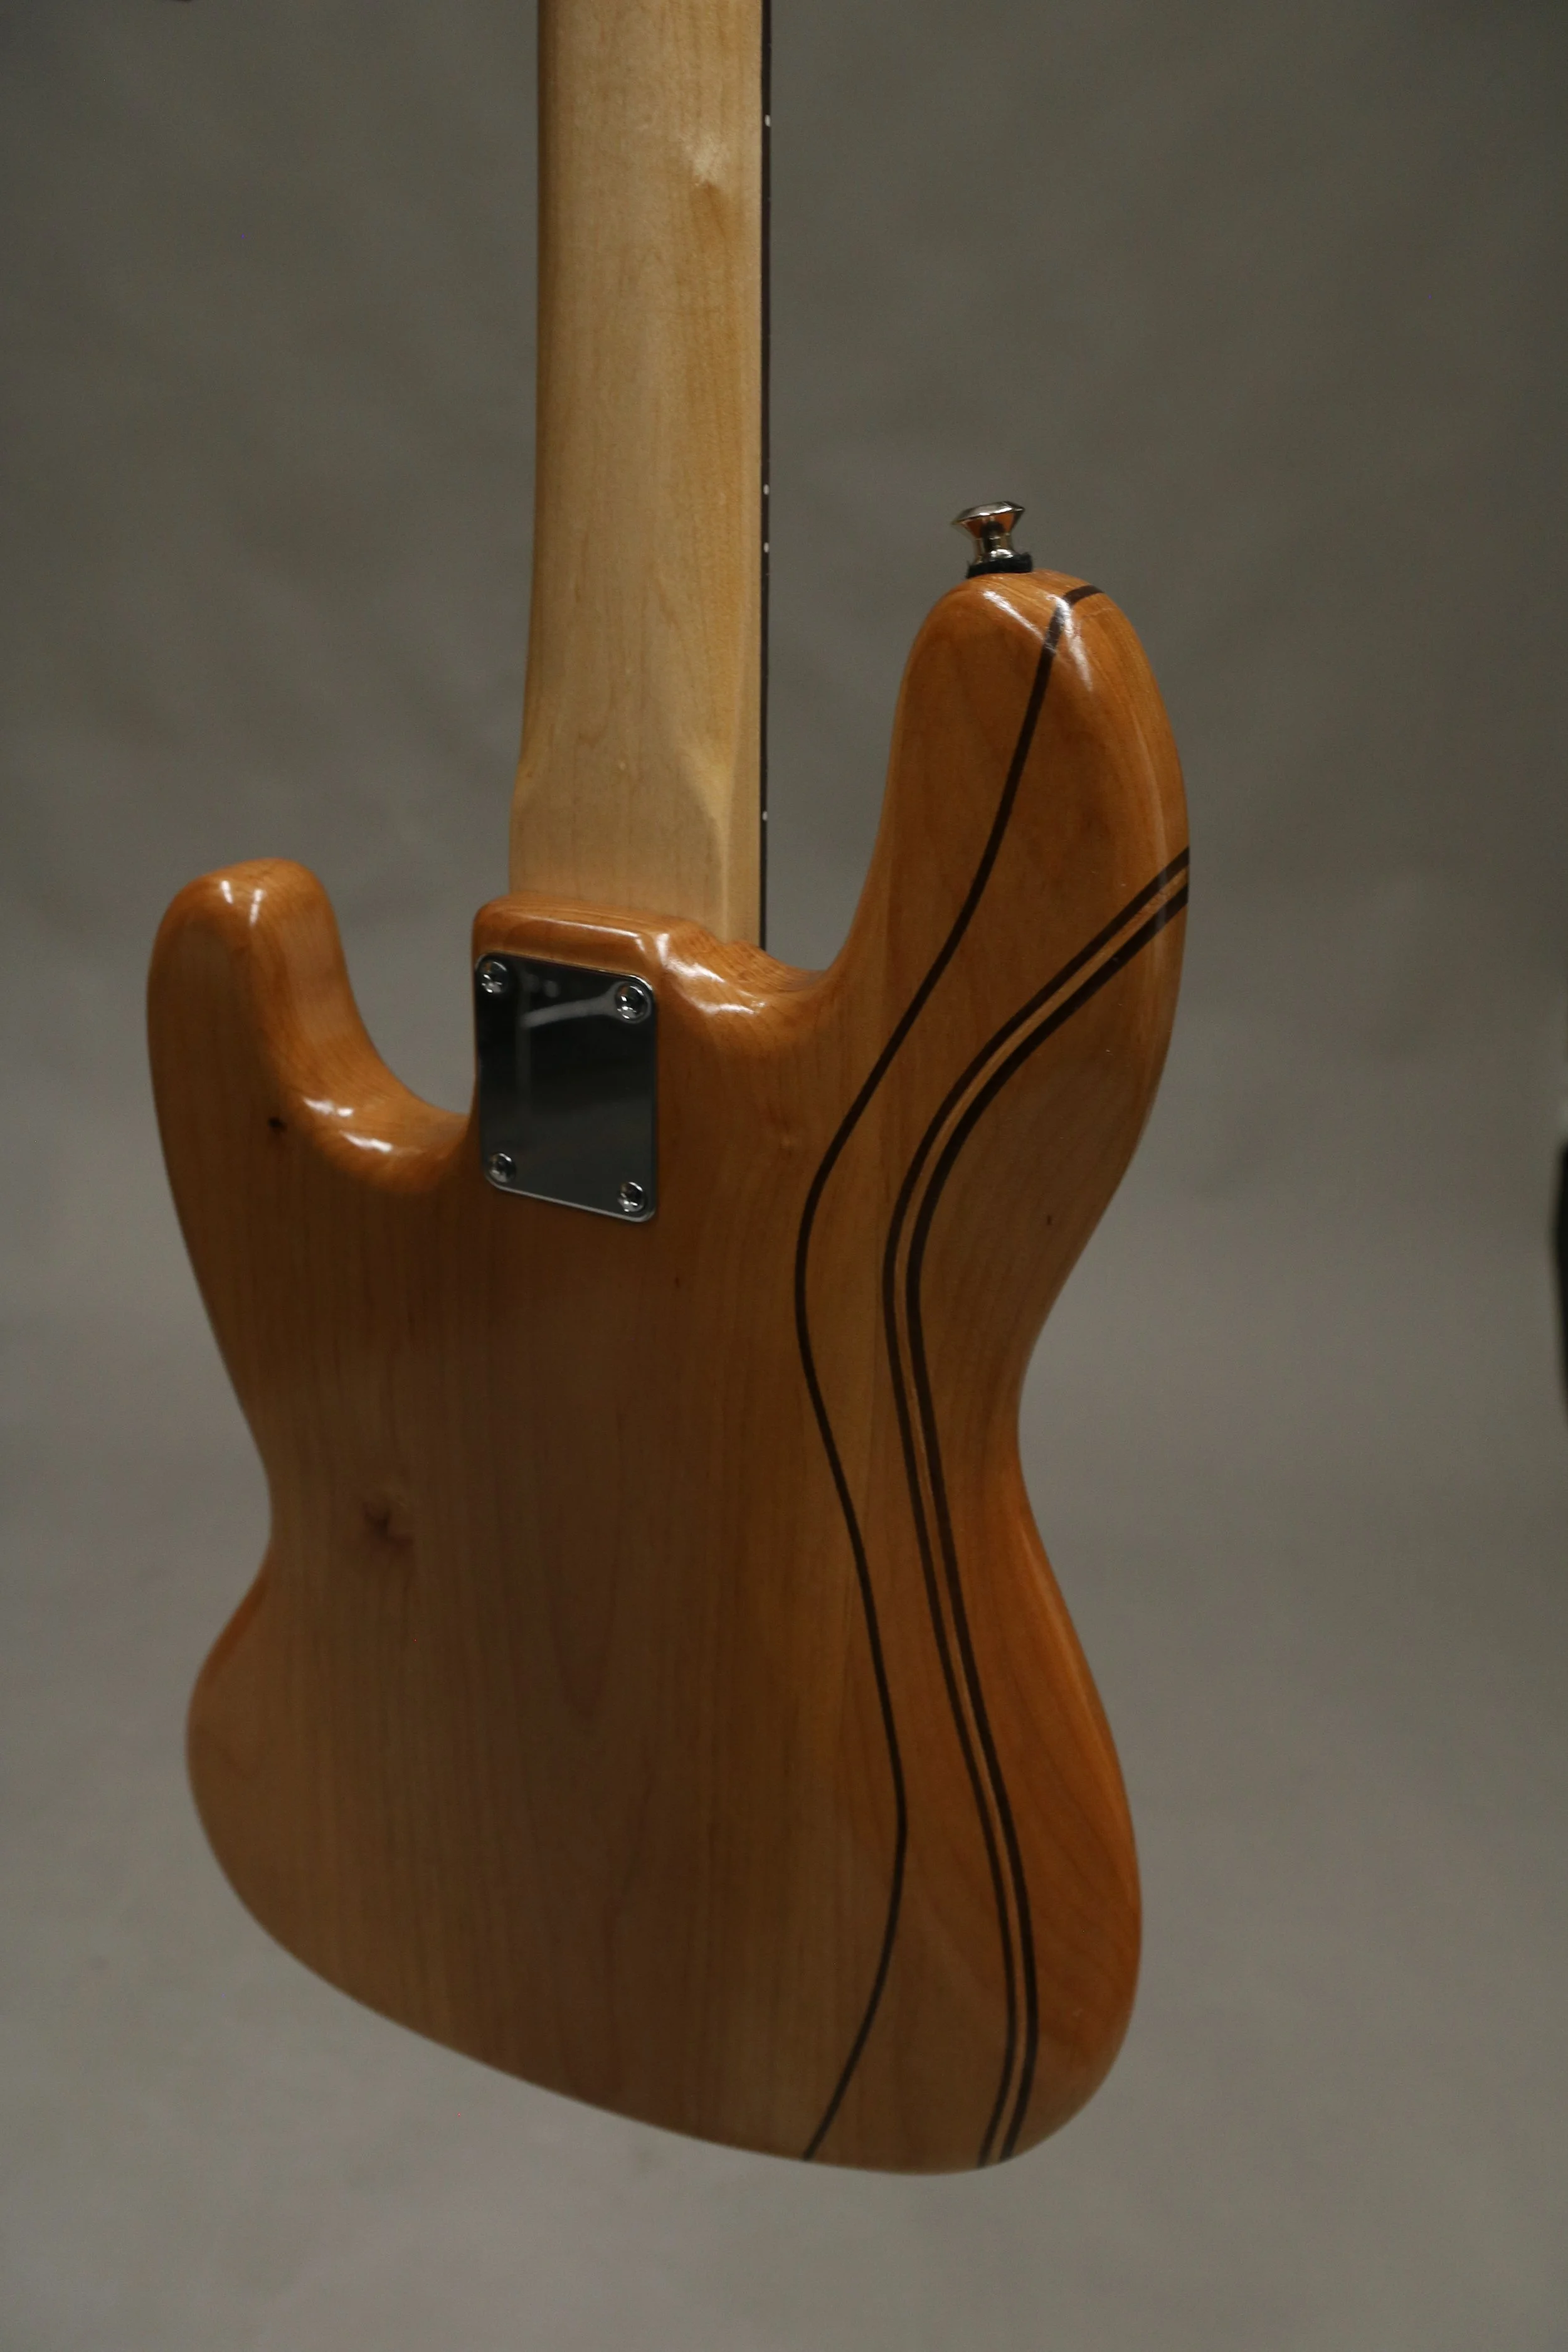
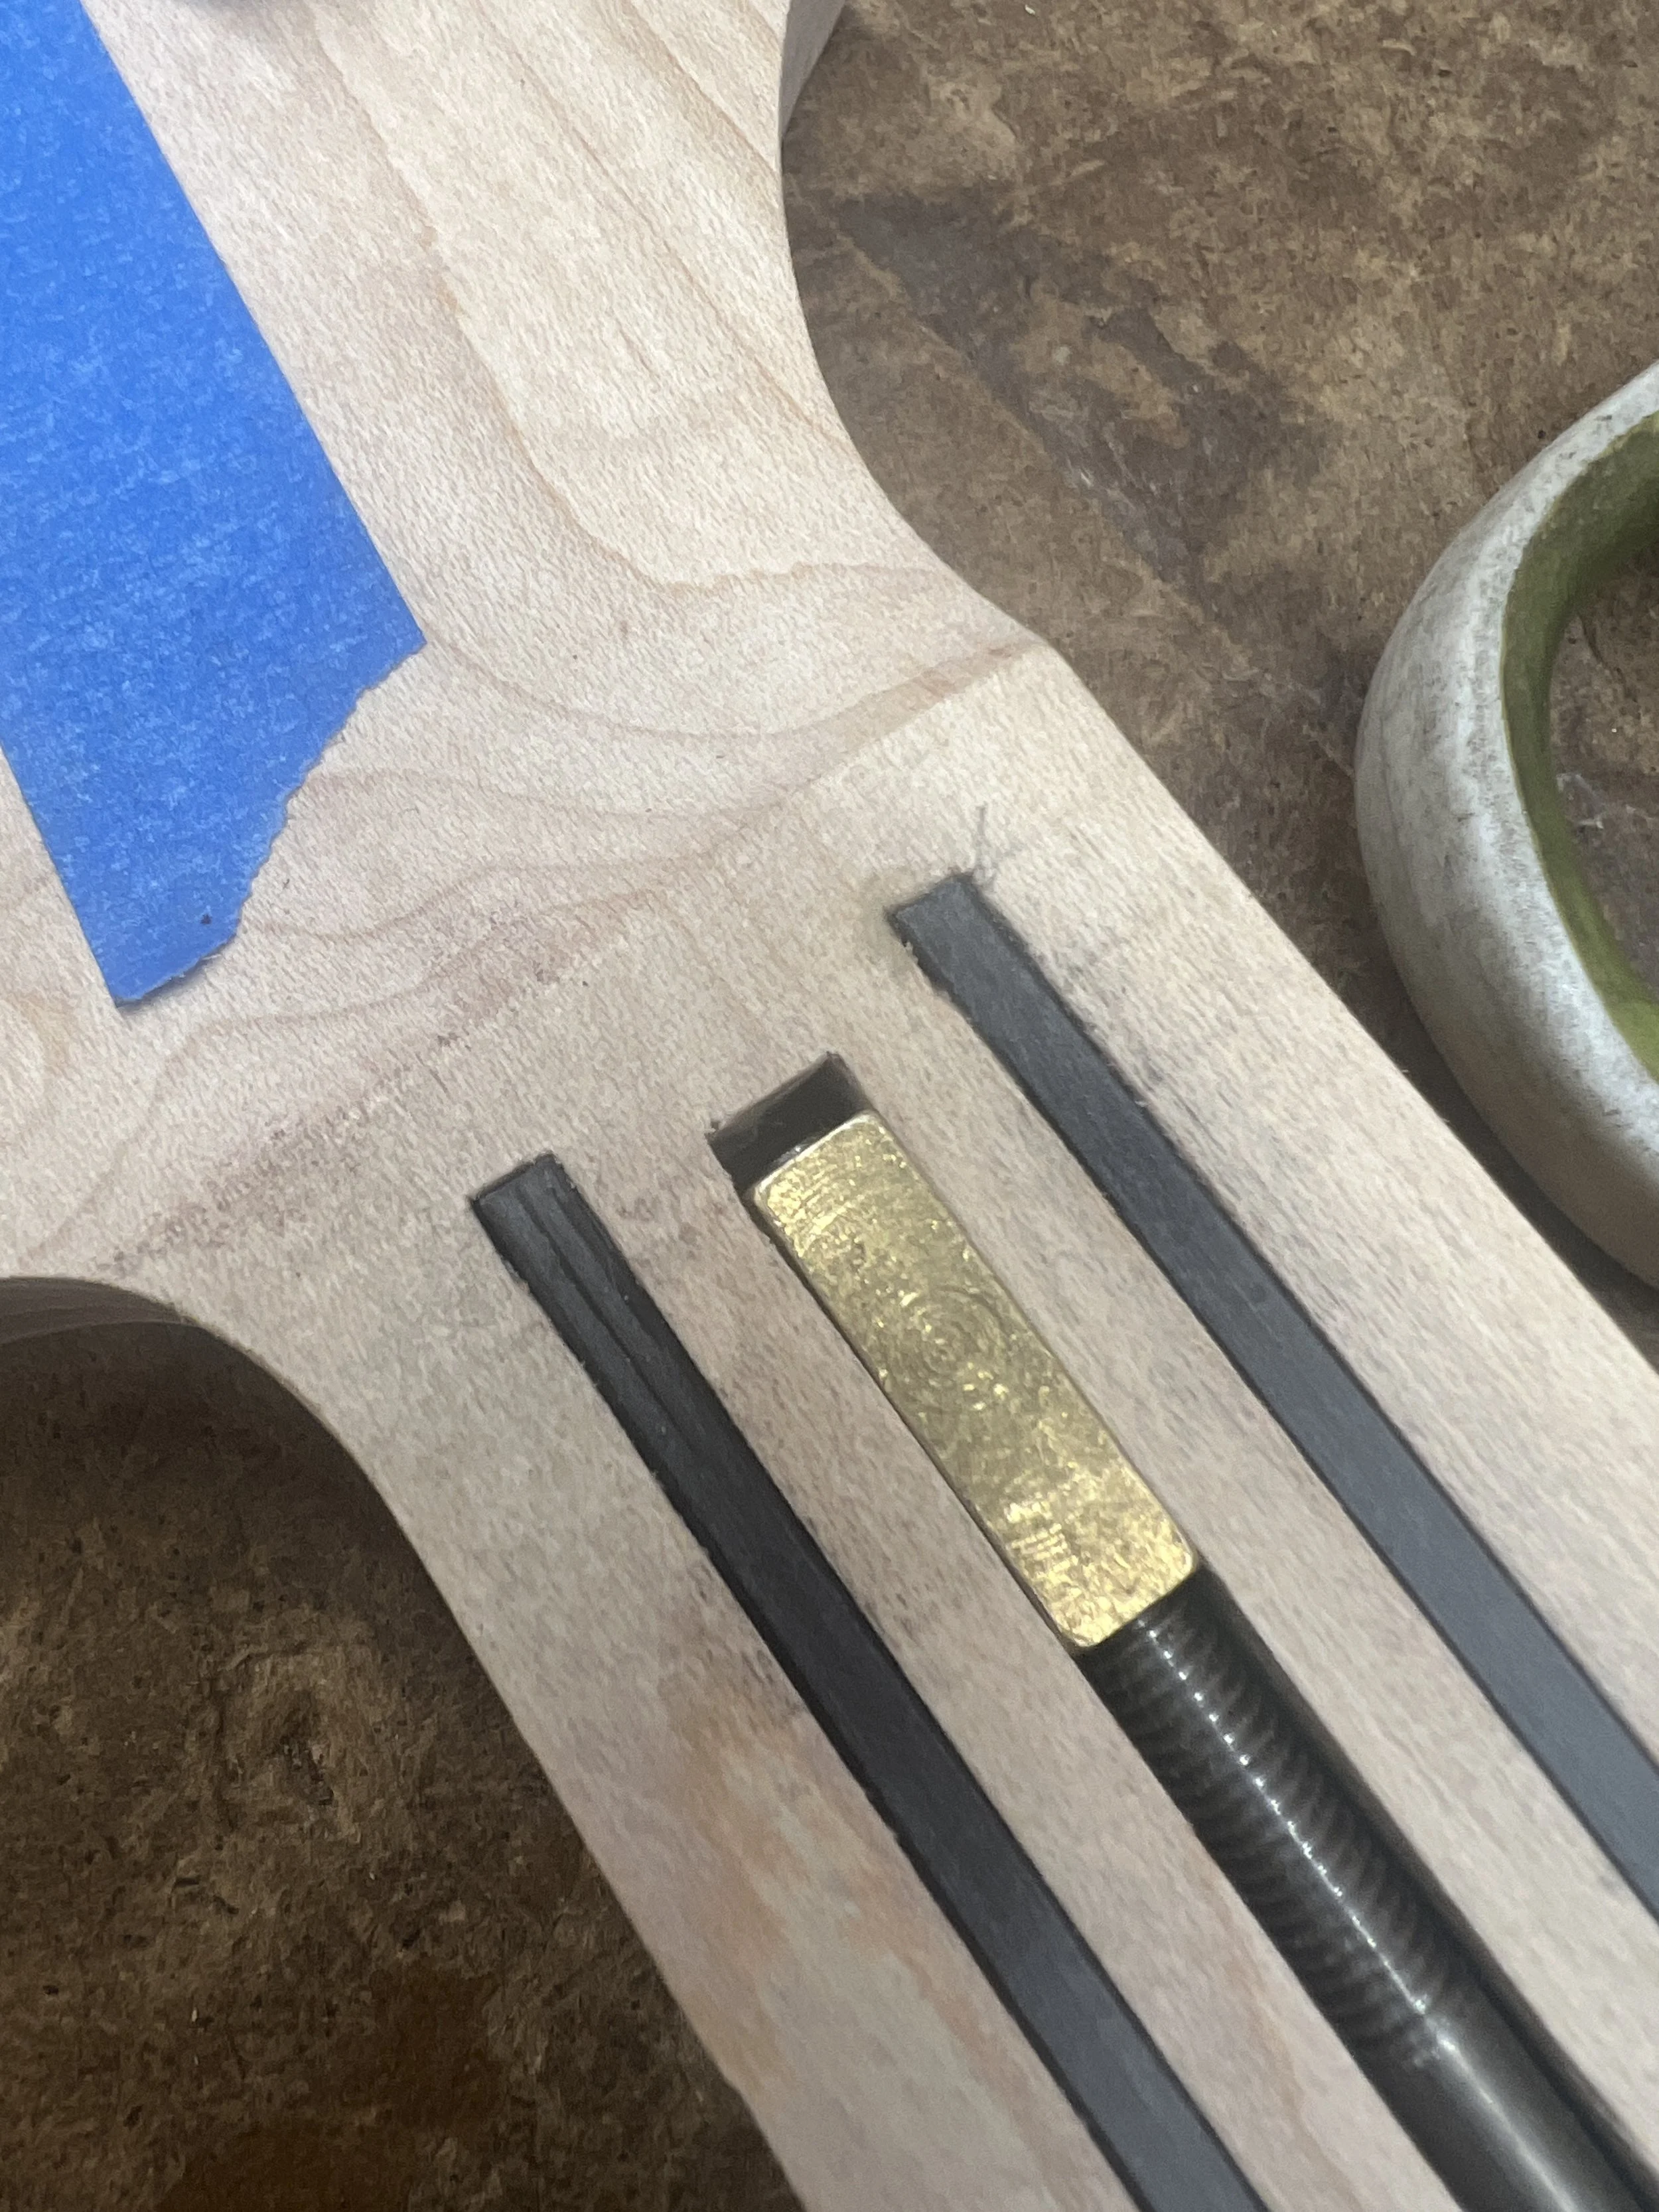
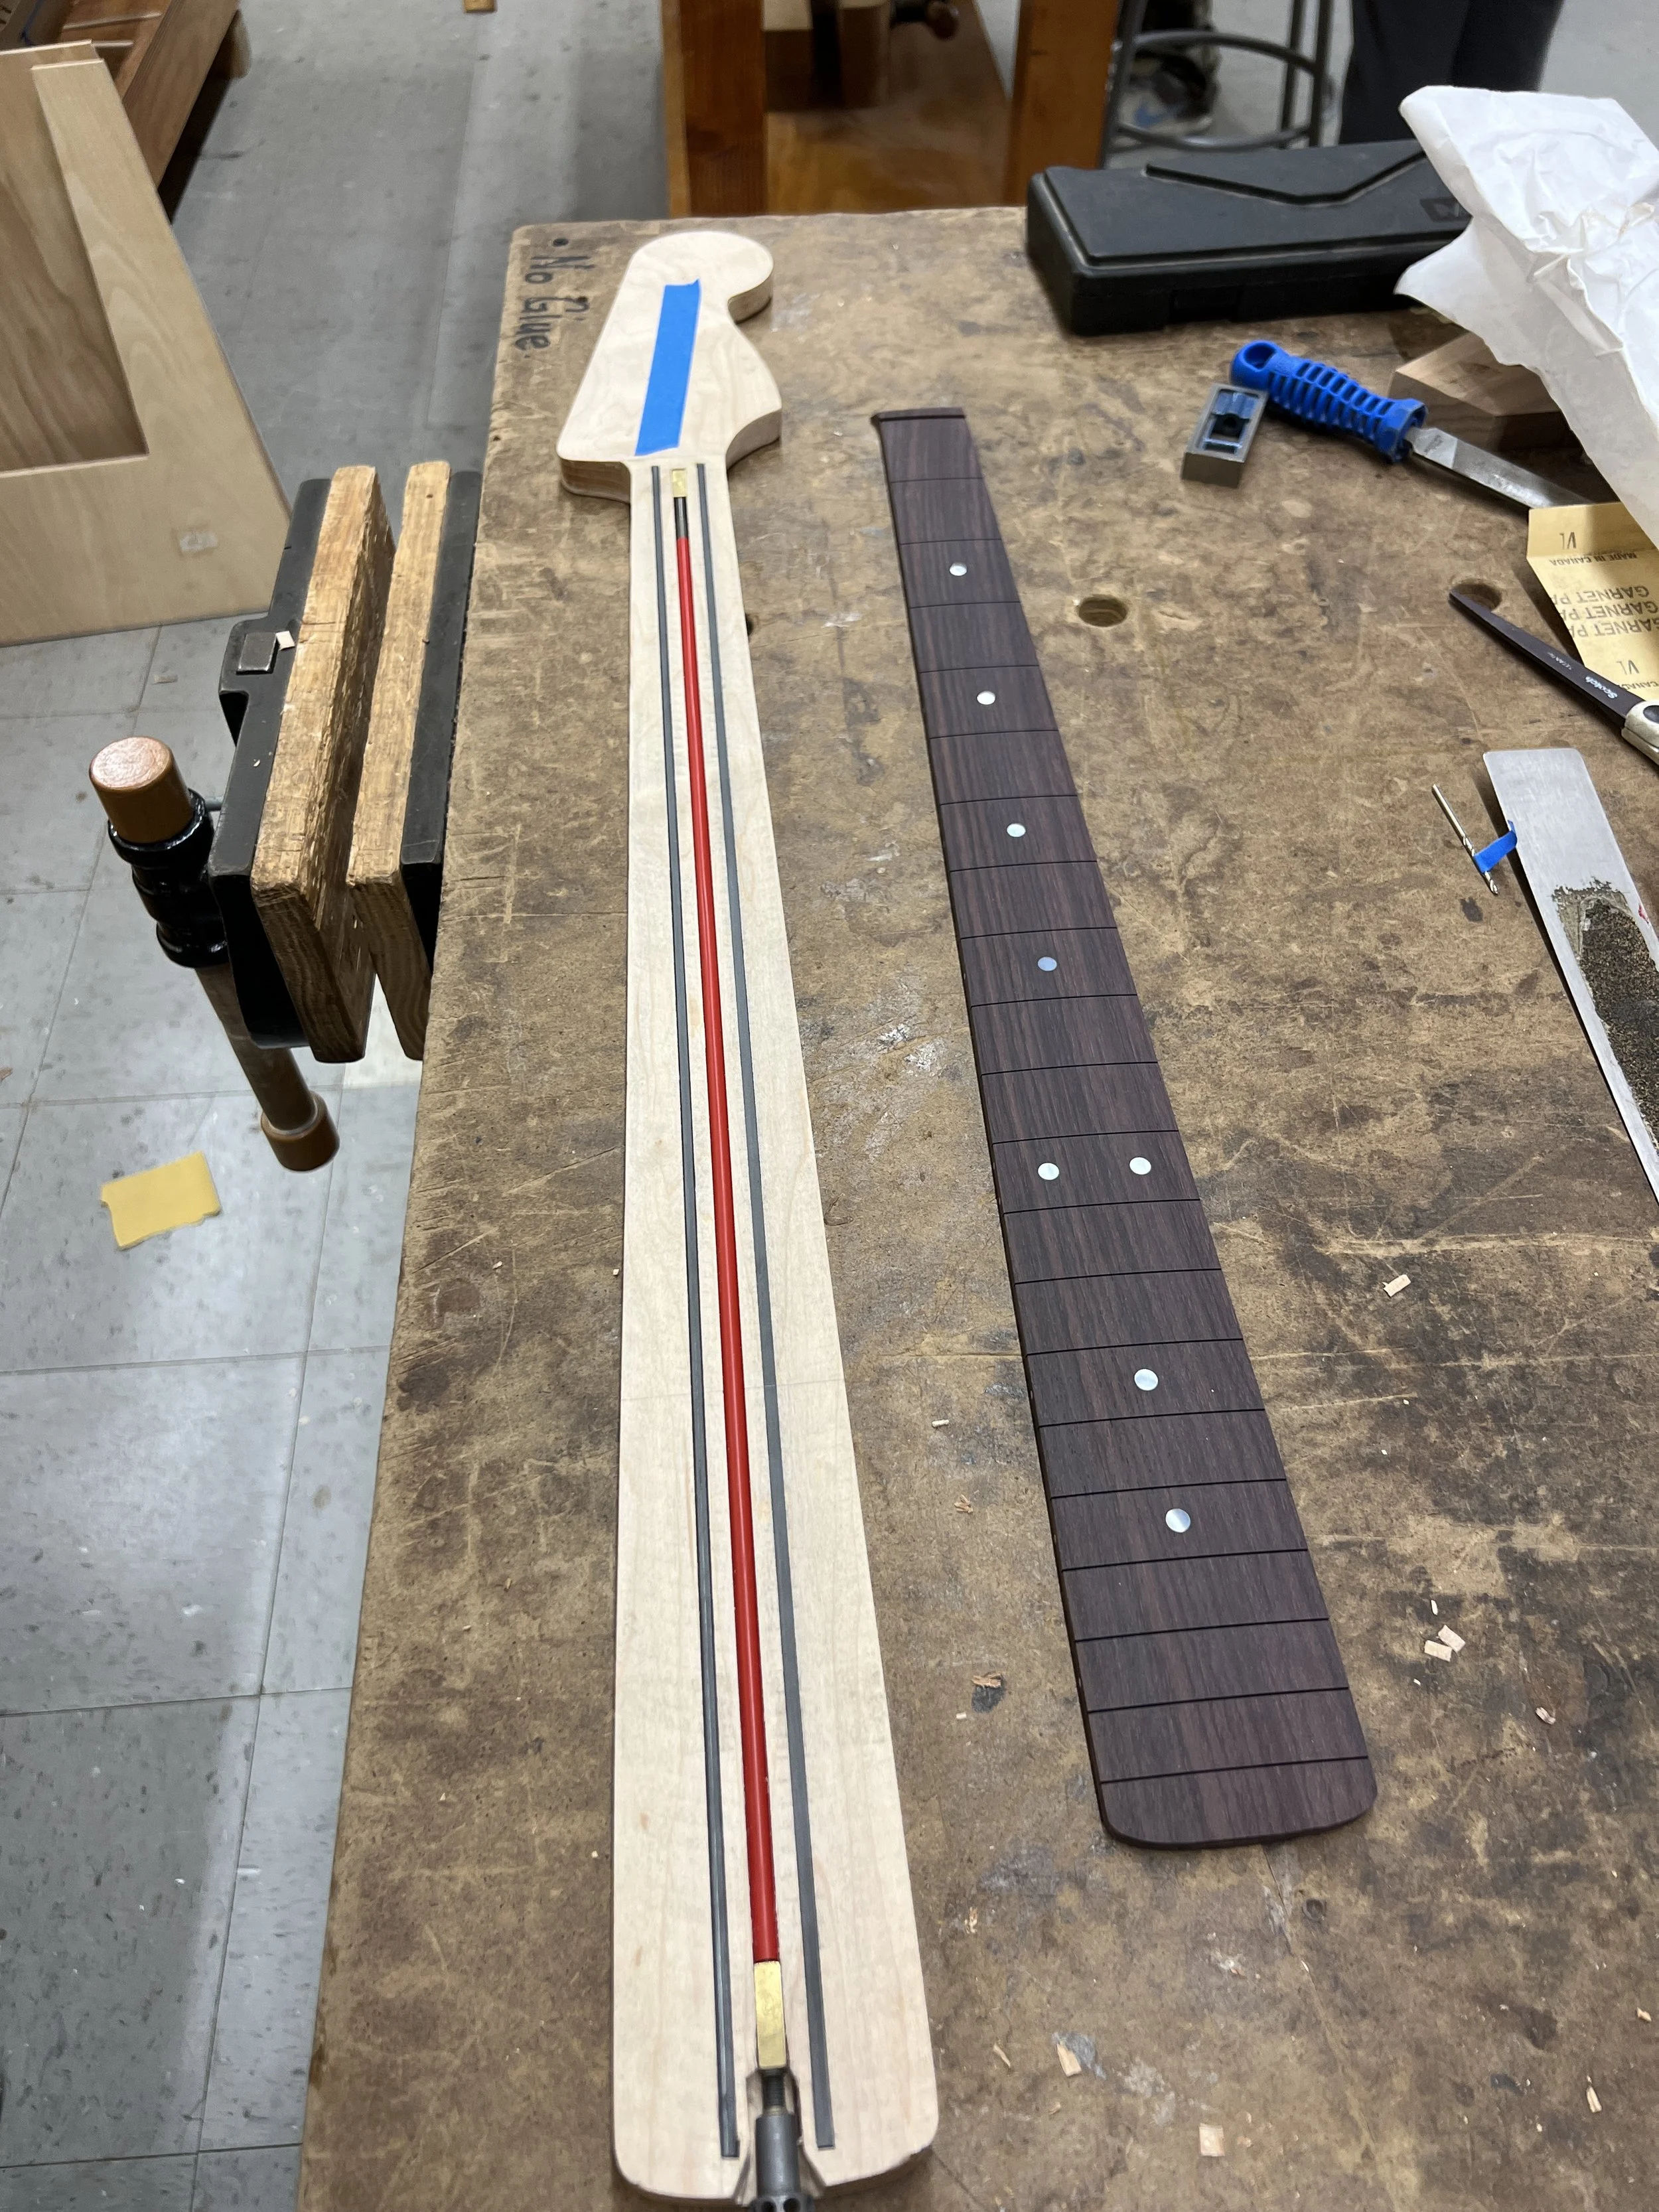
The biggest concern with this project was making sure that the instrument would be able to withstand the forces of tensioning the strings. Although a bass typically has 2 fewer strings than a guitar, the strings are substantially thicker and therefore the tension applied to the instrument is higher. As such, the construction of the neck and the interaction between the neck and the body are critical. In order to maintain stiffness in the neck, I used Maple. Maple is often used for bass necks due to the hardness of the wood. Additionally, I added two carbon fiber stiffening rods along the length of the neck. The other important piece of hardware inside the neck is the truss rod. A truss rod is the two-rod assembly that bends the neck away from the strings. As such, the truss rod needs to be well constrained at the ends, needs leeway across the length of the rod, and an access point for the nut that adjusts the bend of the truss rod. There are traditionally three ways for the truss rod to be accessed: sticking out at the head side of the fingerboard, sticking out at the bridge side of the fingerboard, and one under the neck. The latter requires disassembly of the instrument to adjust the truss rod, so I chose between the two former options. I opted for the option that sticks out at the bridge side of the neck because it allowed for adjustment with non-speciality equipment.
Neck
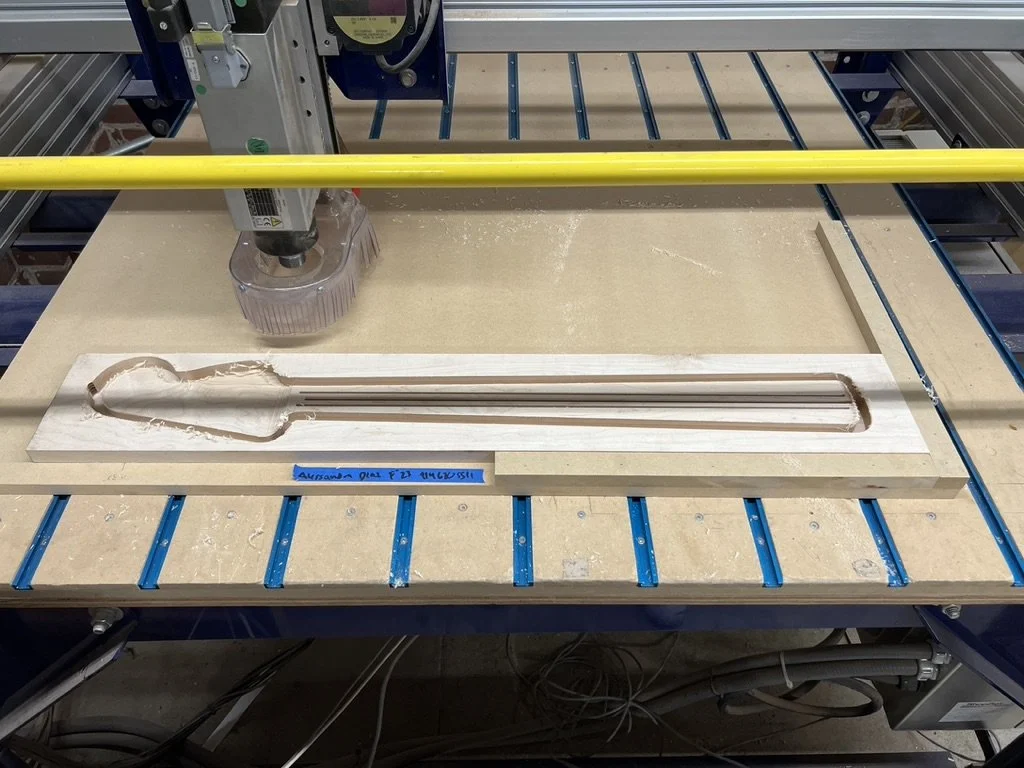
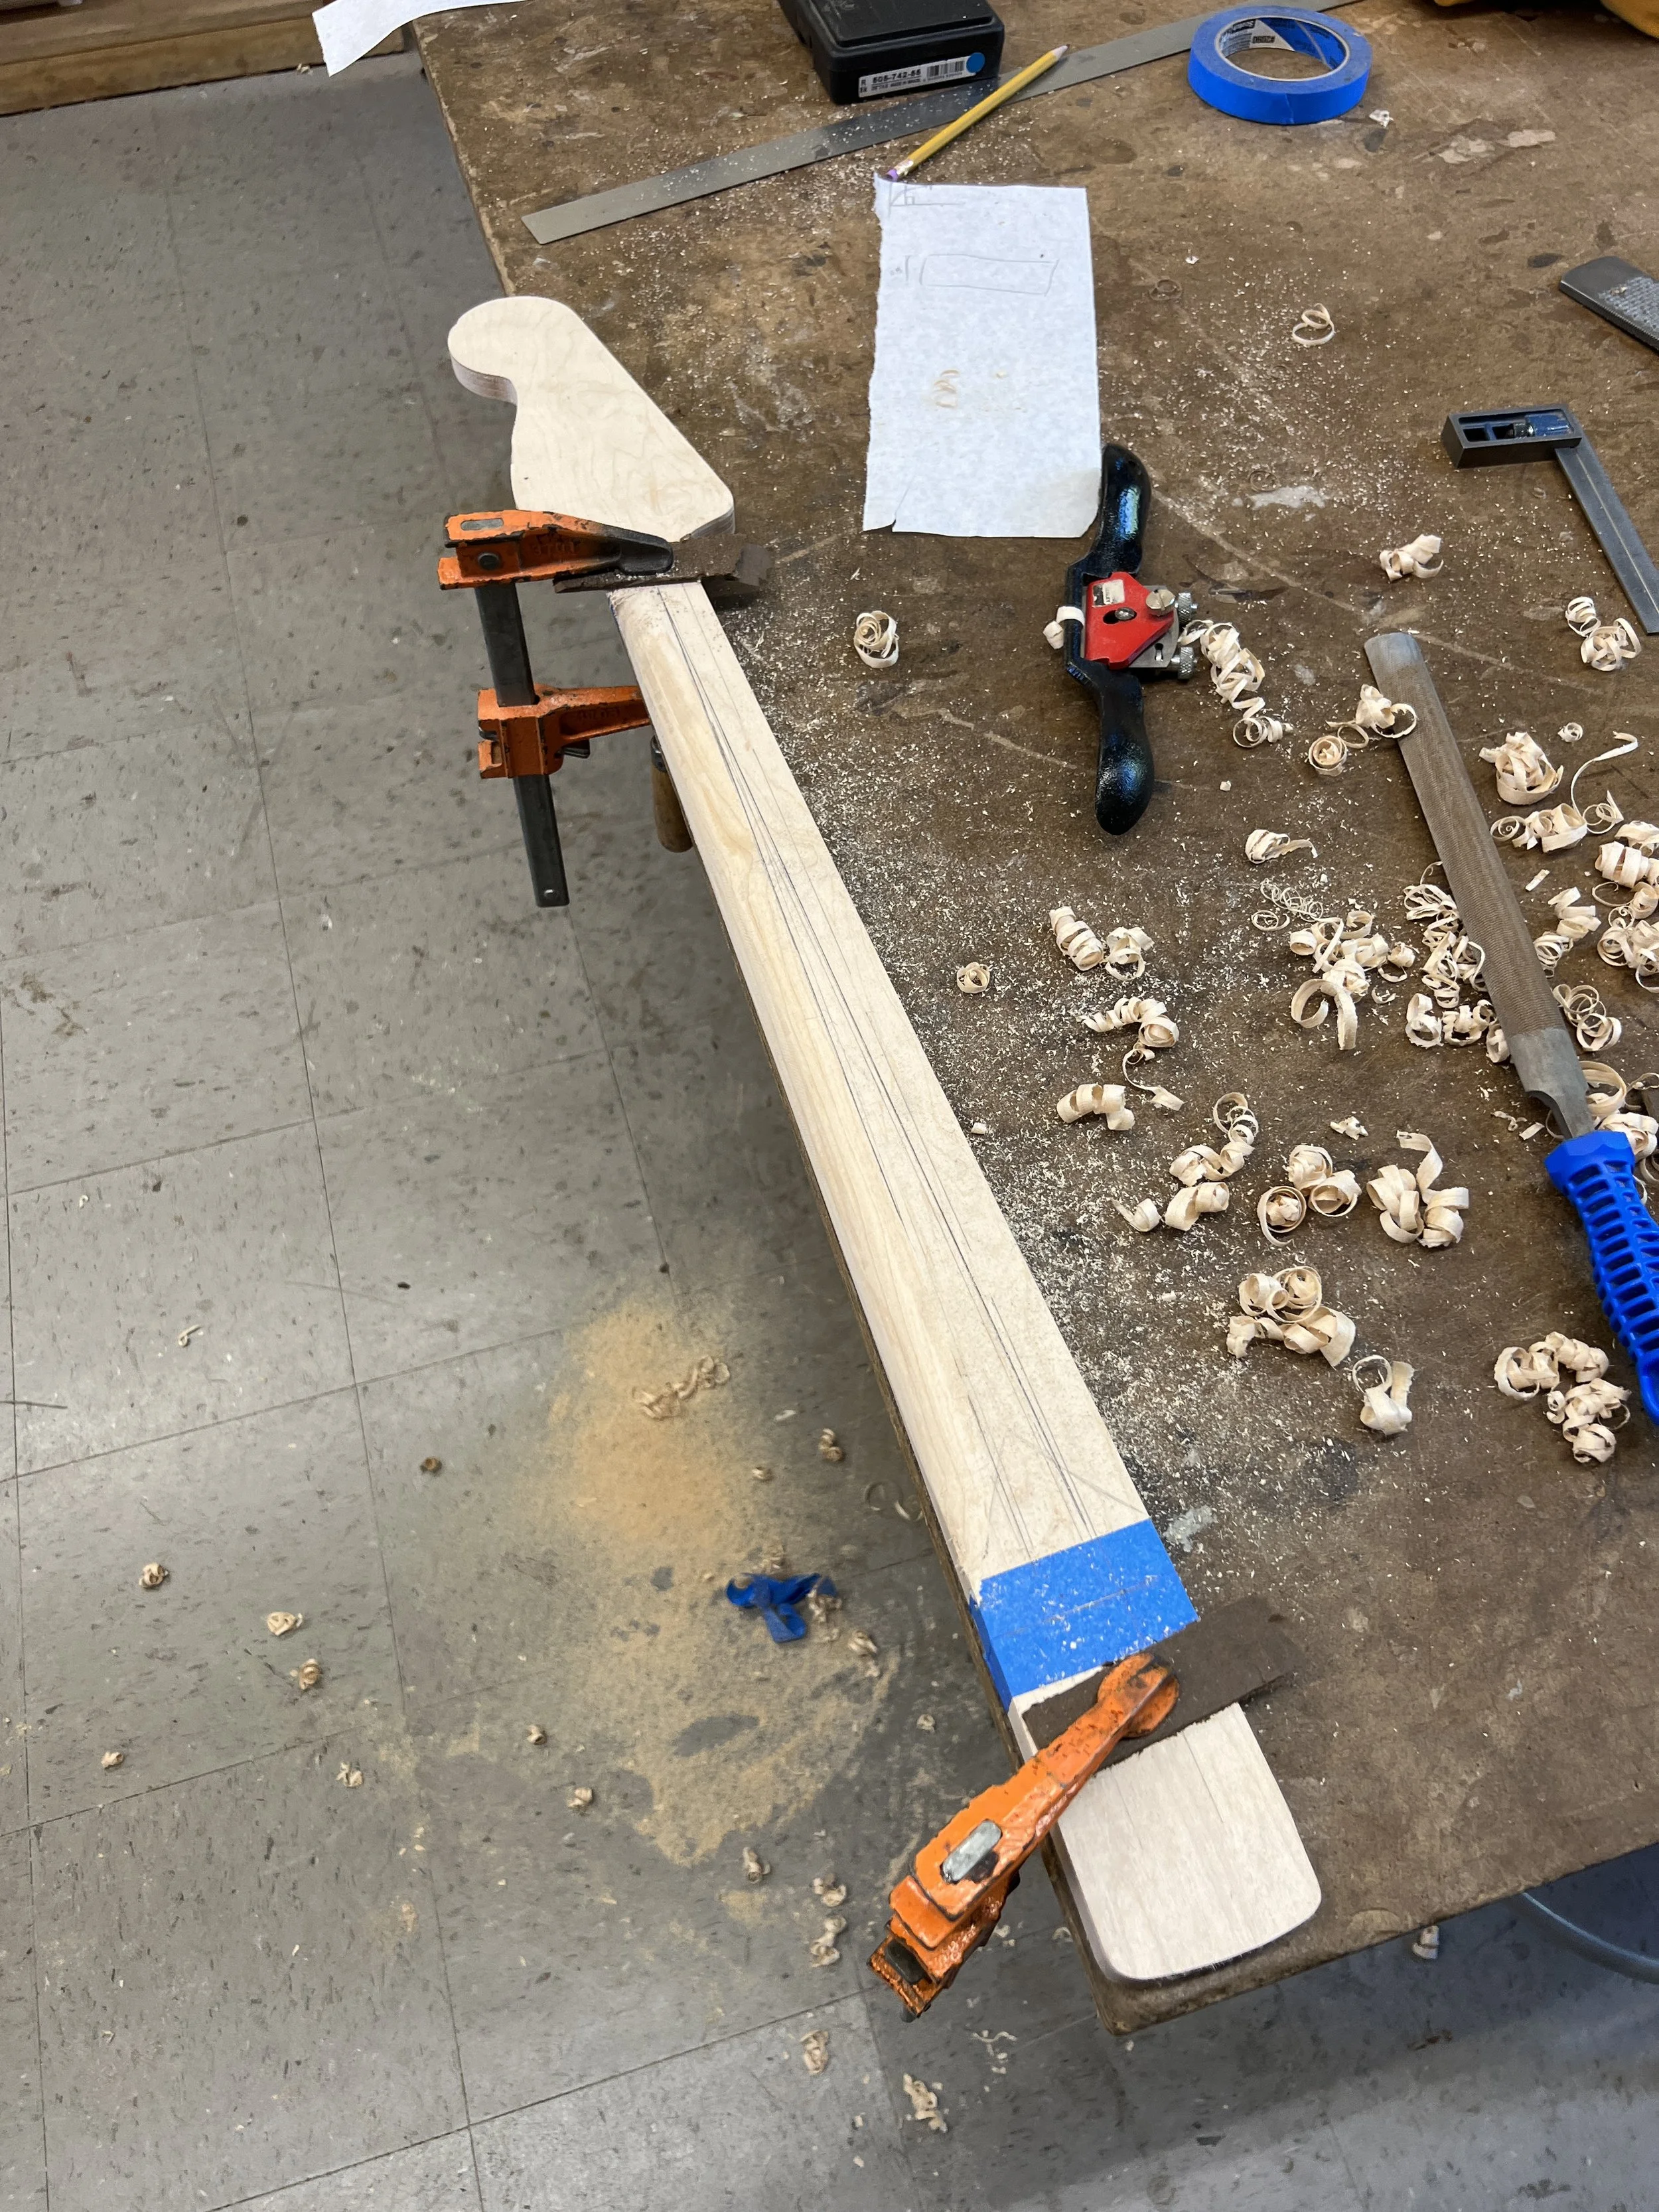
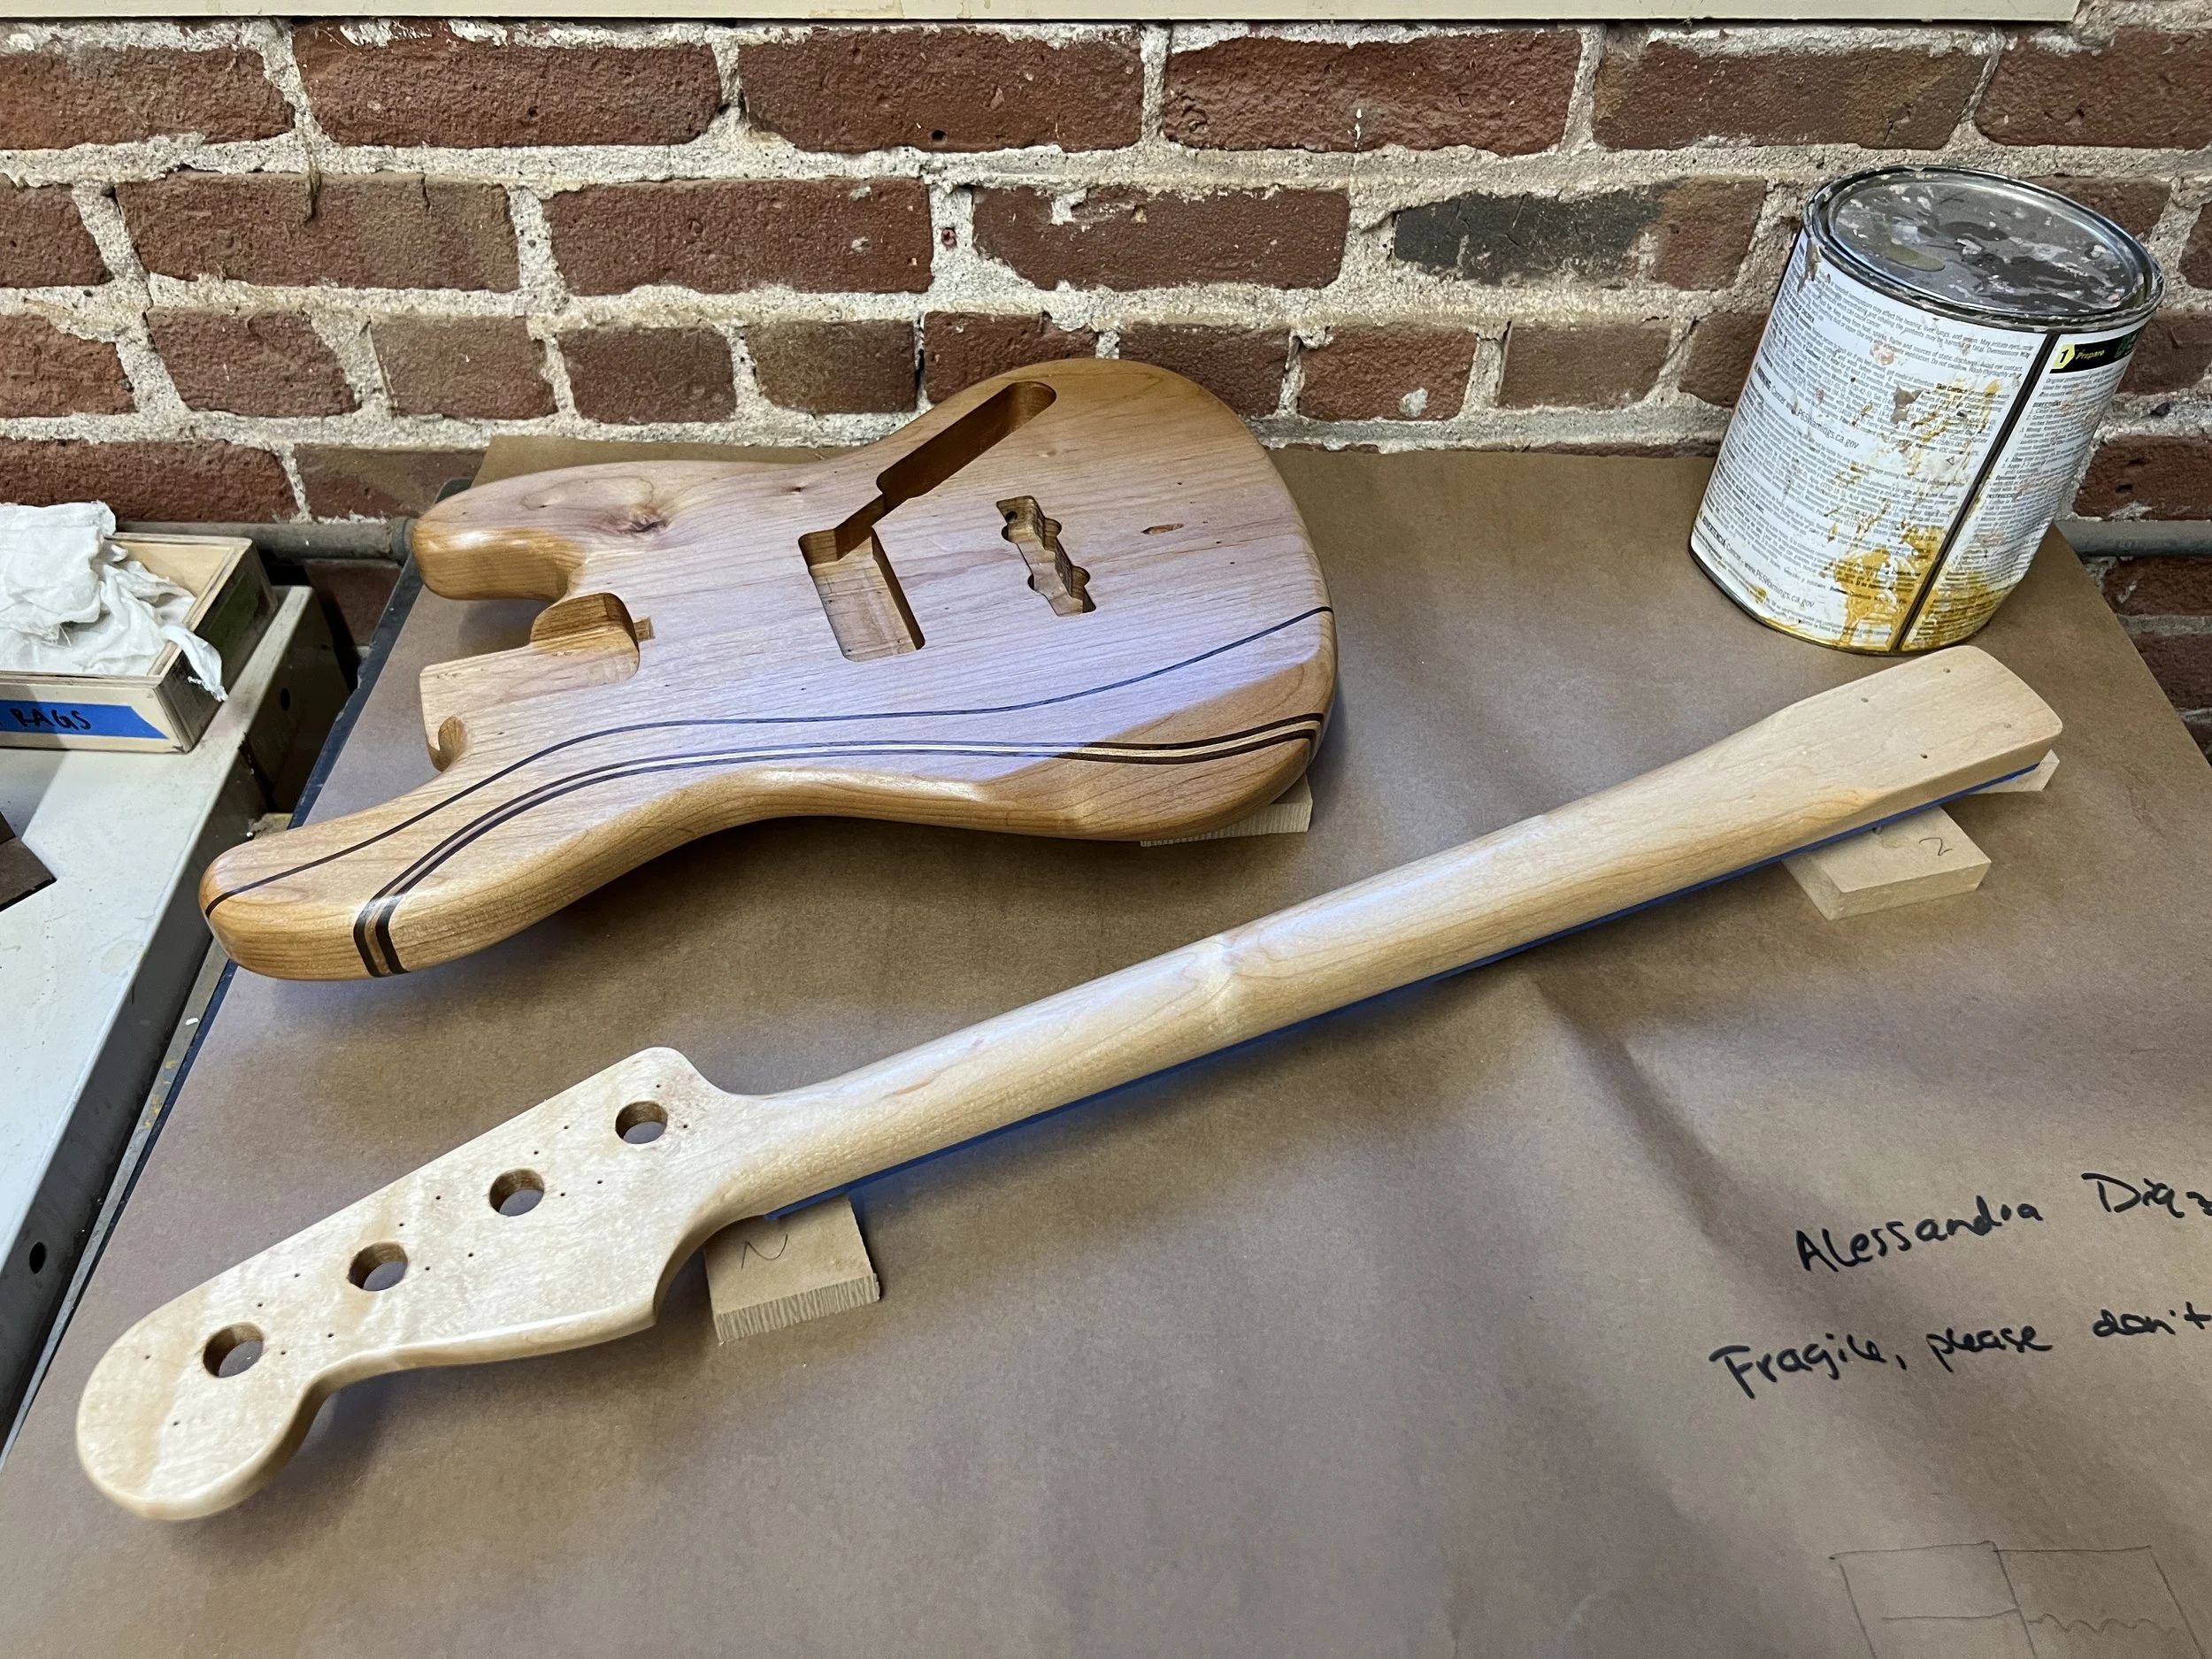
In order to make the neck, I used the ShopBot to machine the 2D shape of the neck and the 3 slots, 2 for the carbon fiber stiffening rods and one for the truss rod. I cut out the shape of the neck until 0.15” above the bass of the material so that it would not come loose when machining. Once machined, I took the piece to the bandsaw to cut out the frame, and used a flush router to trim the edges. I used a chisel to square the ends of the slots for the rods and made small adjustments as needed to make the rods sit flush to the top of the neck. The carbon fiber rods were installed with CA glue, and the truss rod was pressed in. I used hand tools (spokeshave, rasp, file) to round the back of the neck.
Body
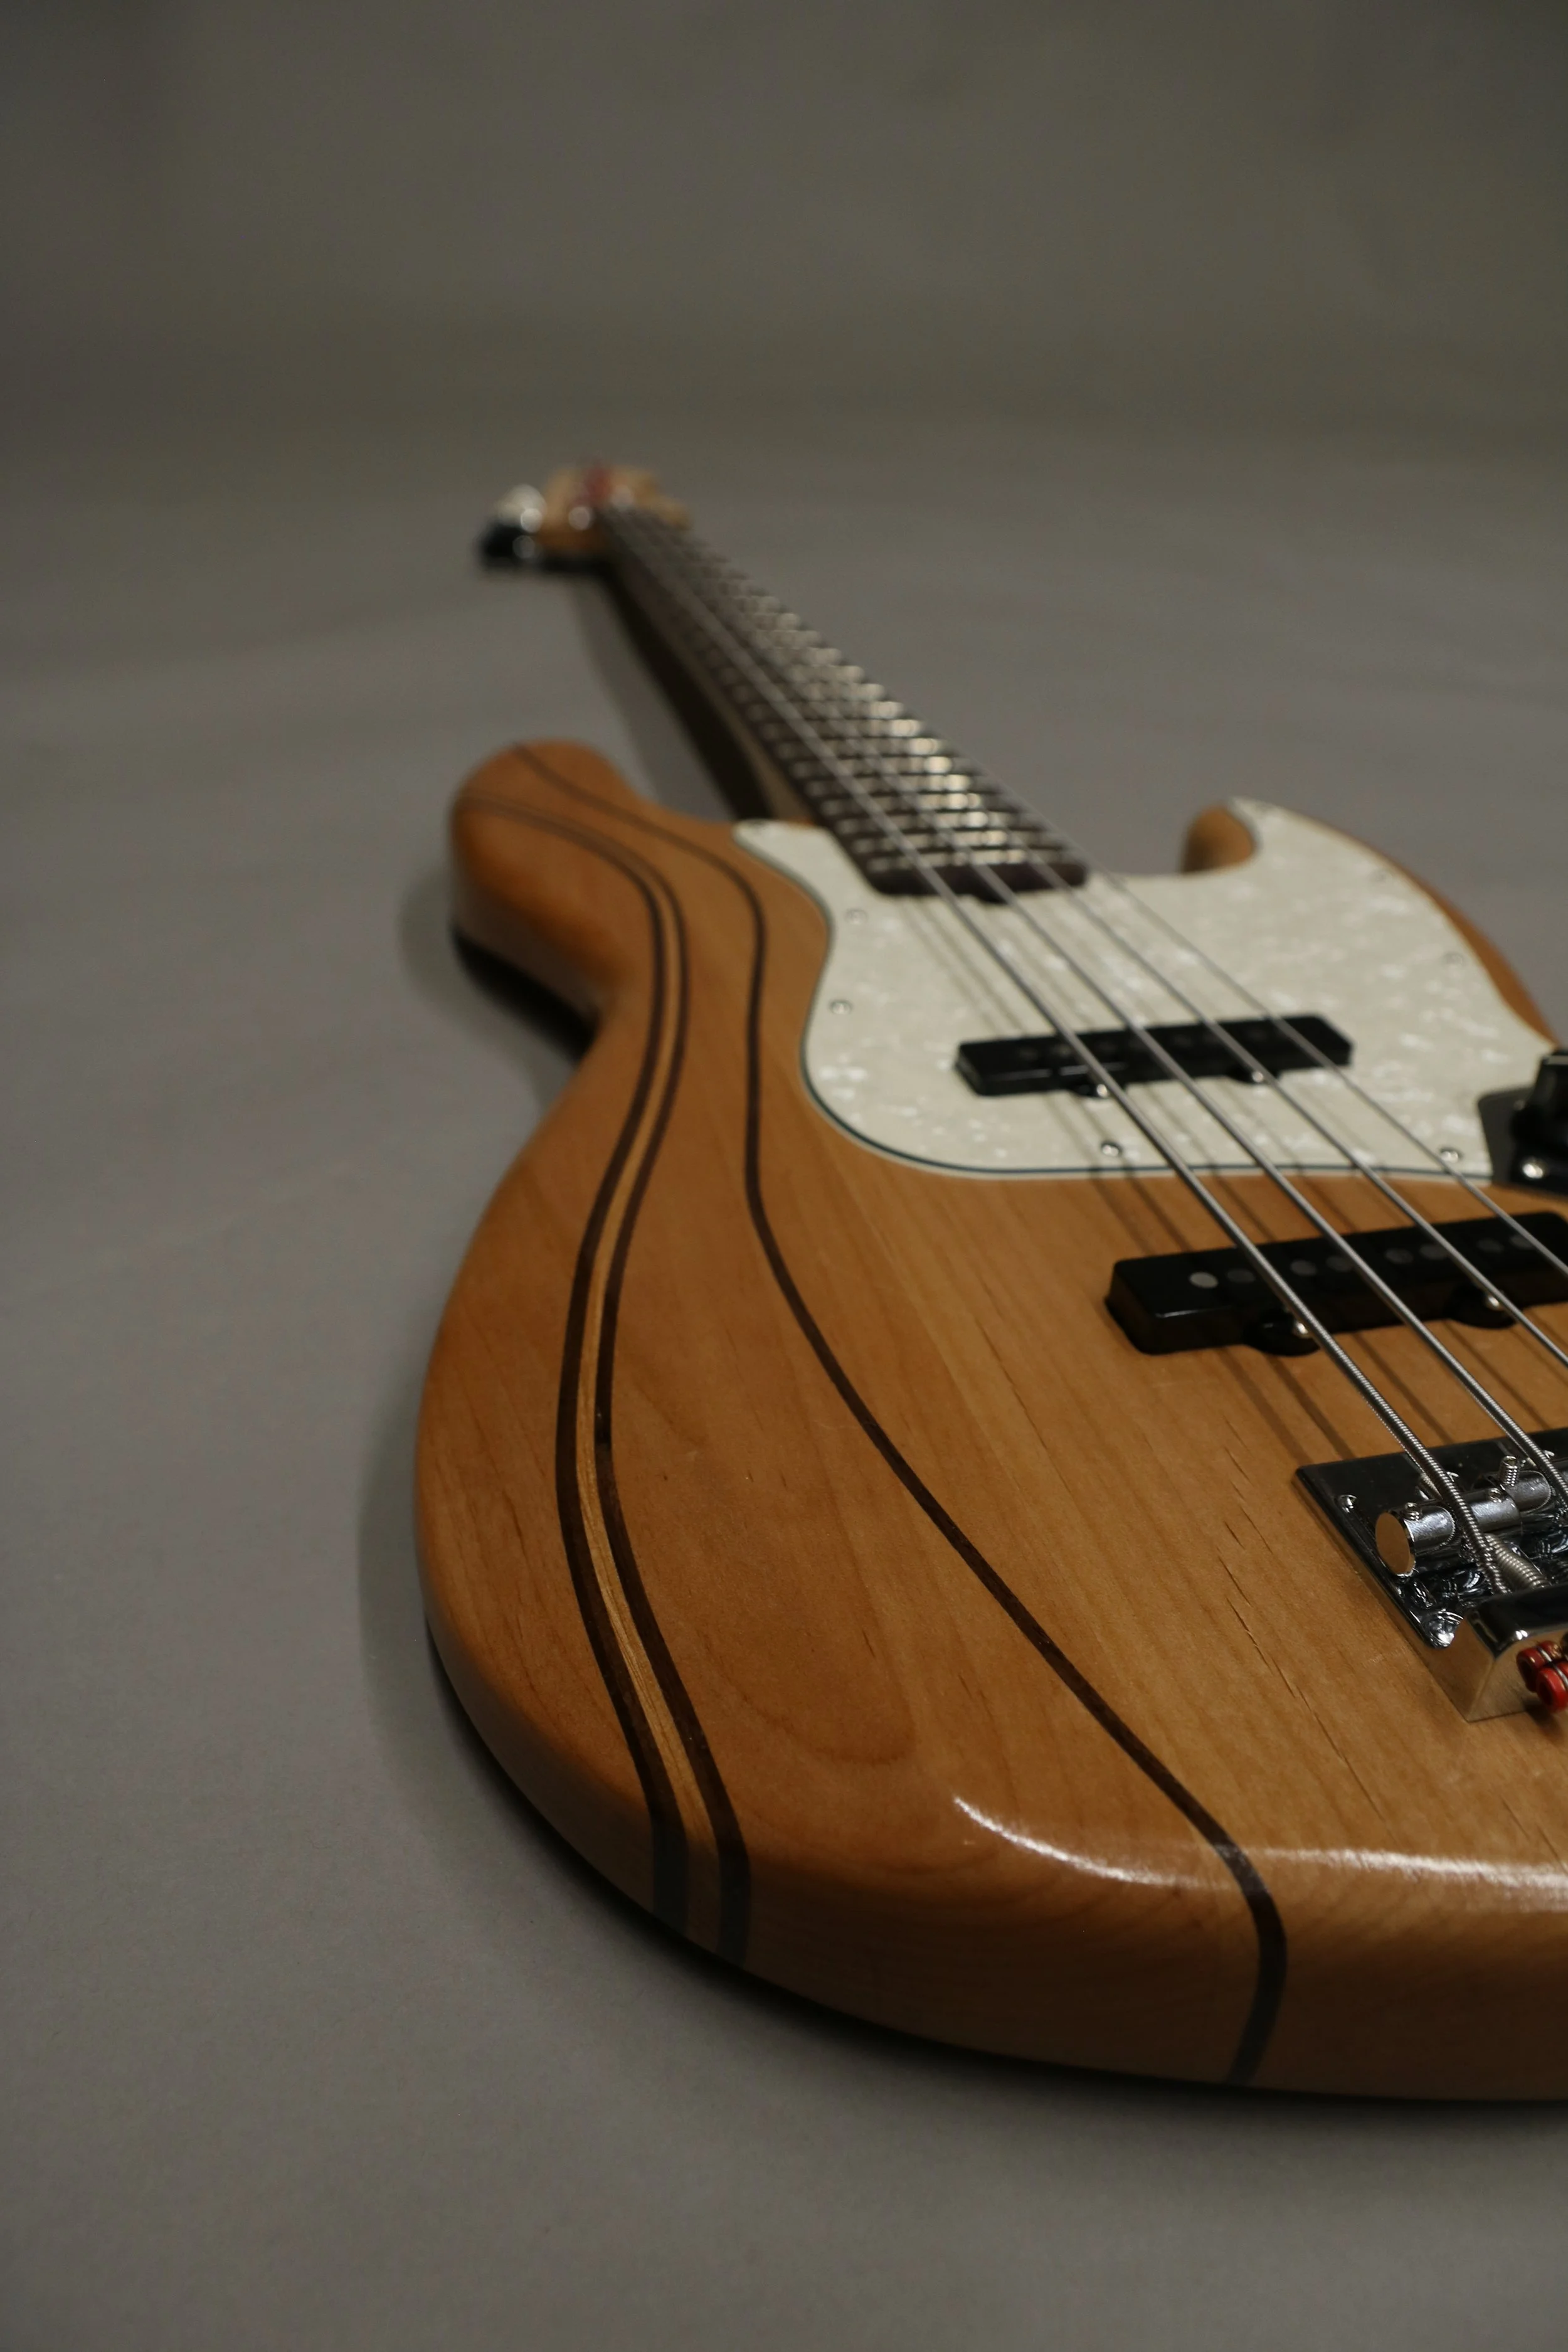
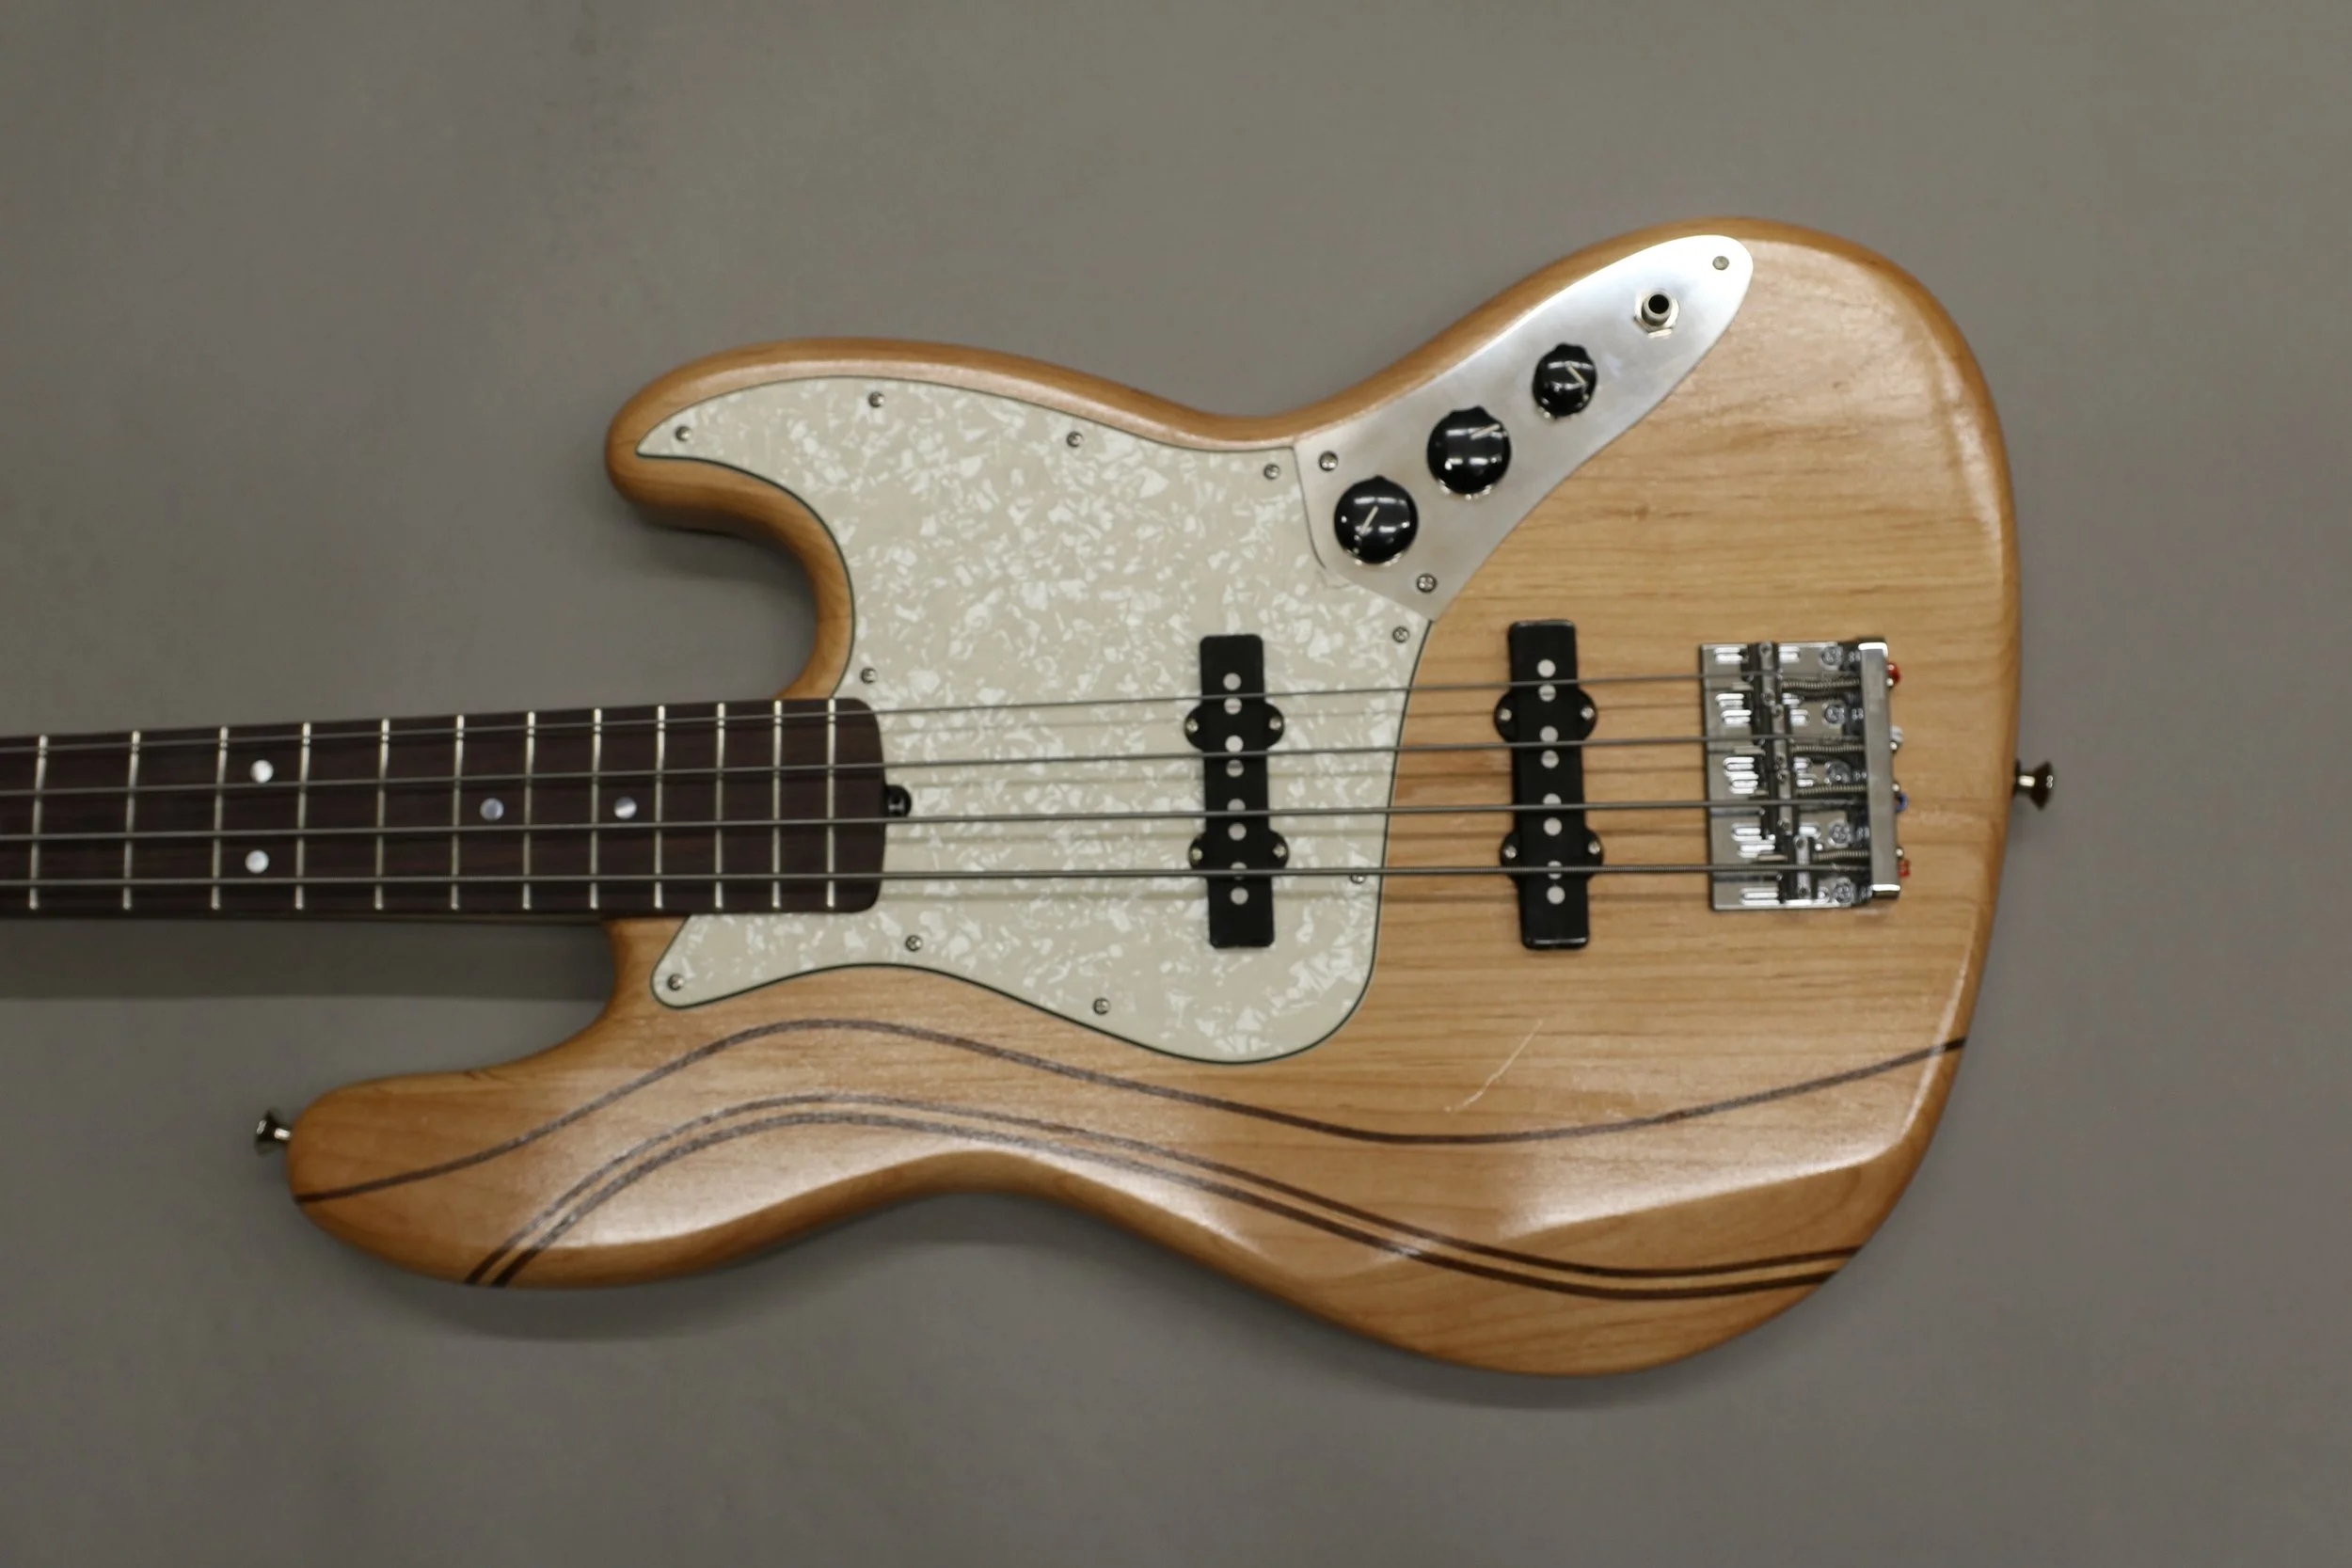
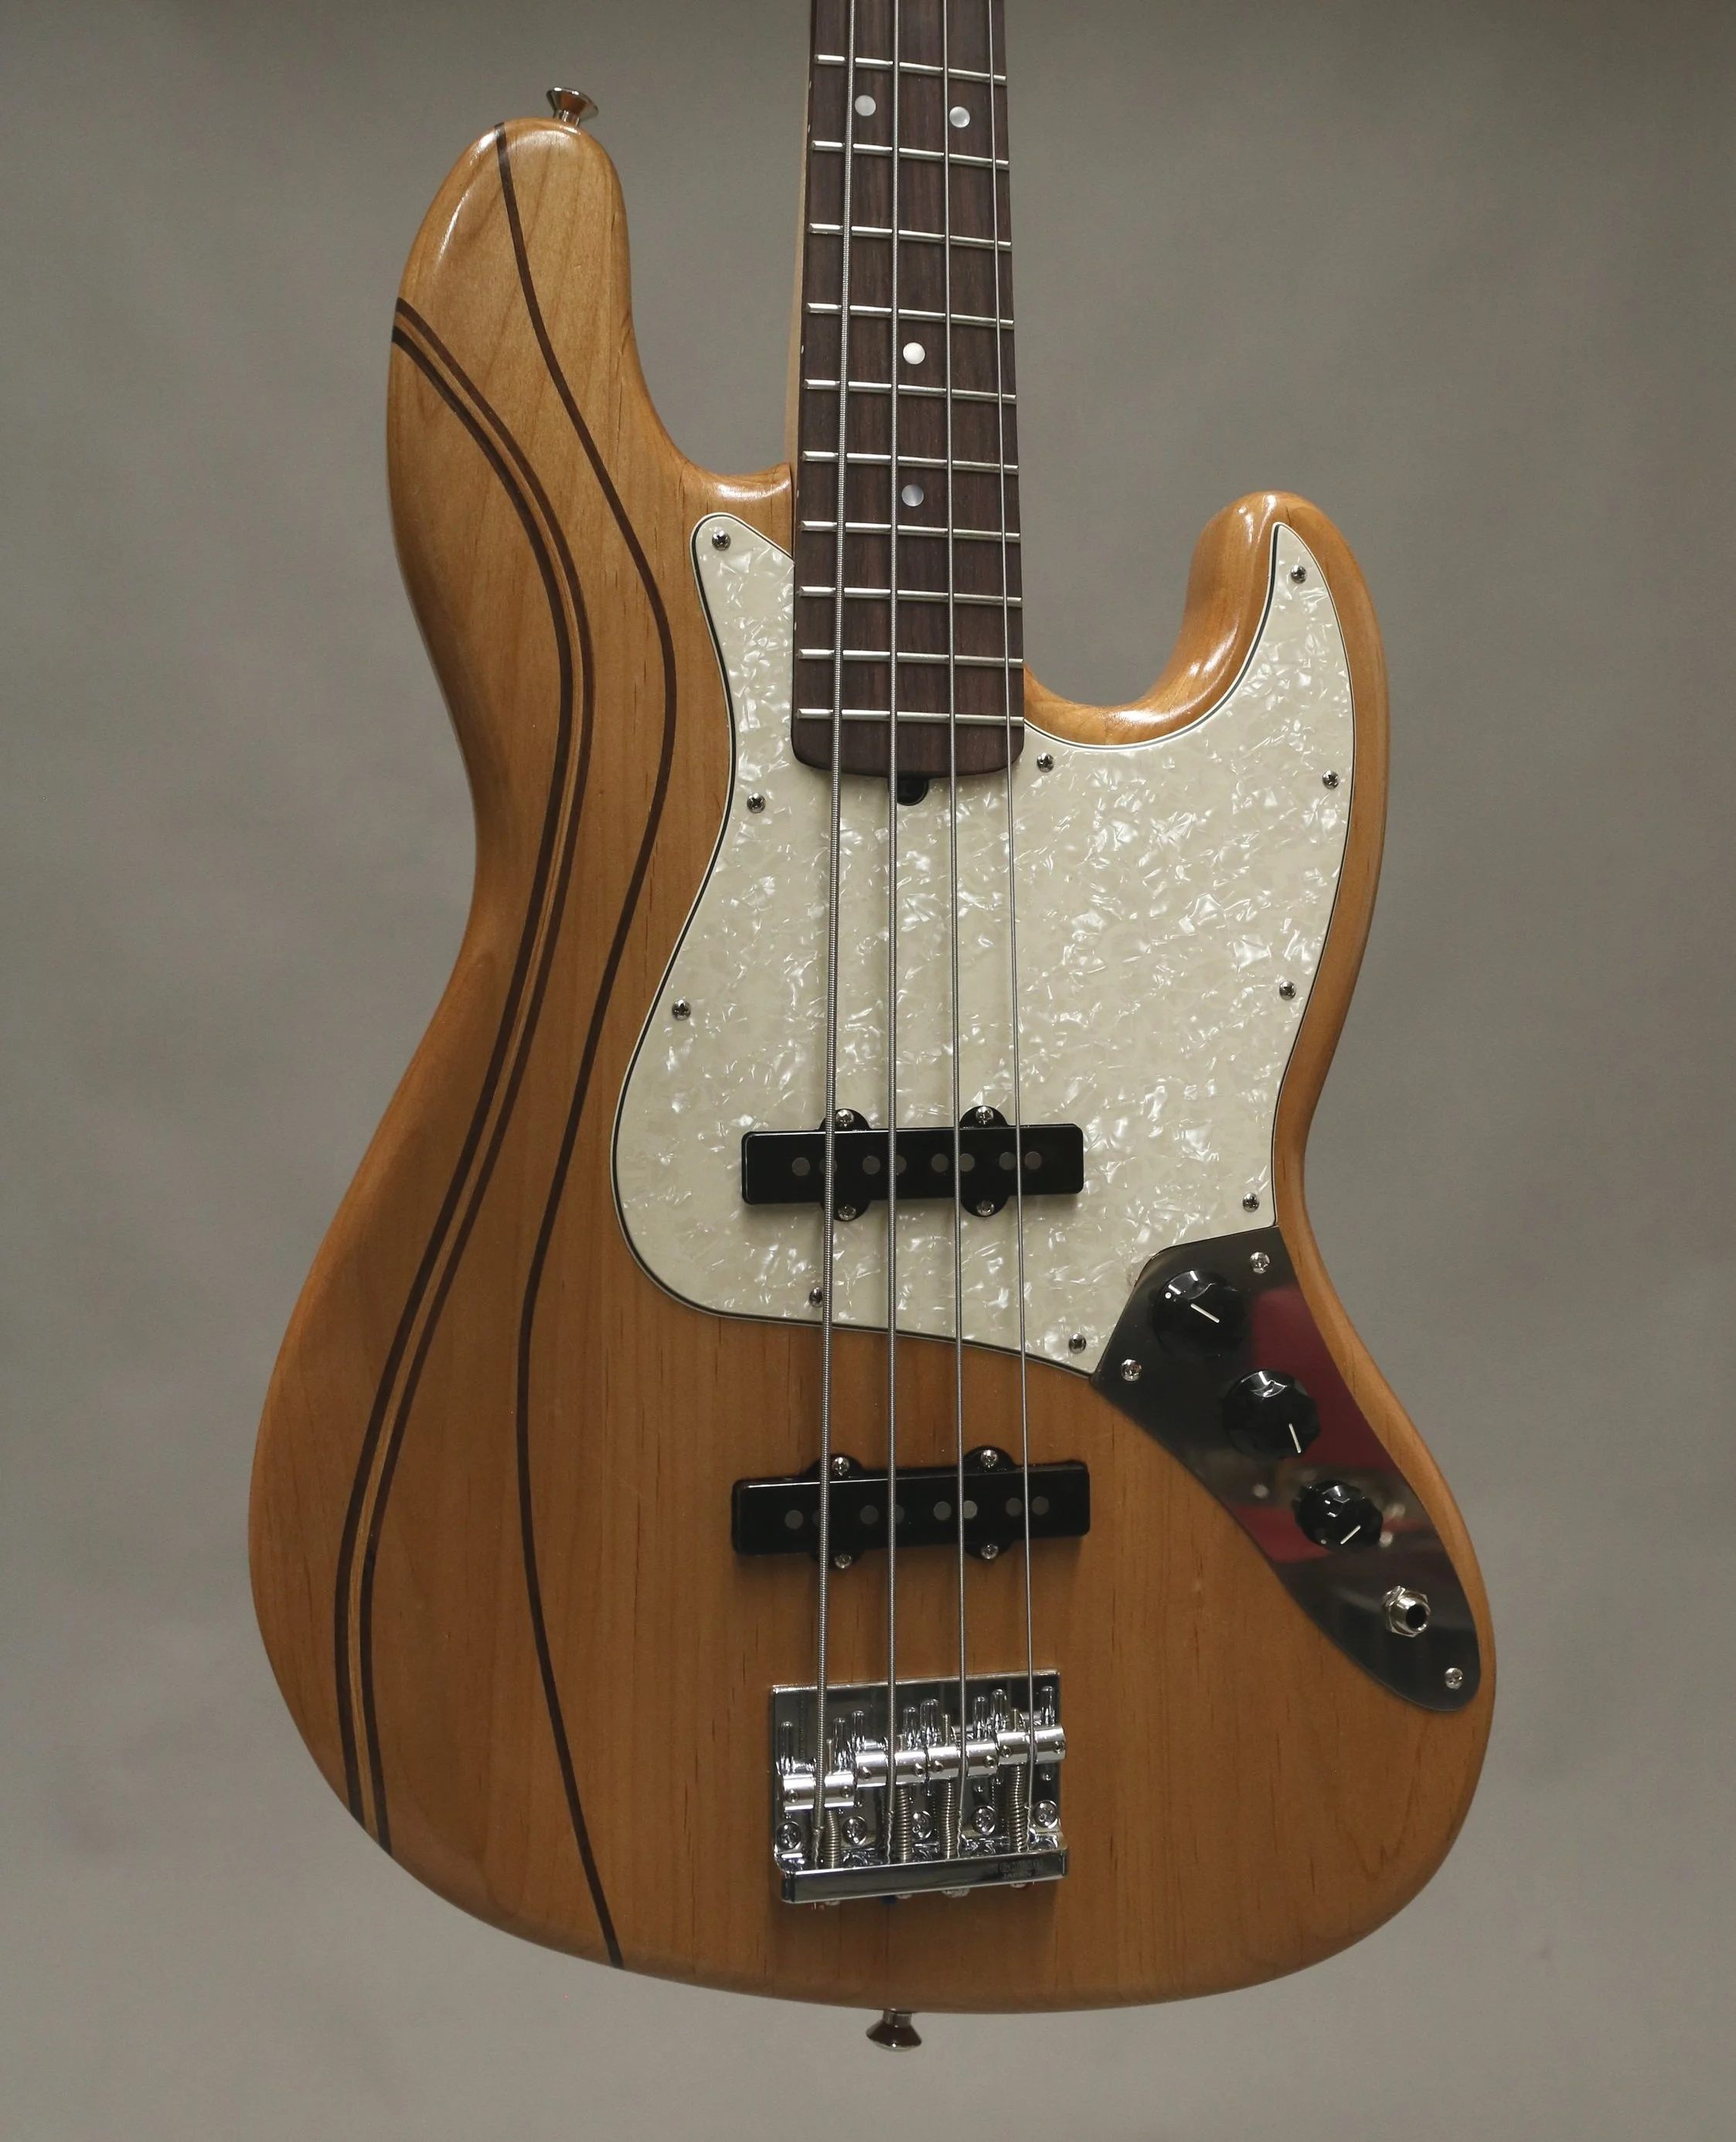
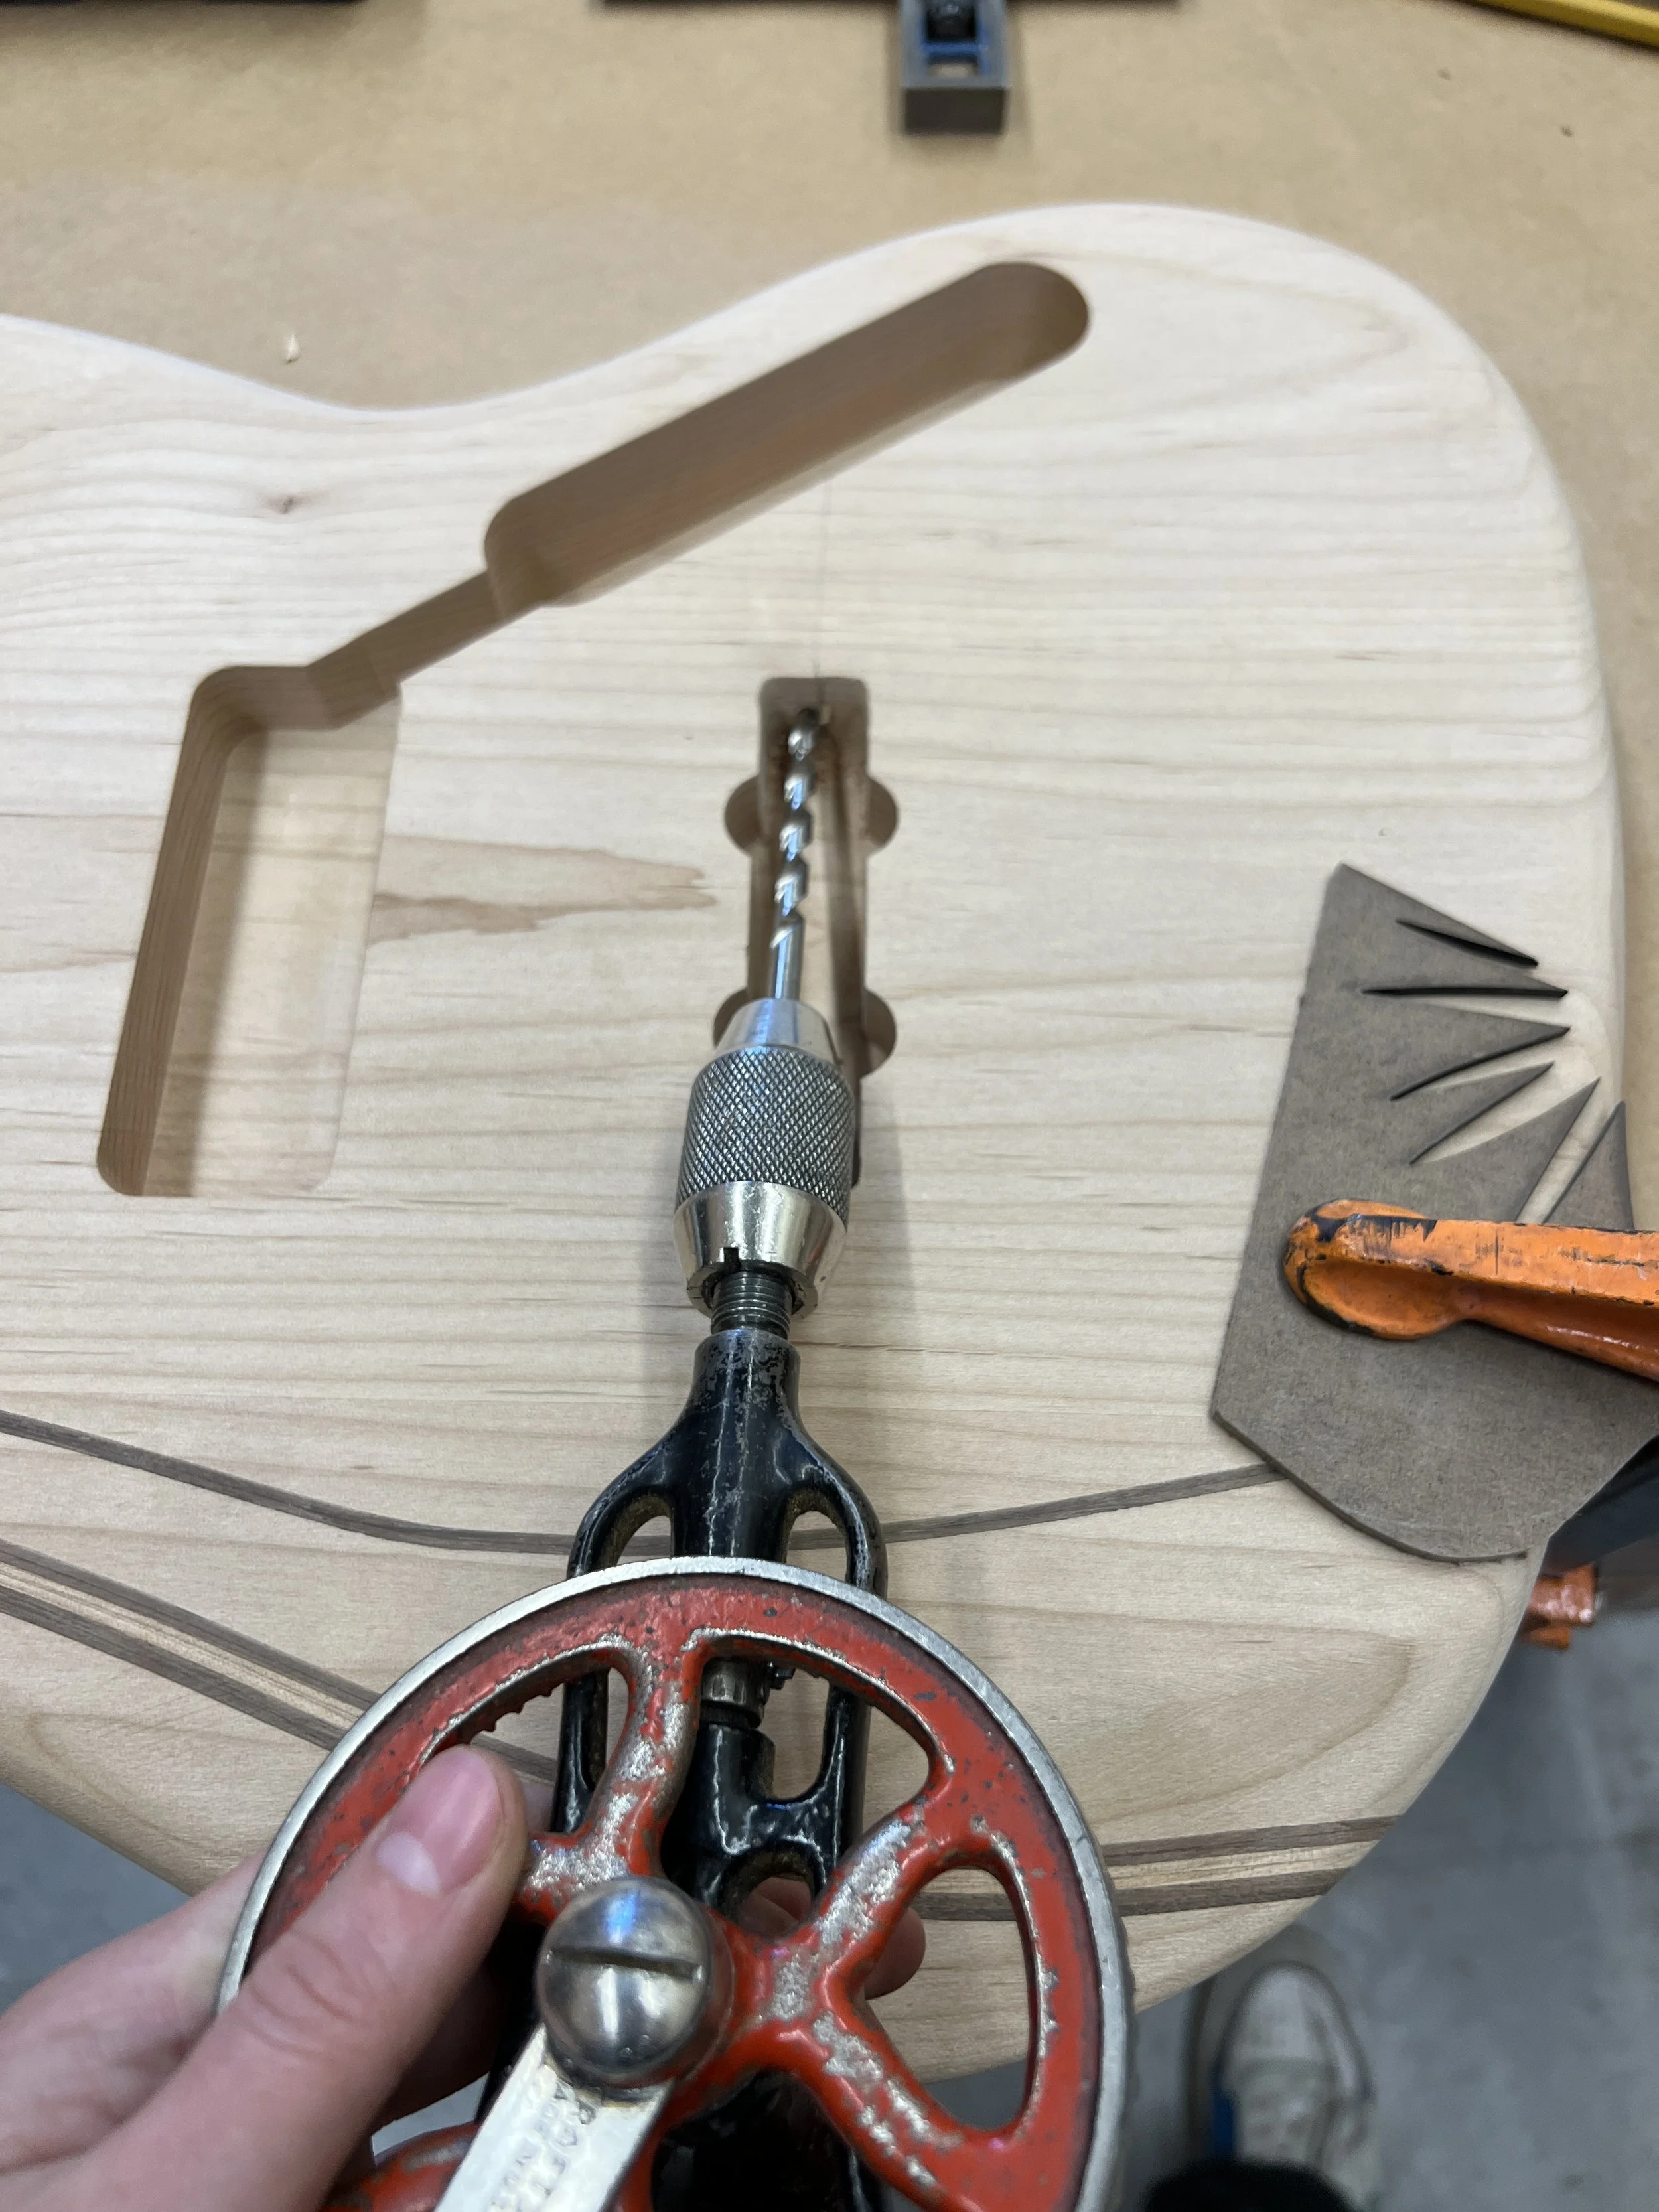
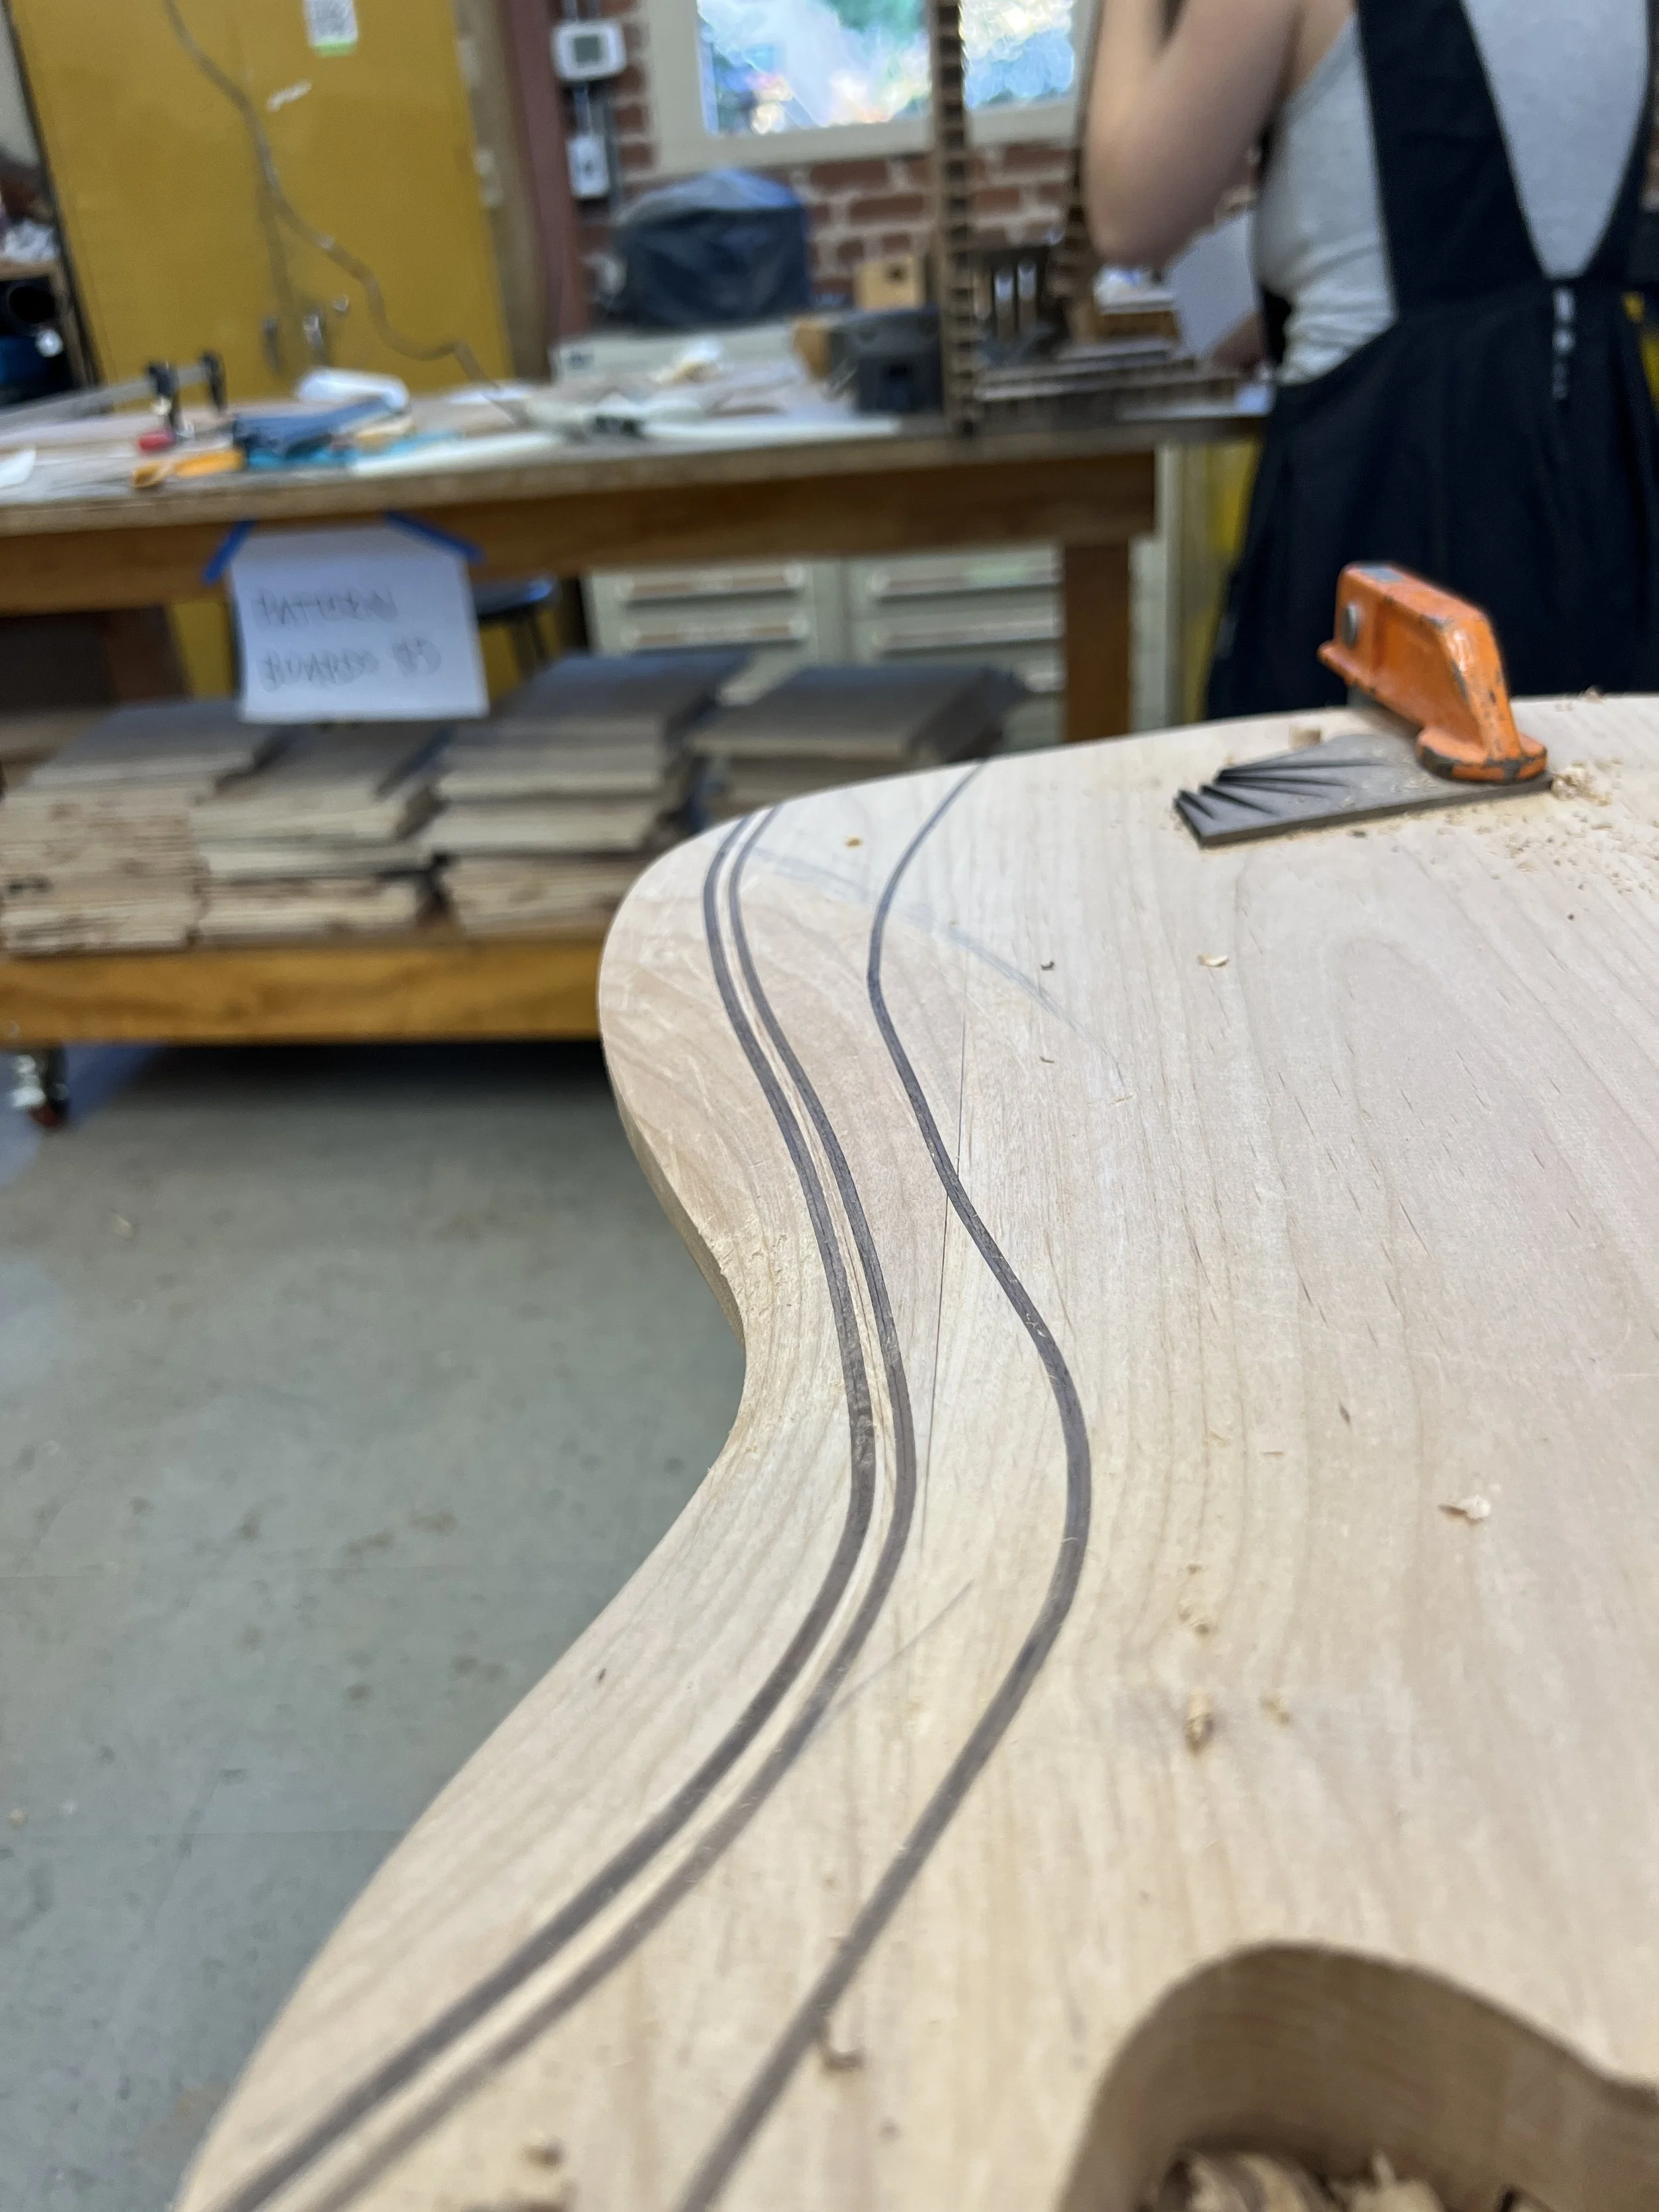
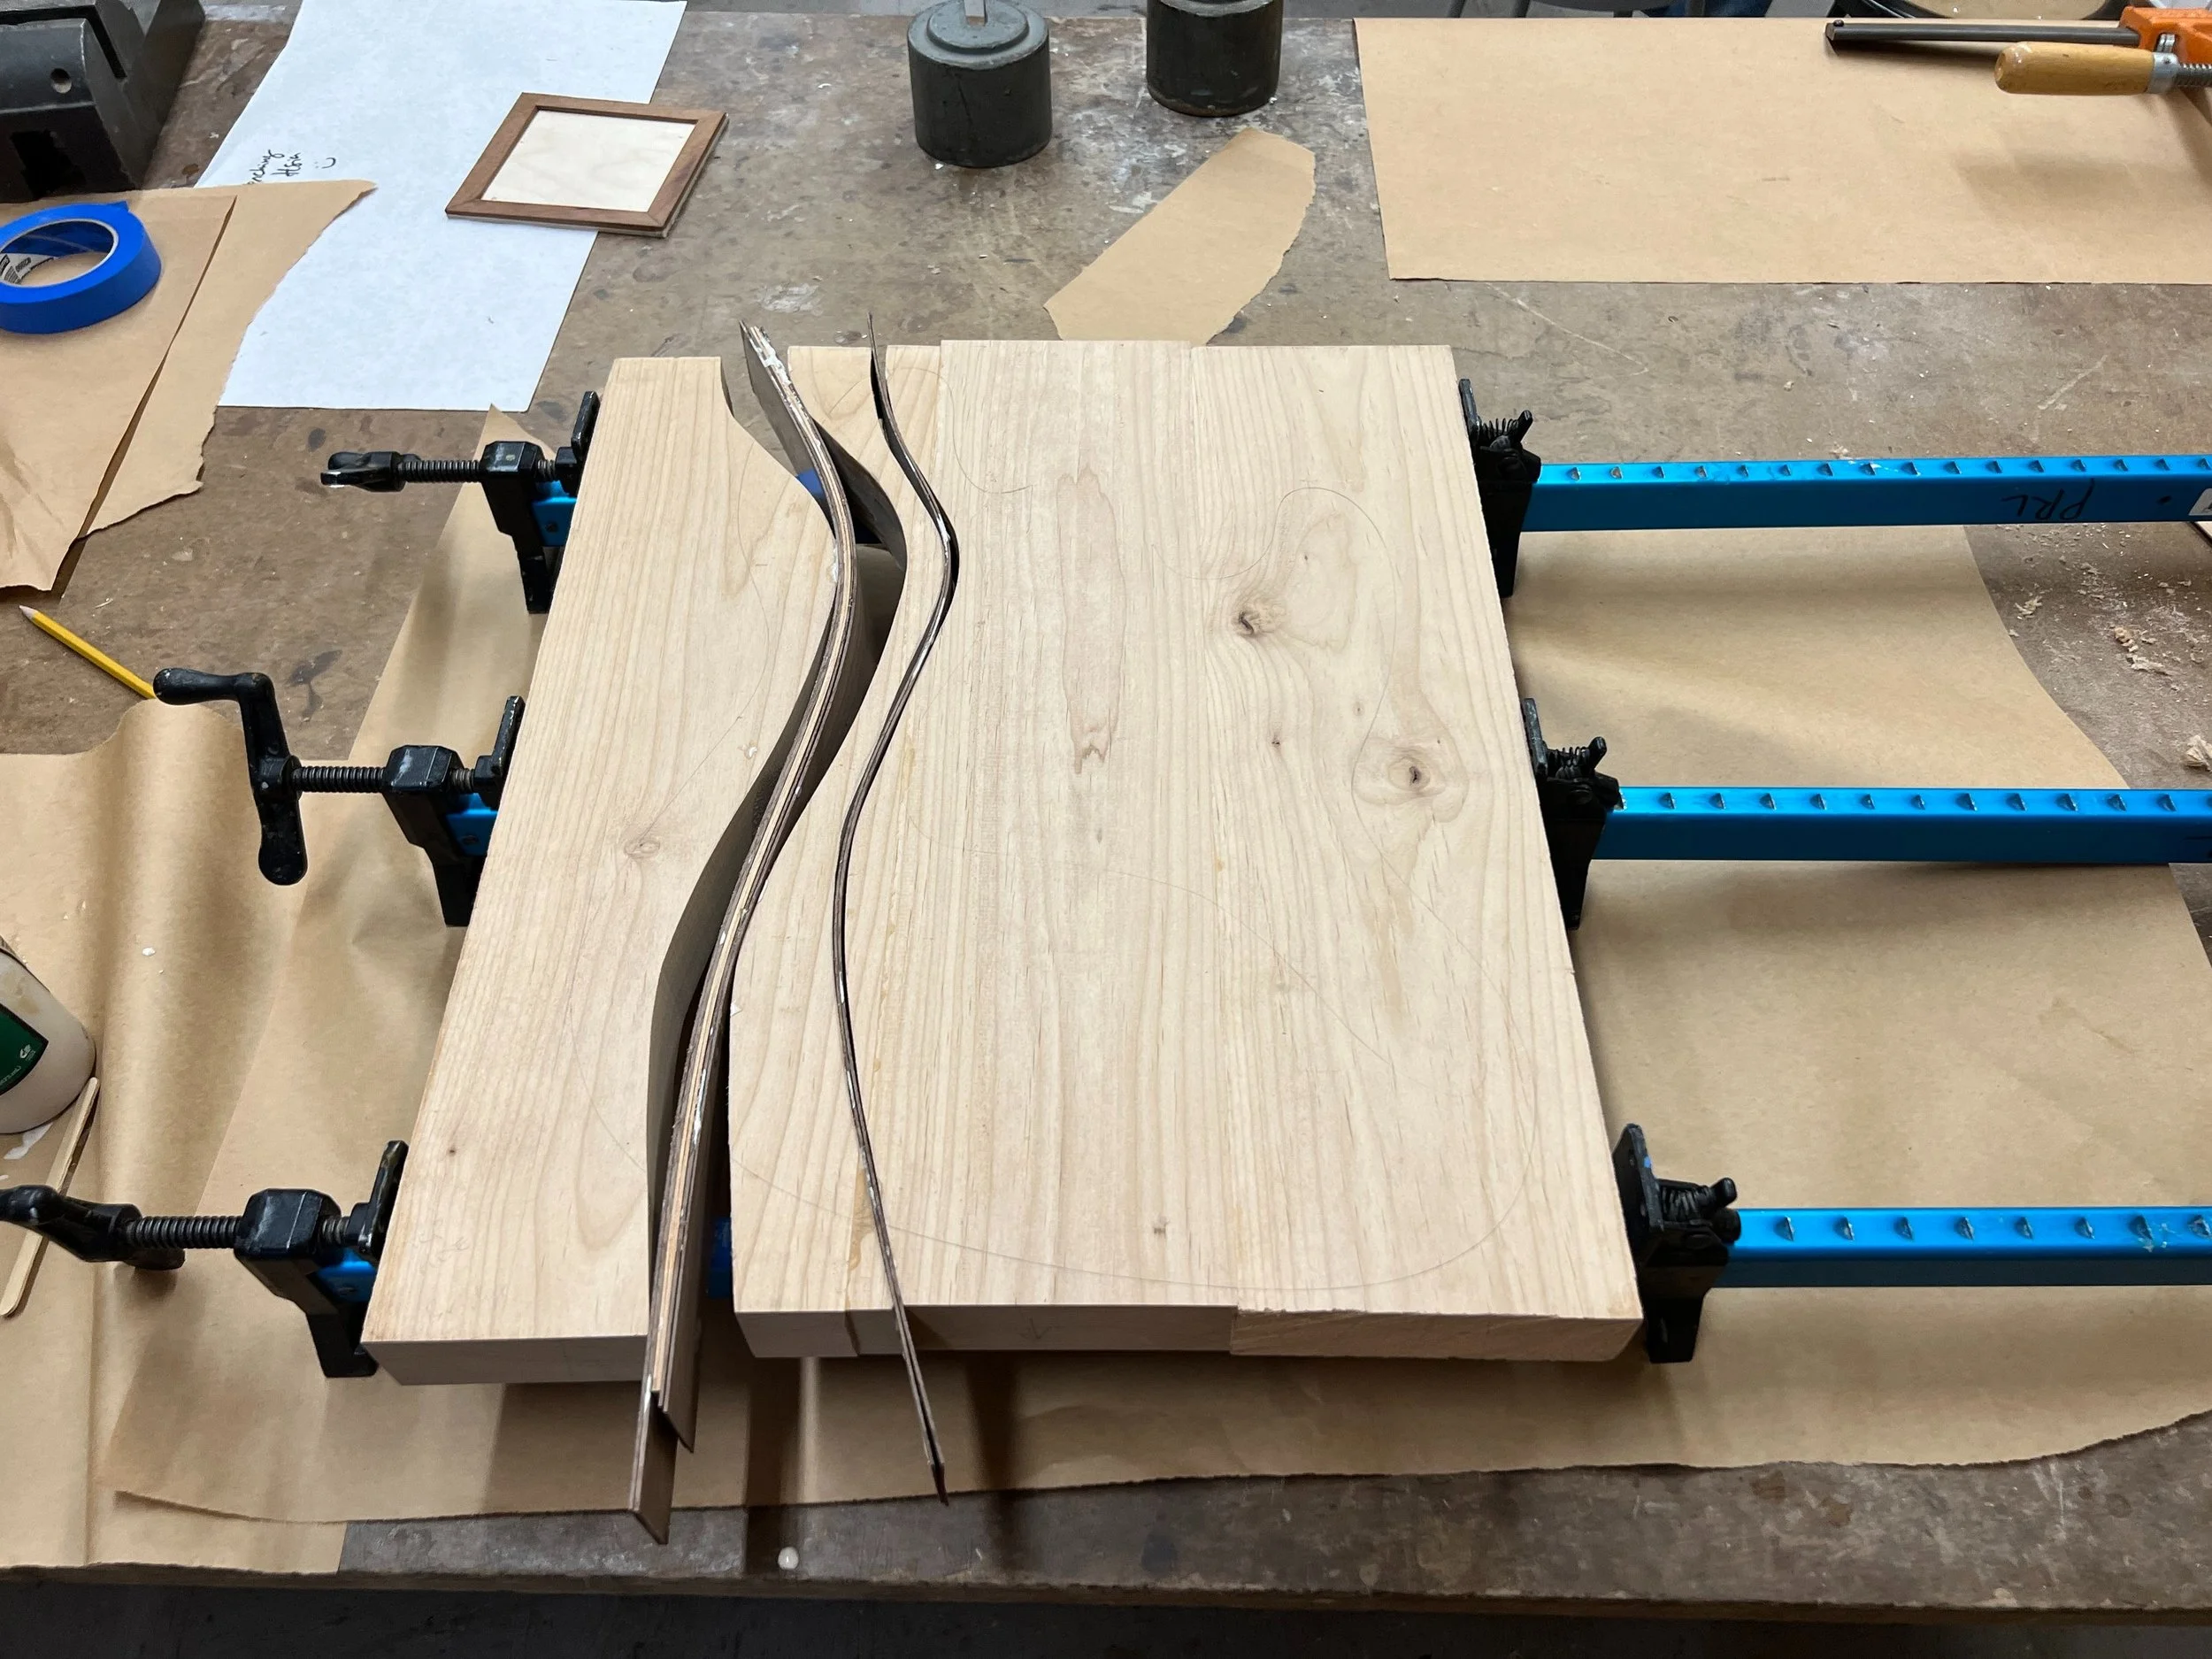
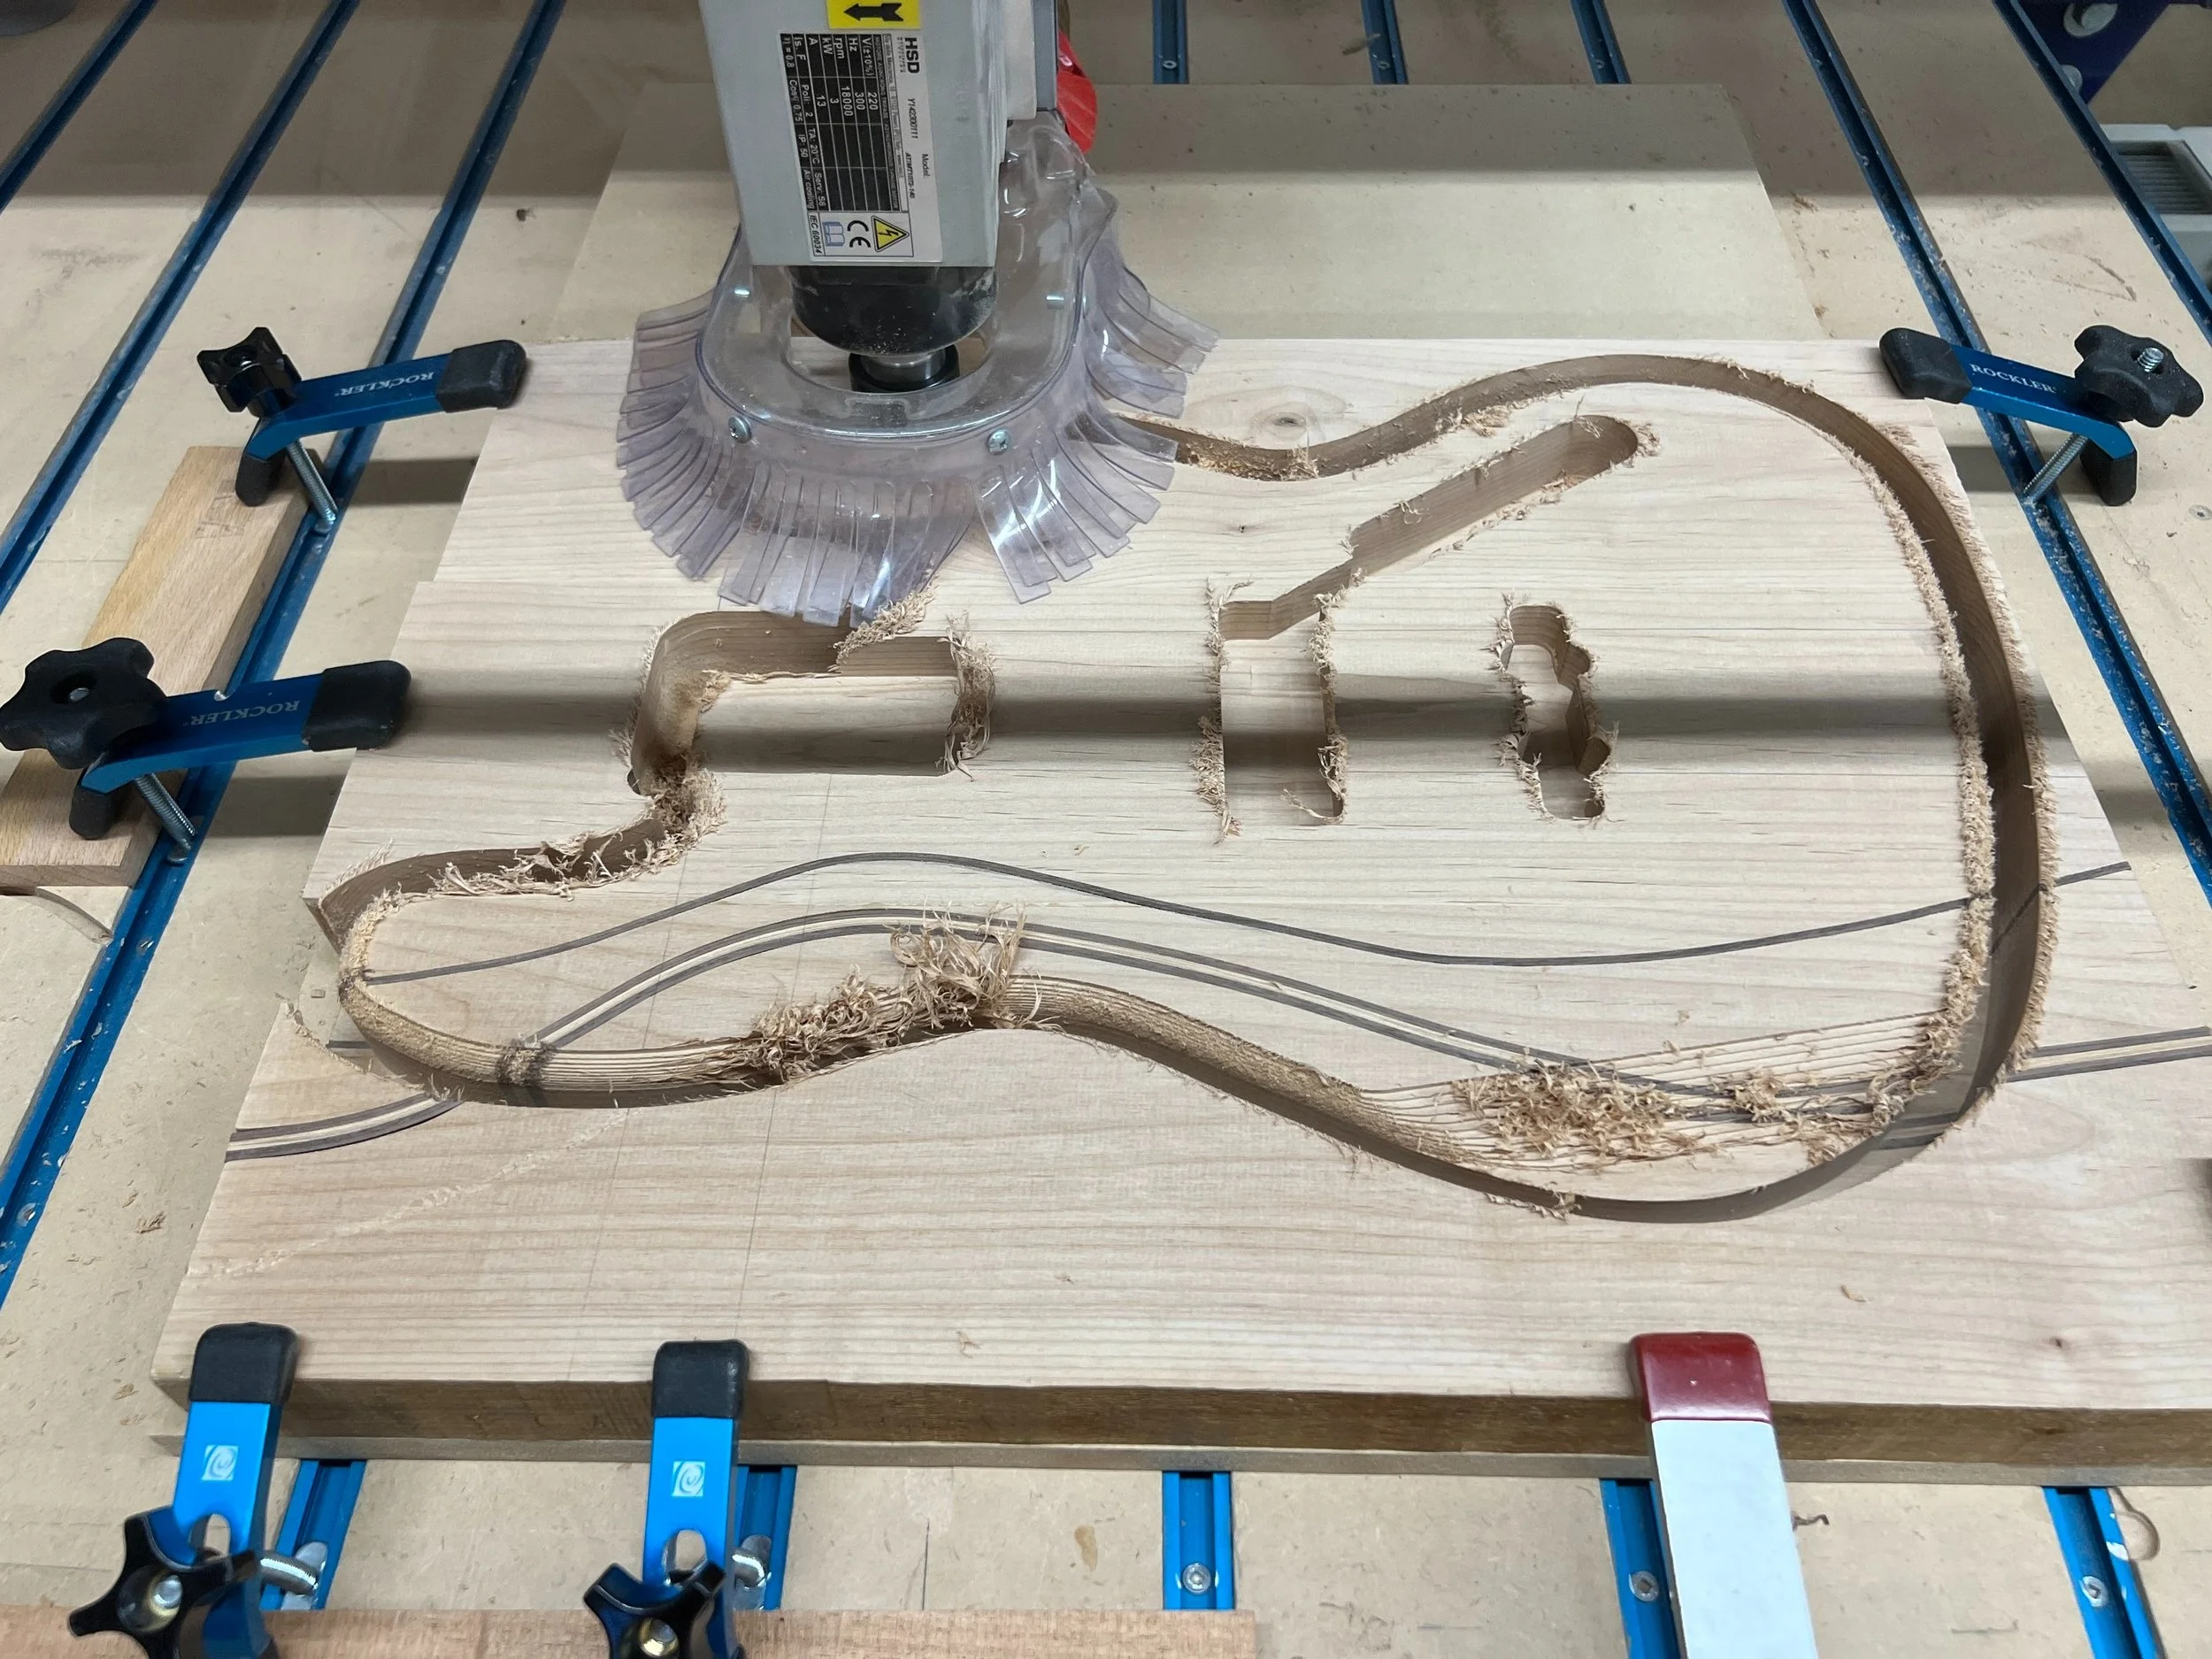
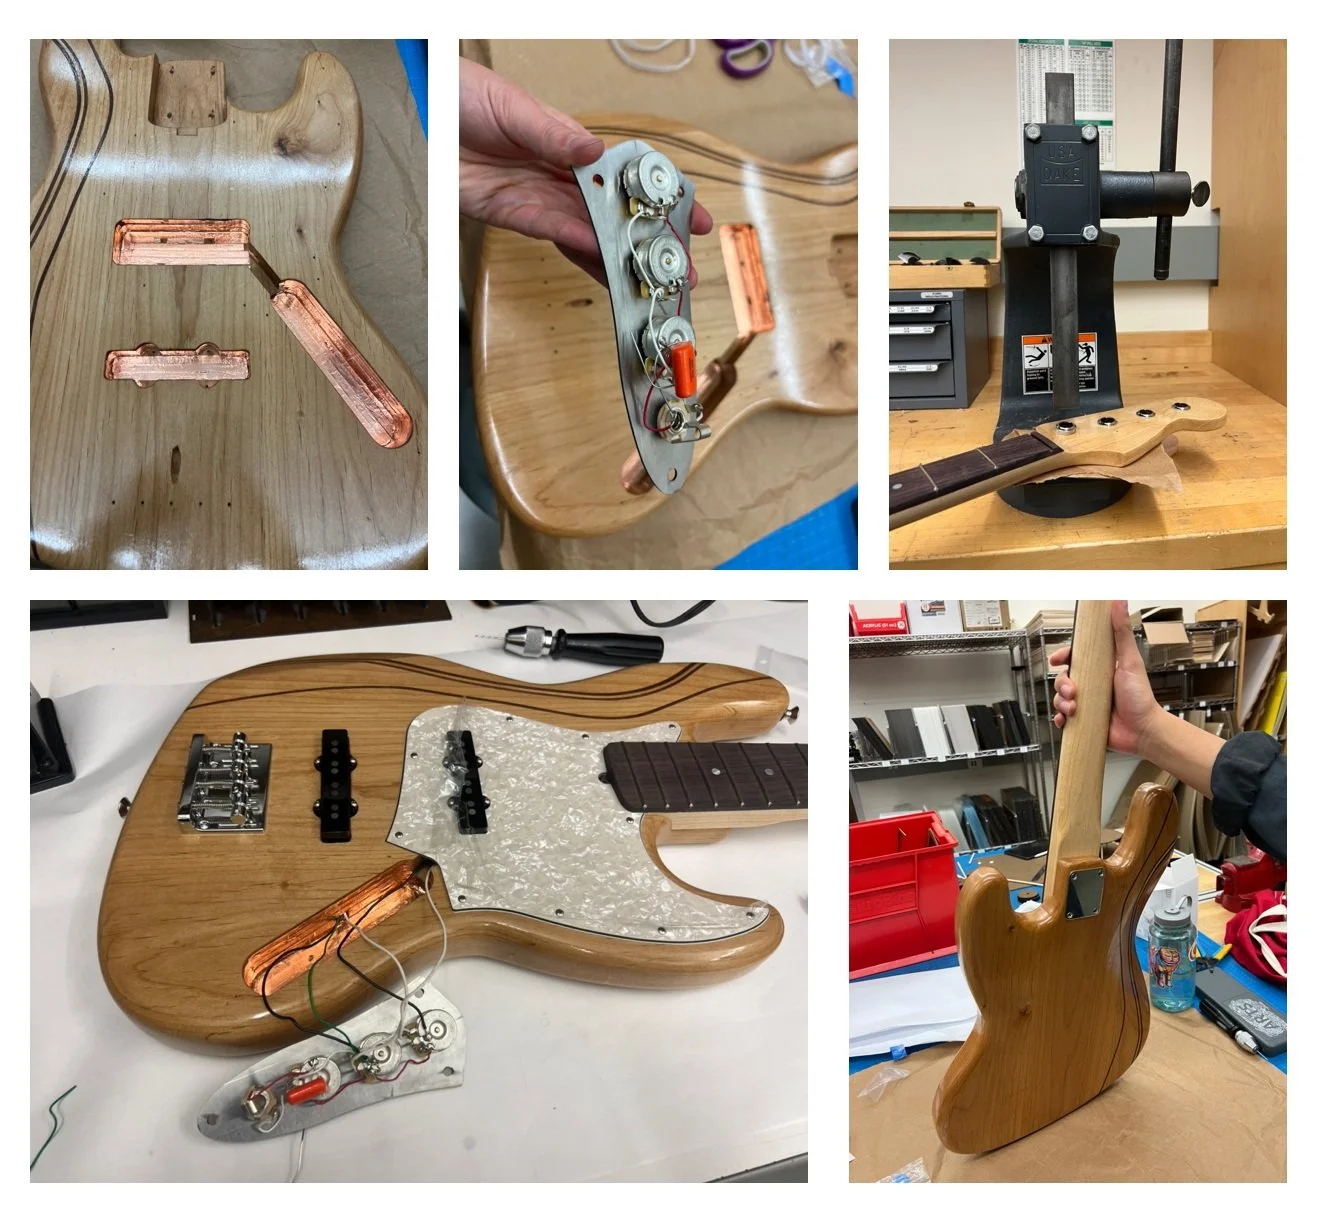
I wanted to add a personal touch to the body in the form of a curved wooden accent. I played with cutting walnut strips of varying thicknesses on the table saw. I cut strips in increments of 1/4”, 7/32”, 3/16”, and 5/32”. These resulted in strips with a thickness of 0.155”, 0.13”, 0.09”, and 0.055” respectively. The difference in flexibility between the pieces was astounding. I glued up the Alder boards that would make up the body with the thin strips pressed between curved cuts in the board. The shape was cut on the ShopBot. There are a few challenging holes that need to be cut in the body. The most challenging was the one between the bridge pickup and the control panel (shown below). I used a hand crank drill to be as delicate as possible.
Fingerboard
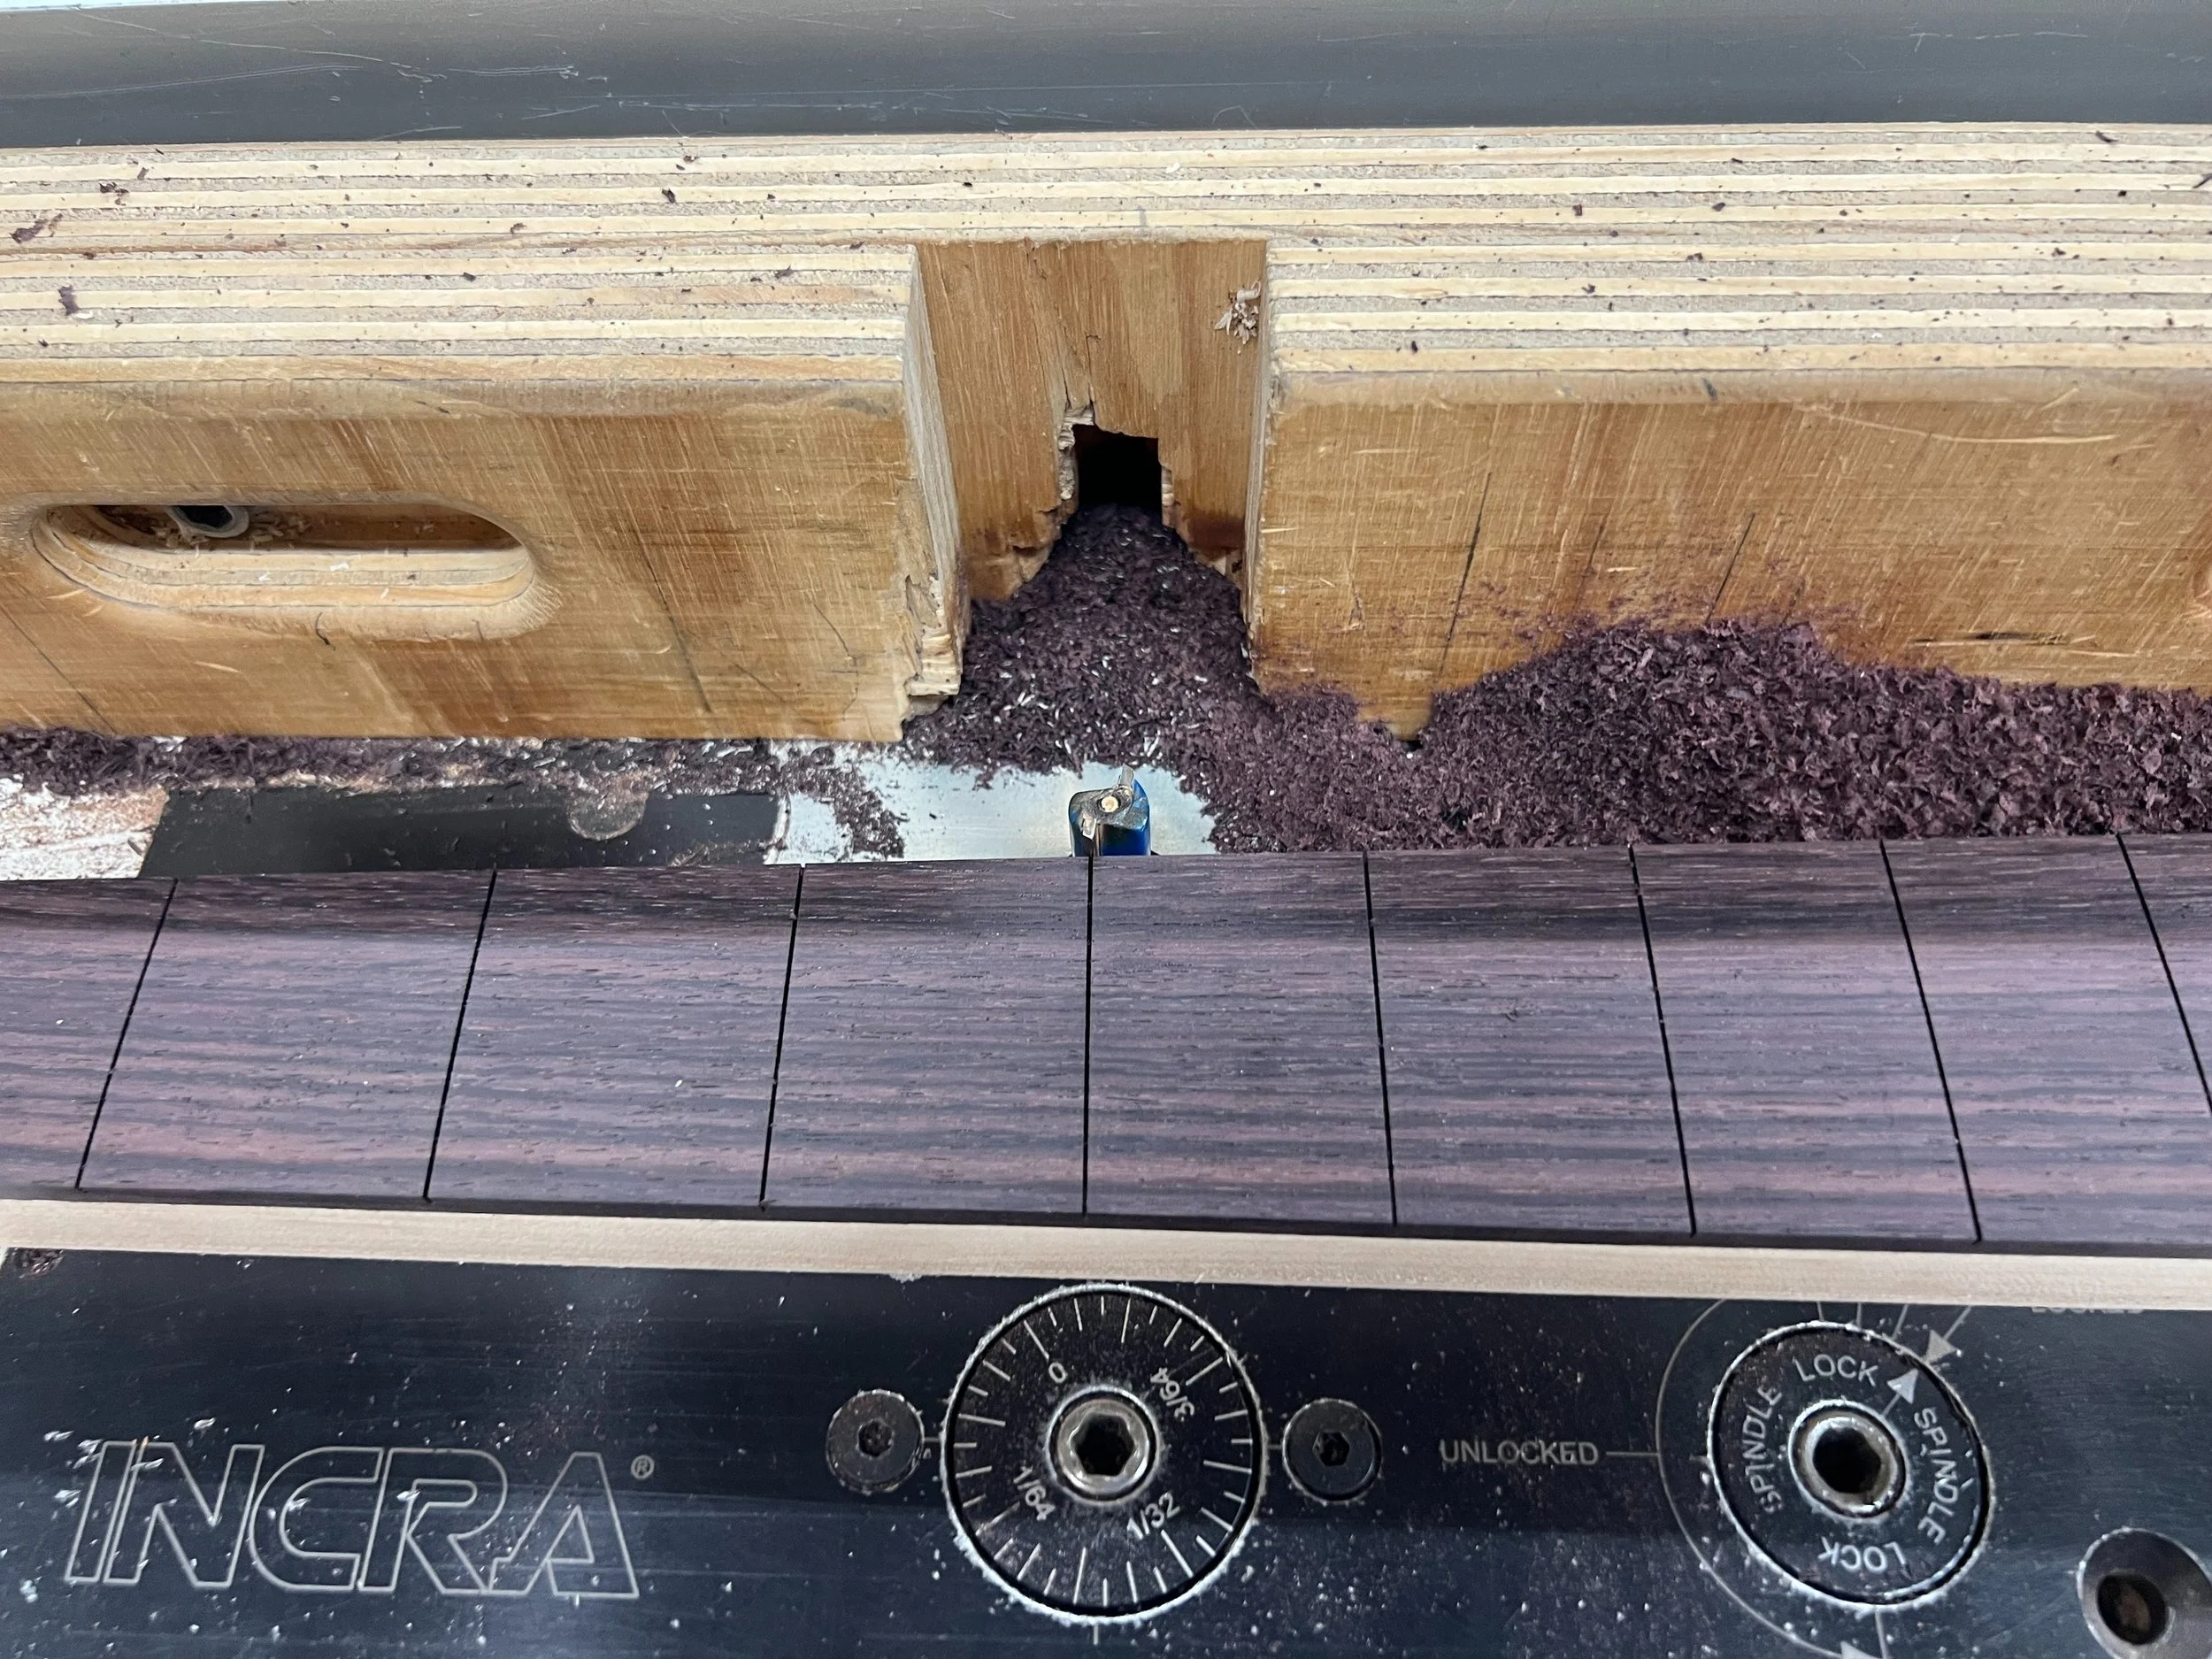
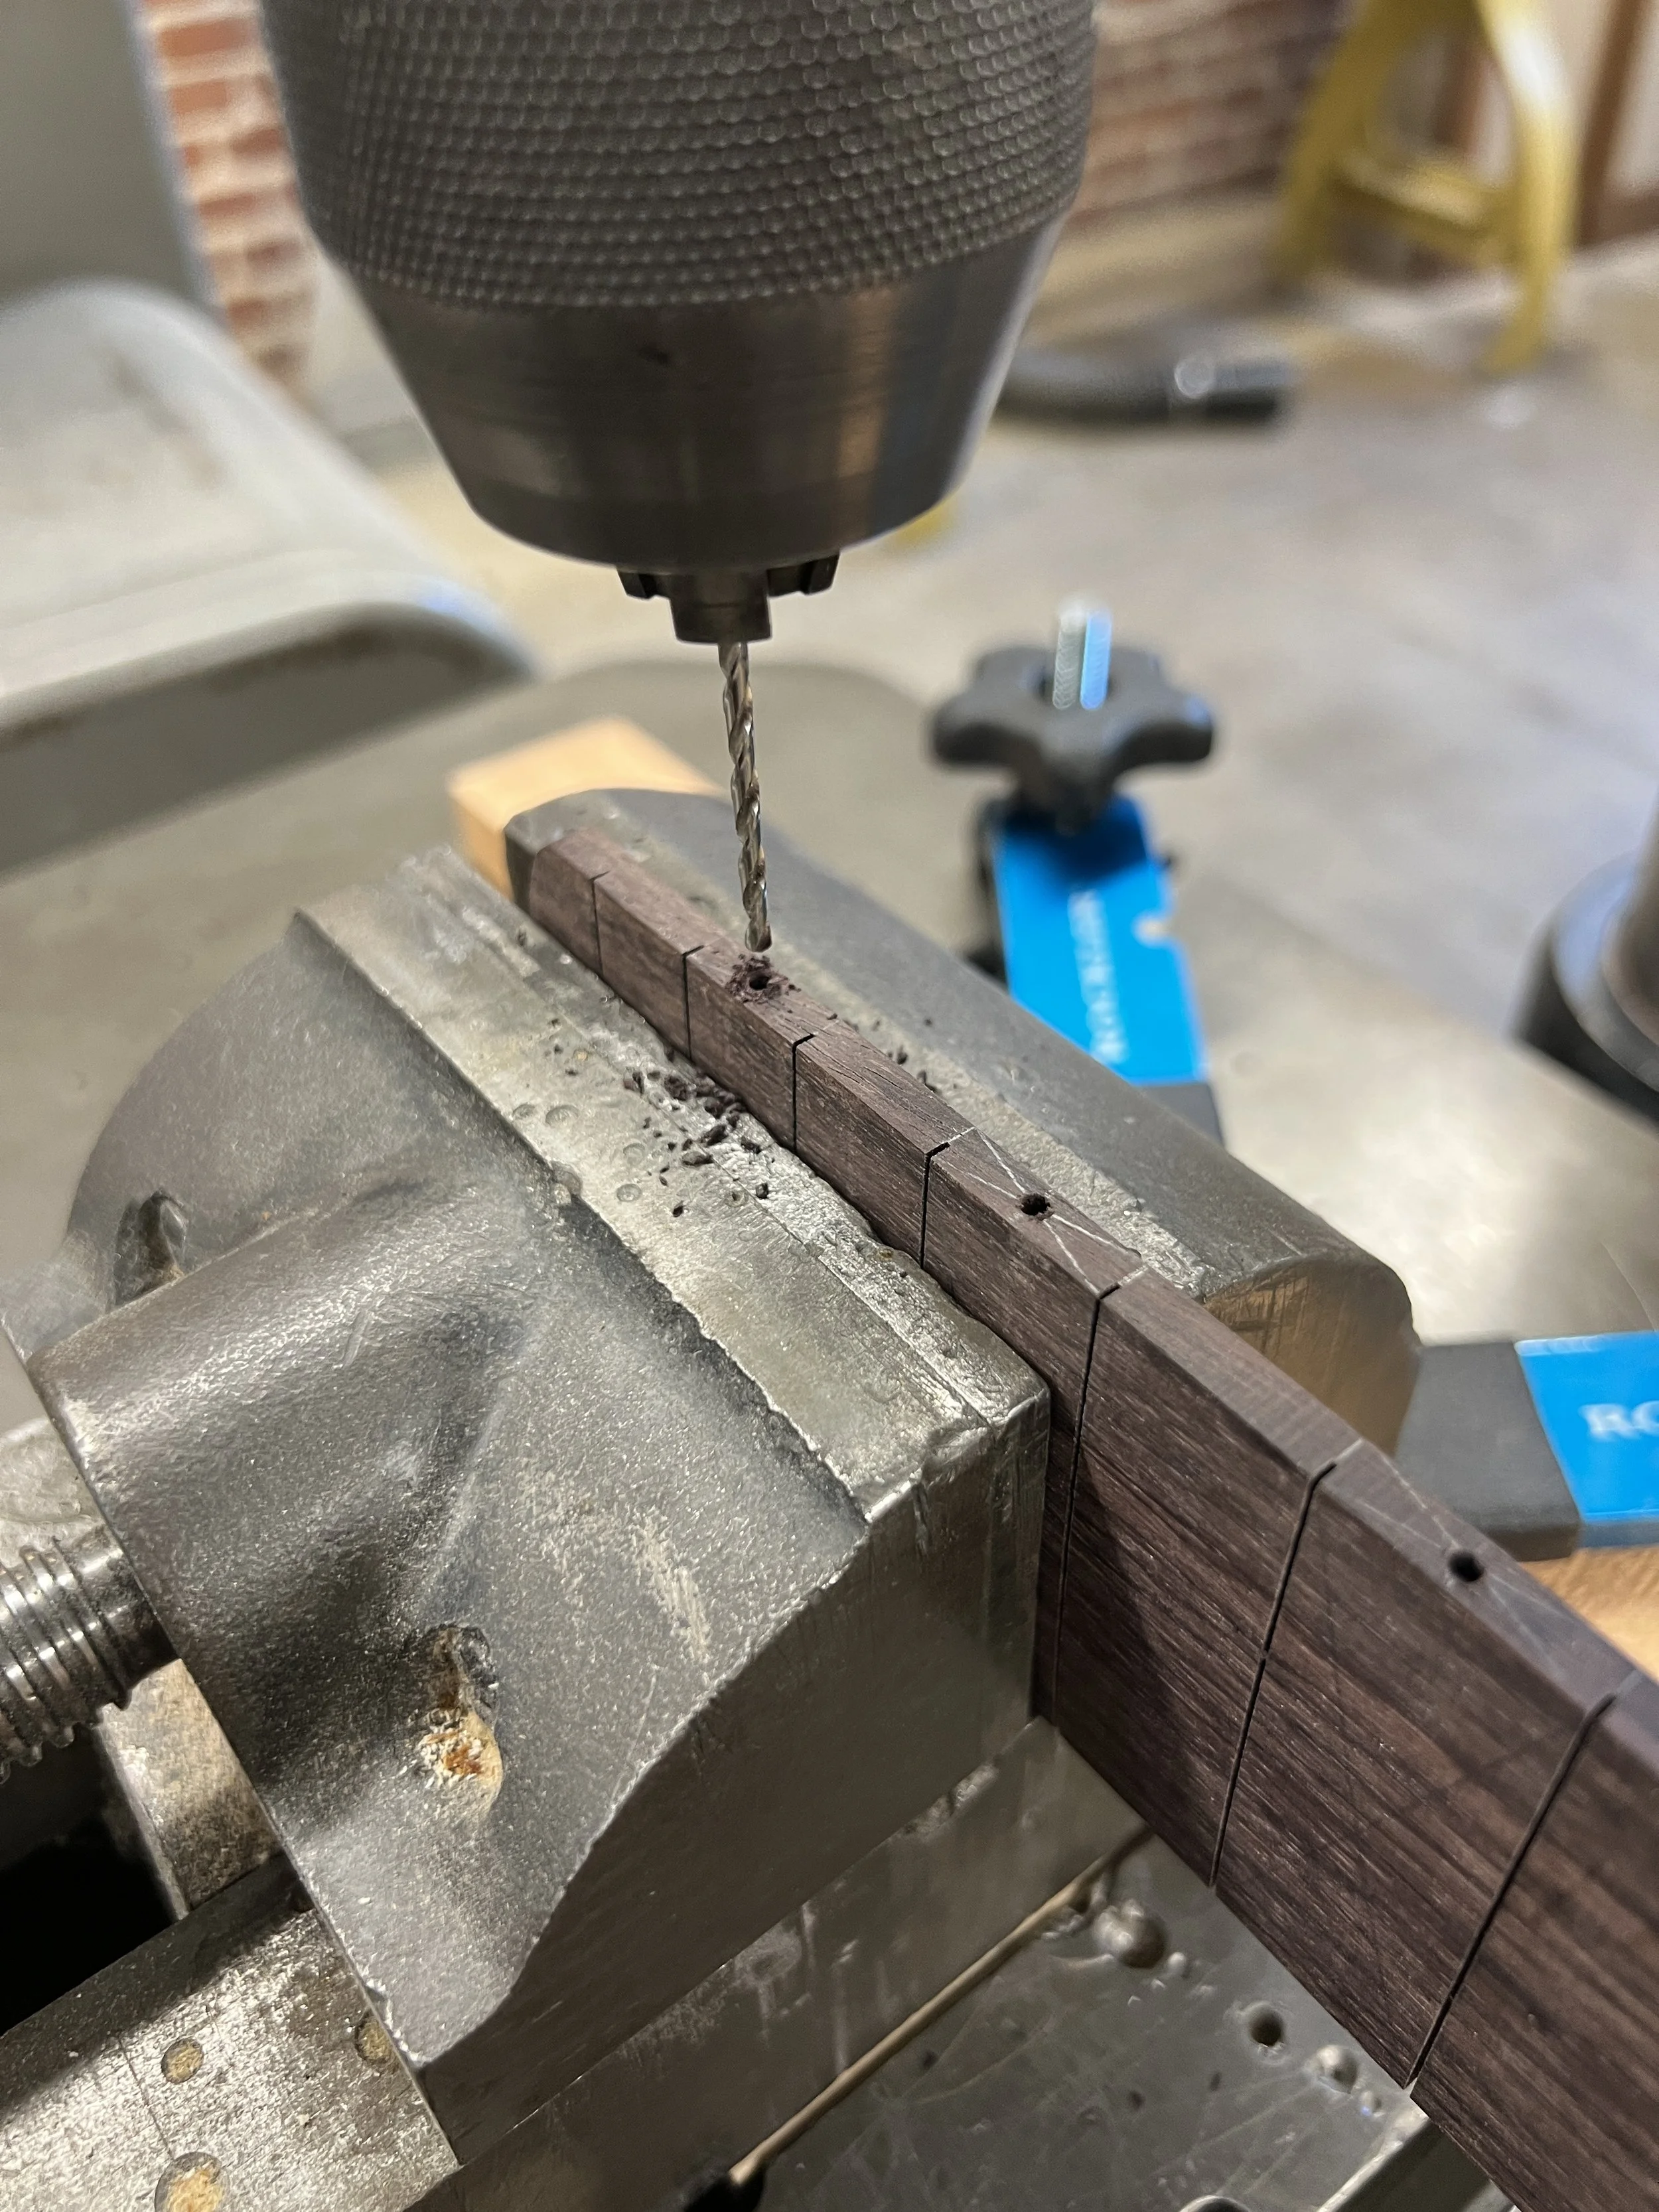
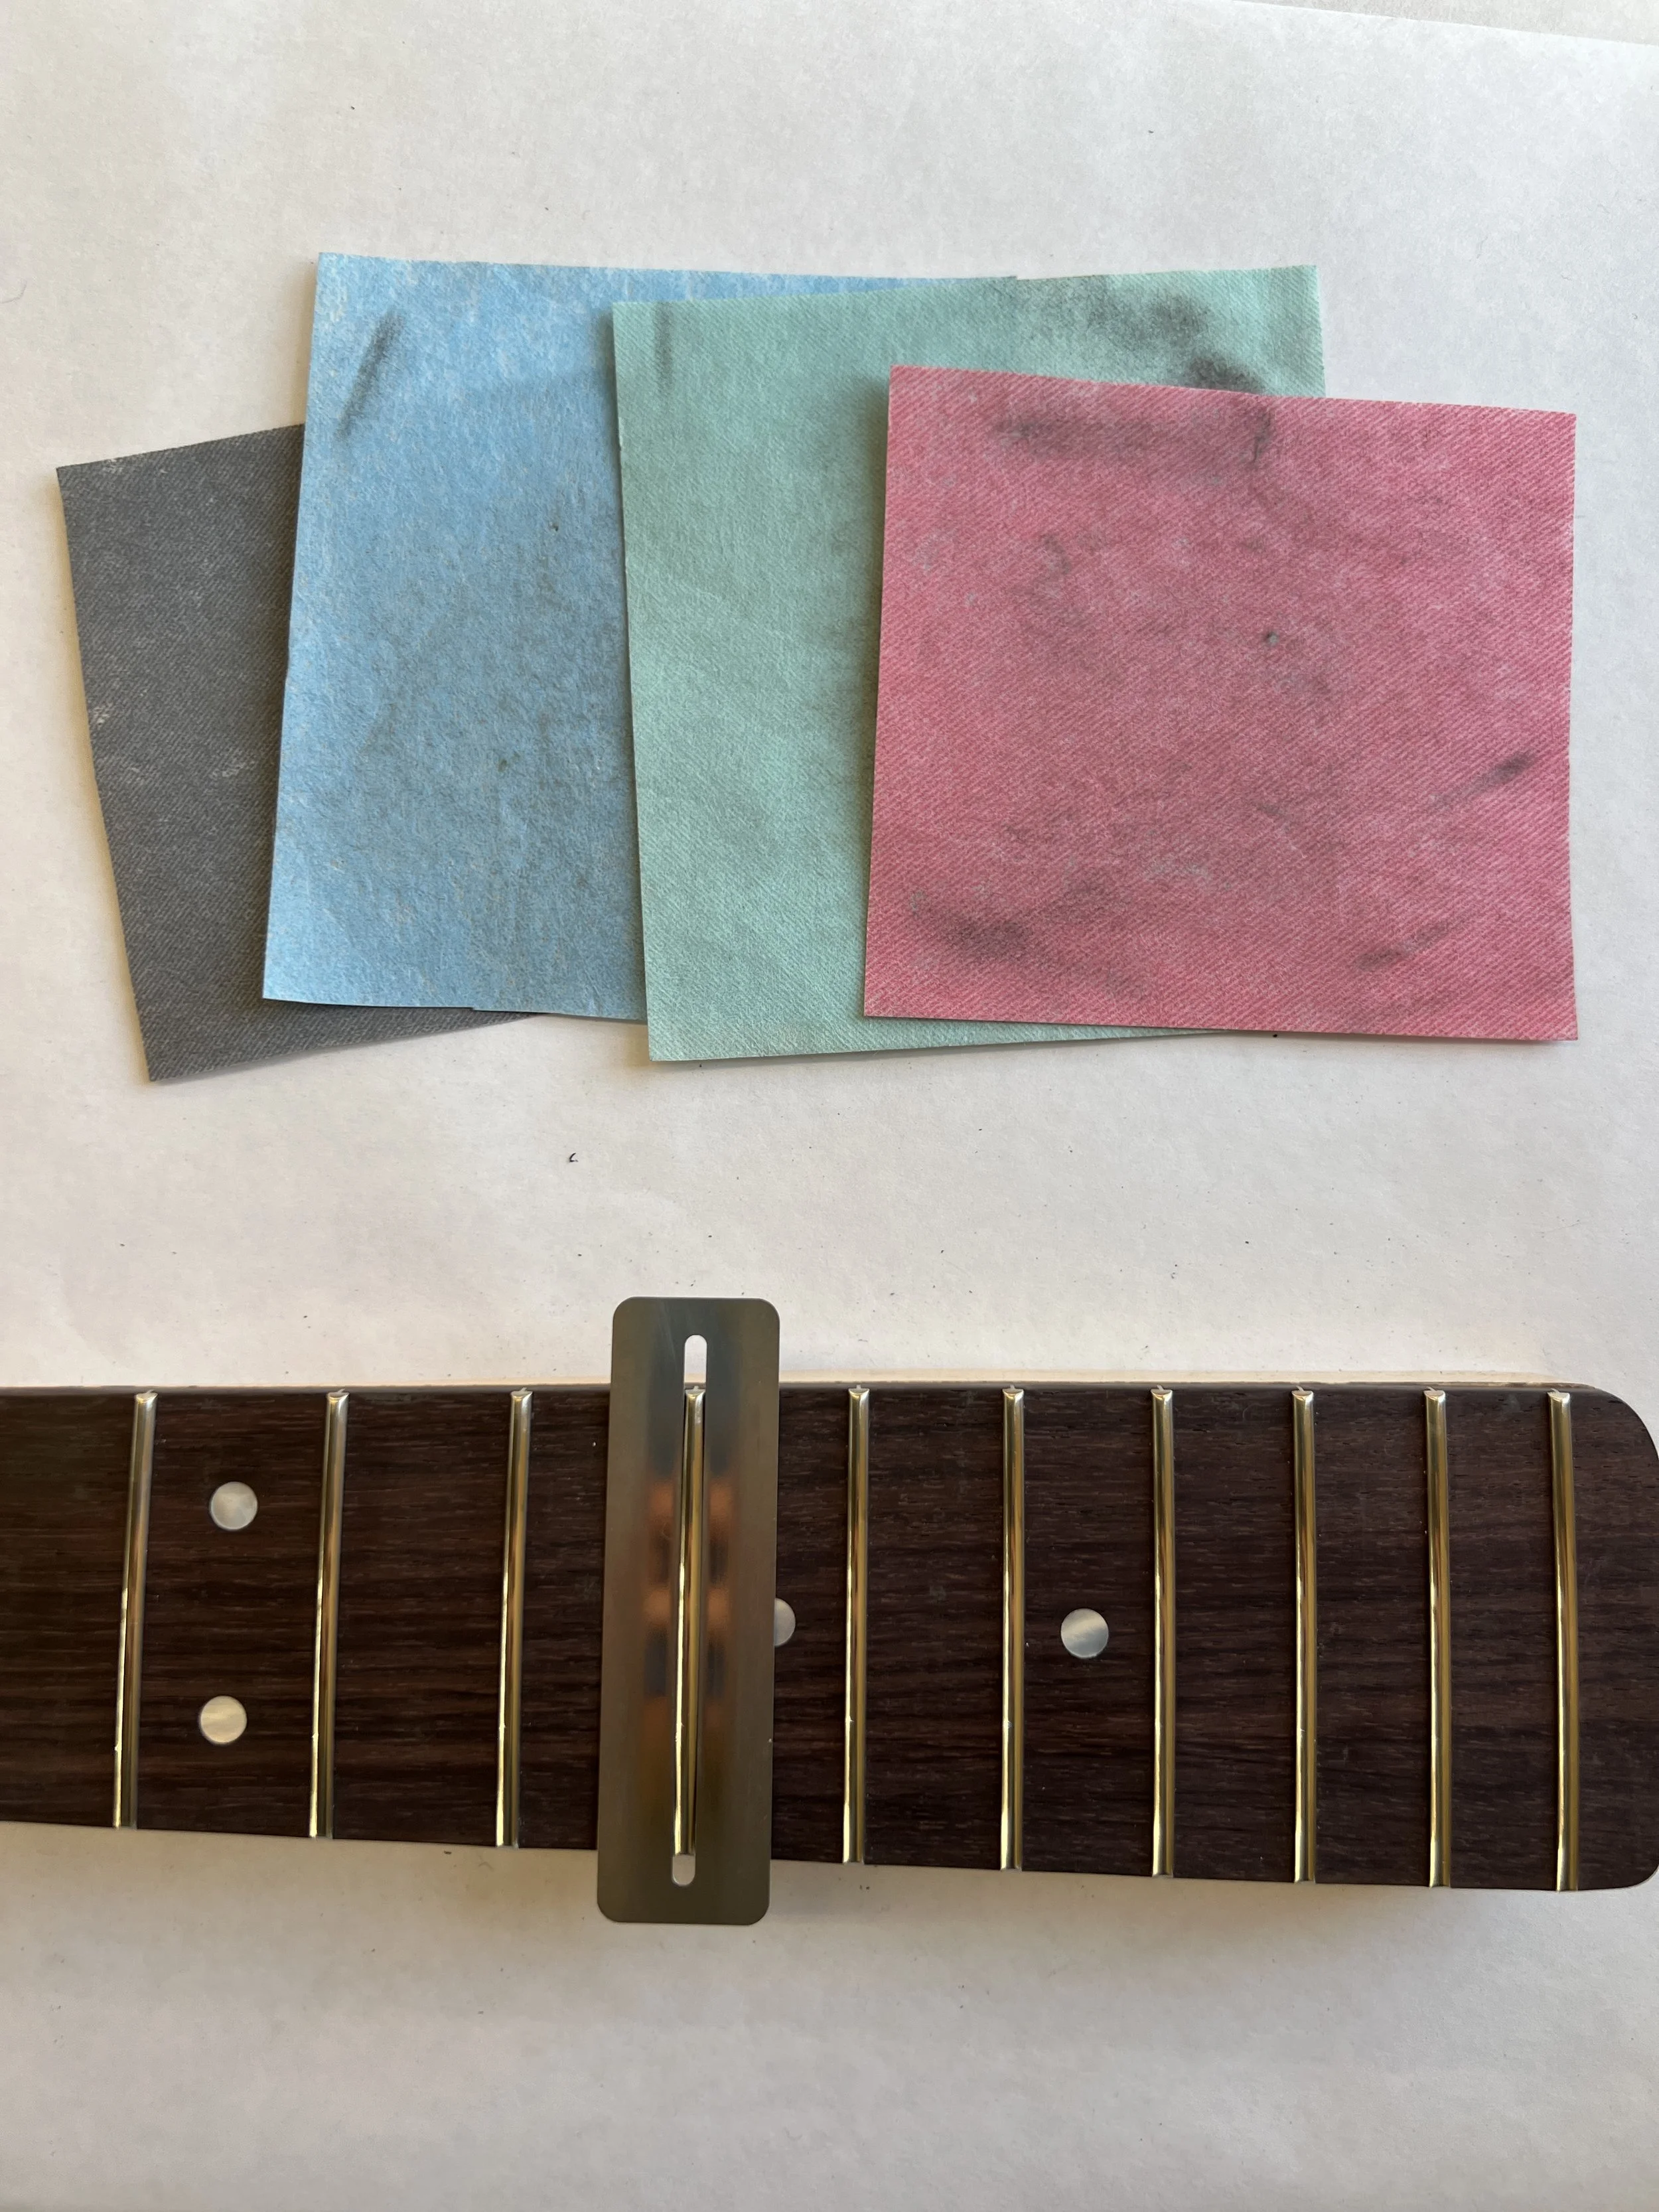
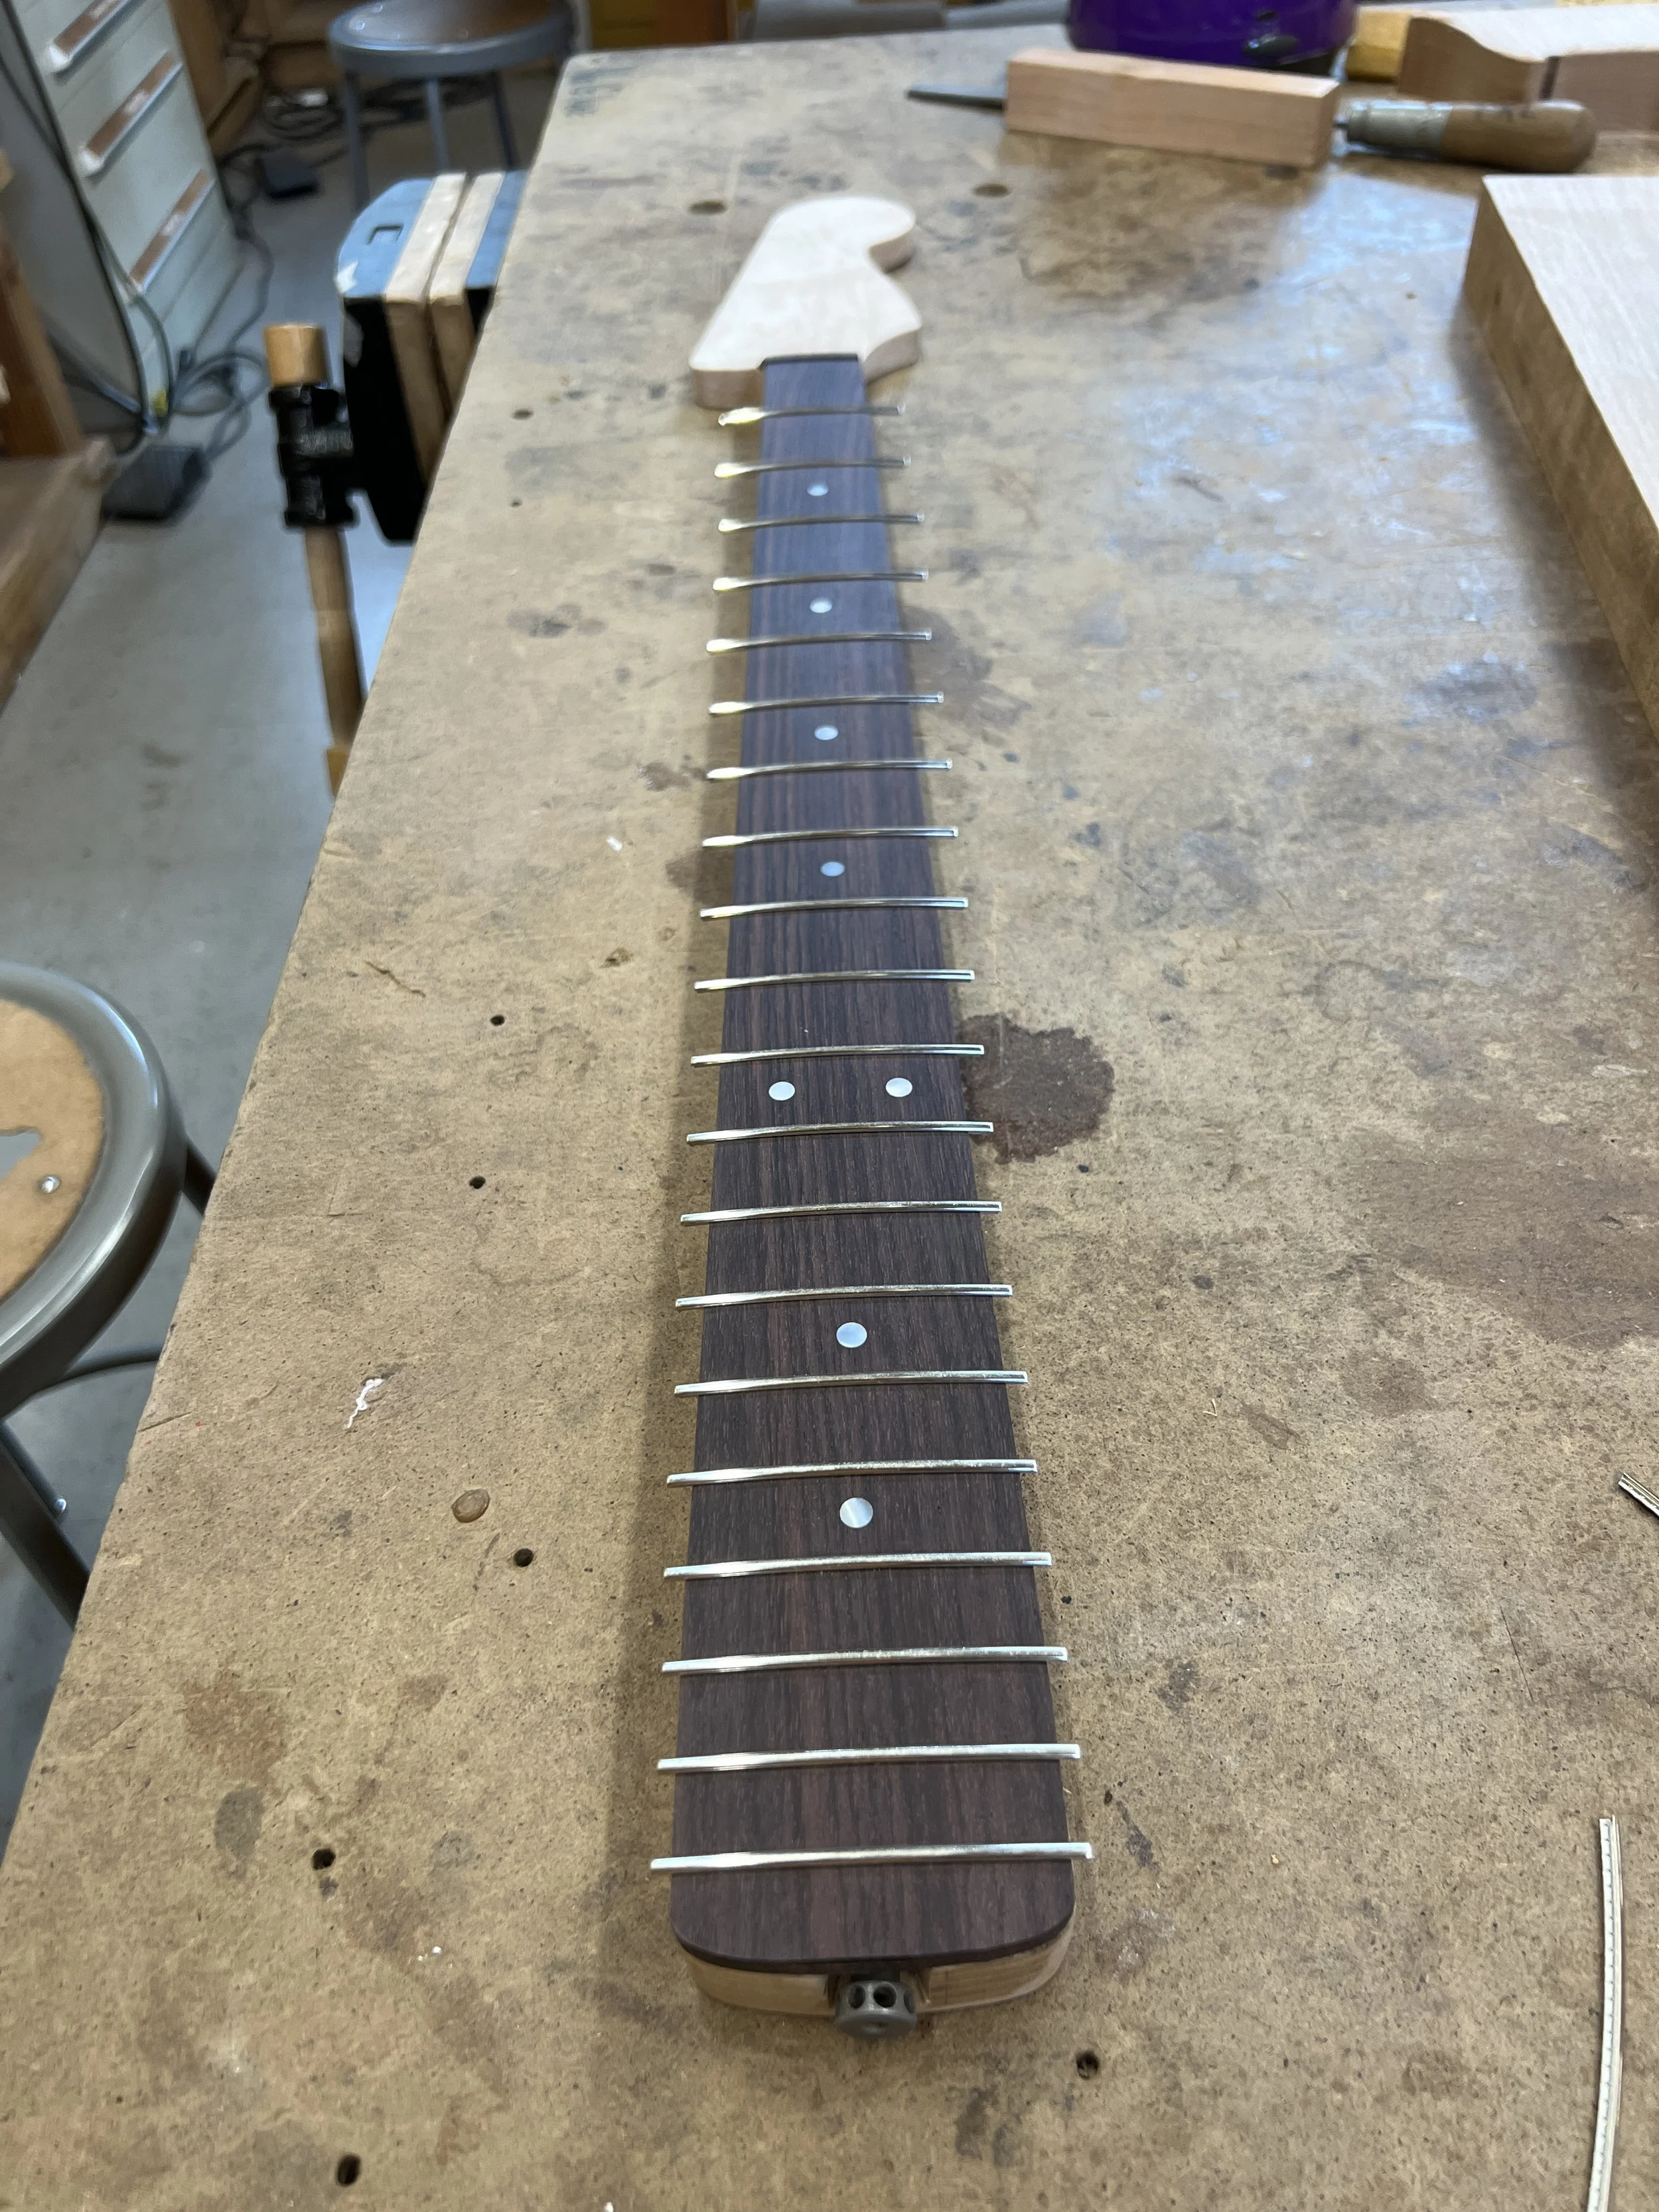
The fingerboard was cut from a rounded and slotted fingerboard blank, cut to size with a band saw and flush router. I drilled holes for the fret markers on the face and top of the fingerboard. I installed the frets, hammered them in from the outside in, trimmed the excess, filed off the edges at a 45 degree angle, and polished each fret. The fingerboard was glued to the neck carefully, such that no wood glue got into the truss rod to inhibit its motion.
Hardware & Finishing
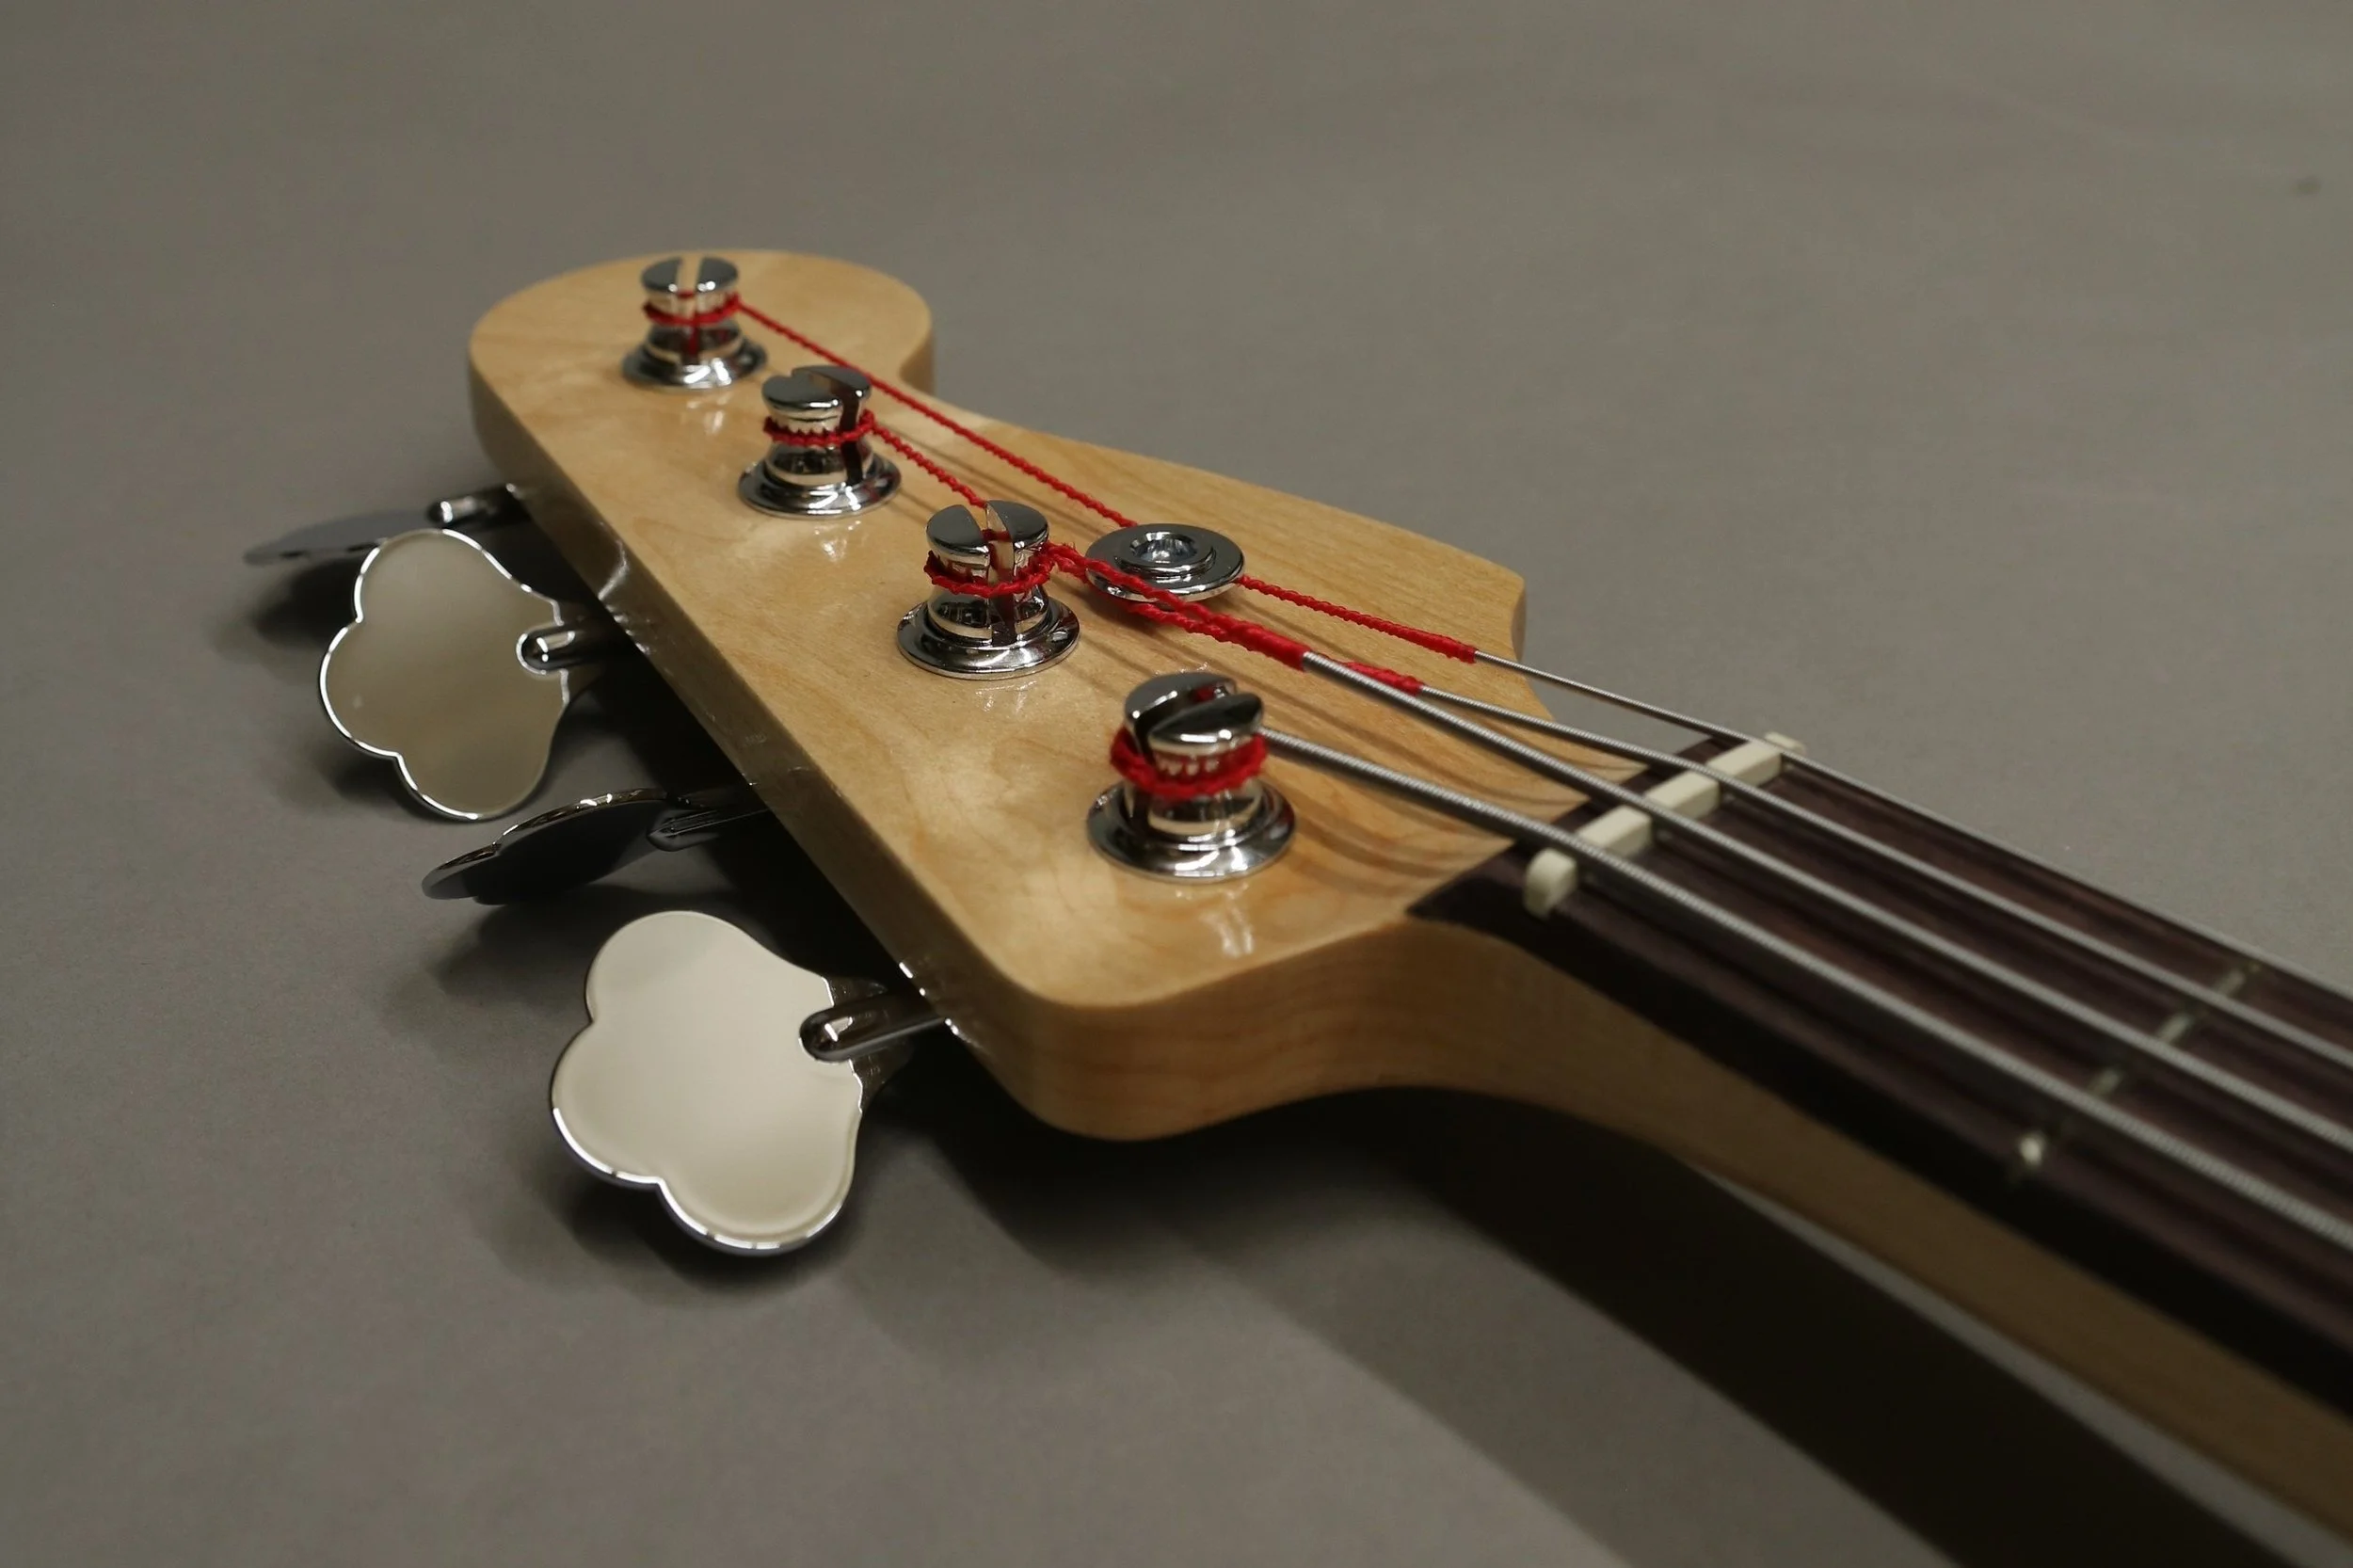
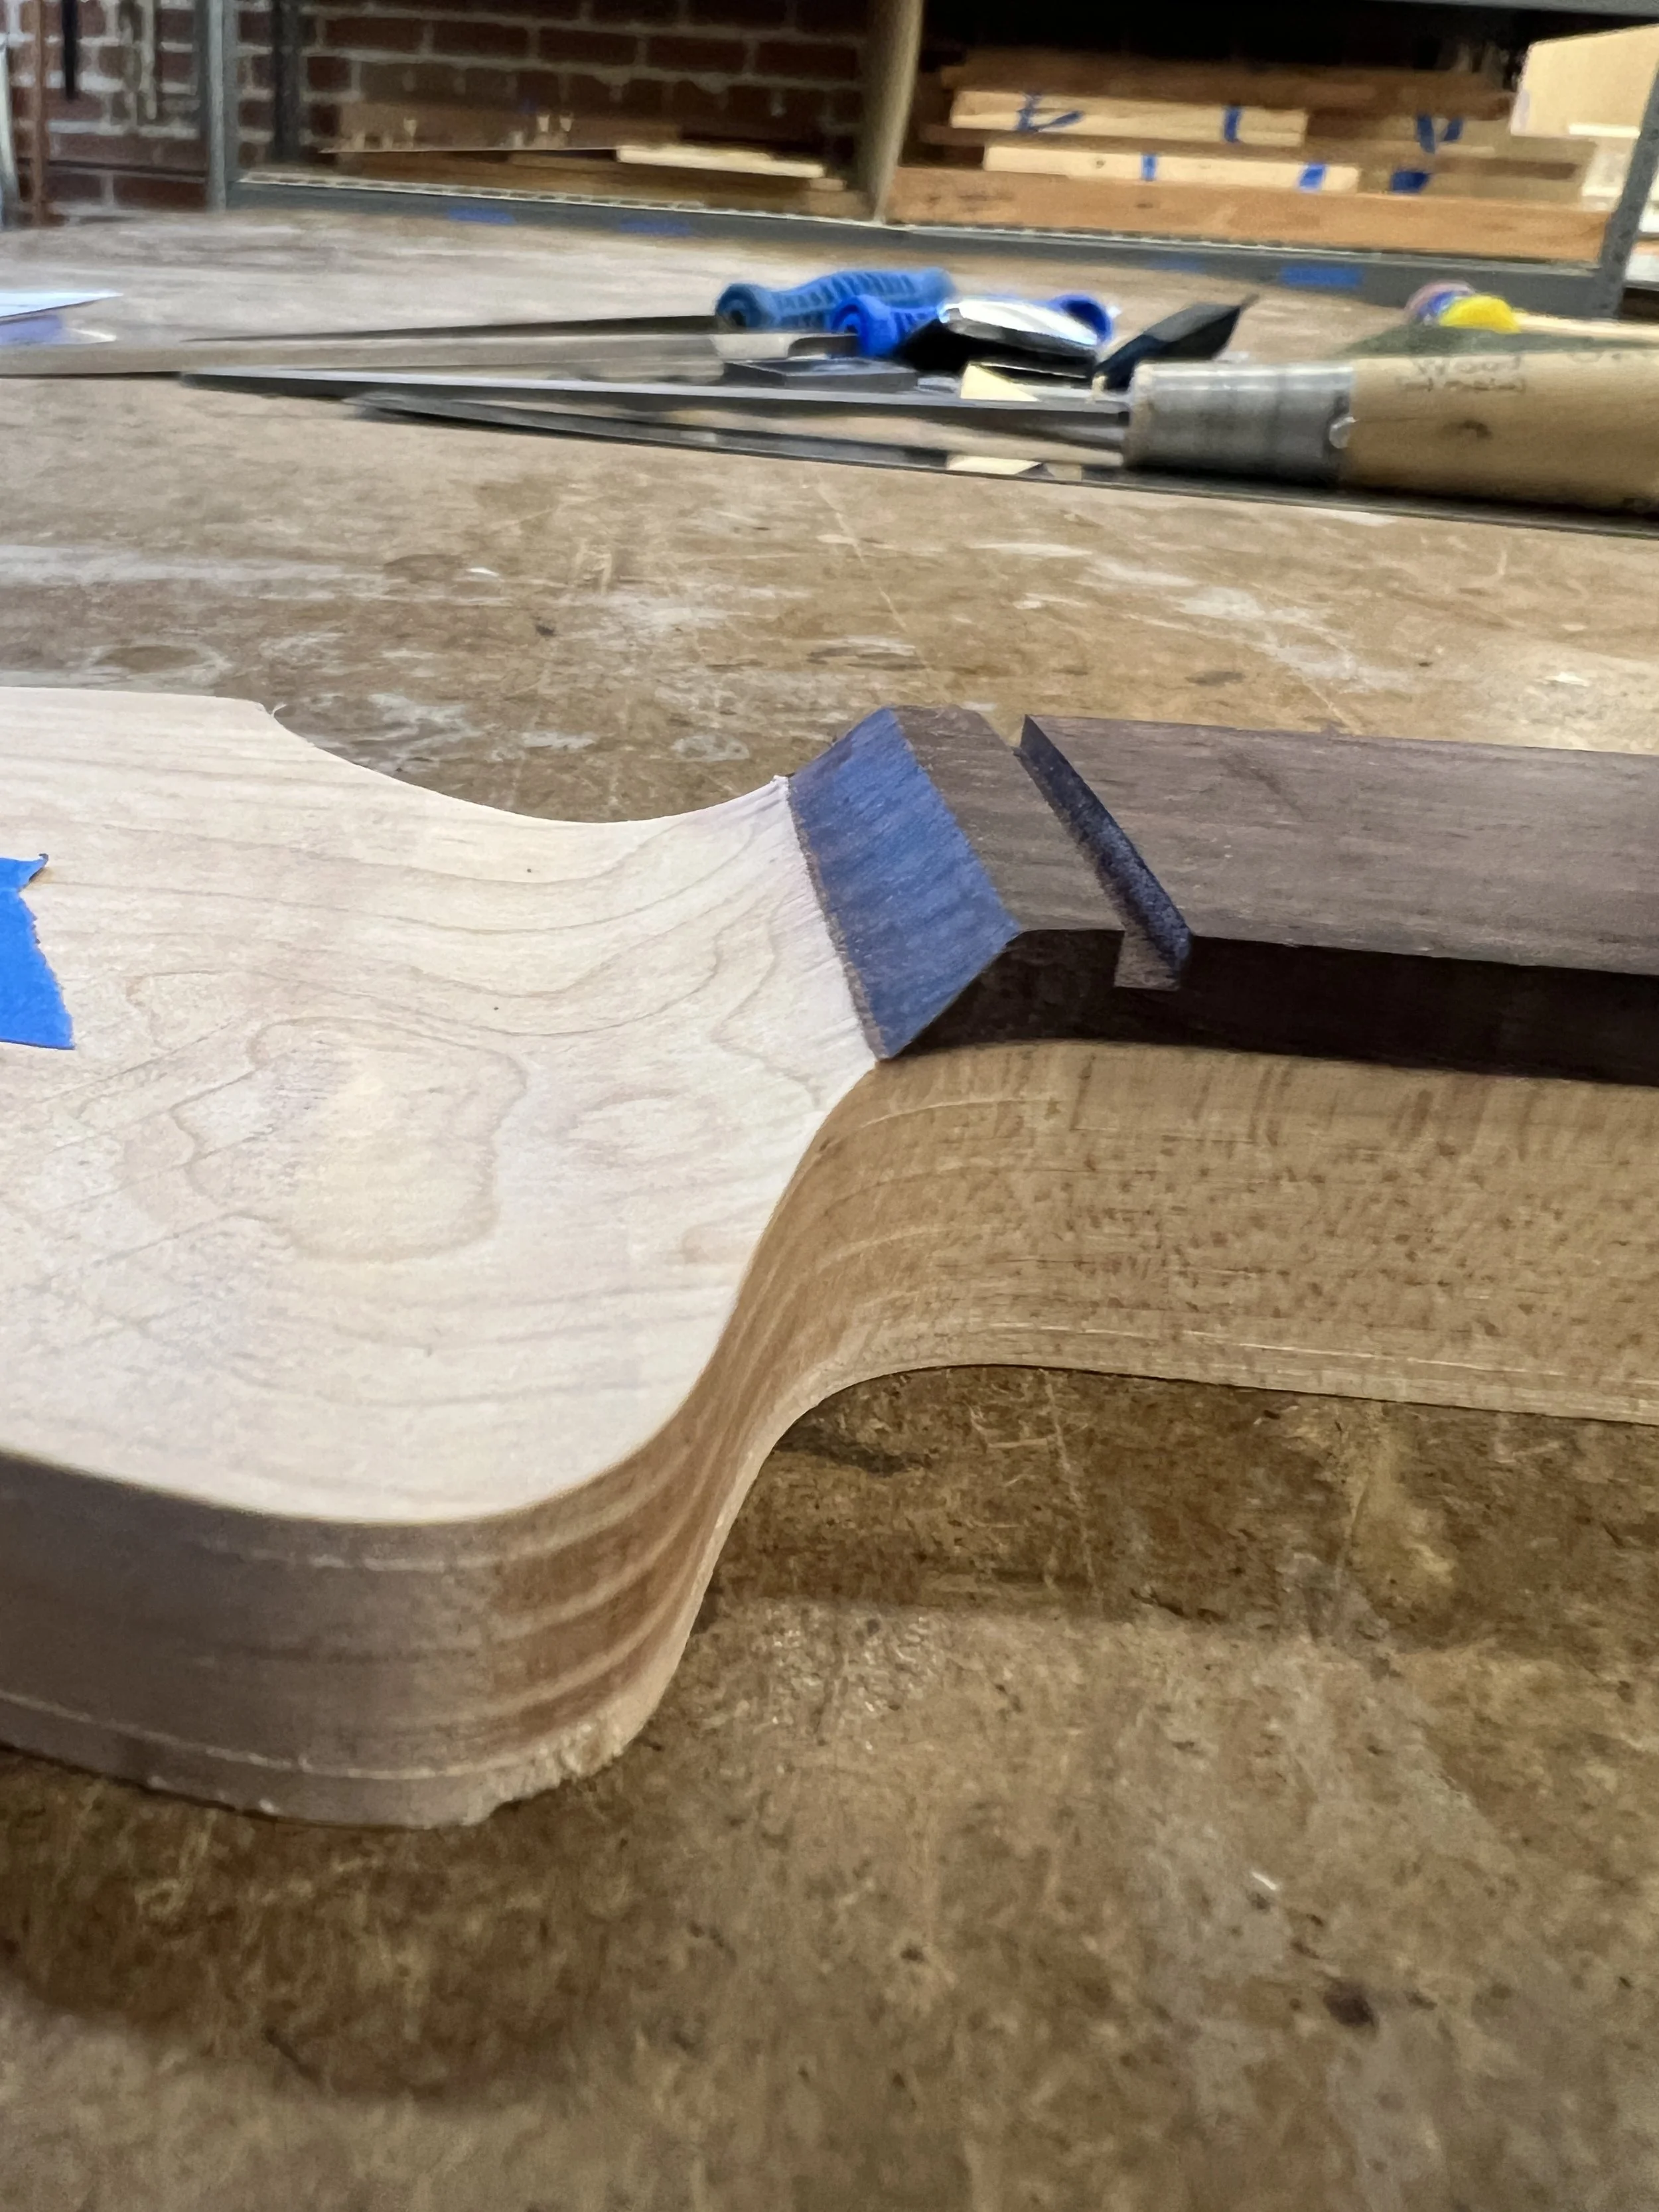
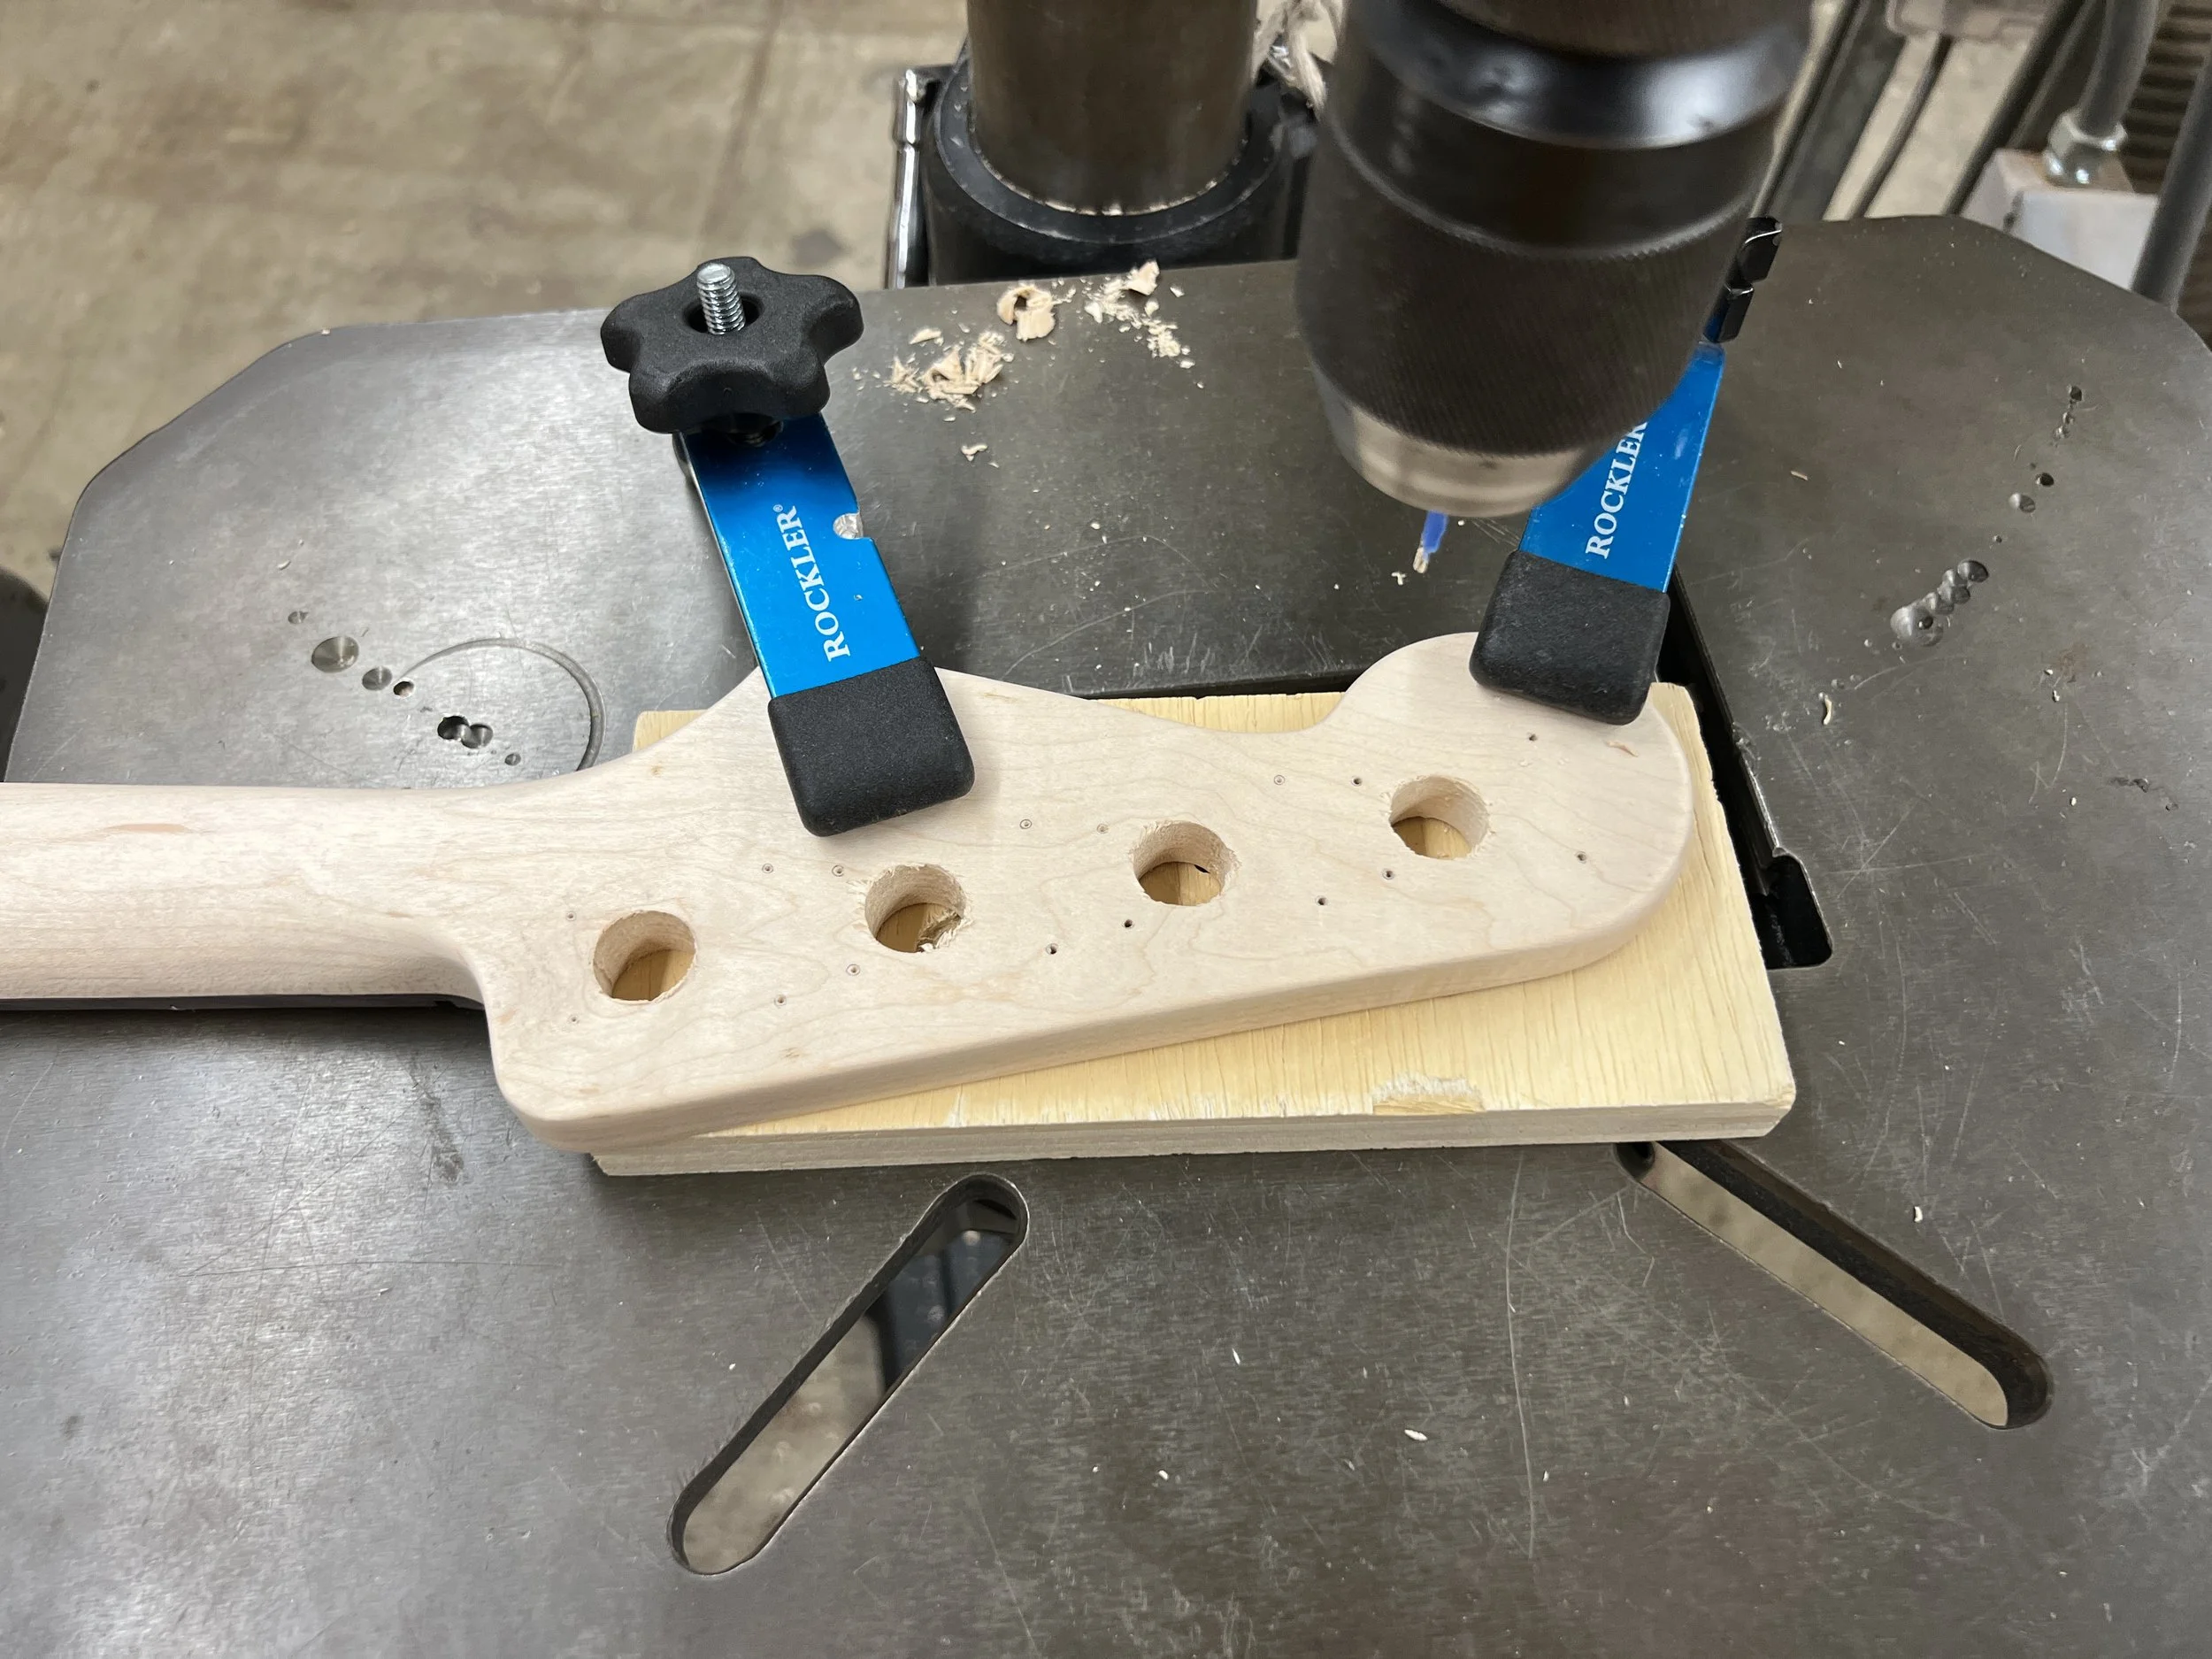
There were many finishing touches needed to bring the bass together. The neck and fingerboard were shaped to meet each other smoothly. Many holes were precisely drilled for all the hardware: tuning pegs, tuning peg bushings, string tree, strap locks, pick guard, pickups, control panel, and bridge. Once everything passed a preliminary fit test, I oiled the body and neck with Tru Oil gun stock finish, using 8 coats to get the desired gloss and protection.
Electronics & Stringing
I used the Waterjet to cut out the control plate out of 0.05” thick stainless steel, and sanded it to a mirror finish. The potentiometers and audio jack were soldered according to the circuit diagram. I used copper tape to line the inside of the cavities for the pickups and the control plate for shielding. The pickups, control plate and pick guard were screwed into place. Then, we were able to string the bass pickup wires to solder them to their potentiometer, and solder the grounding wire for the bridge to the system. The grounding wire for the bridge is just exposed at the end and the bridge is clamped onto it. The control plate system is also grounded to the body through a grounding lug screwed into the shoulder of the cavity.
Once the electronics were secured, it was time to install the nut and start stringing. When using CA glue to install the nut, it dried before I had fully installed the nut, resulting in a gap between the slot in the fingerboard and the nut at the E string. CA glue is dissolved in acetone, but I was concerned that doing so would also bleach the wood. For now, I chose to keep it as is and adjust the E string slot with a nut file as needed. I installed the strings, and started the process of adjusting all of the hardware. This process involves adjusting the truss rod, the string height, the string length, and the pickup height iteratively. Between each step, the bass needs to be re-tuned because each change impacts the tuning. This entire process will be repeated over time, particularly in the beginning when the adjustments to the hardware will not be fully in effect for various hours when the wood has reacted to the adjustment.
