beetle chair
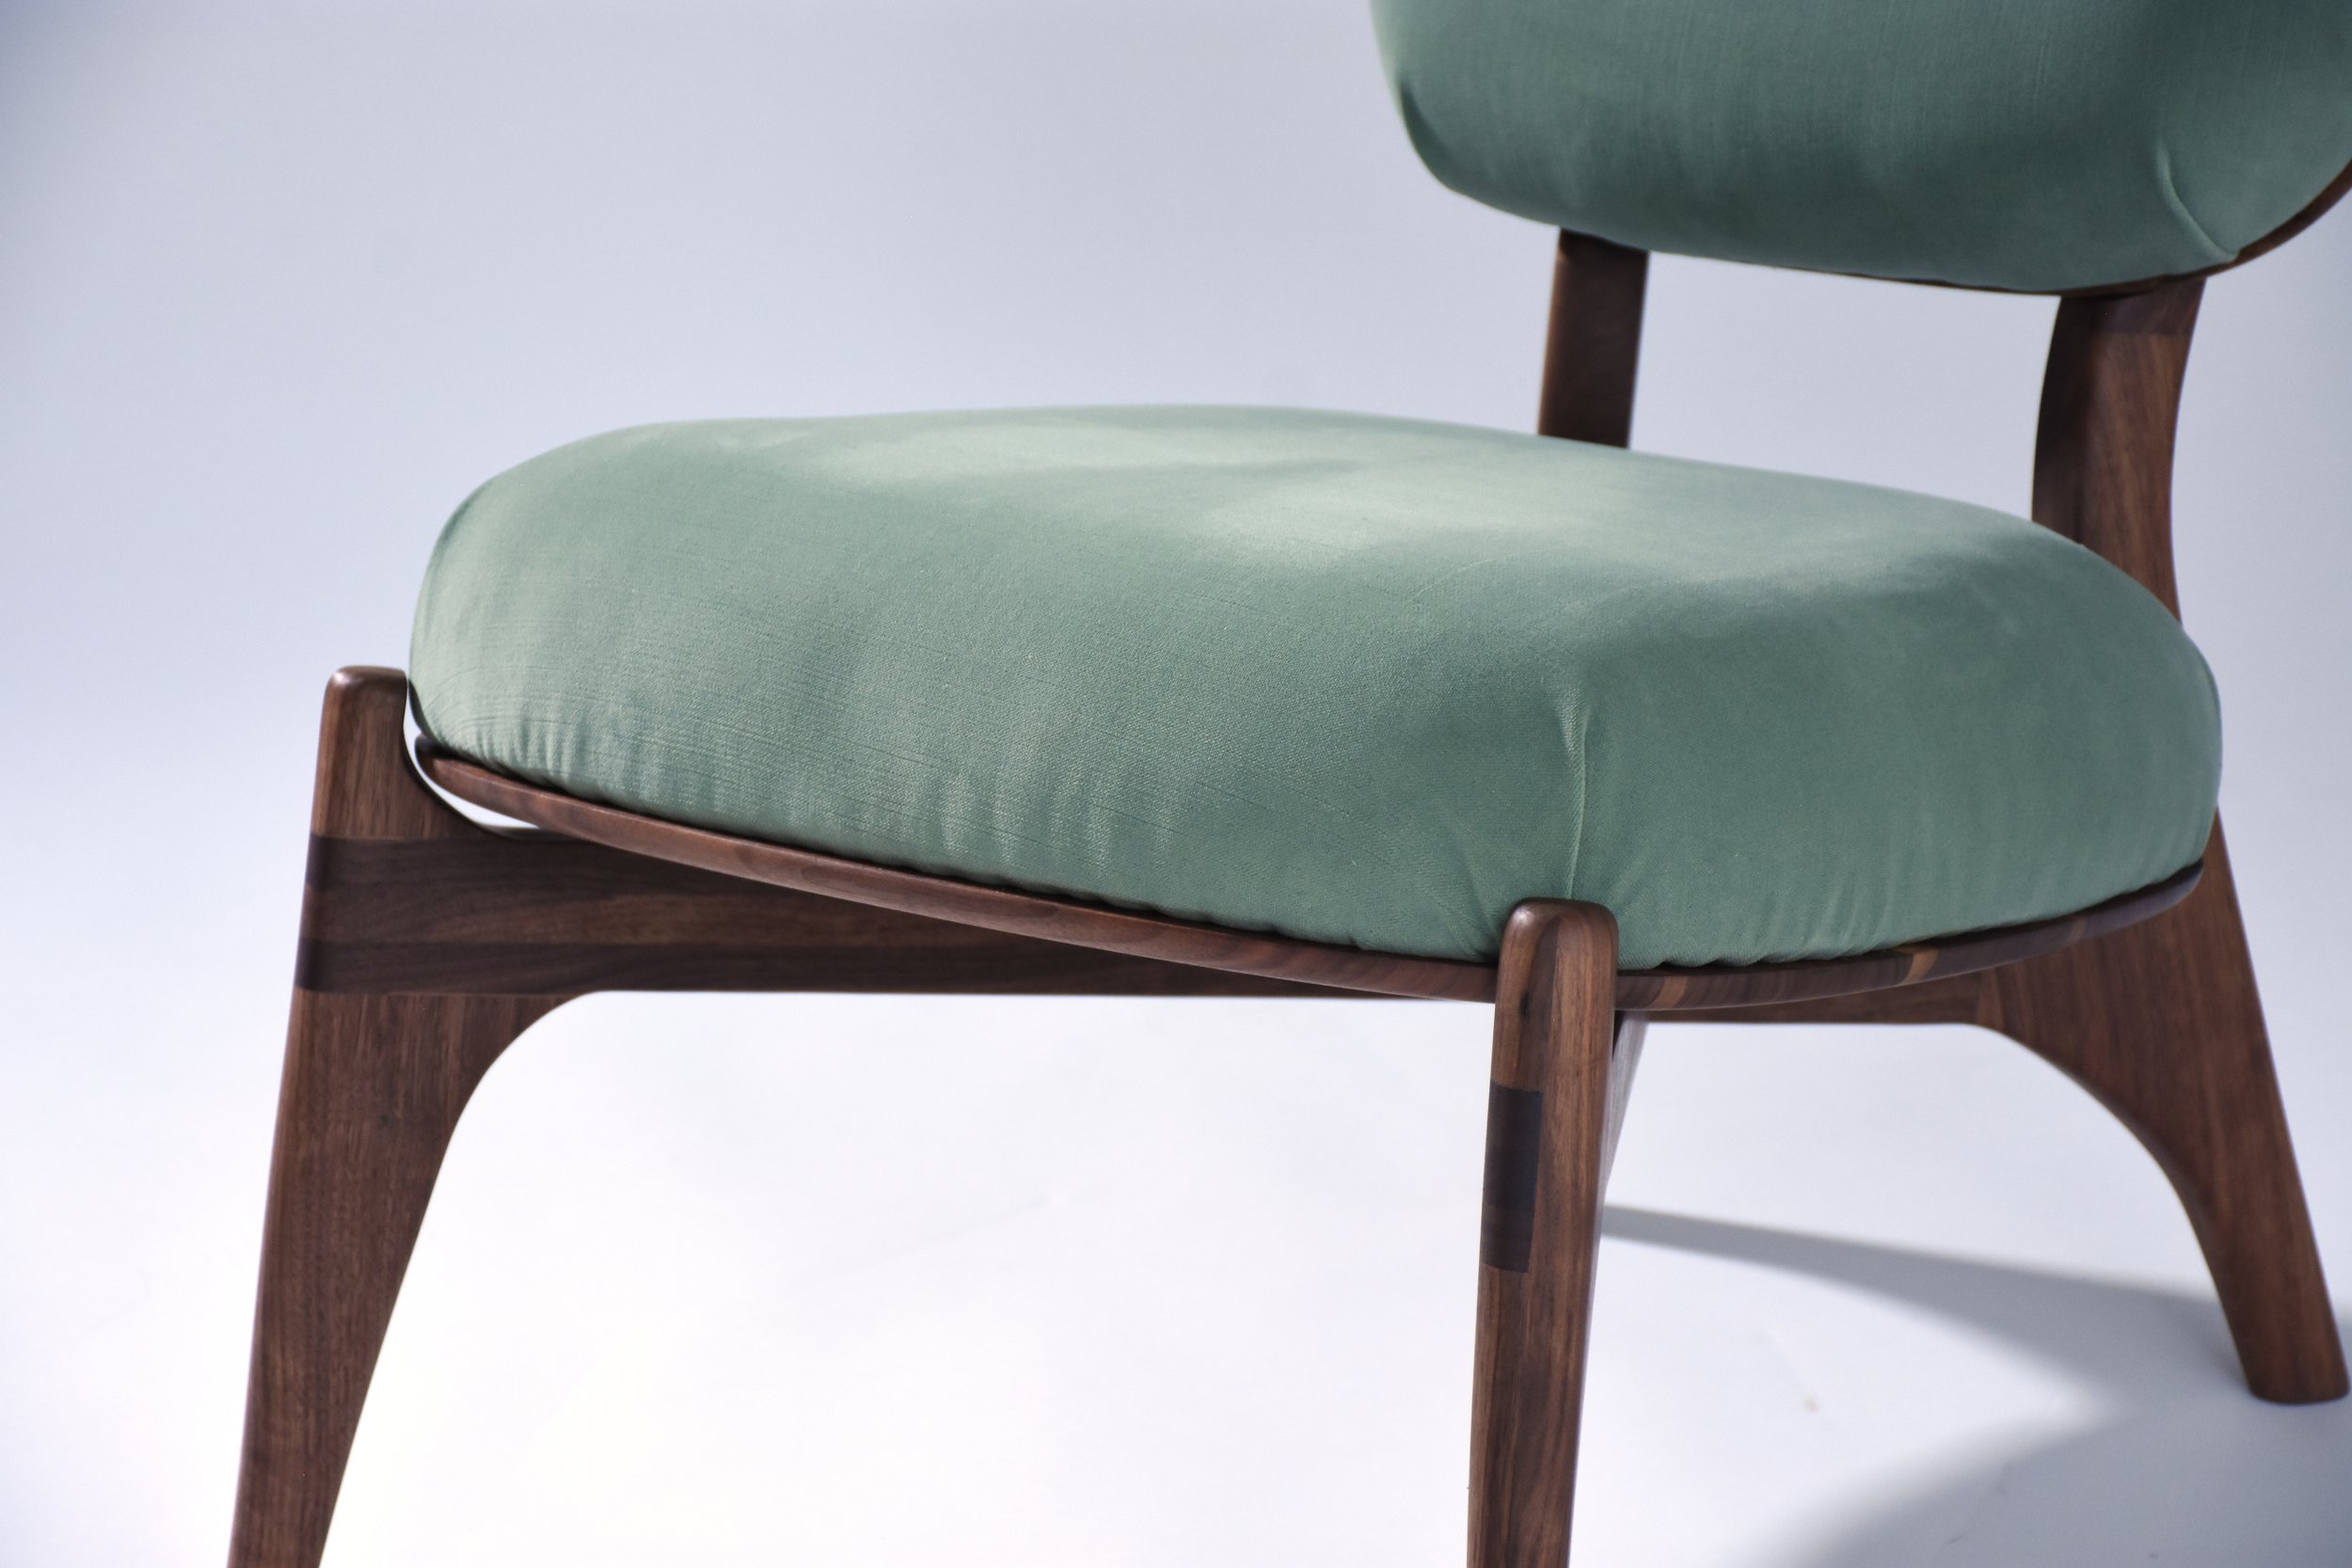
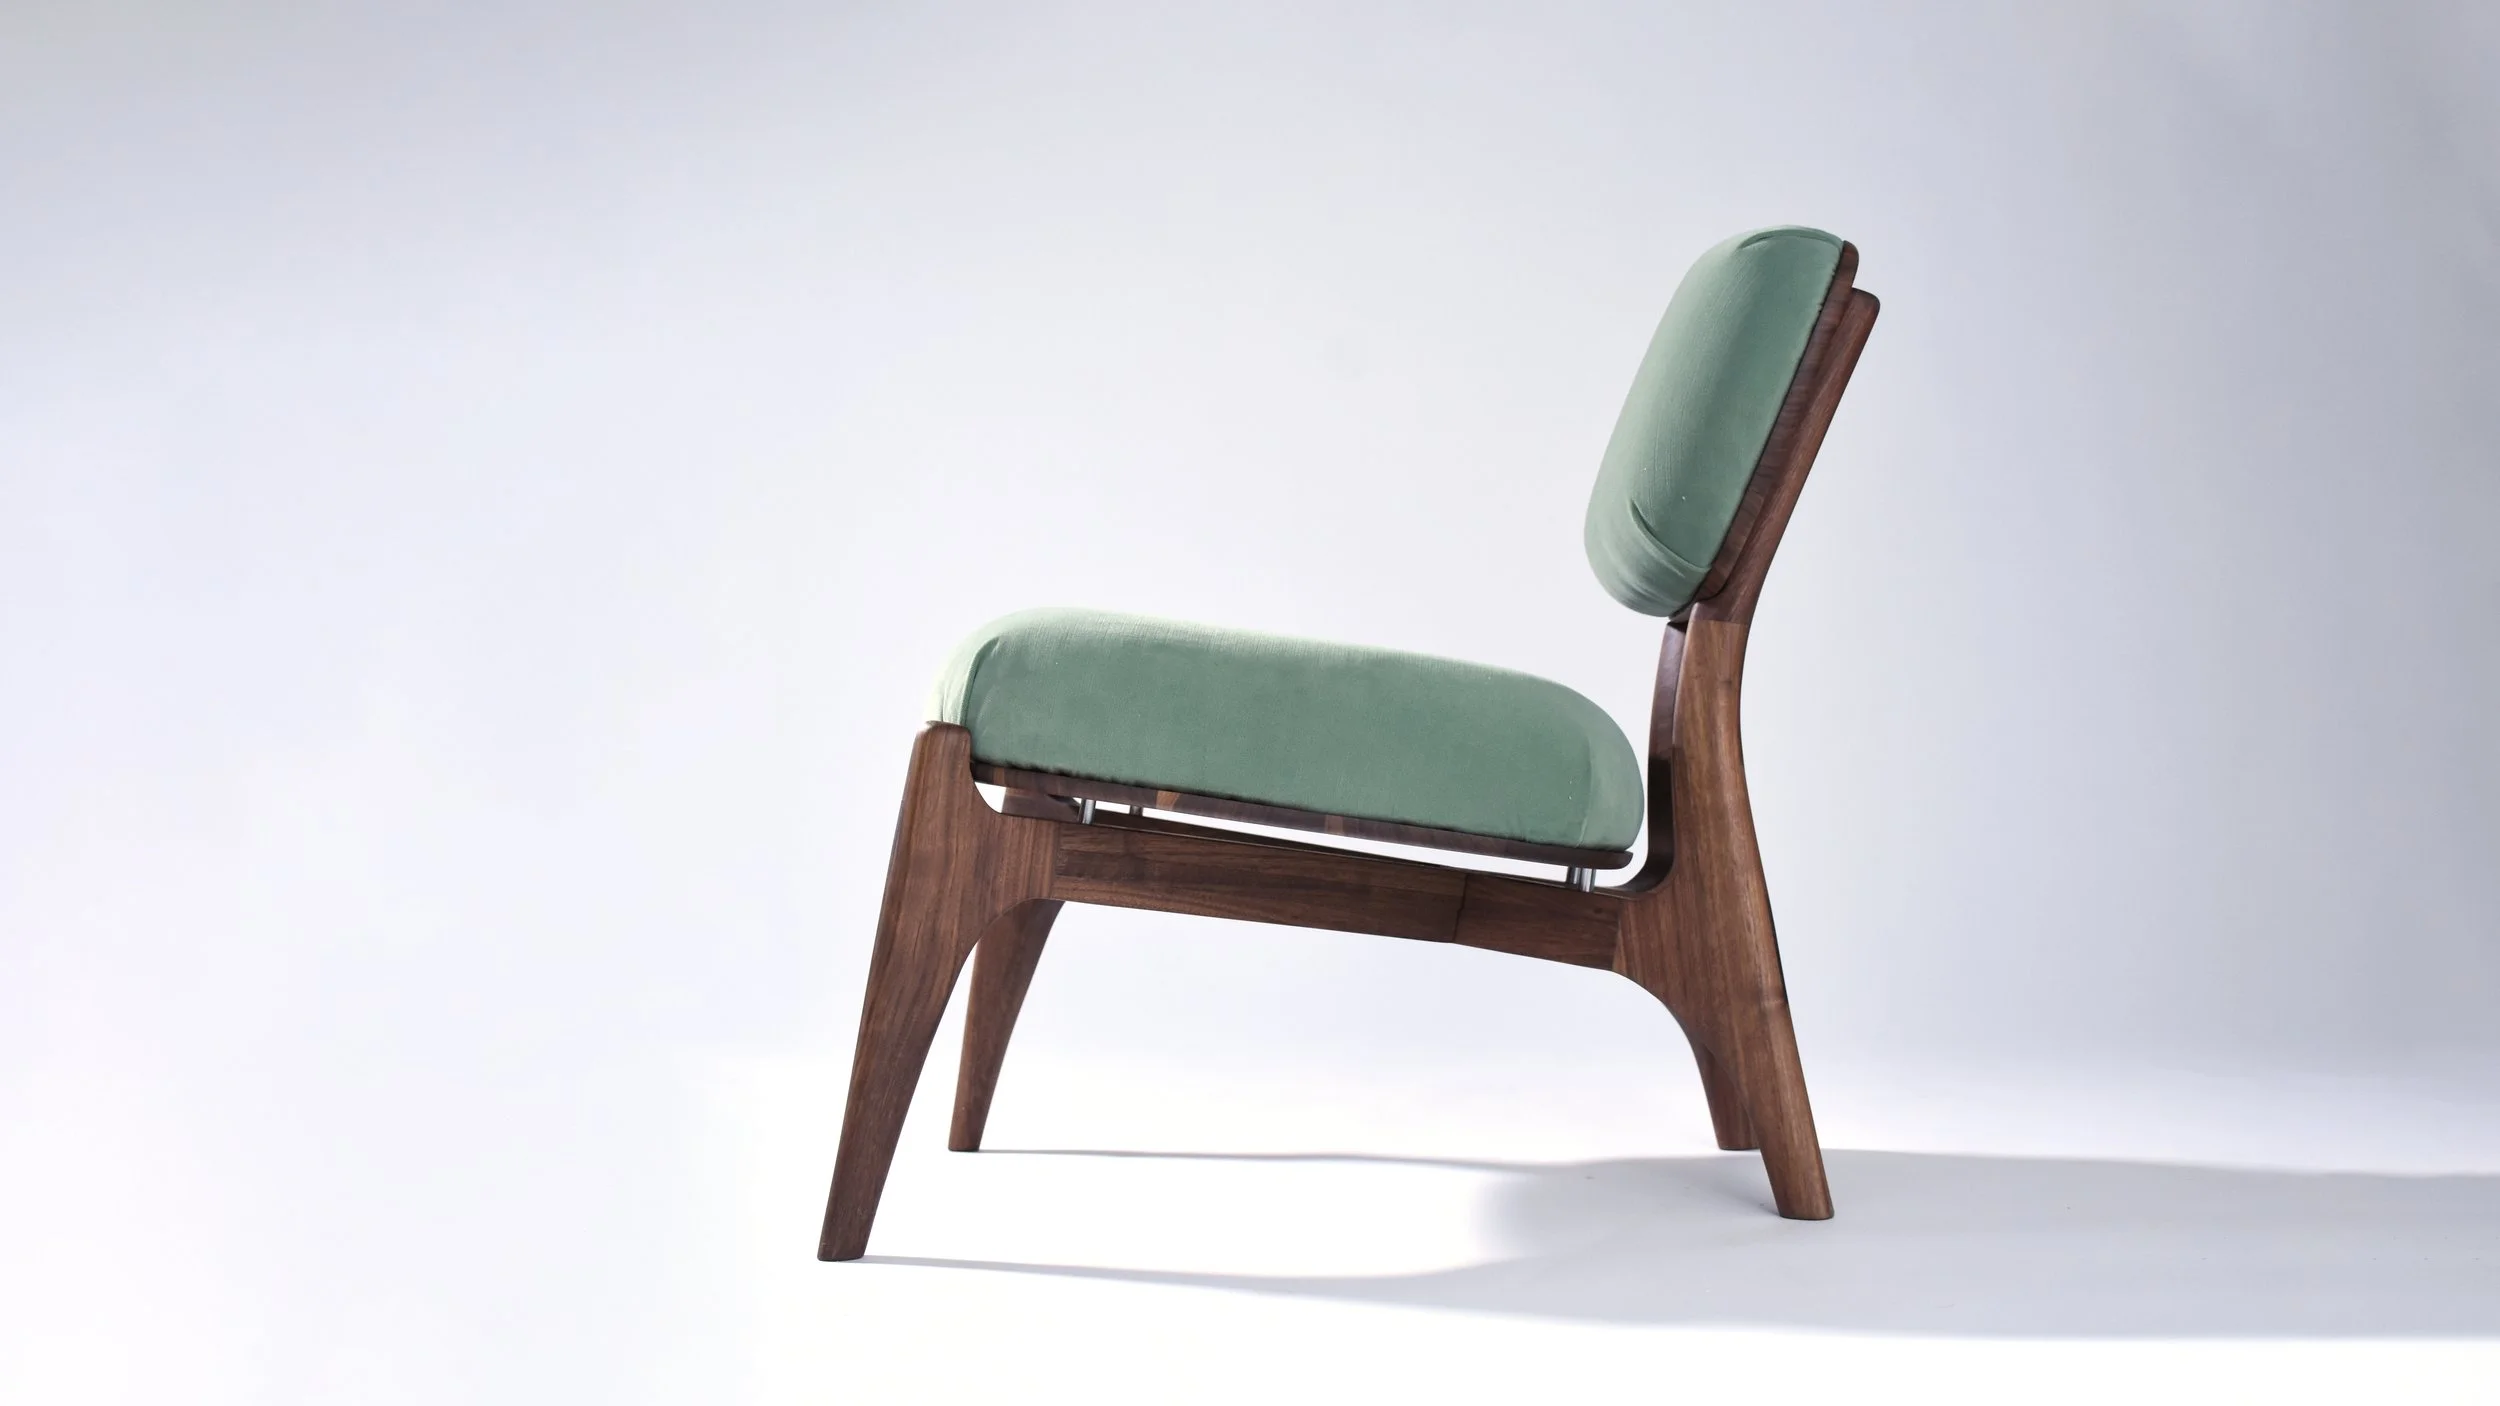
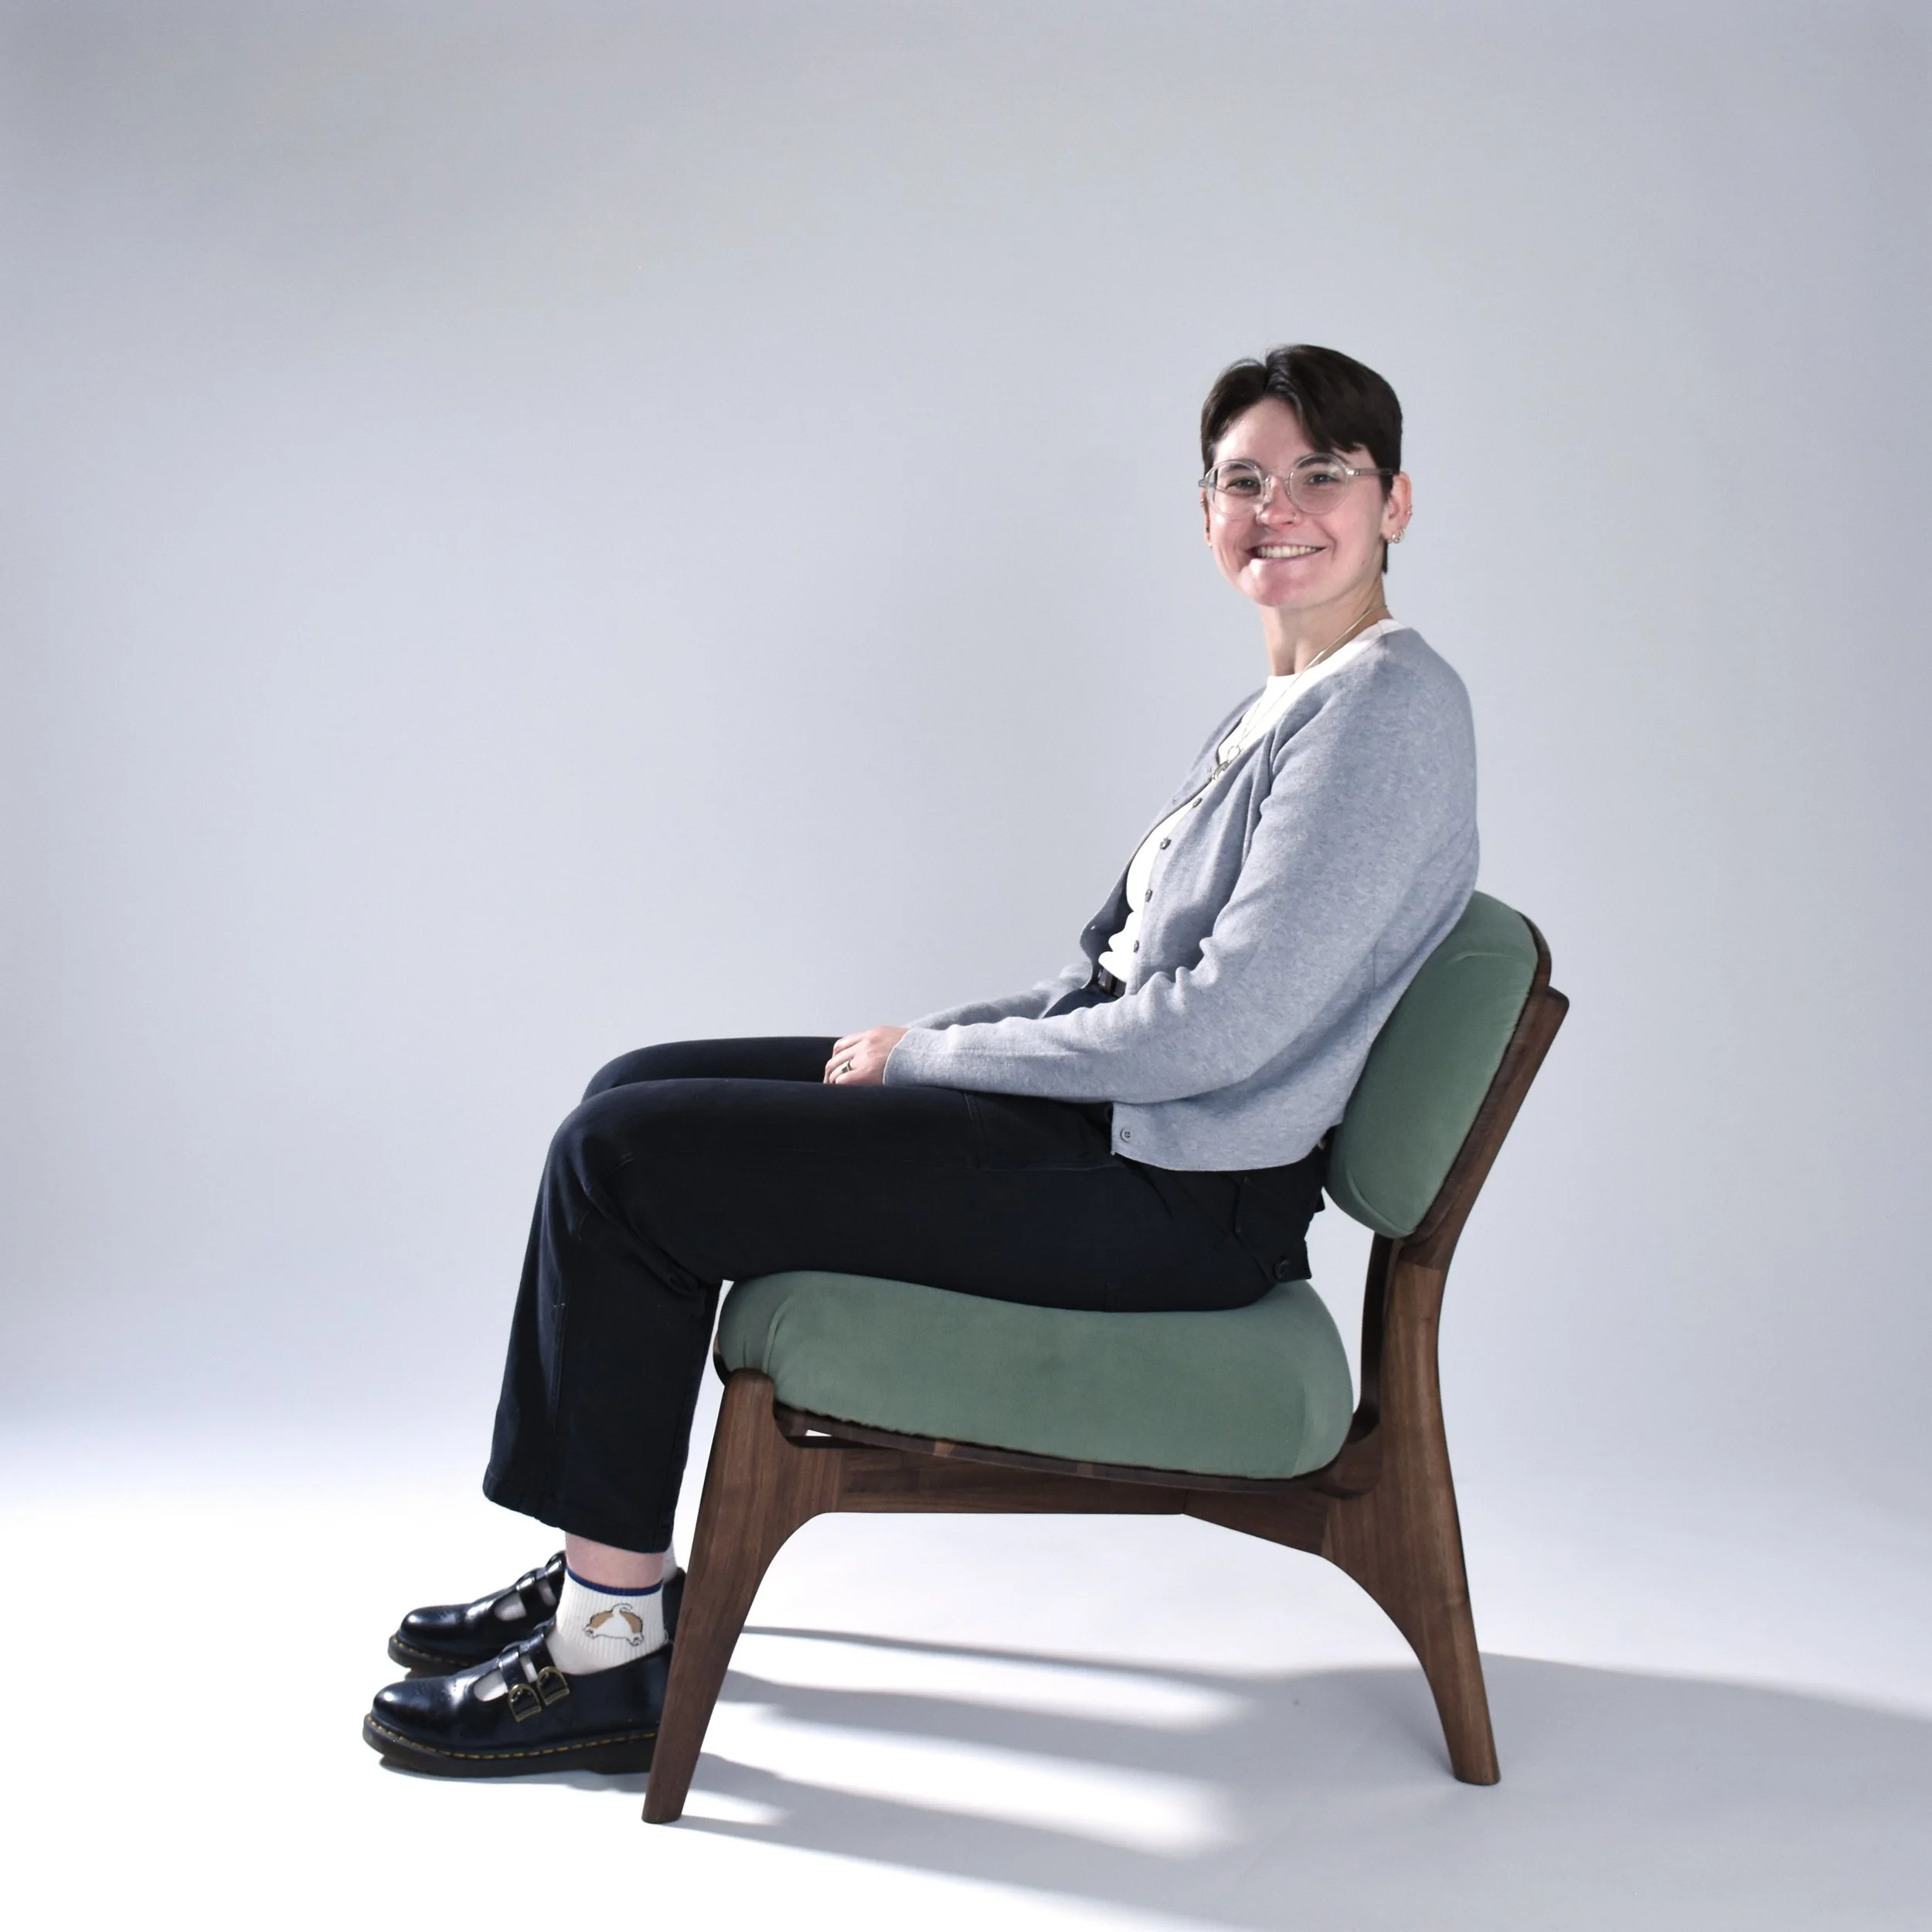
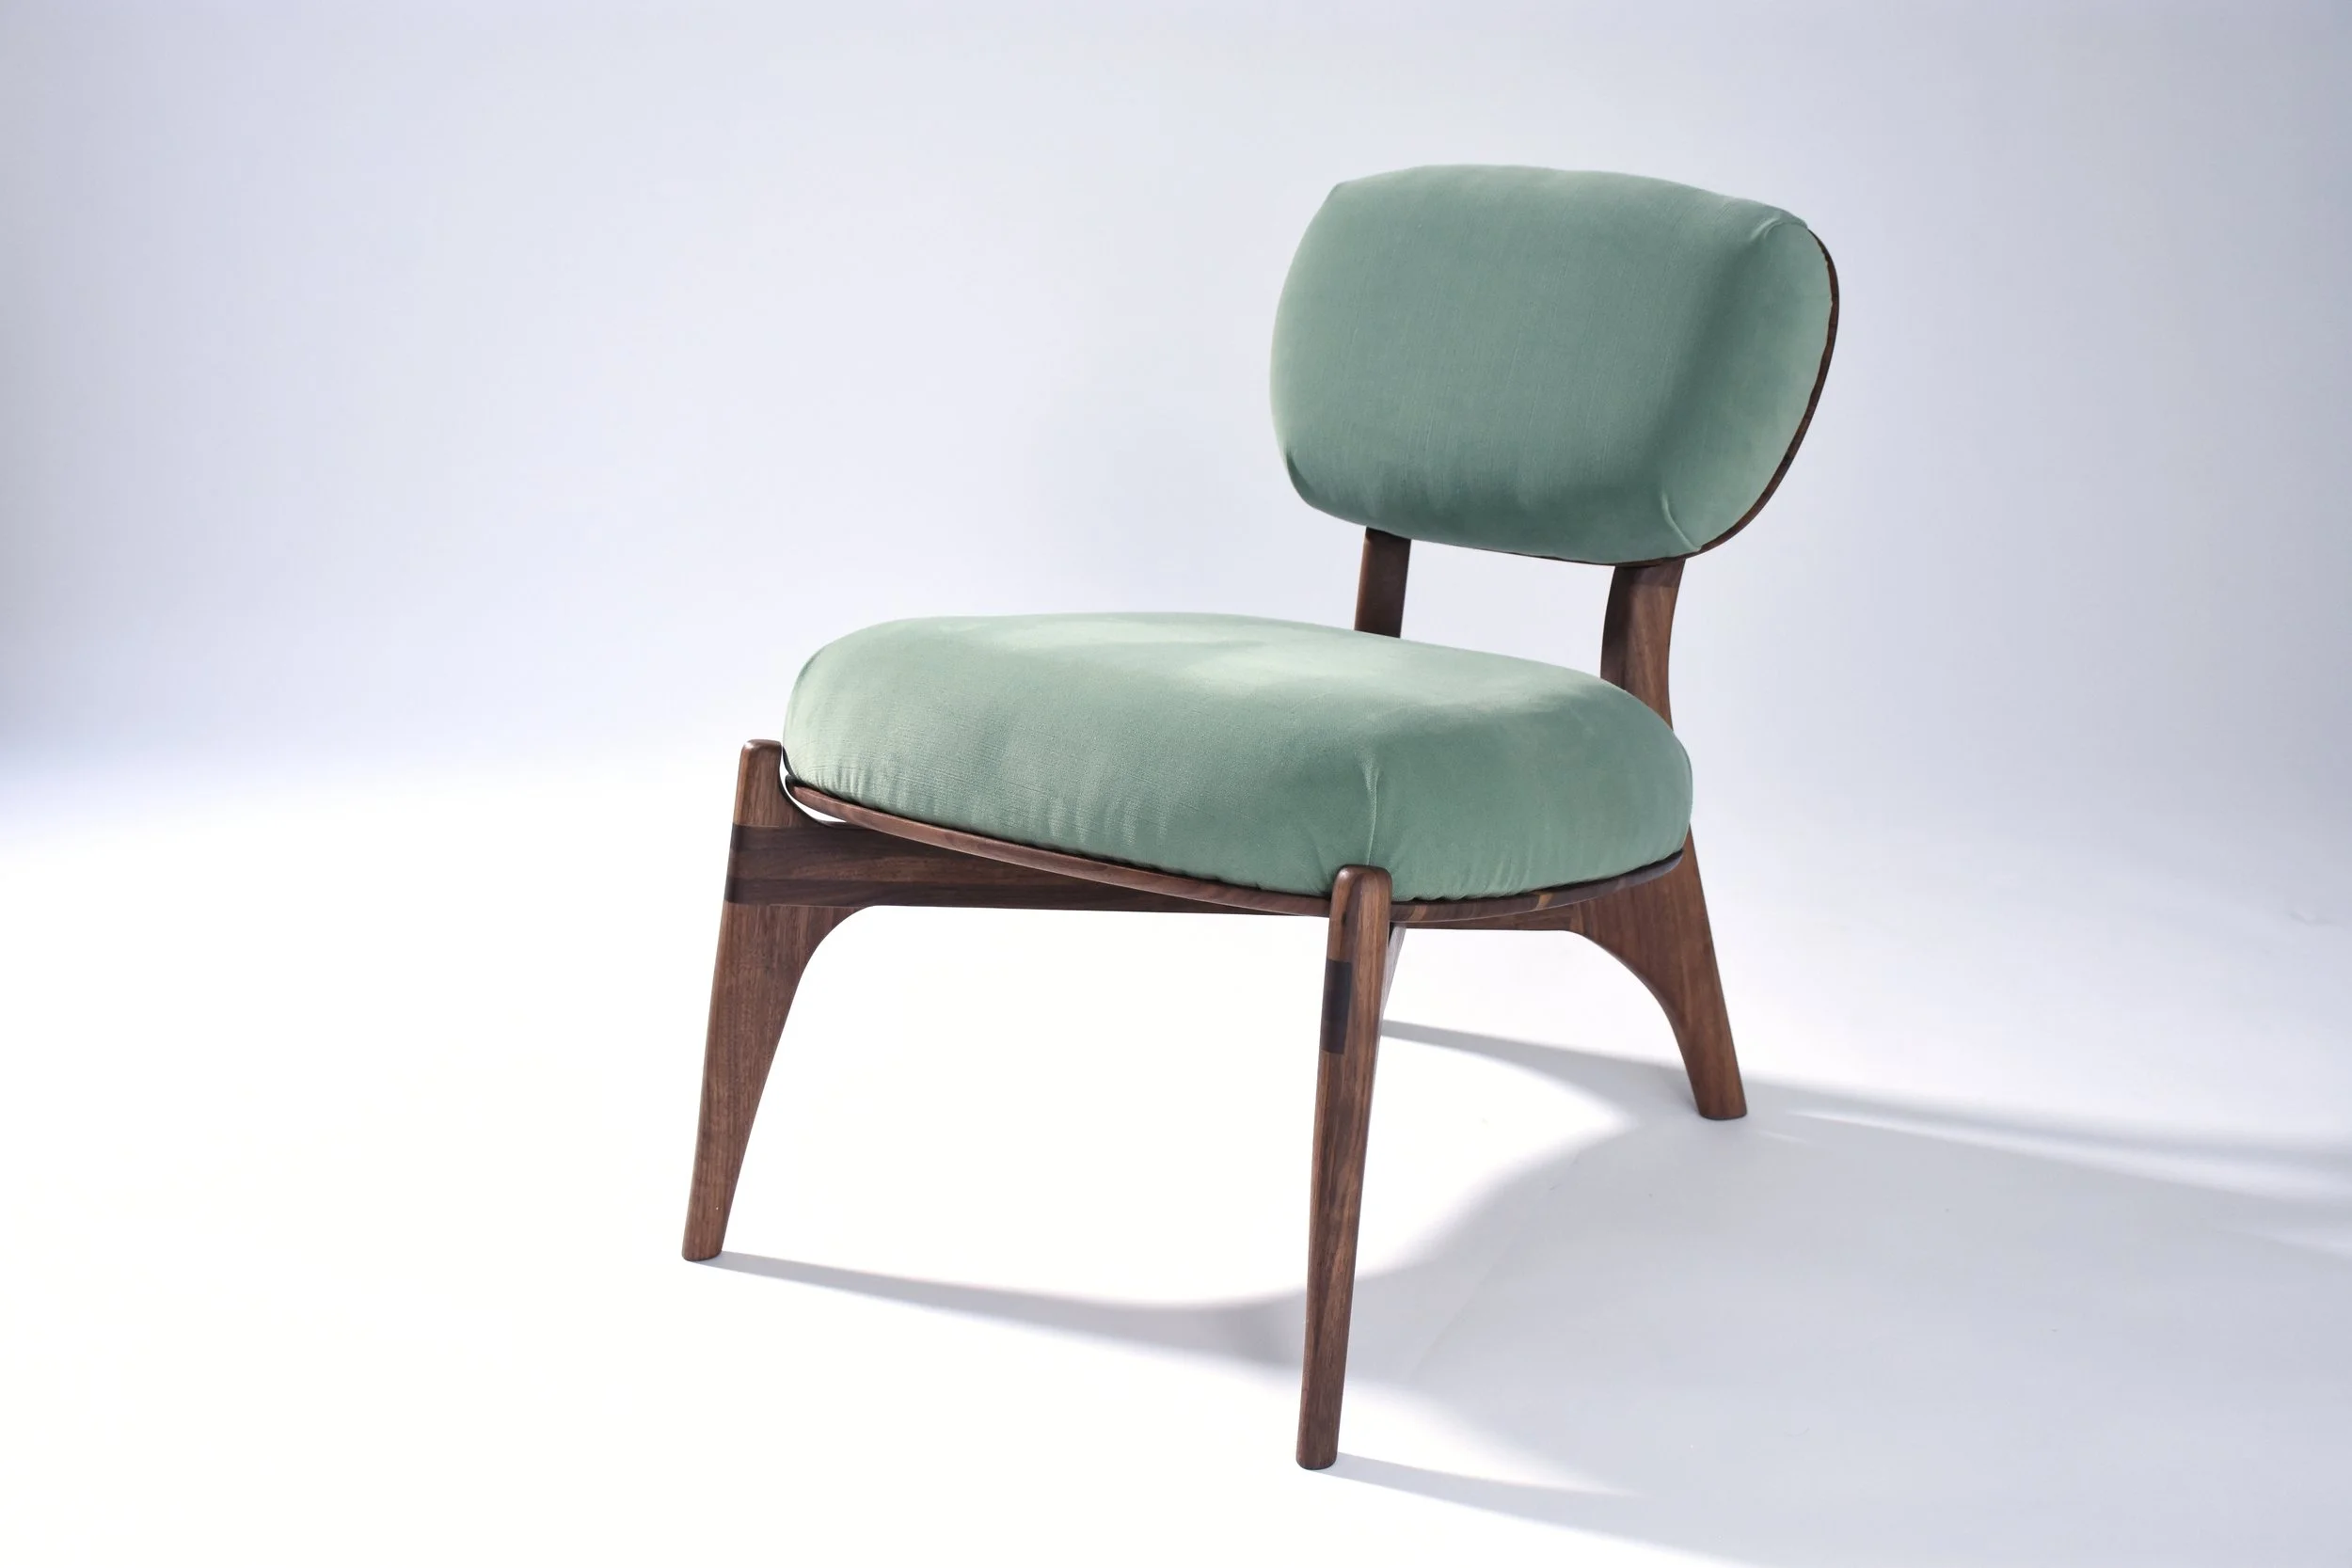
A chair that makes you feel like you’re floating and being held at the same time. A natural, grounded lounge chair that highlights the beauty of wood. A chair that you can fall into, cross your legs, move around in. Each element of the chair is considered together and in relationship to each other, contributing to an aesthetic cohesion which juxtaposes the chair’s disassembly.
specs
Dimensions (width x depth x height)
Assembled chair: 23 x 29.5 x 29”
Seat: 22 x 20.5 x 18”
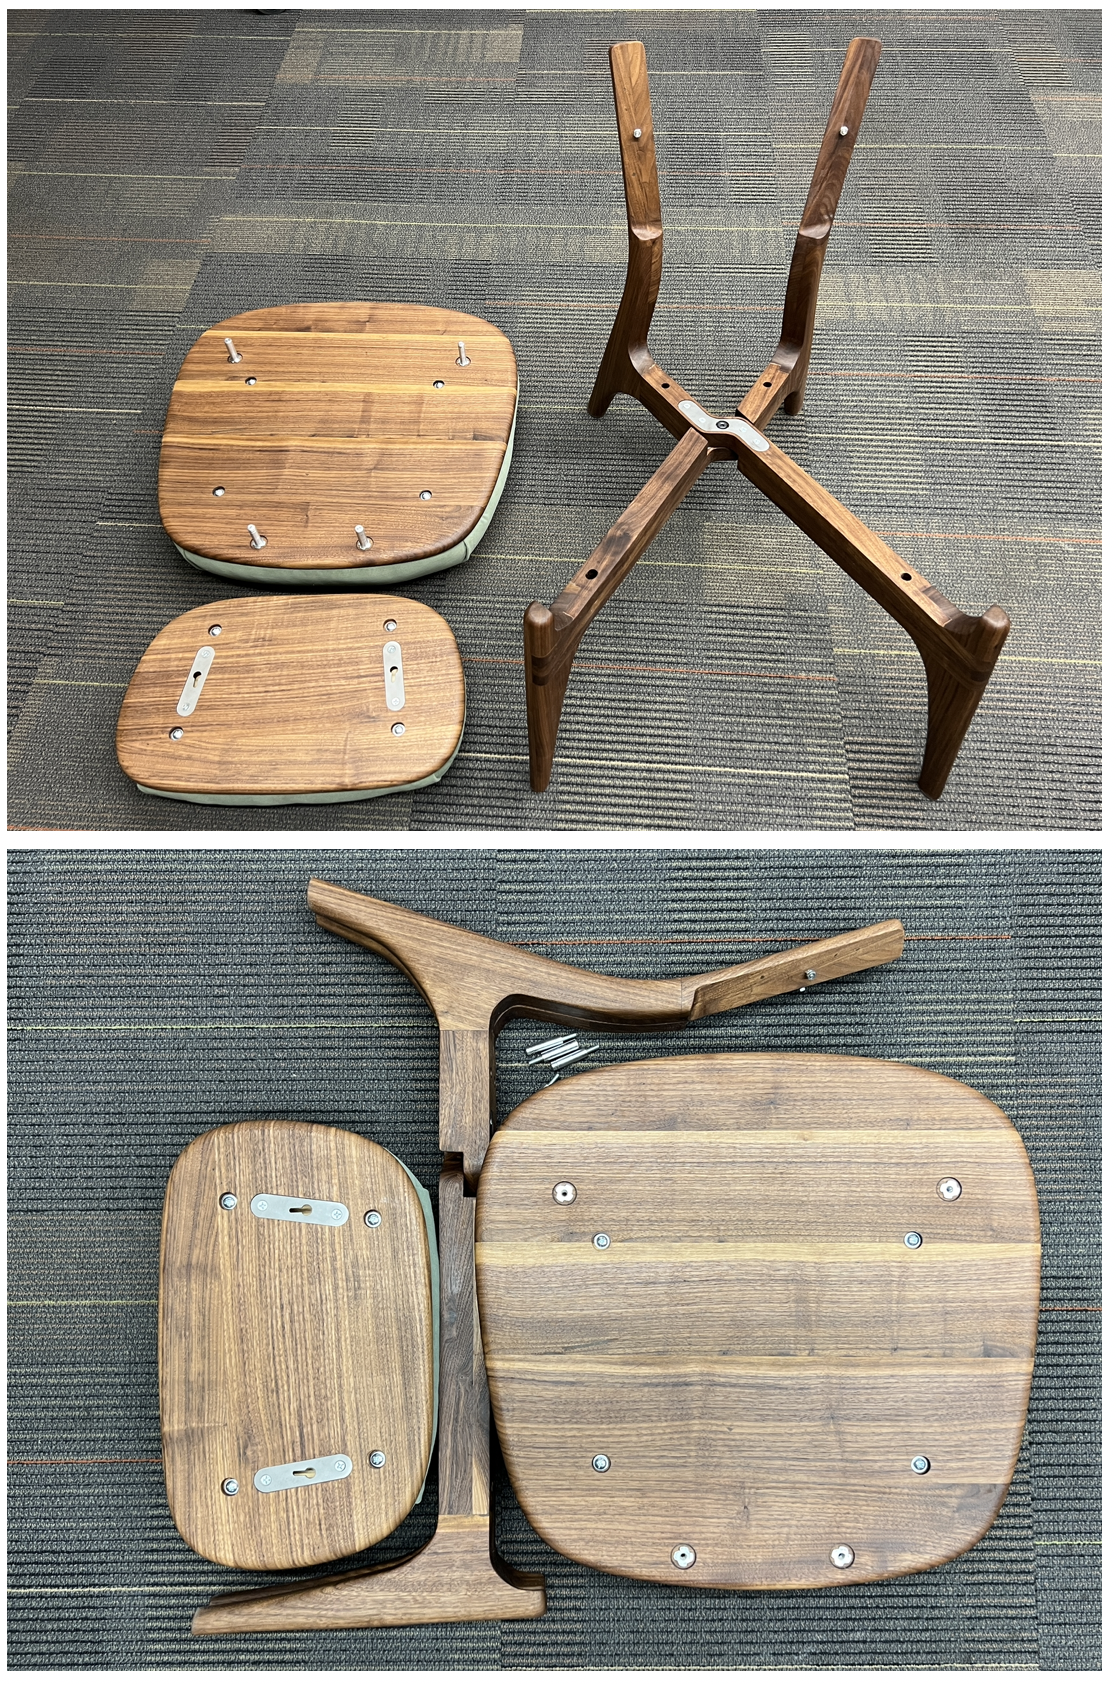
Disassembled chair: 32.5 x 36.25 x 5.5” = 3.74 cubic feet
Weight: 26.8lbs
Disassembly & assembly time: 60 seconds each
beetle chair
Brief: Build a chair that disassembles and reassembles in less than 1 minute into a volume less than 3 cubic feet, weighing less than 30lbs.
Processes: Woodworking, turning, metal laser cutting, milling, upholstery
Duration: 10 weeks
Context: Individual project for “The Chair” class
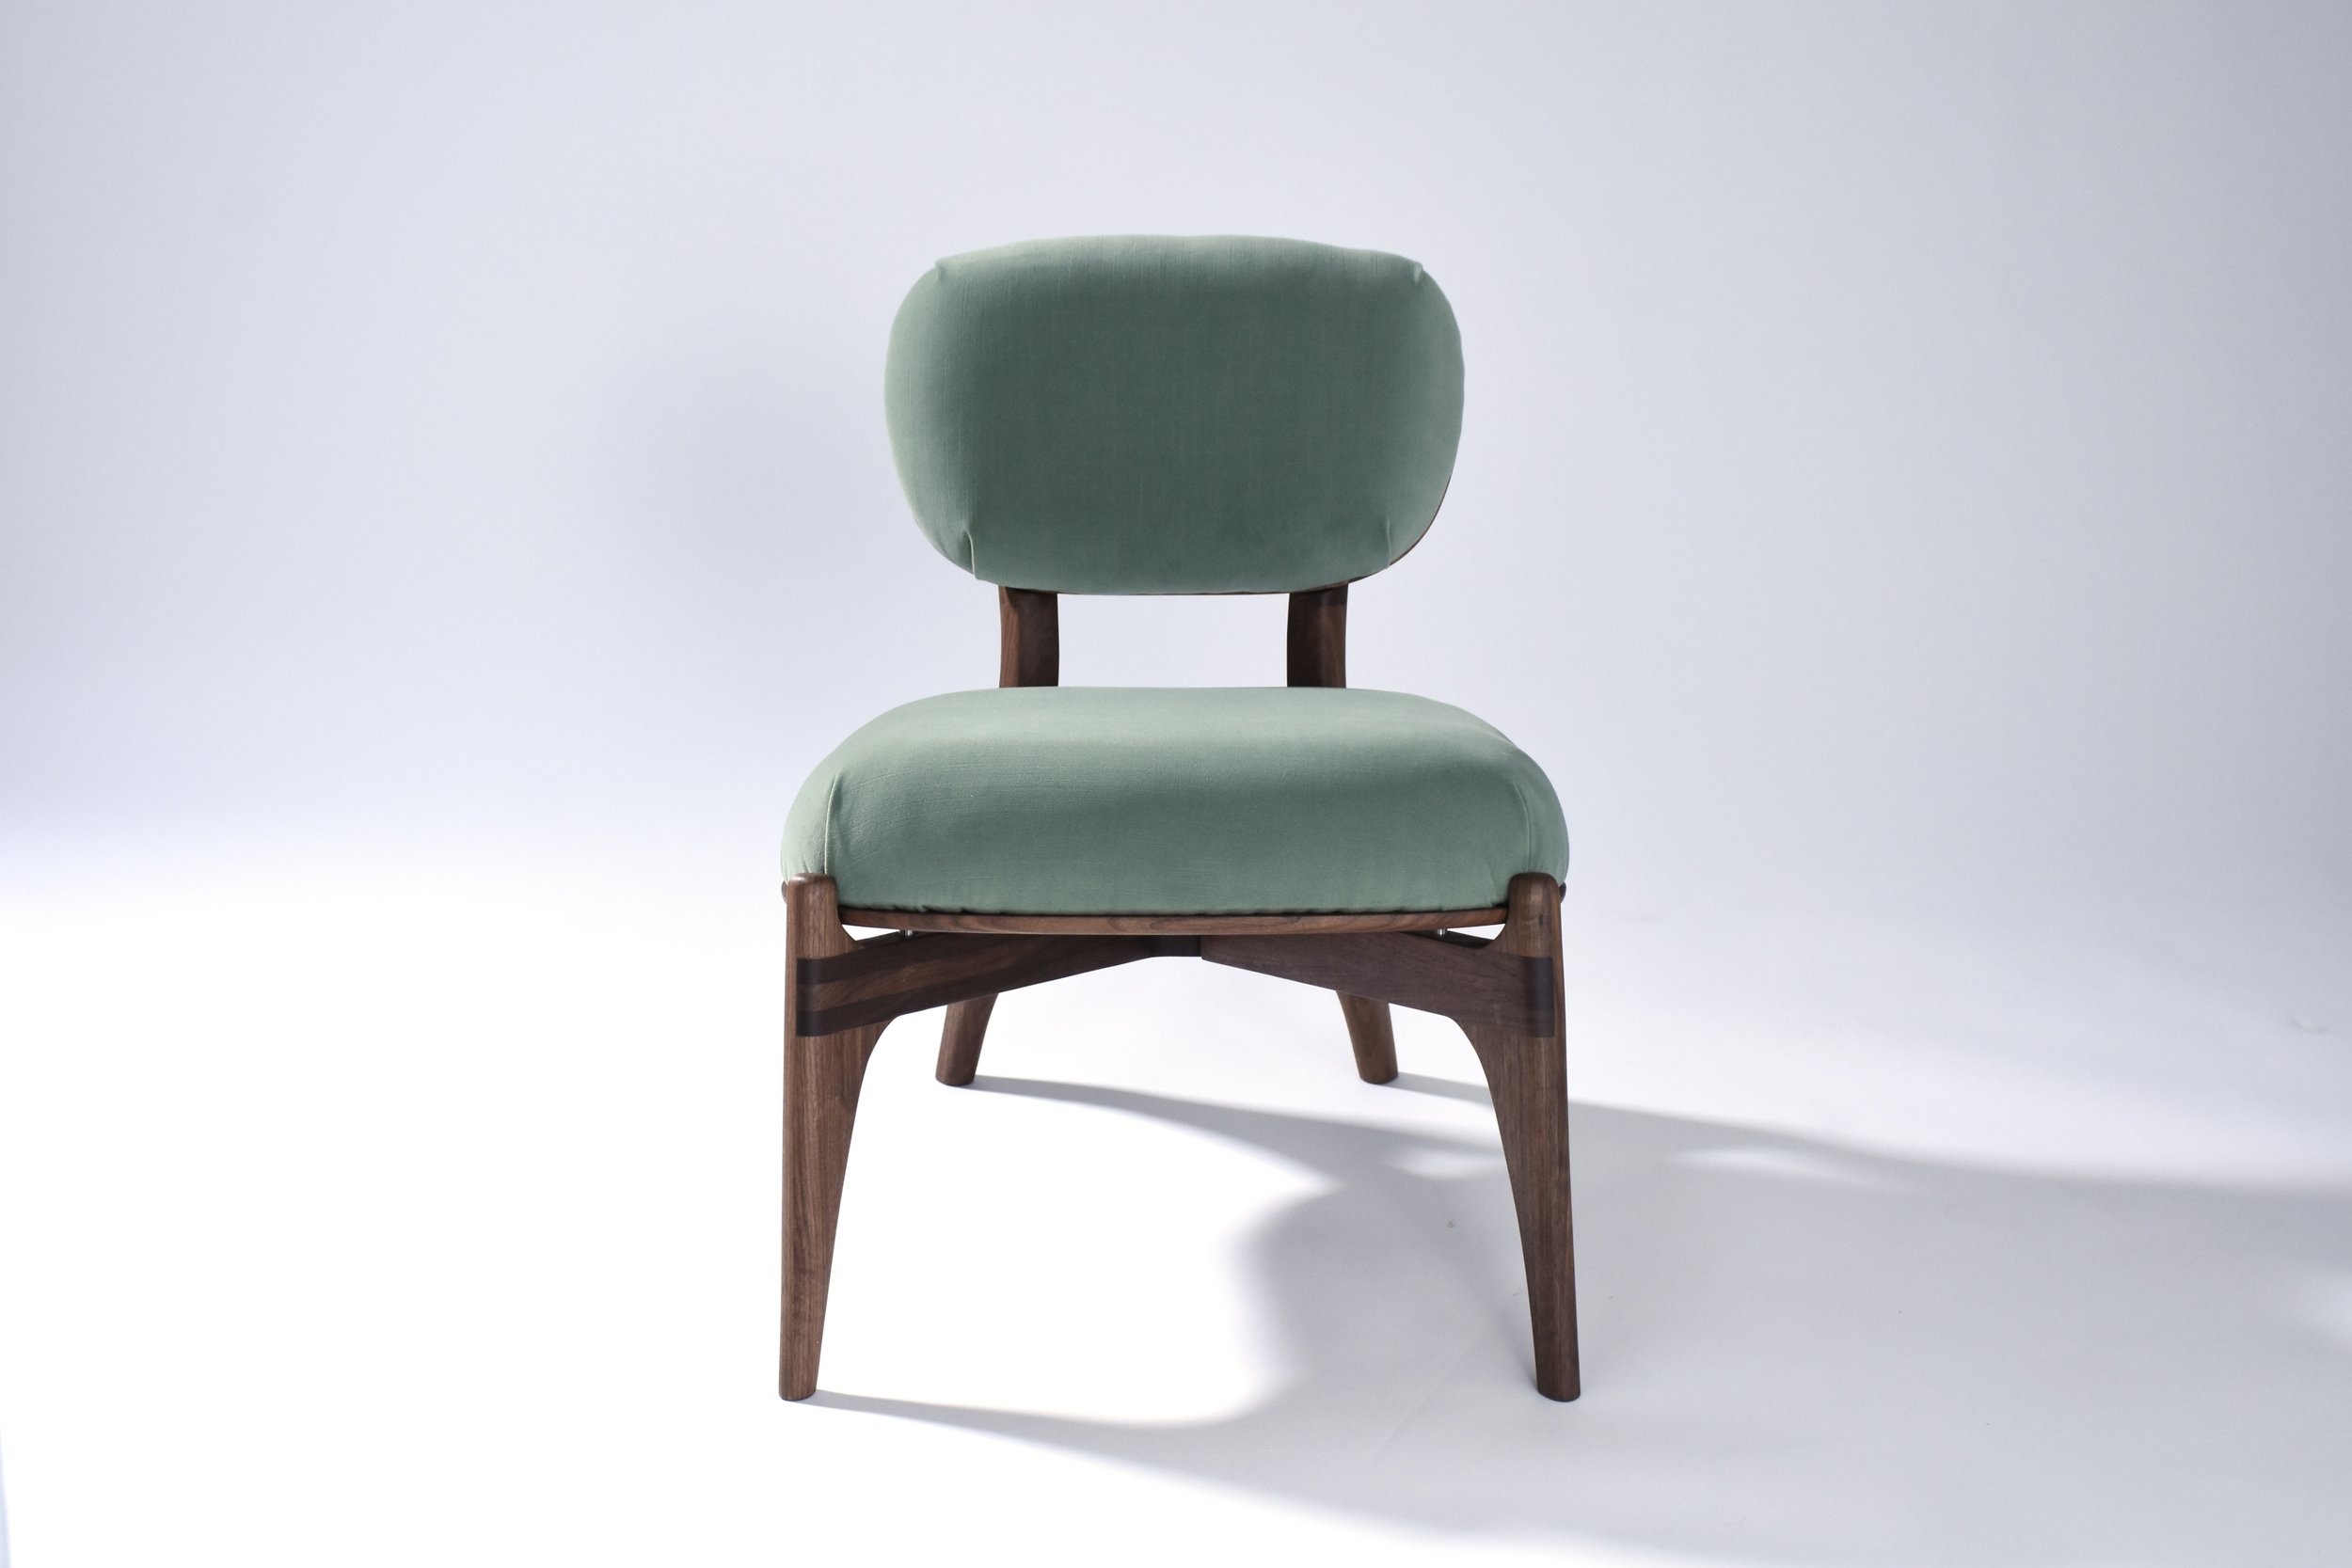
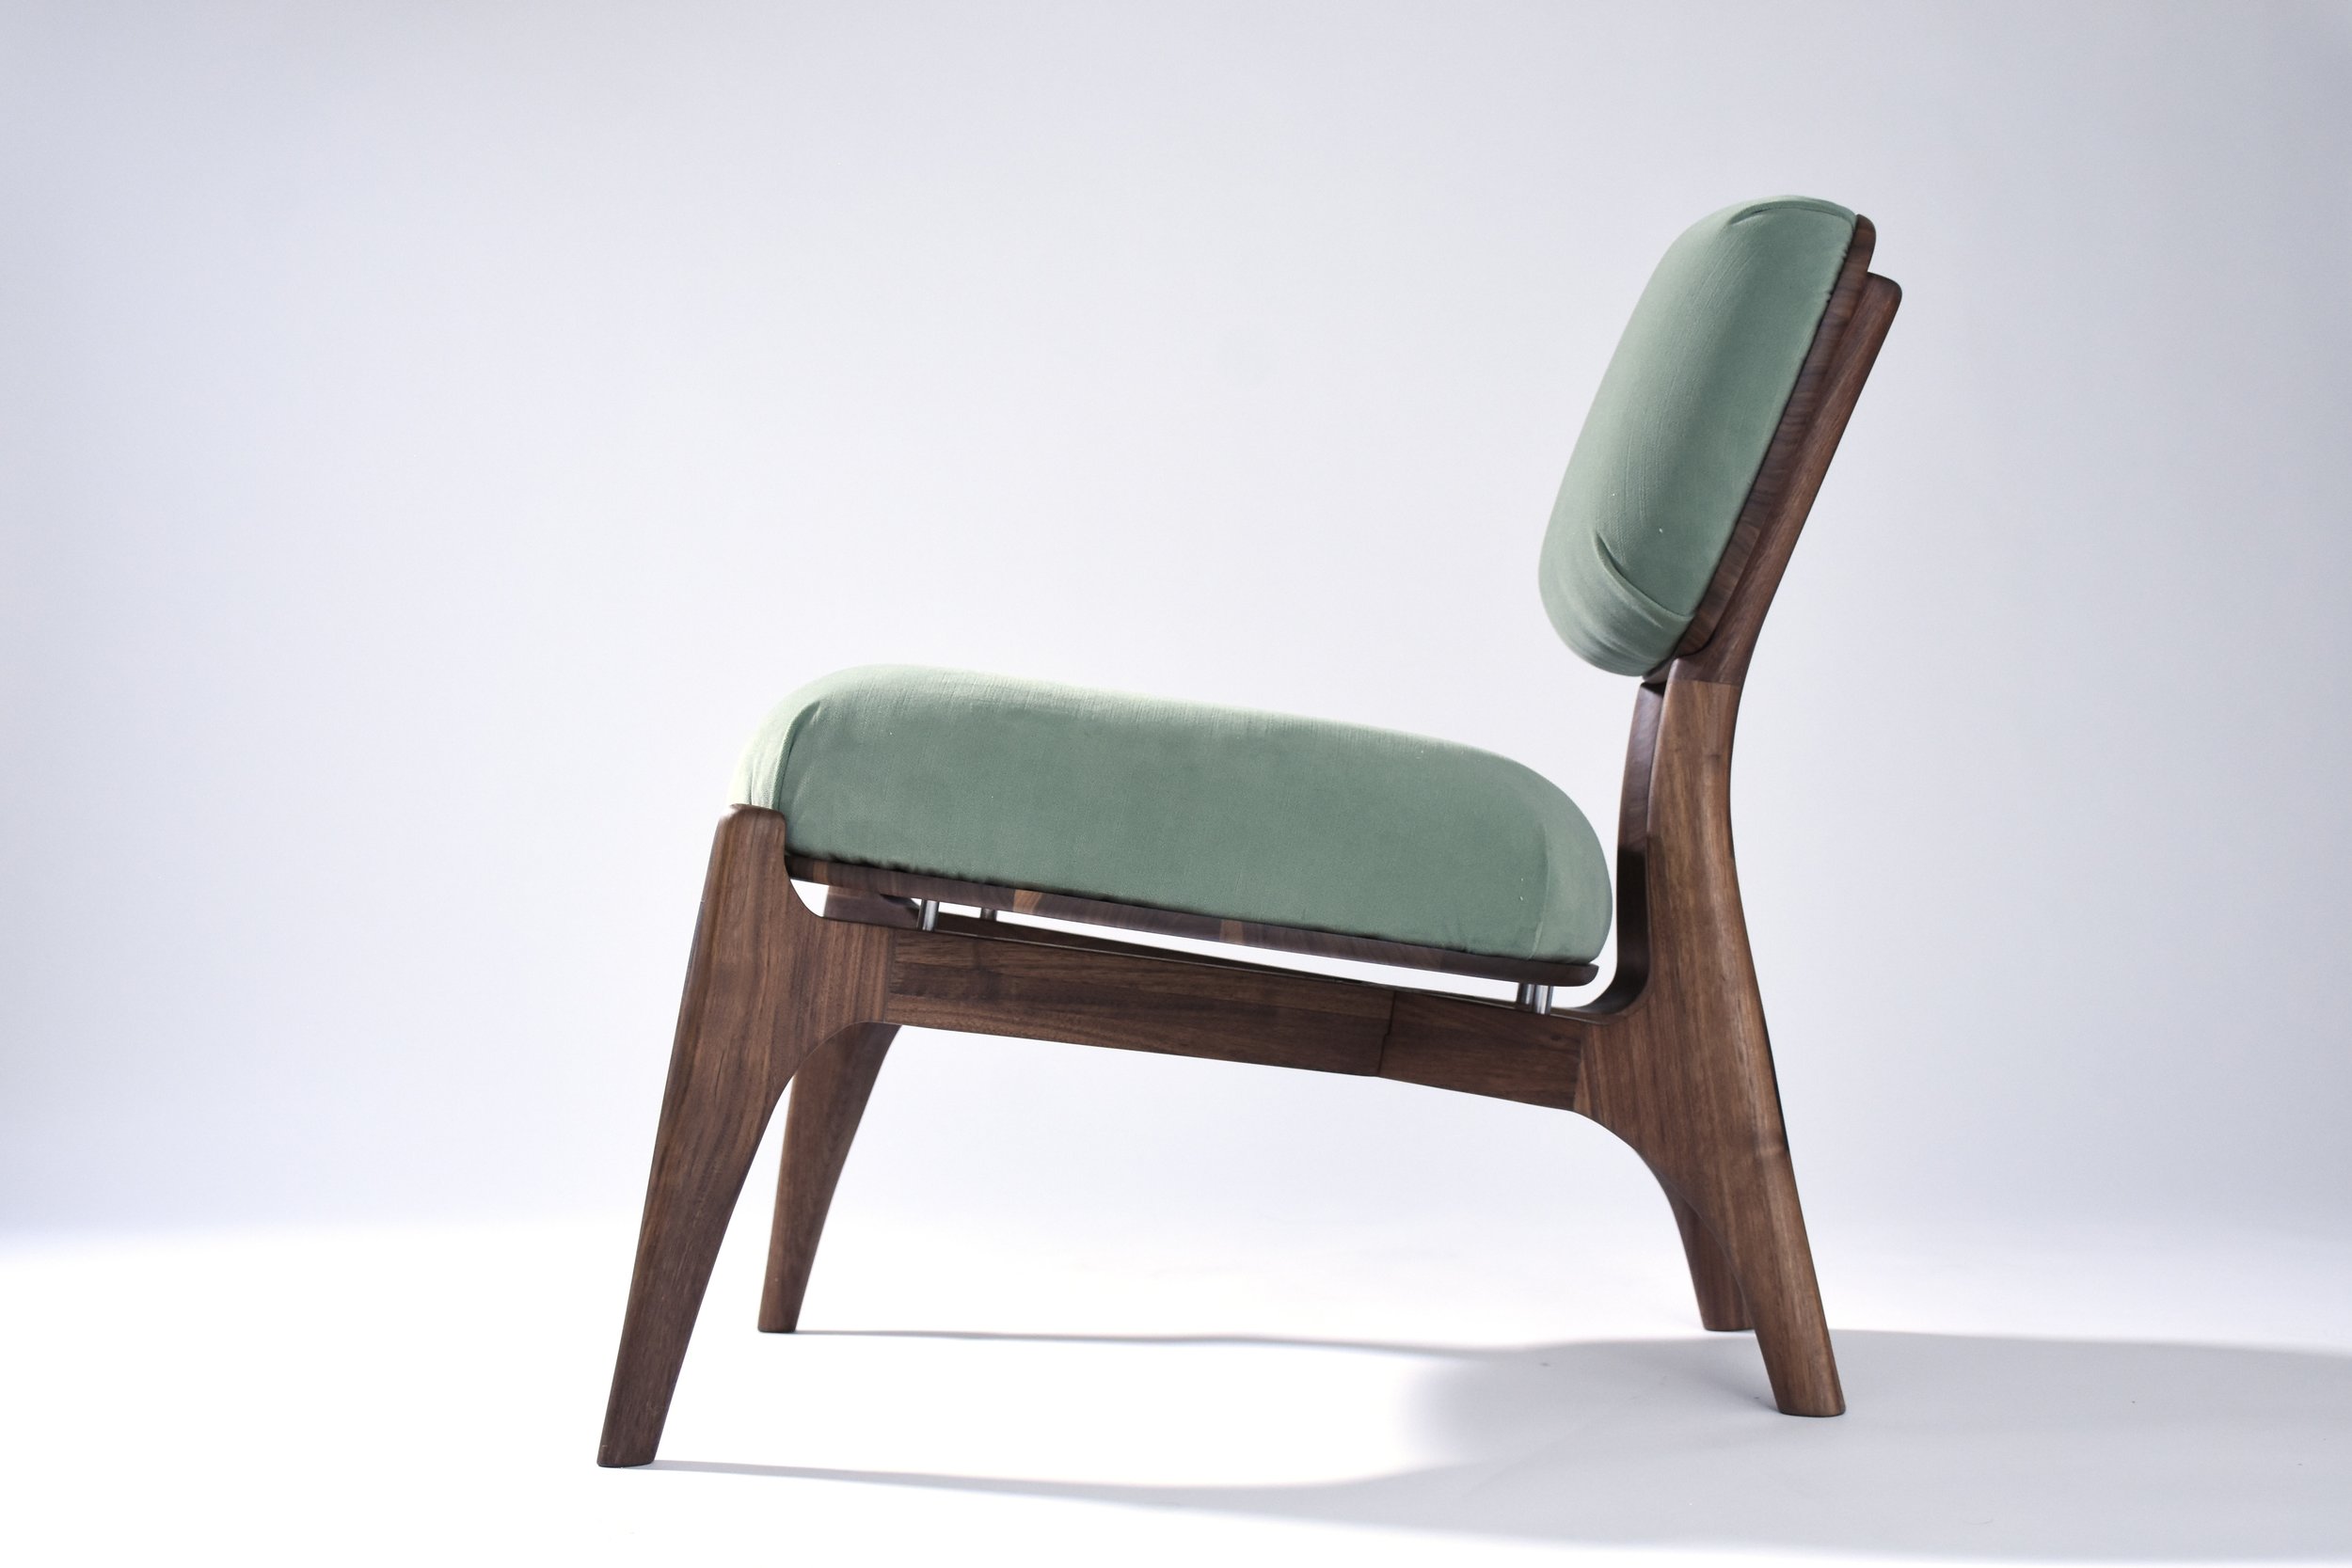
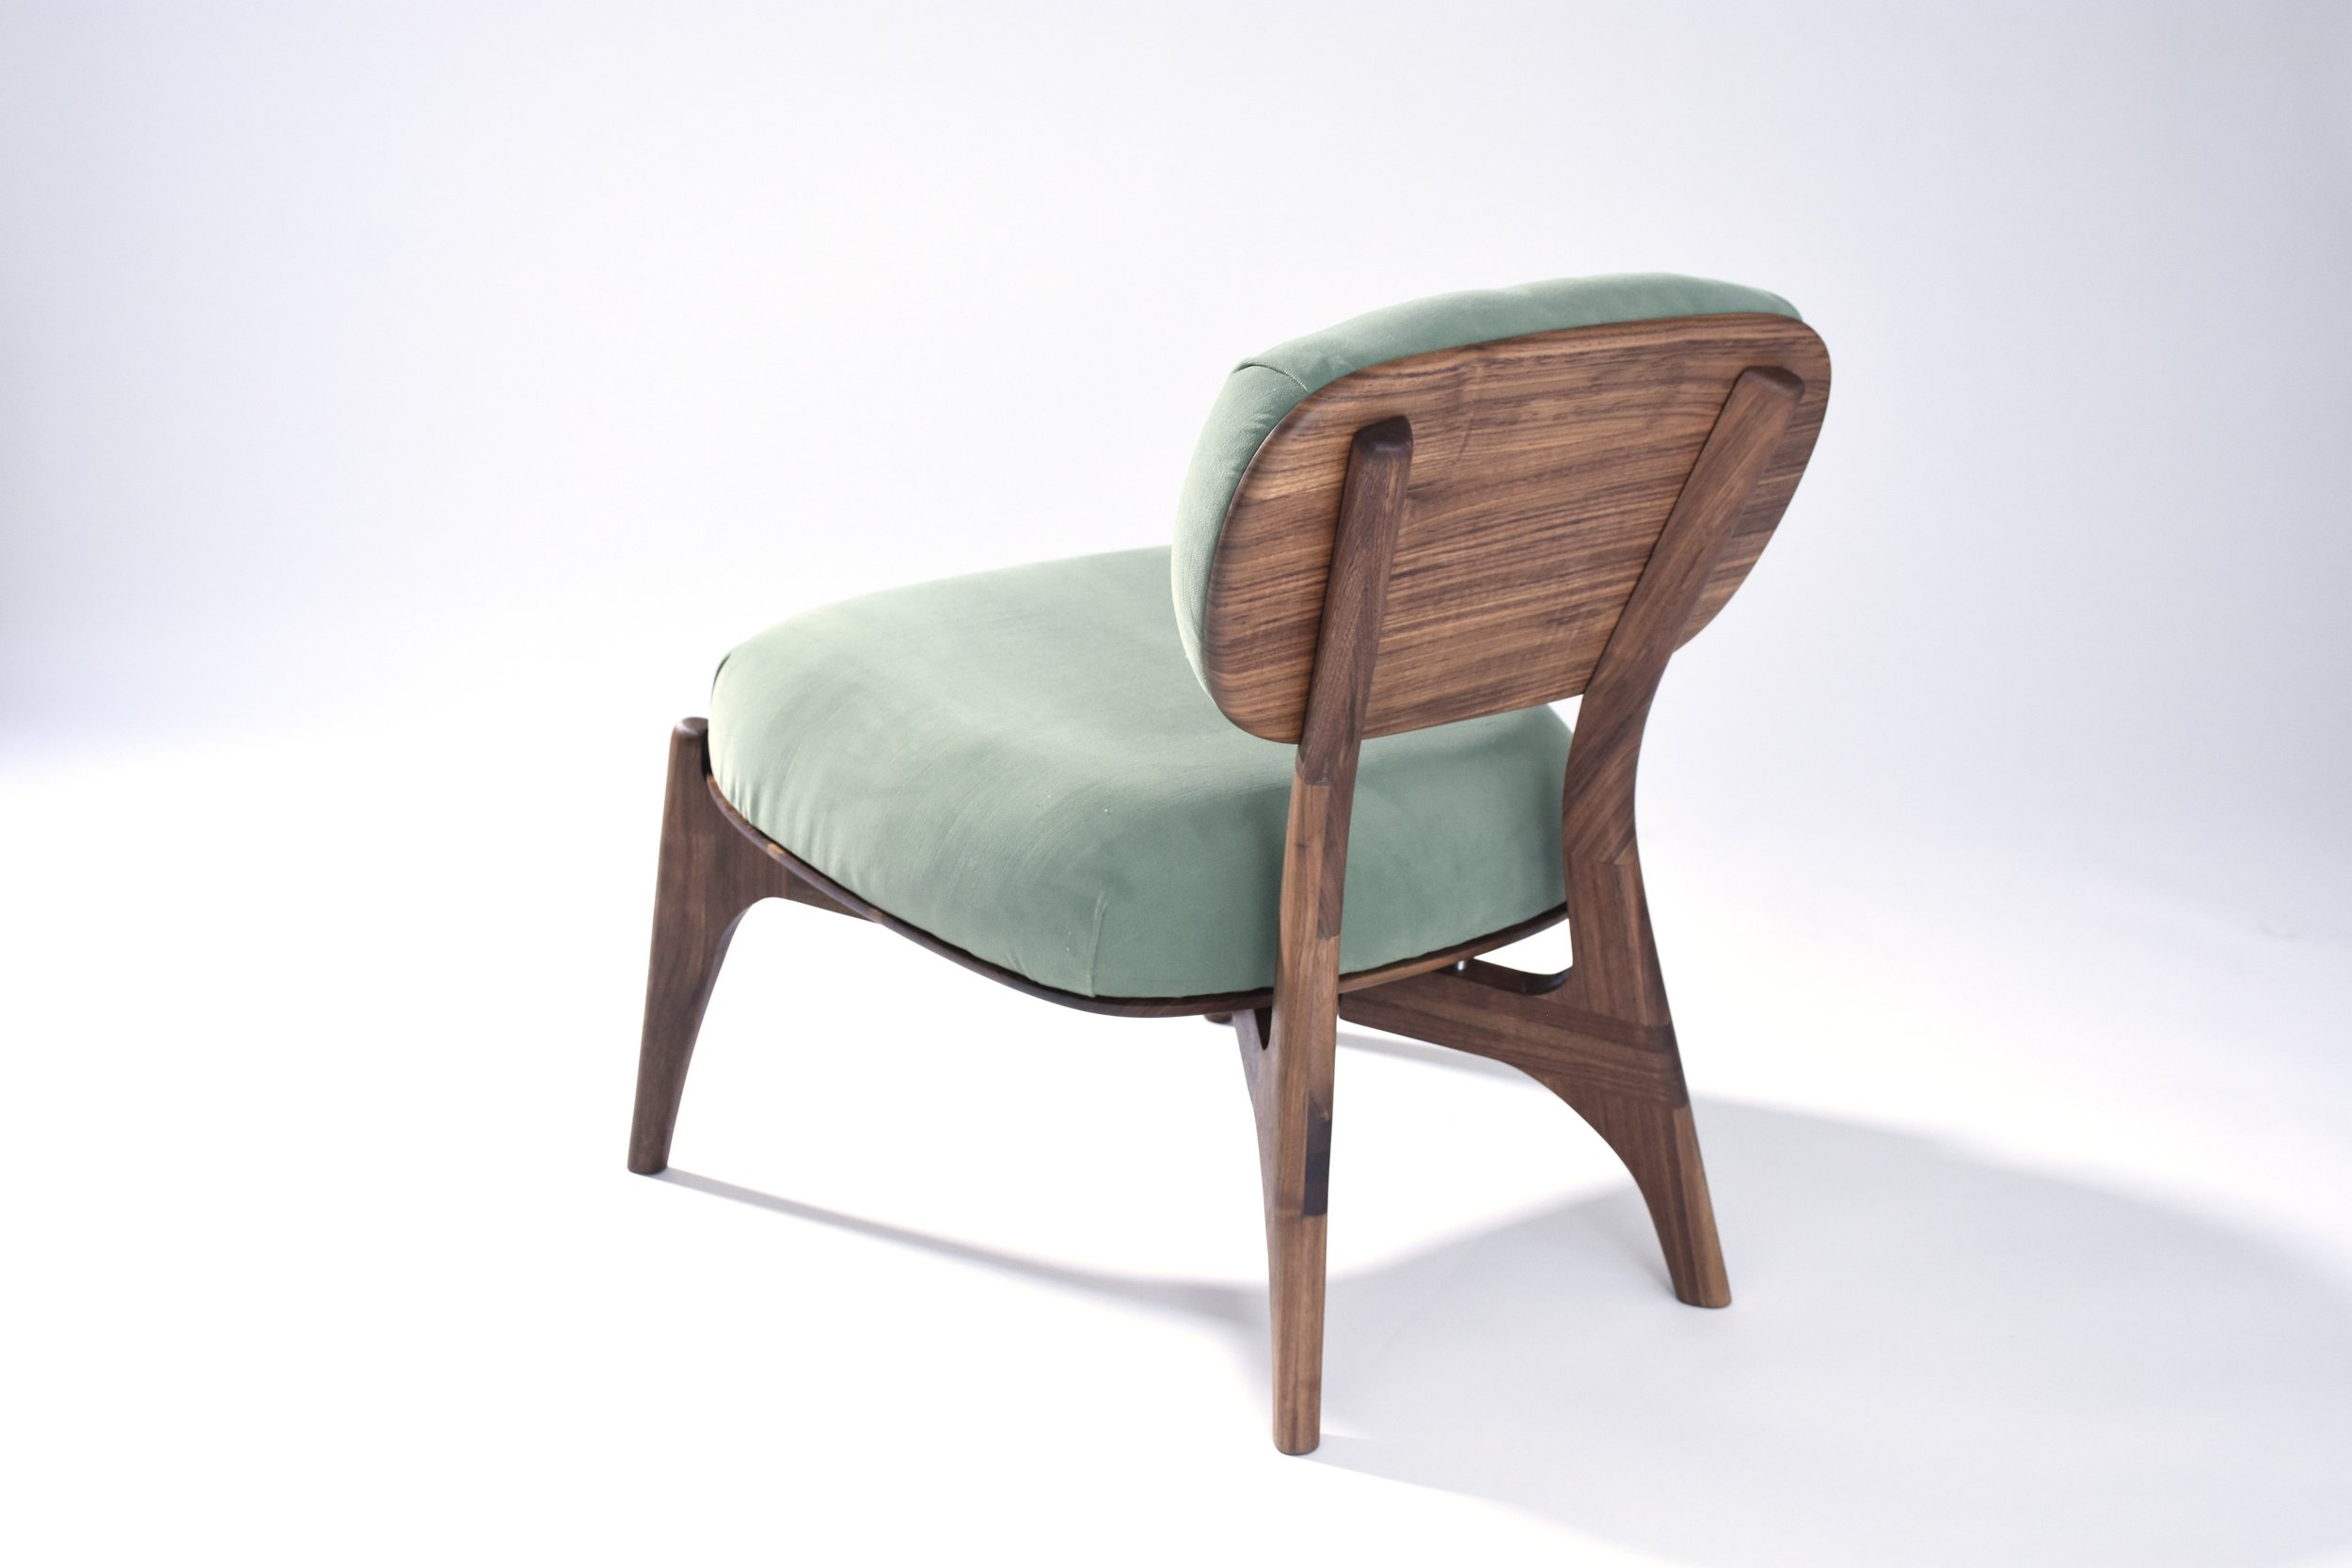
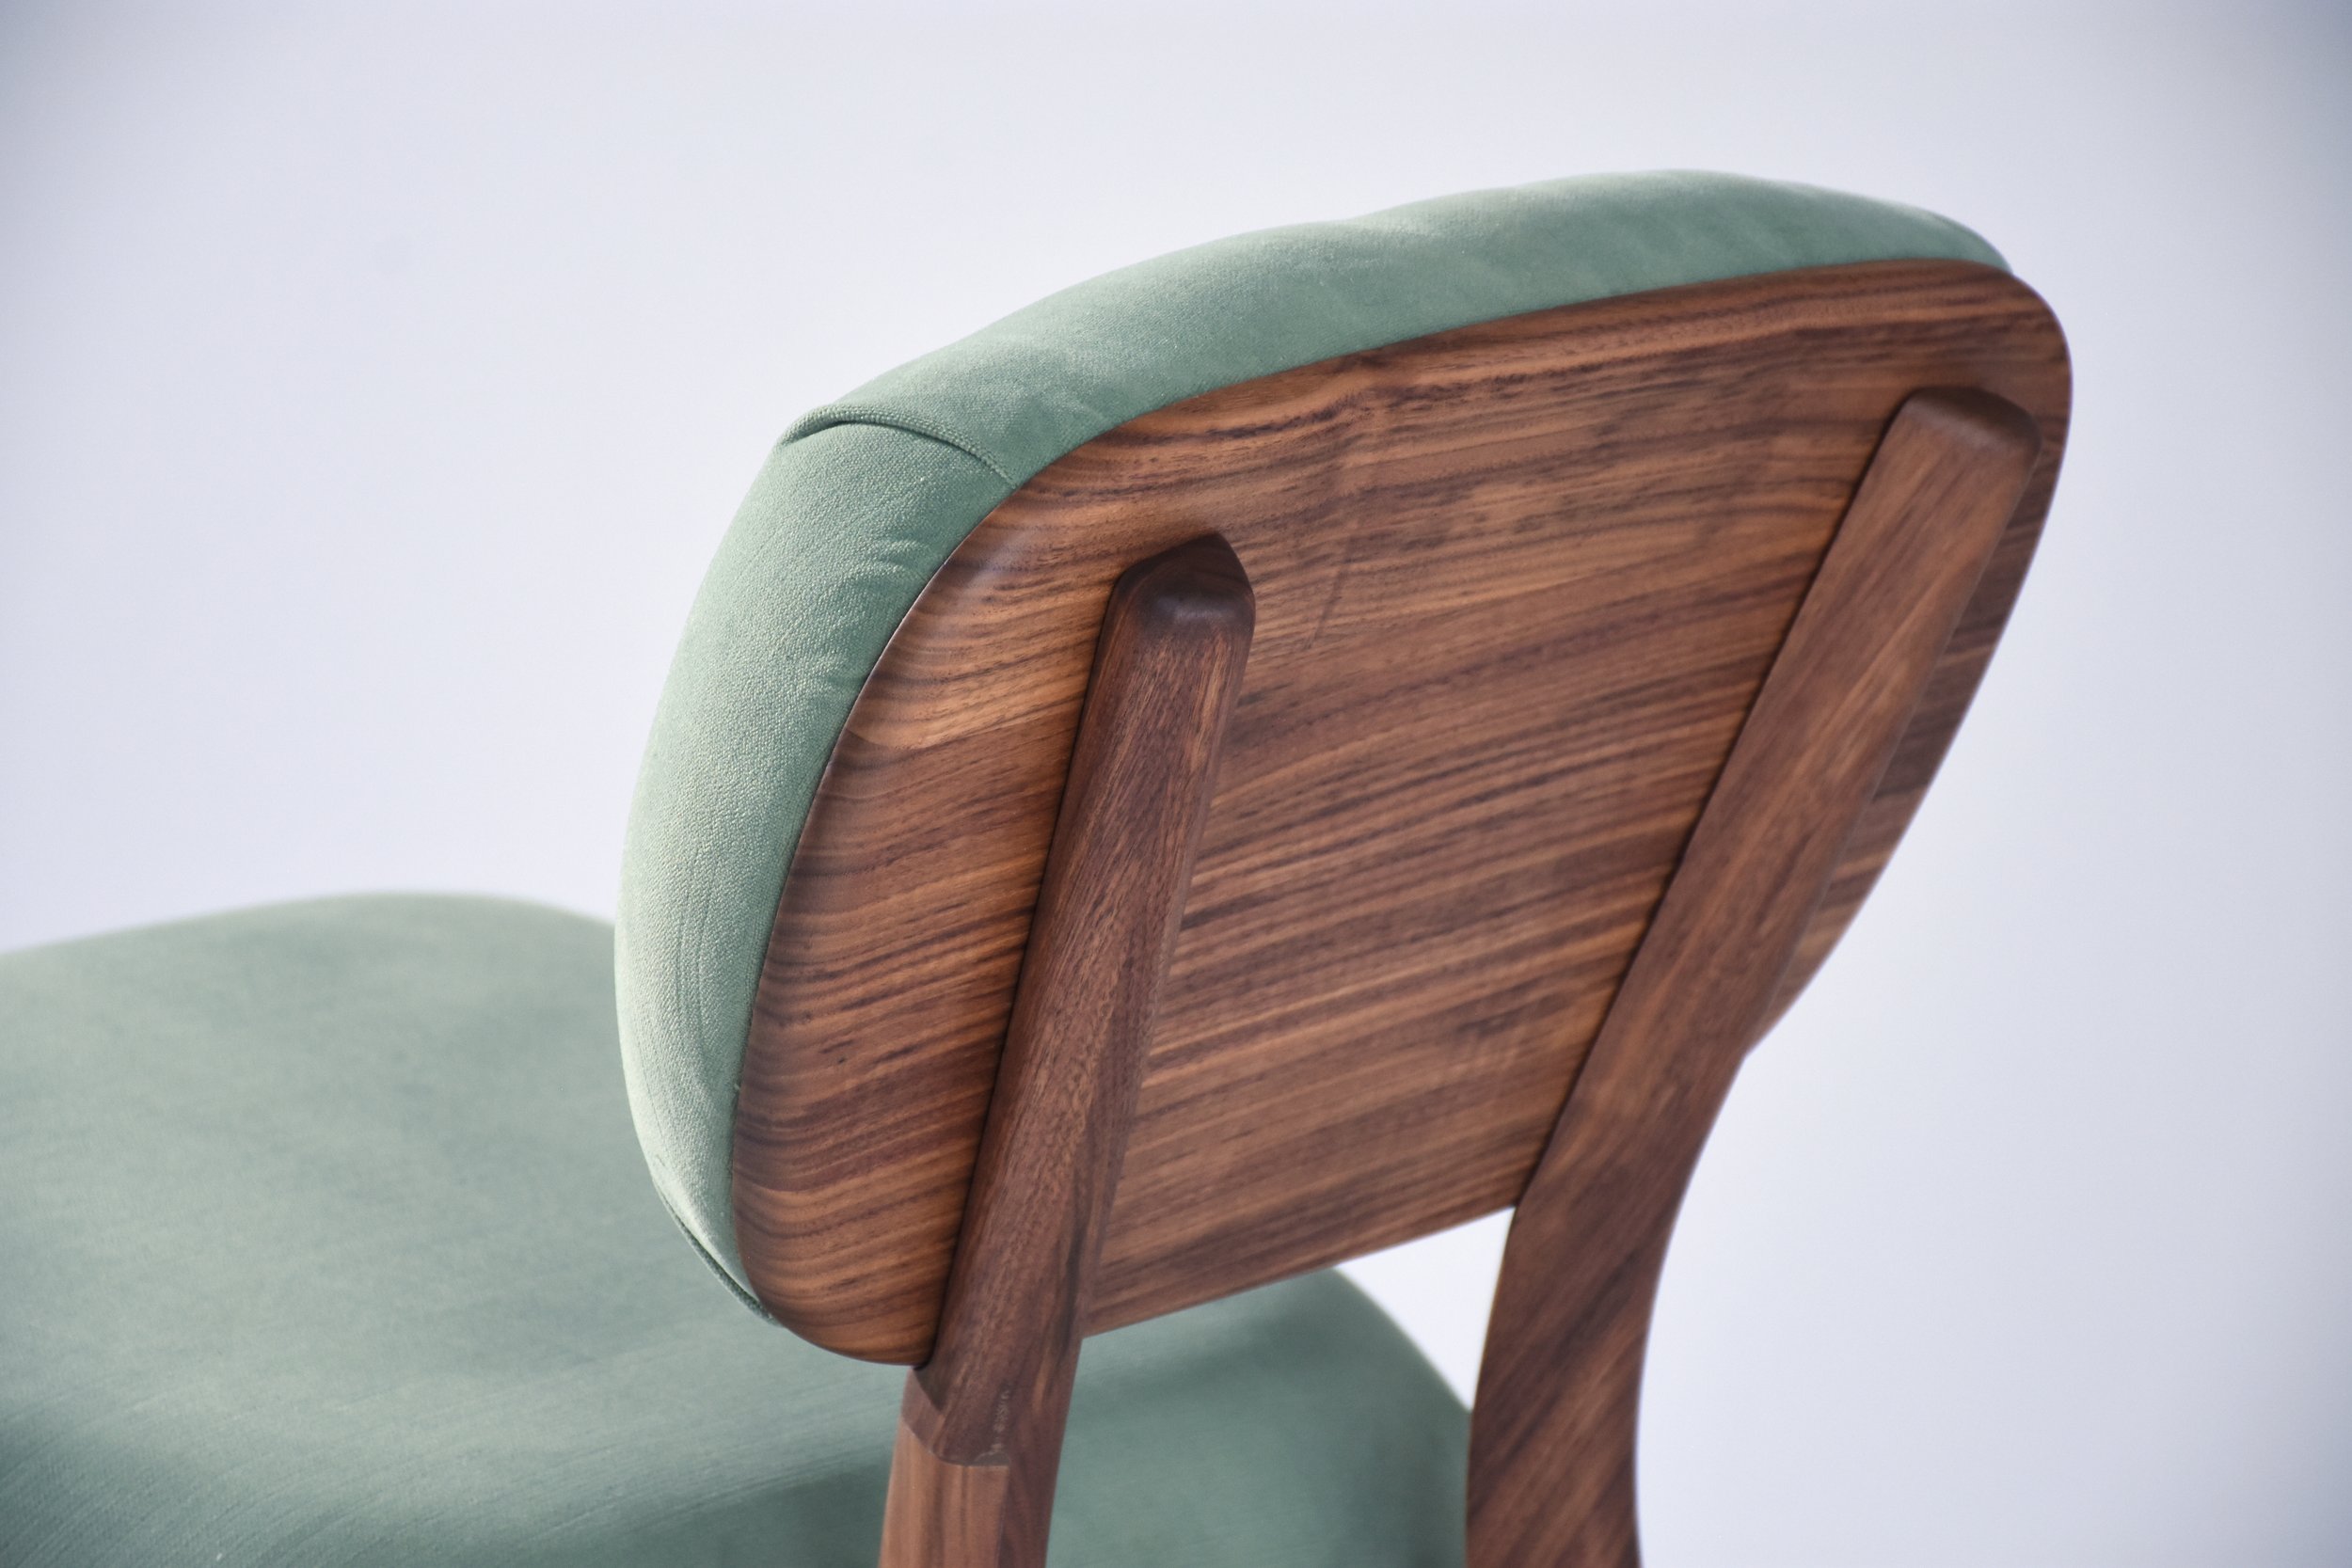
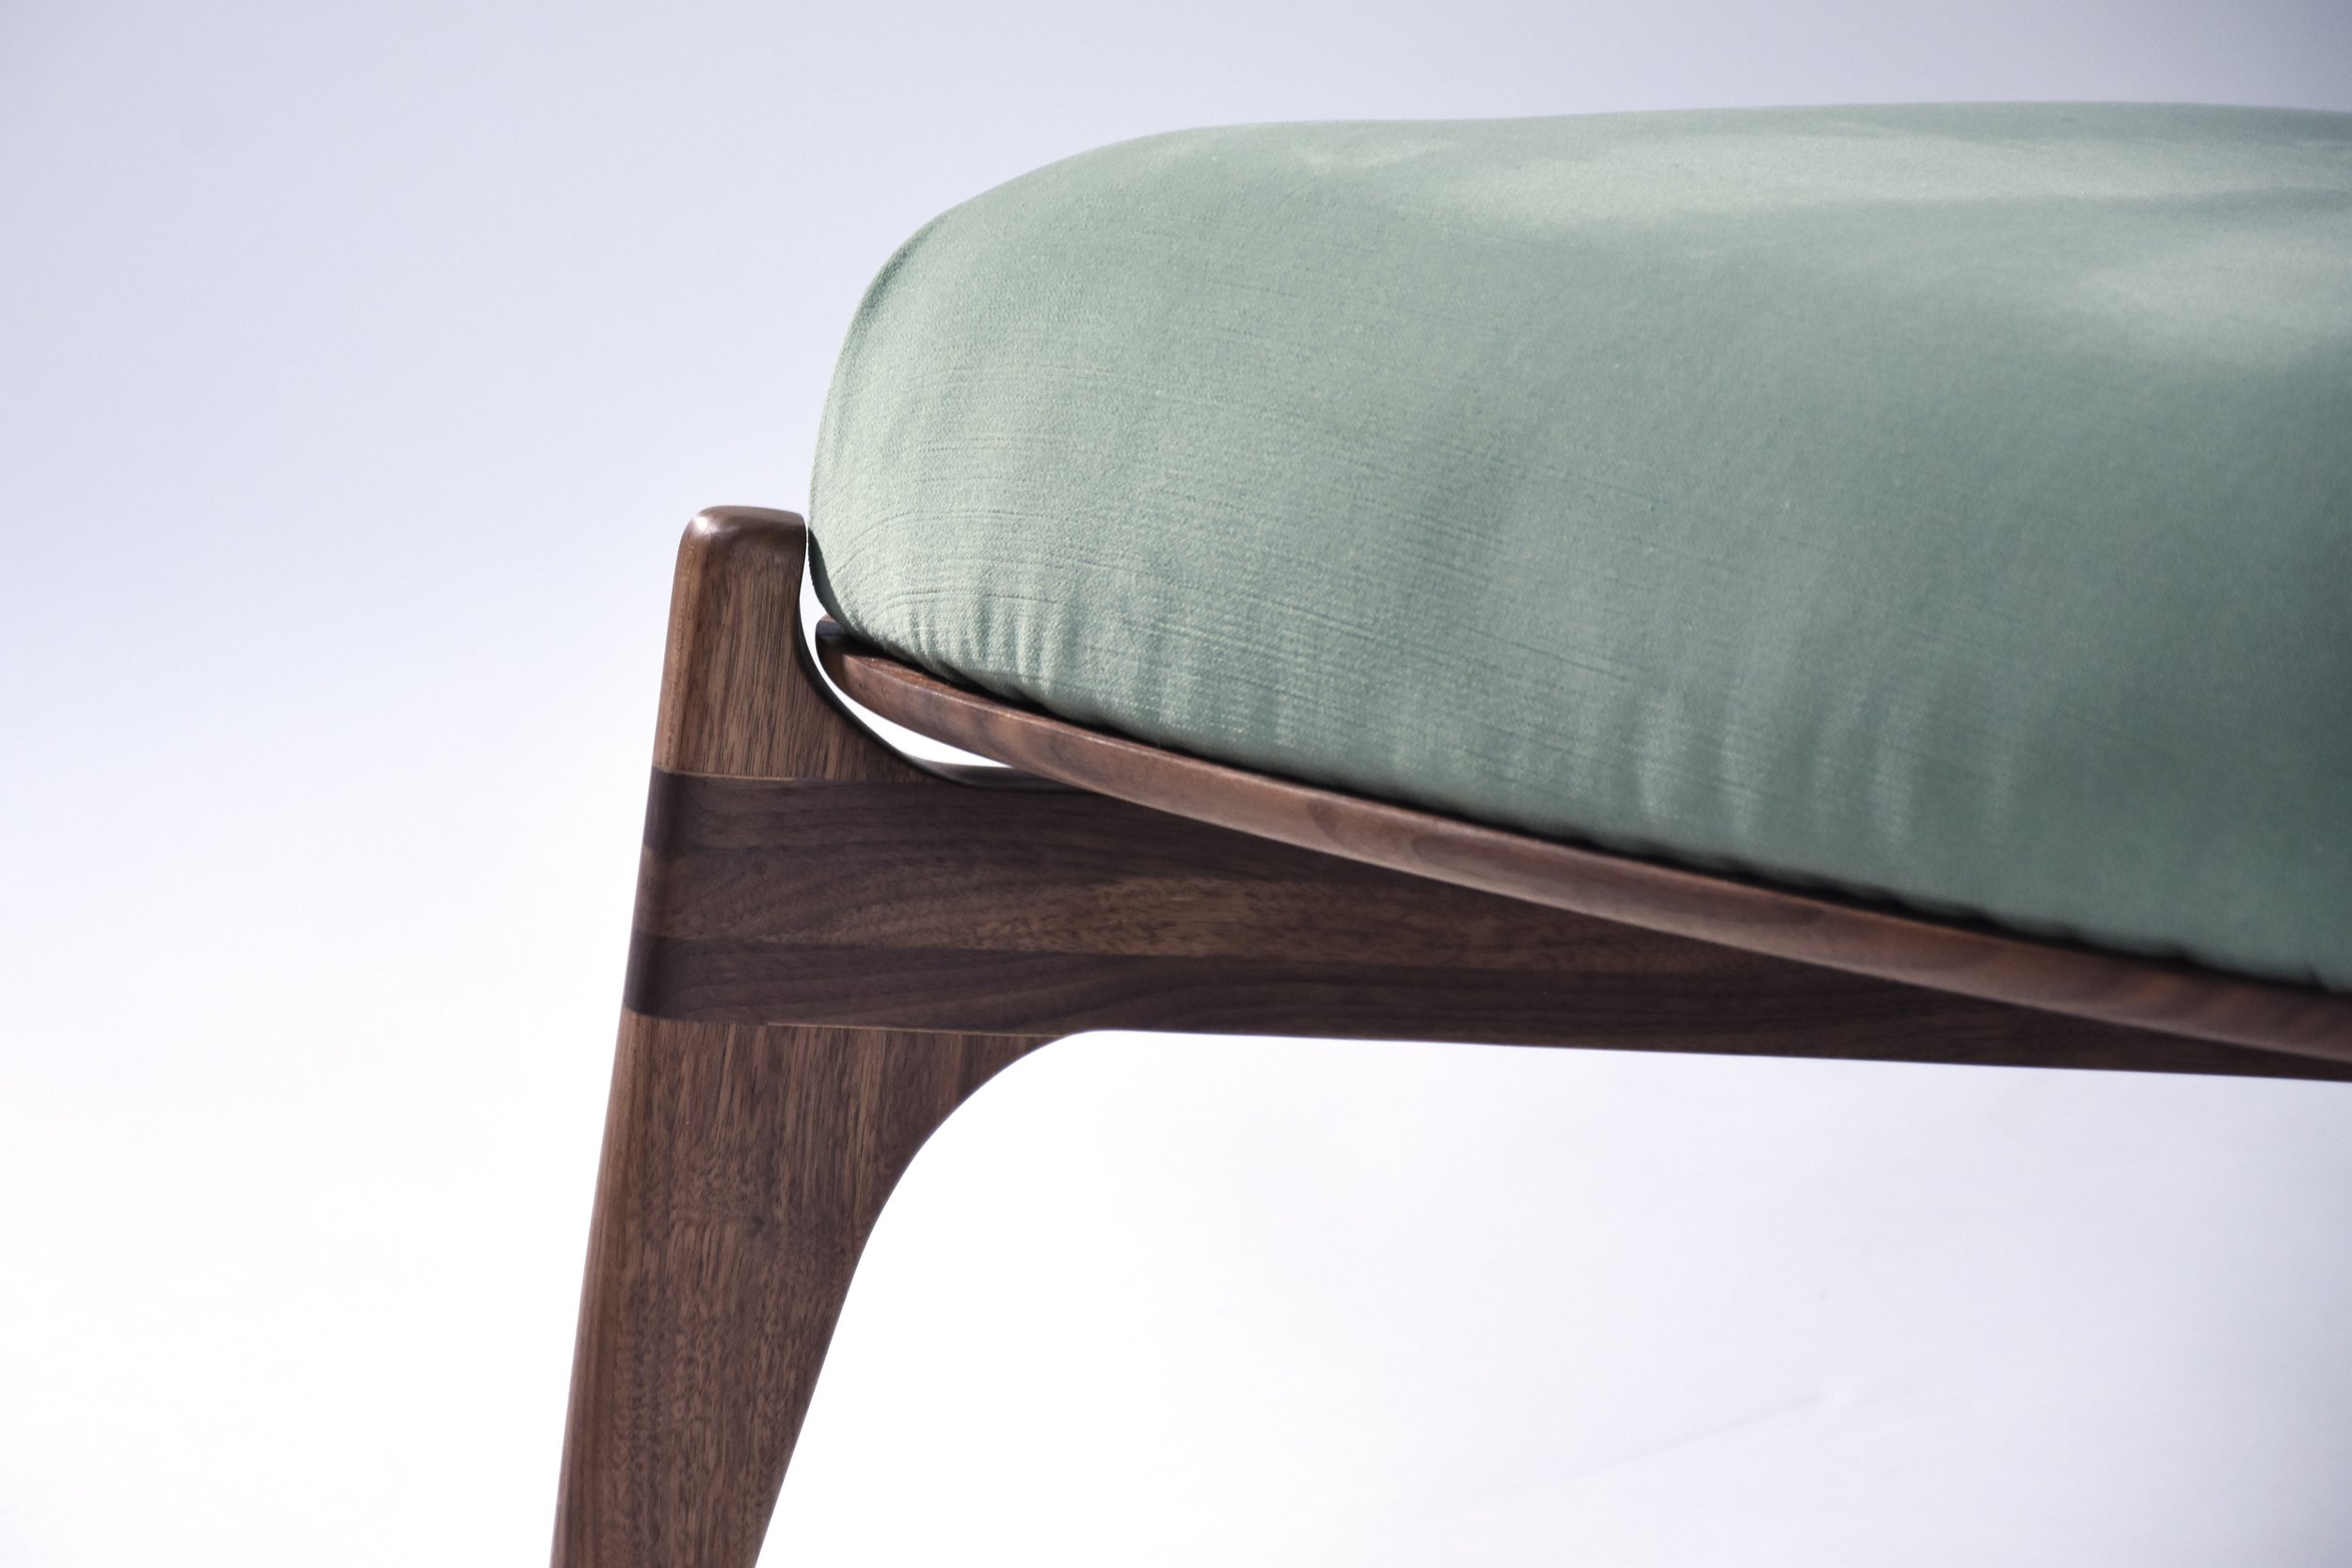
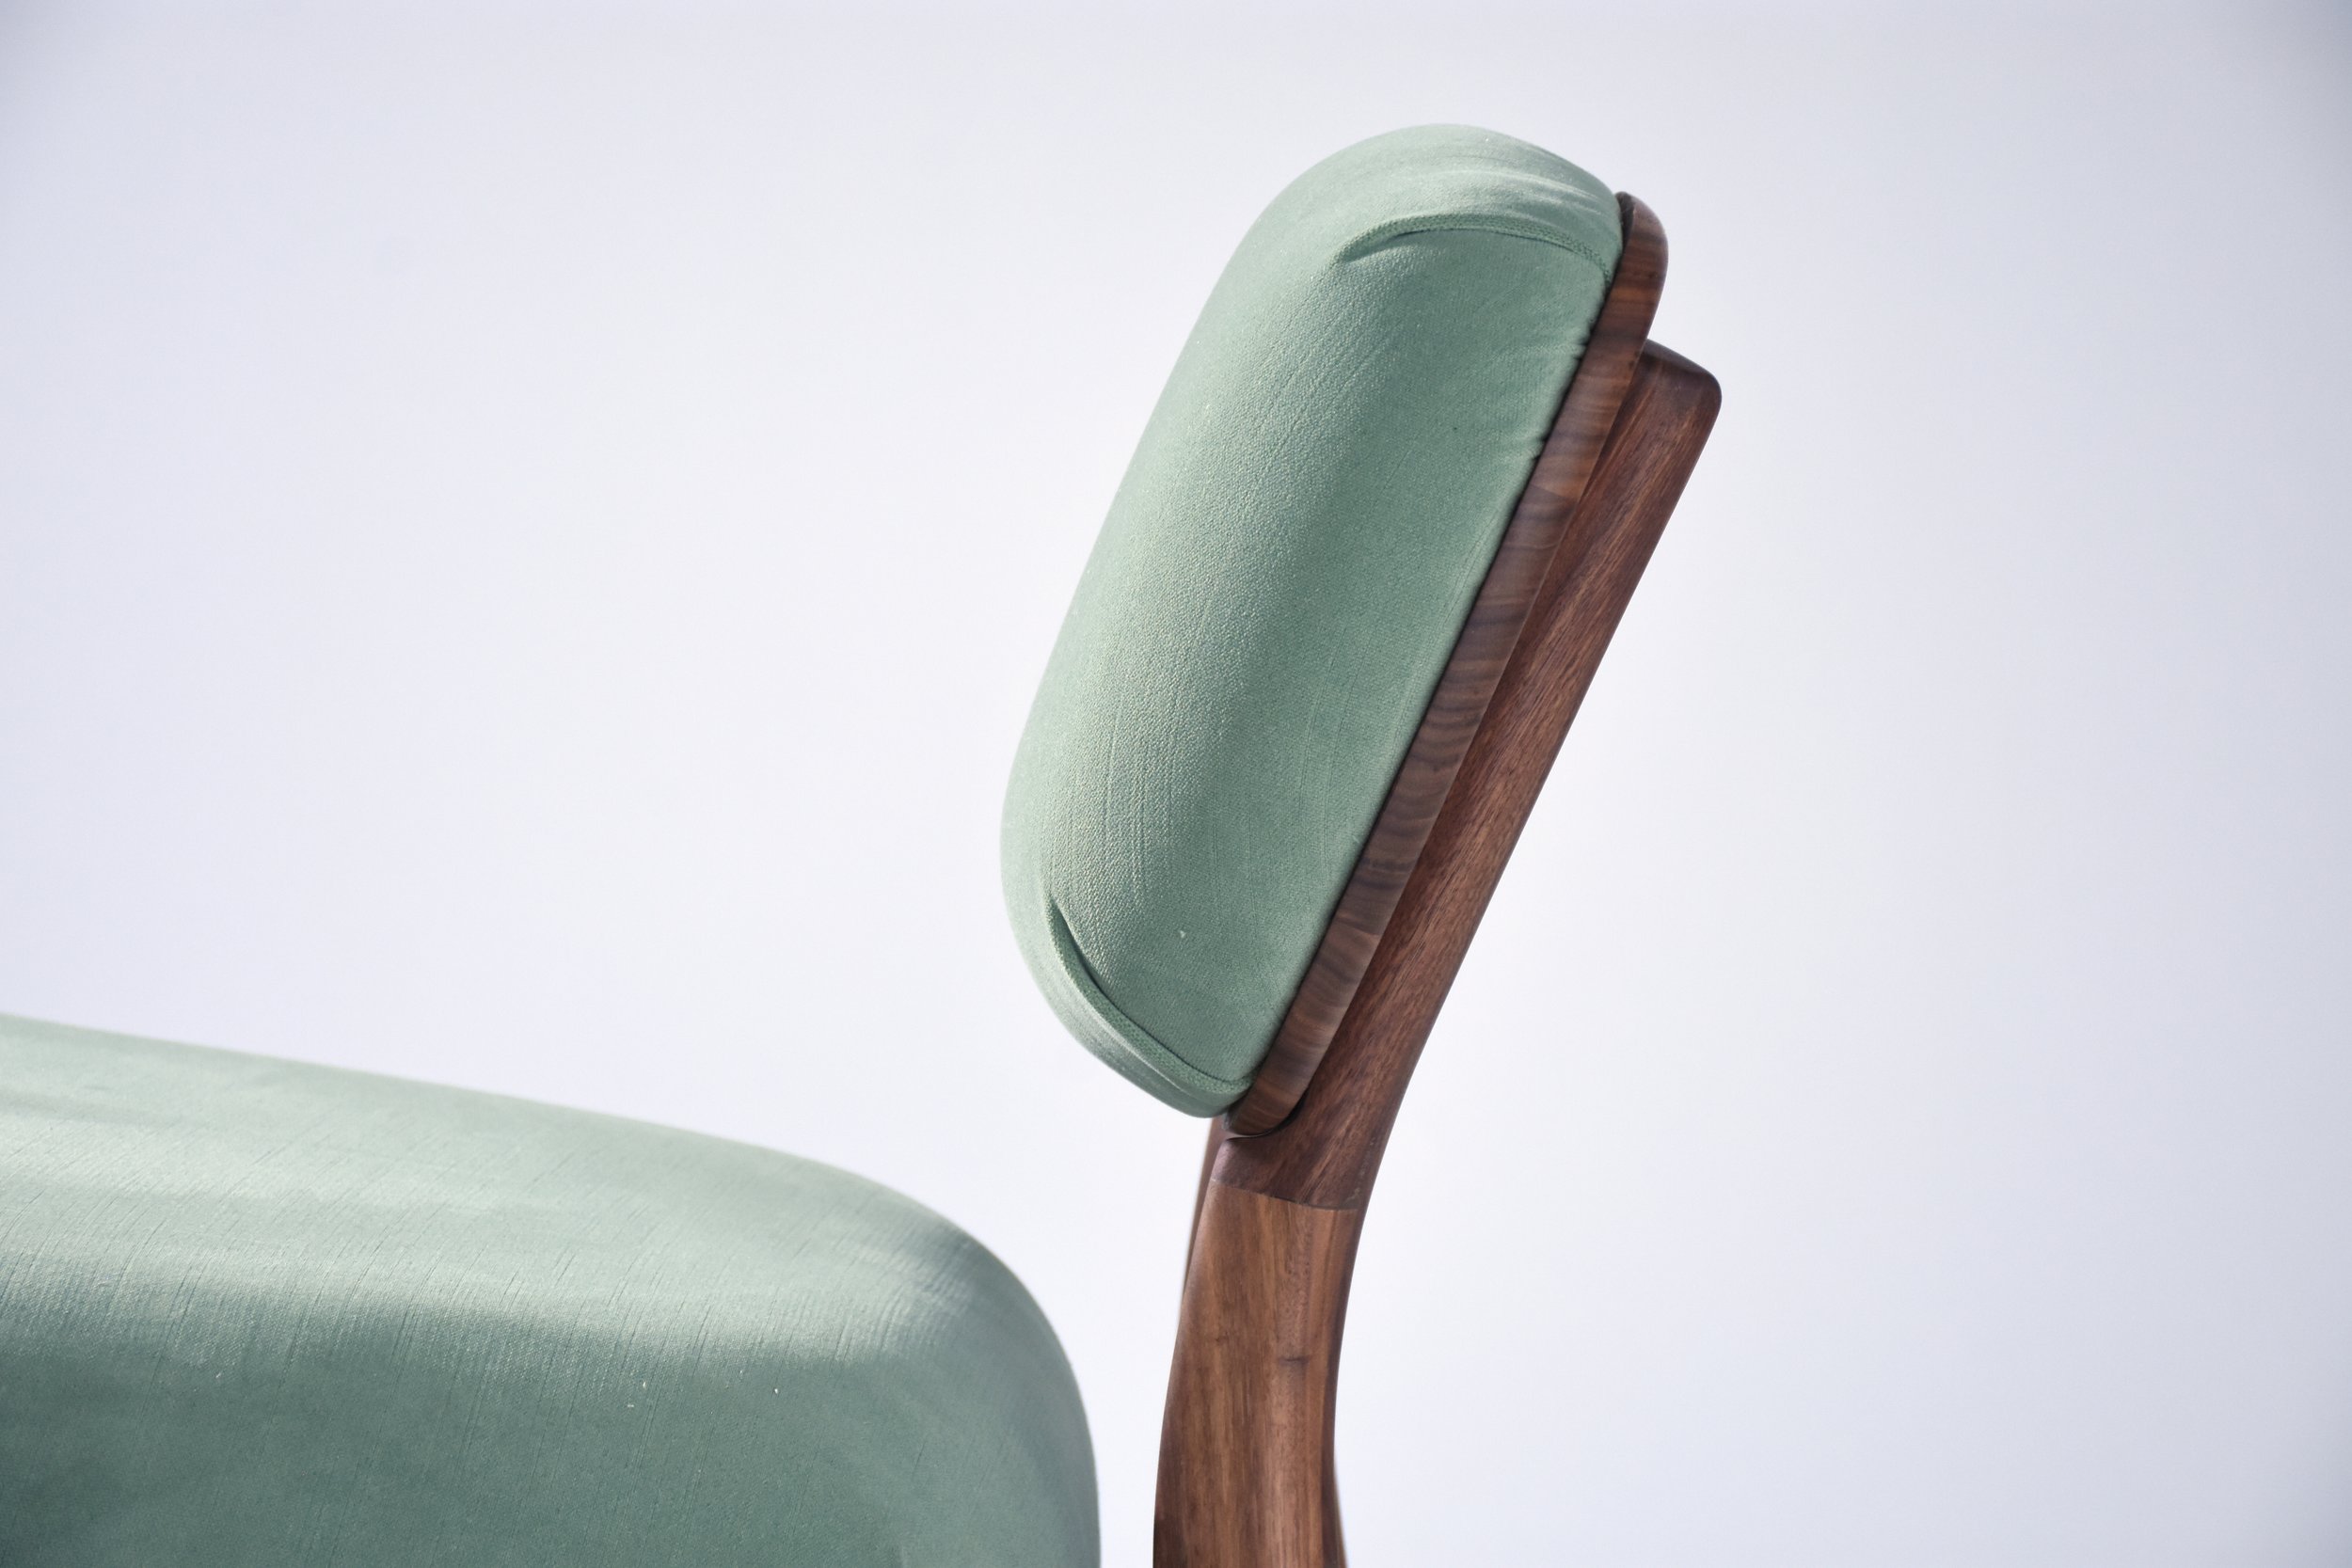
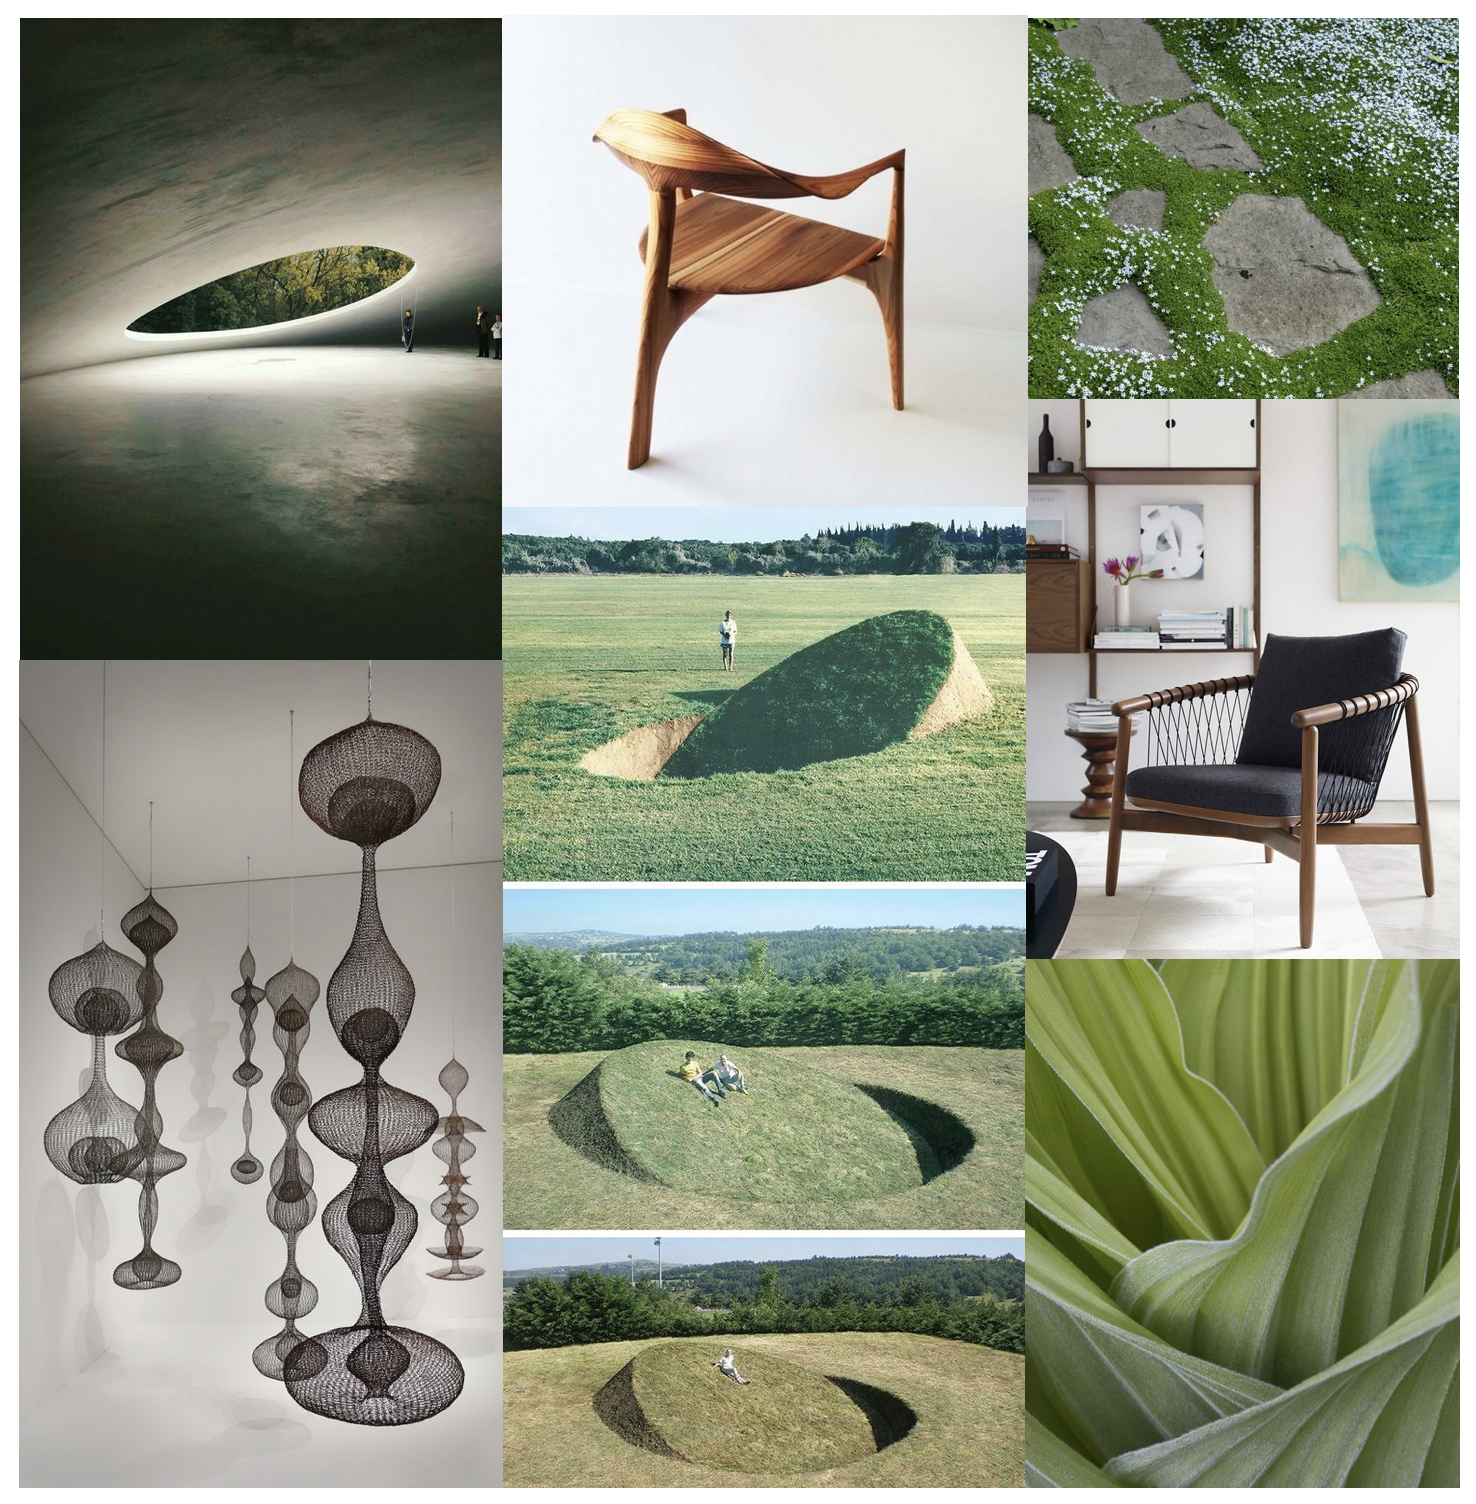
This chair was inspired by the juxtaposition between suspension and groundedness. The interplay between these are shown across nature, and this chair becomes a reflection of that relationship.
The form was inspired by a combination of the Geiger Crosshatch Chair, the Koma Cocoda Chair, and Danish mid-century modern design, with emphasis on the woodworking style of Hans Wagner. These designs highlight the beauty of natural wood, giving it a new life.
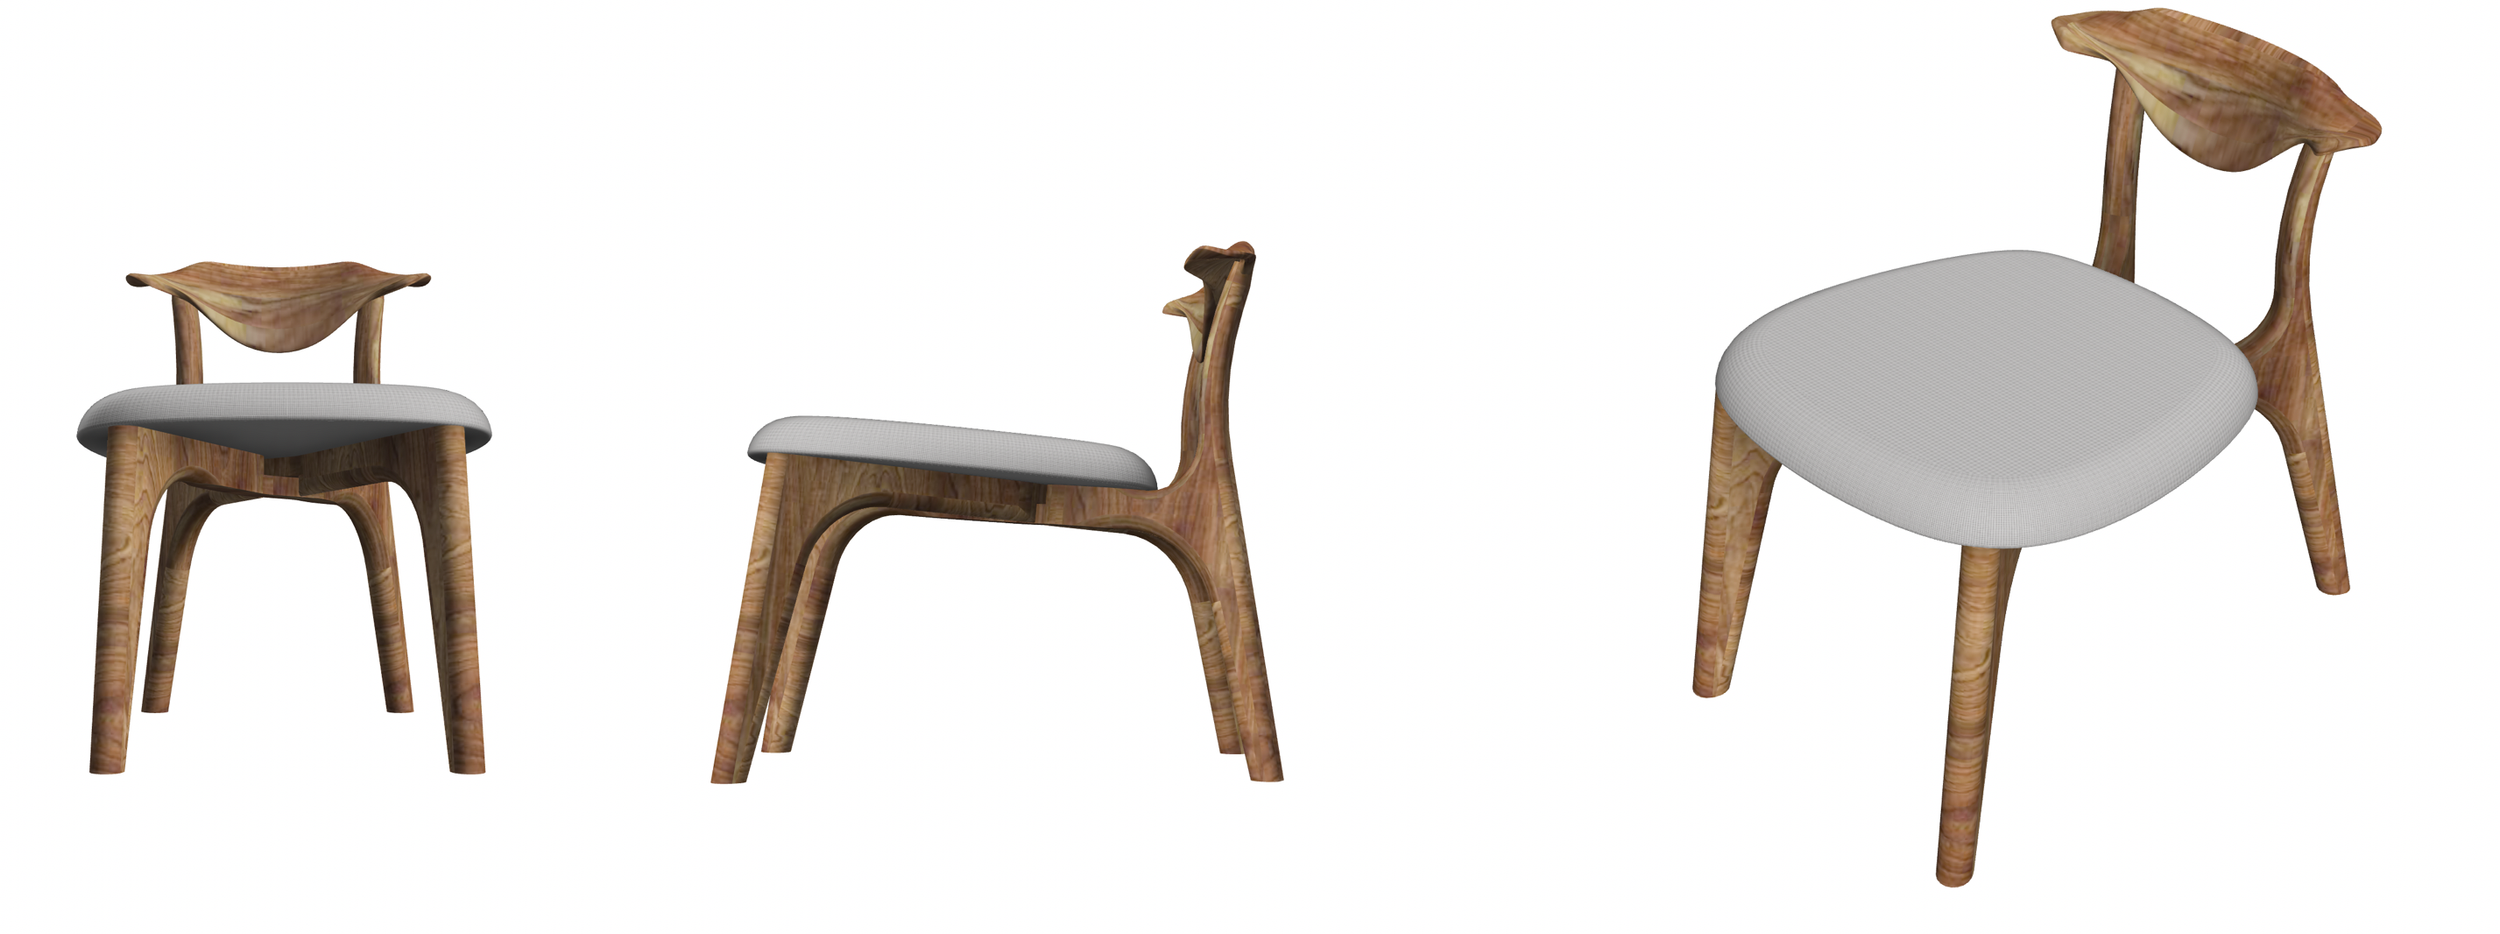
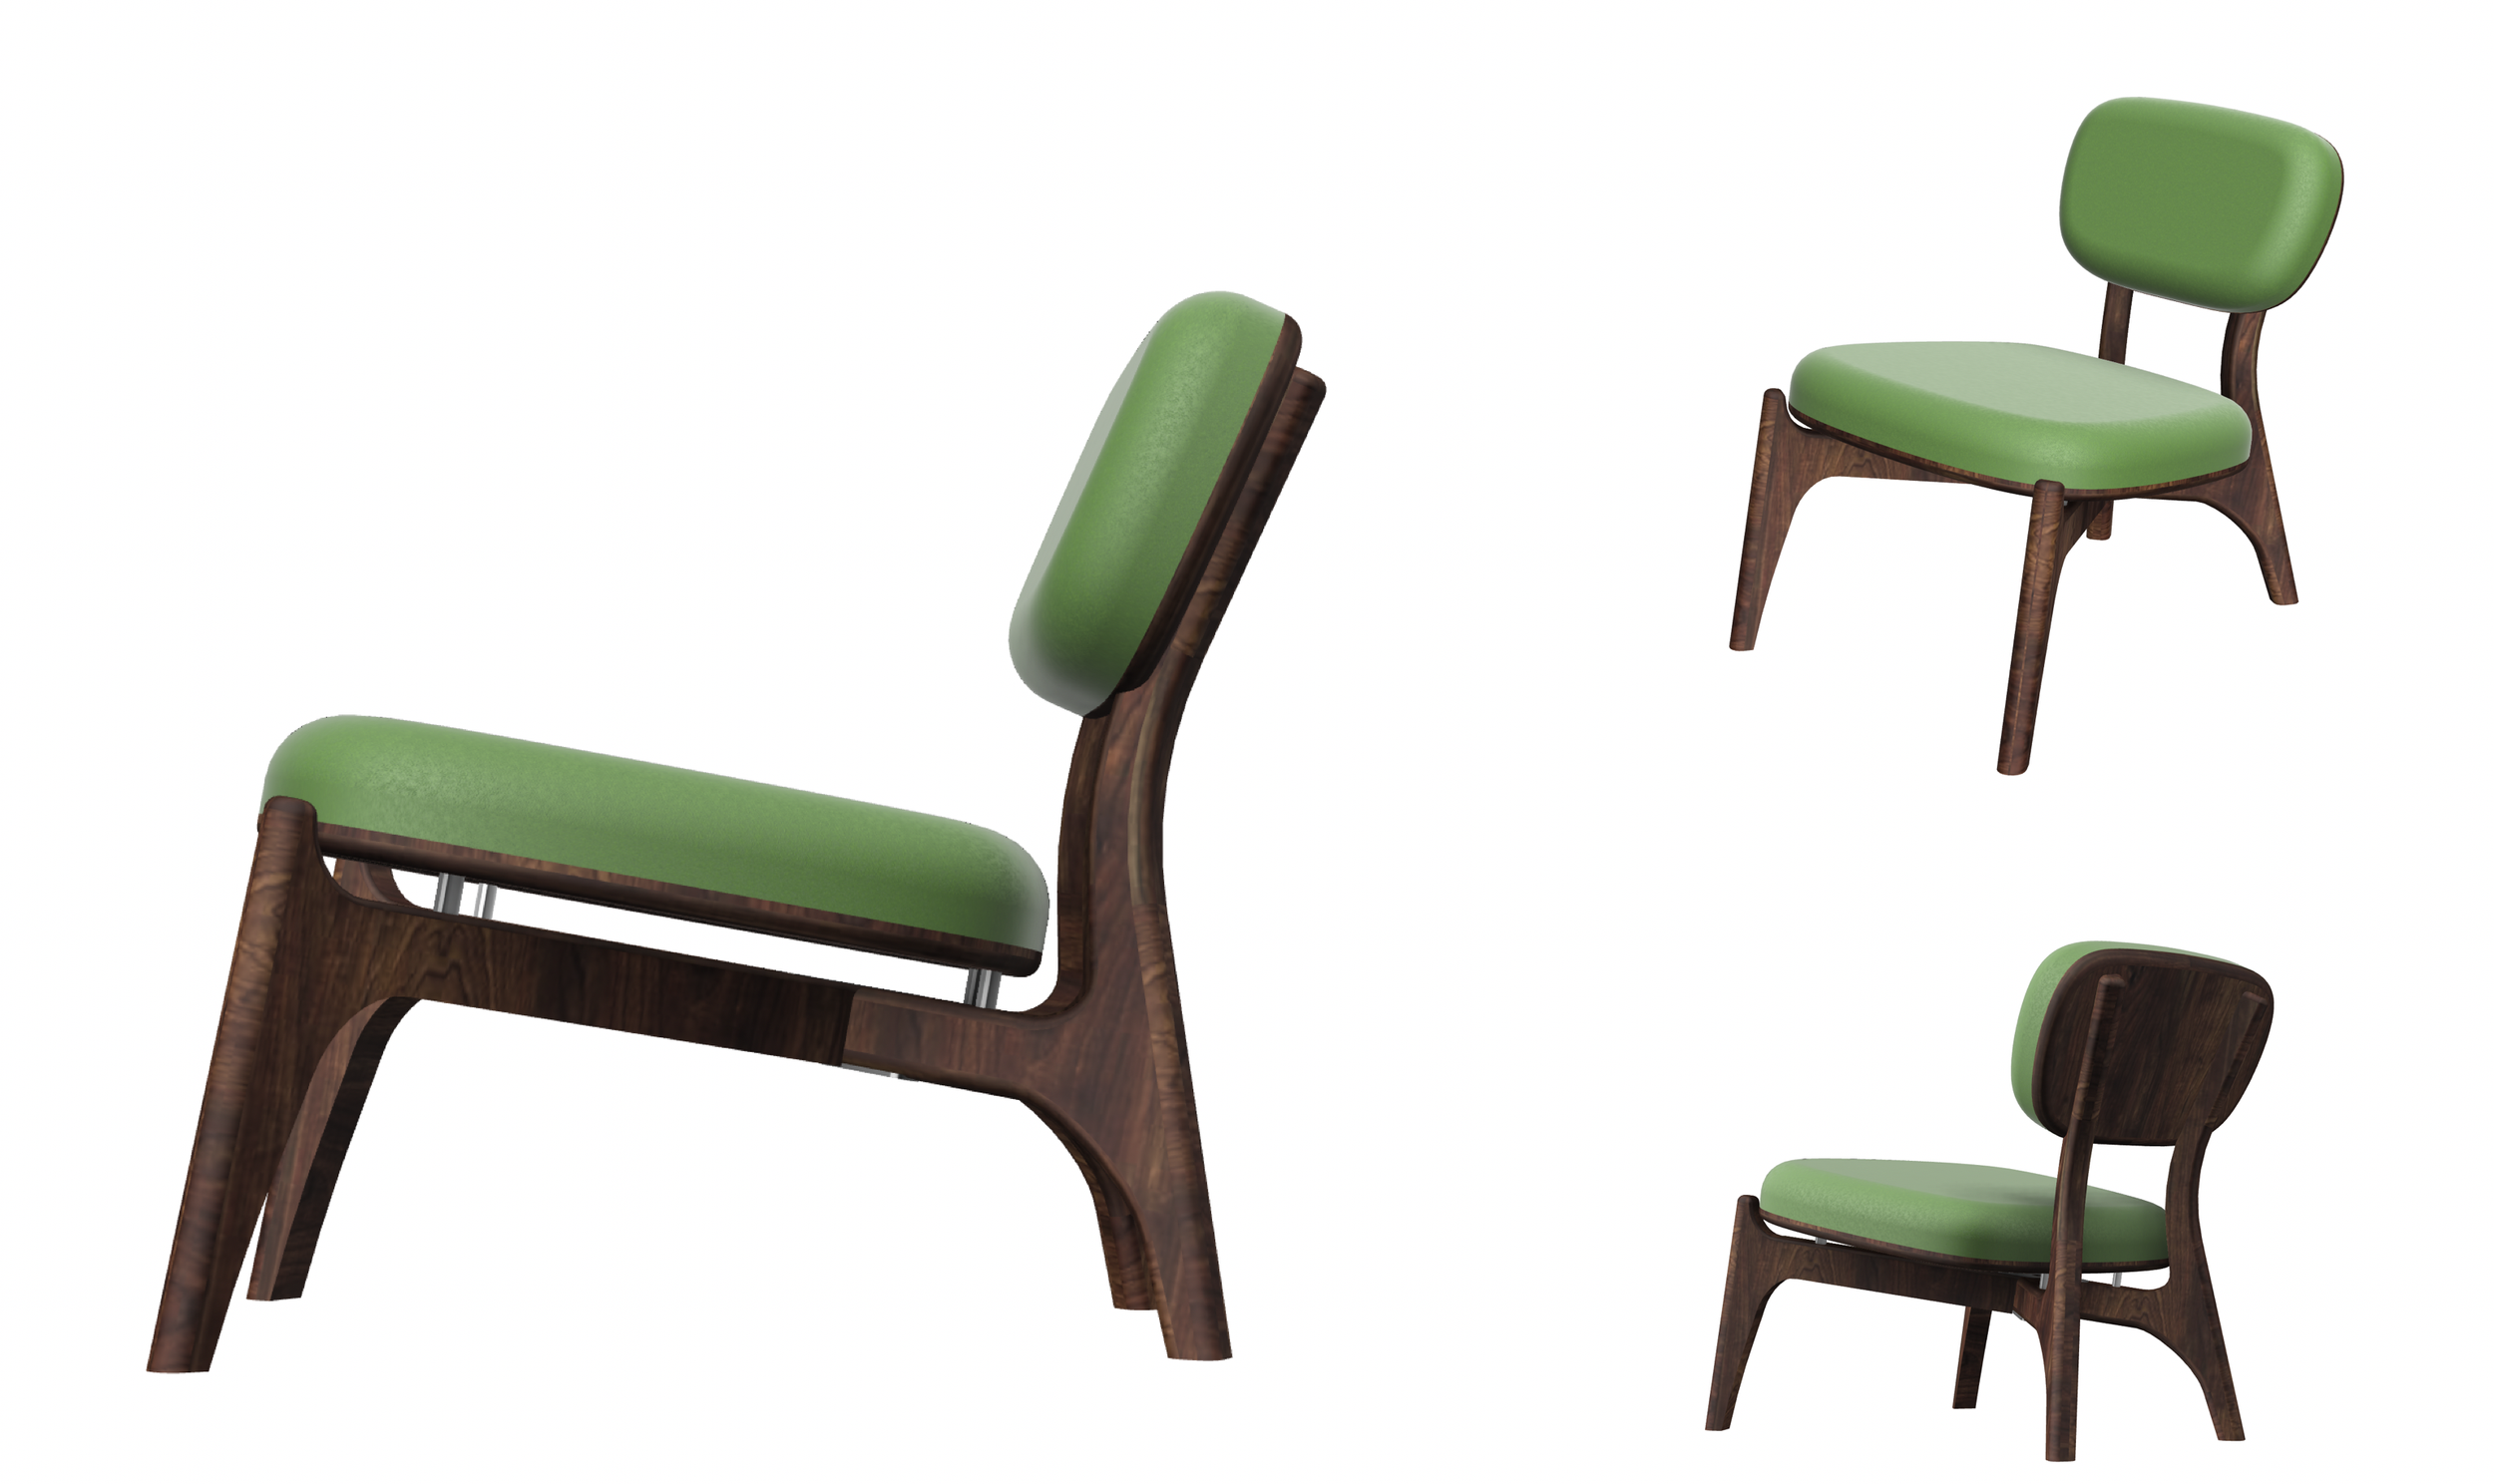
The concept of new life inspired much of the subtle curvature and smooth lines of the chair’s details, in addition to the careful play between the chair’s components. The back cushion and back legs form into one another similarly to how the seat’s cushion is almost enveloped by the wooden “horns” atop the front legs. The chair’s side profile most elegantly highlights all of the chair’s core design motivations, evoking a sense of both levity and weight.
inspiration
sketches
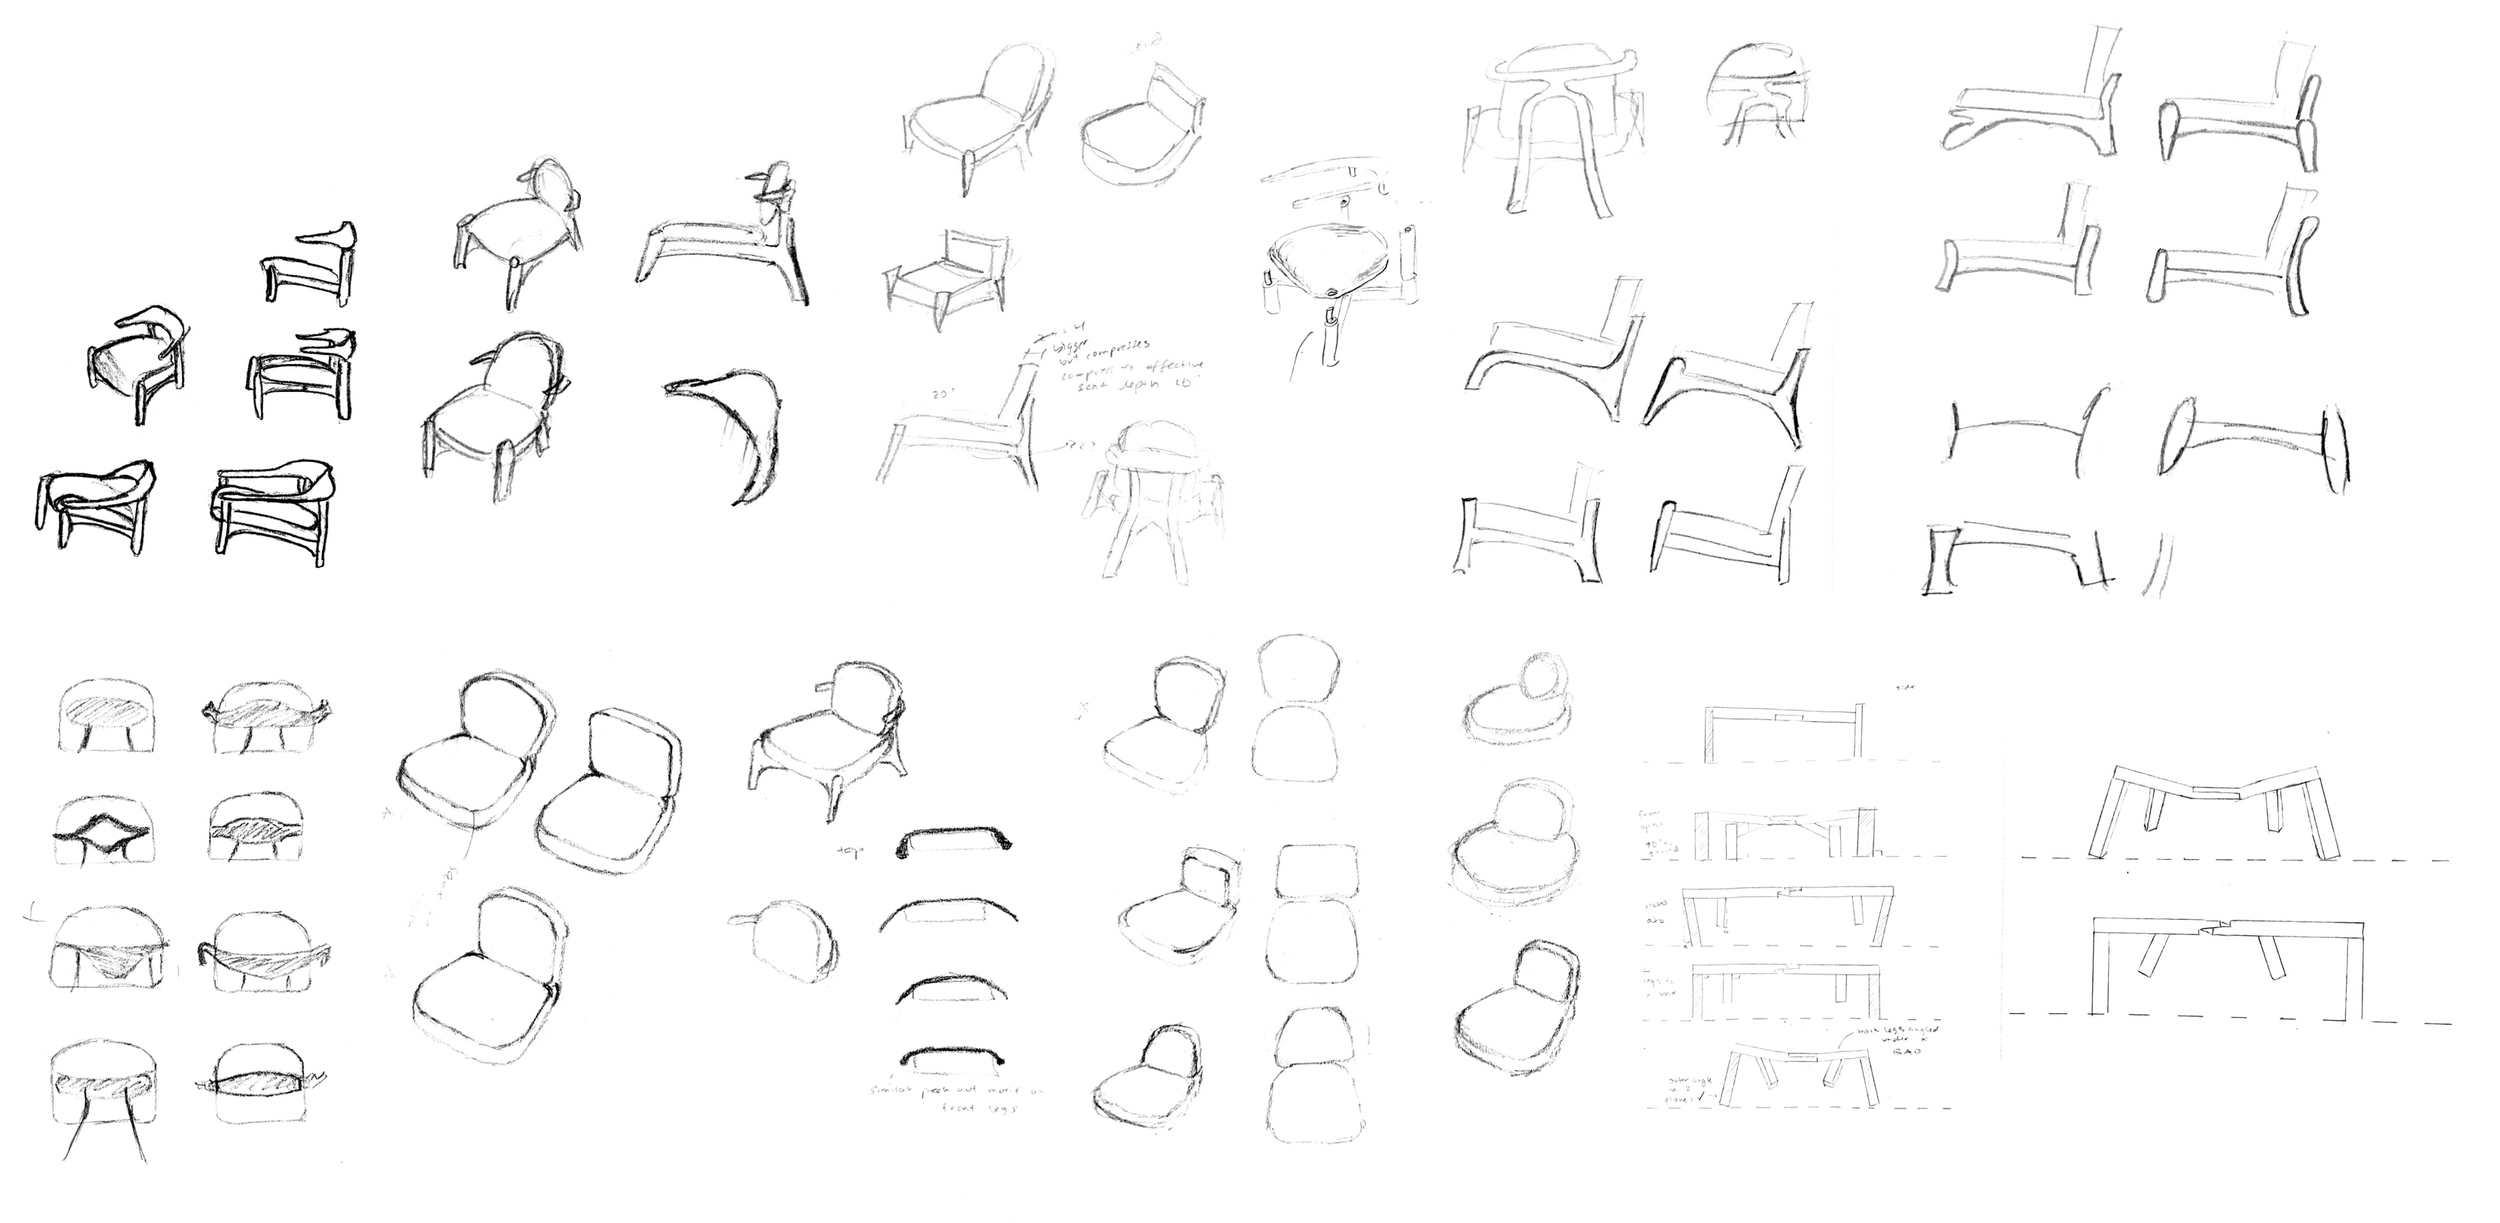
initial concept
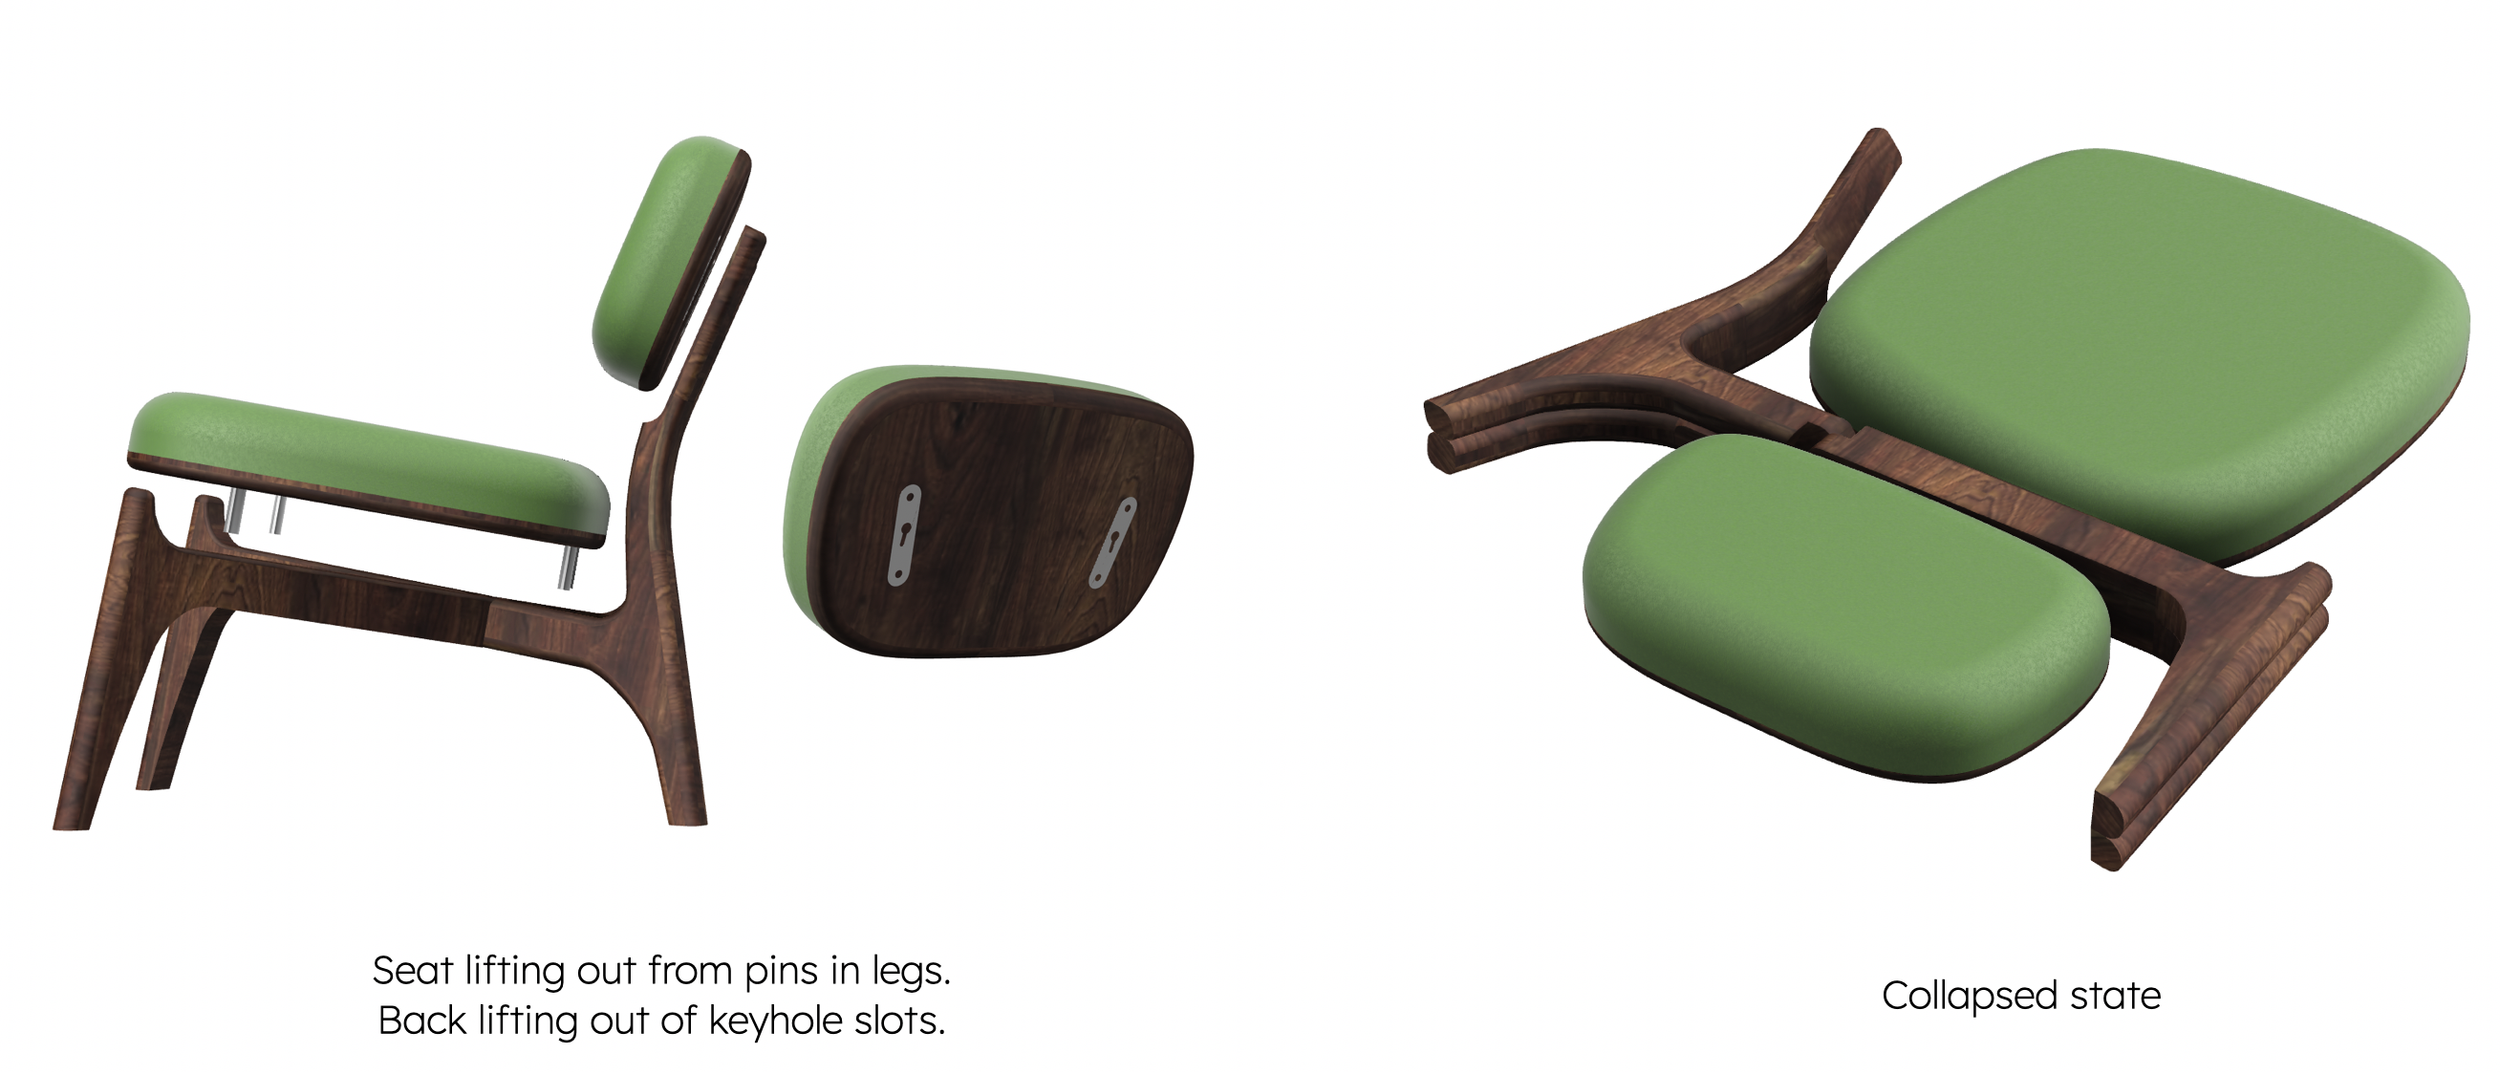
The initial design minimized the use of wood, replacing the final back cushion with a carved wooden back. Much of my design inspiration focused on beautifully-carved wooden dining chairs. In order to create a more lounge-feel within that visual language, I explored keeping an organic wooden back with an upholstered seat. The use of the cross bar design allowed the legs to encompass a large assembled volume for little mass. Additionally, the cross bars provide an interesting sense of depth and a sense of being drawn in from the perspective of the viewer. The seat has four pins, which lock into pins and slots in the cross bar legs. The cross bar legs pivot around a center point and collapse into a small volume.
prototype evolution
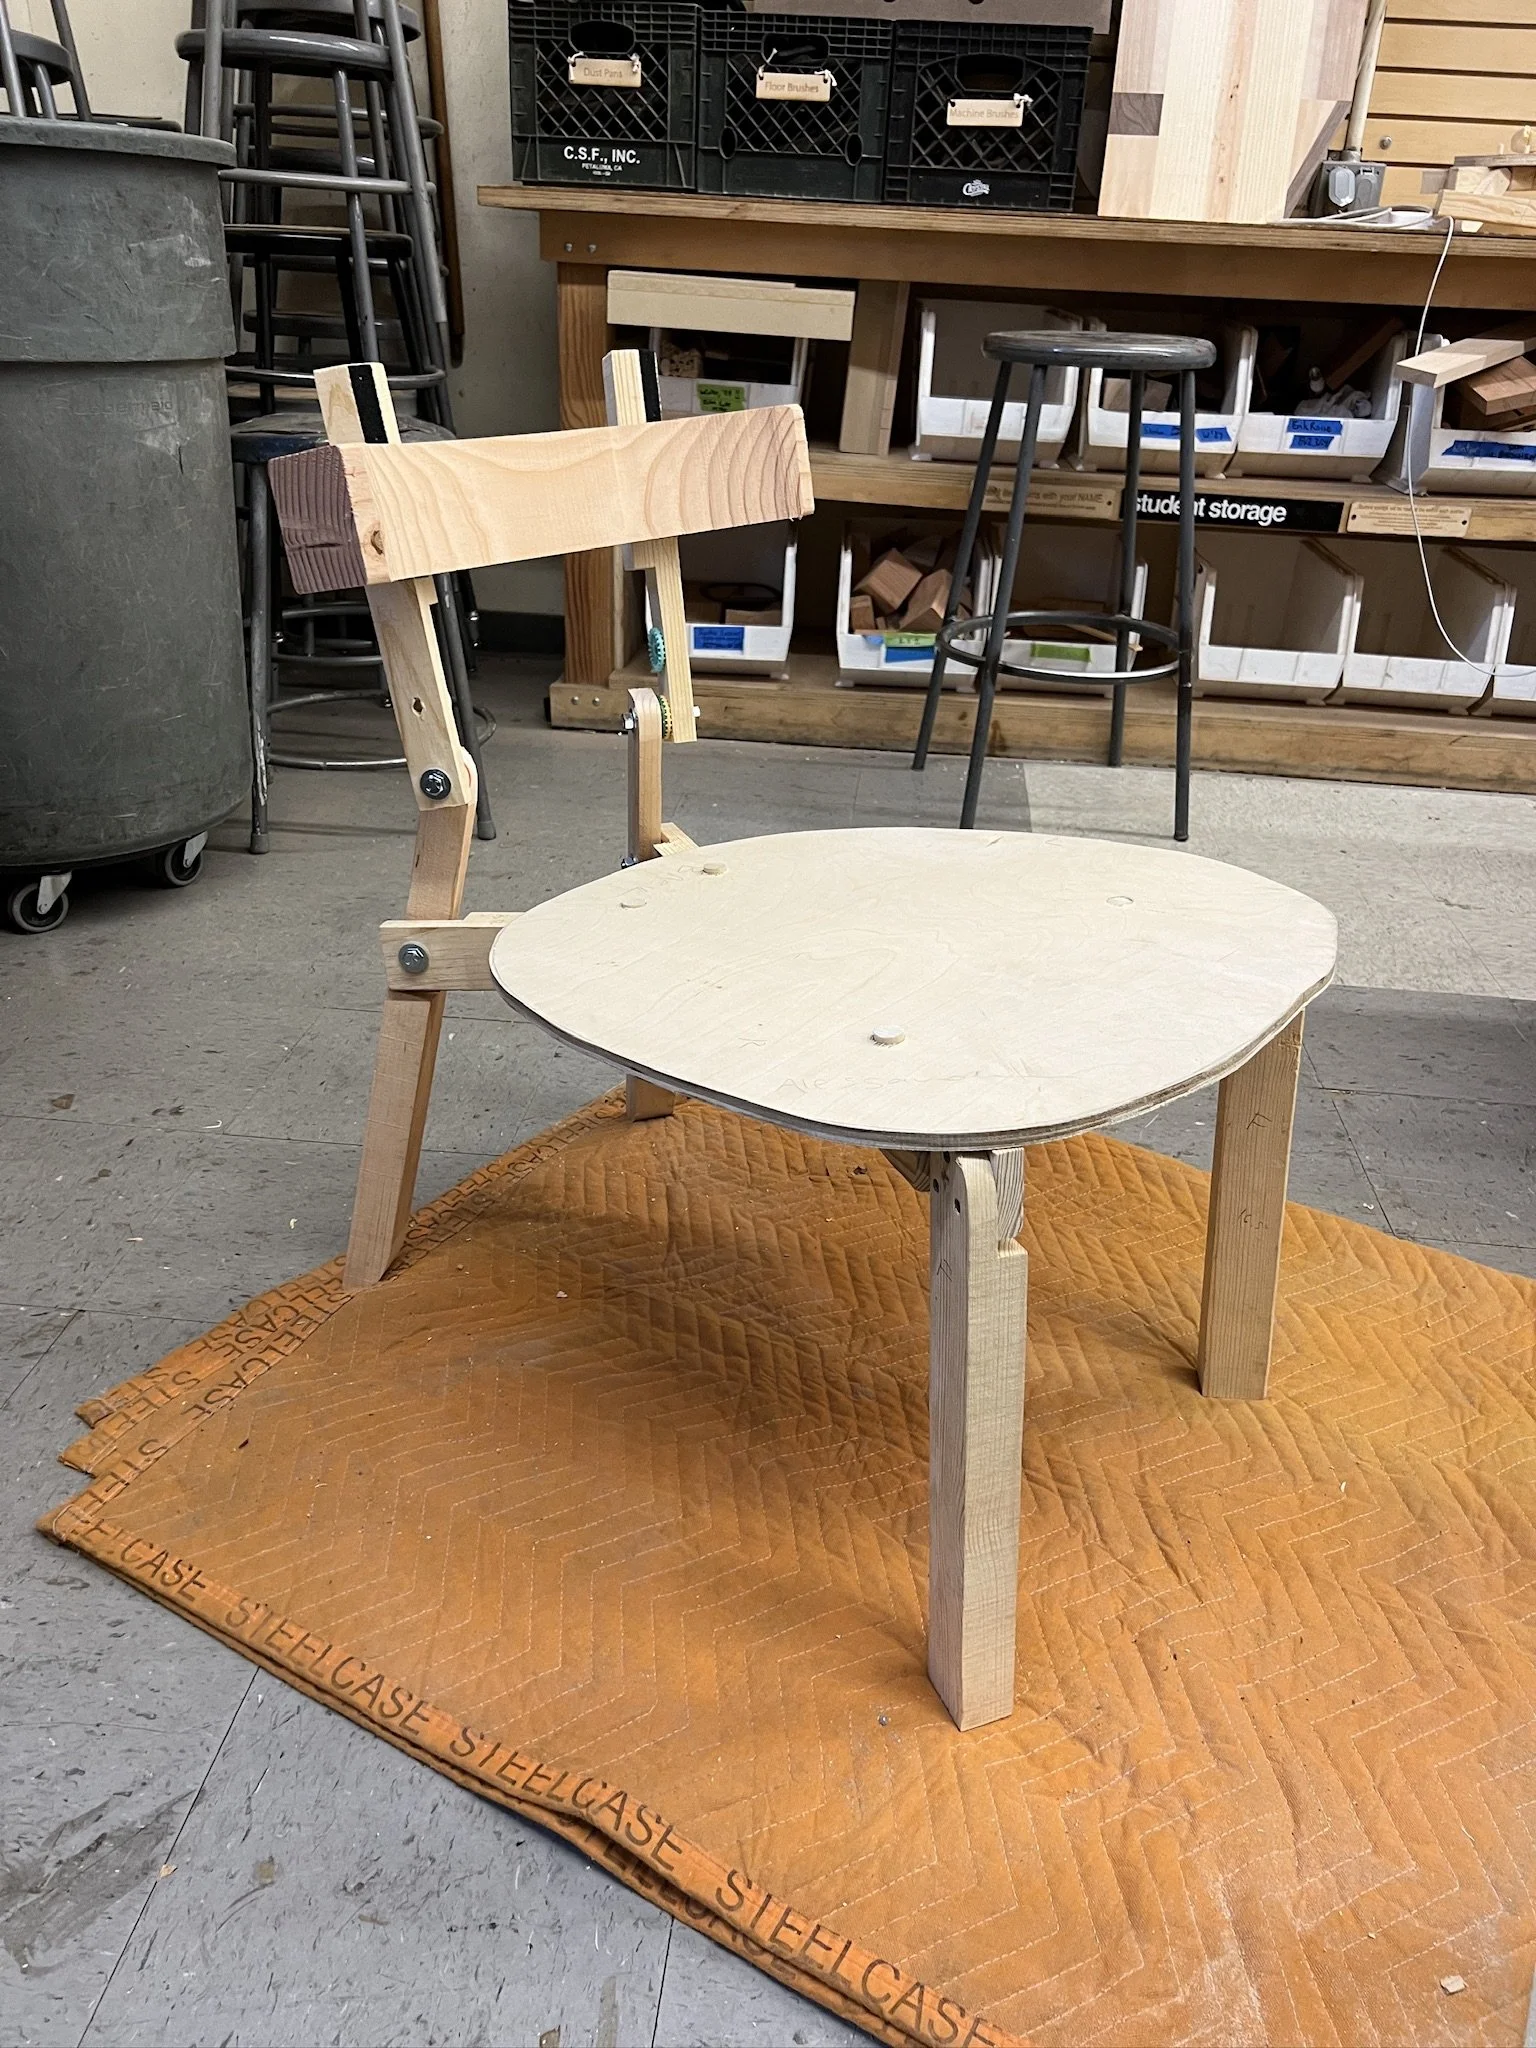
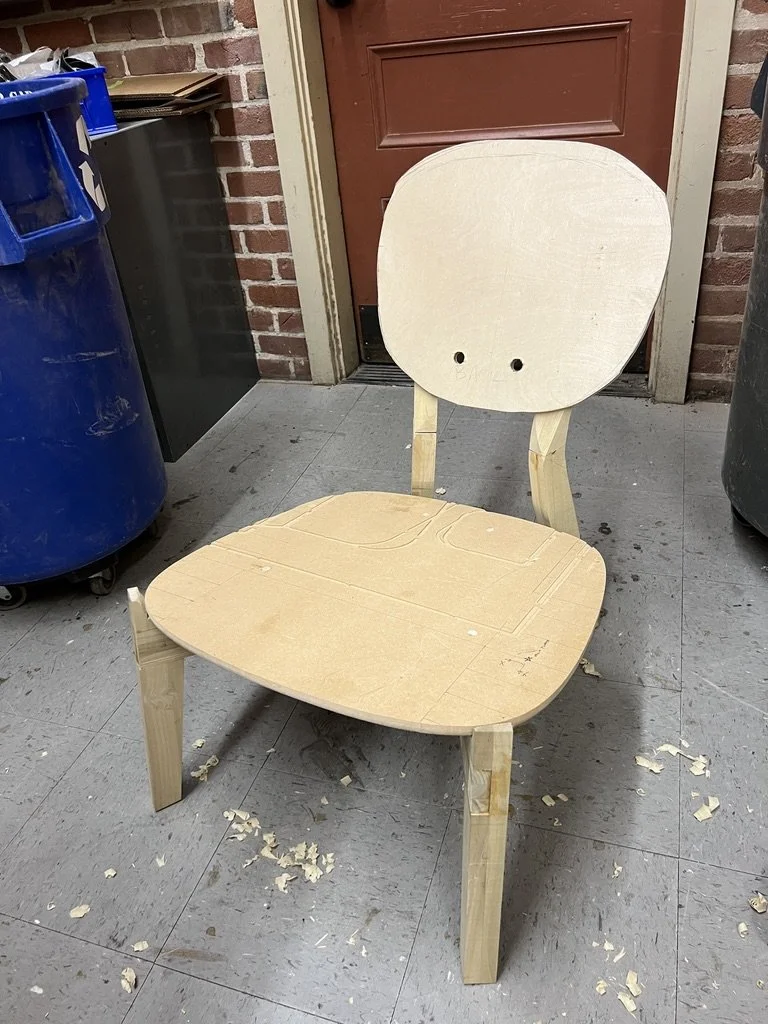
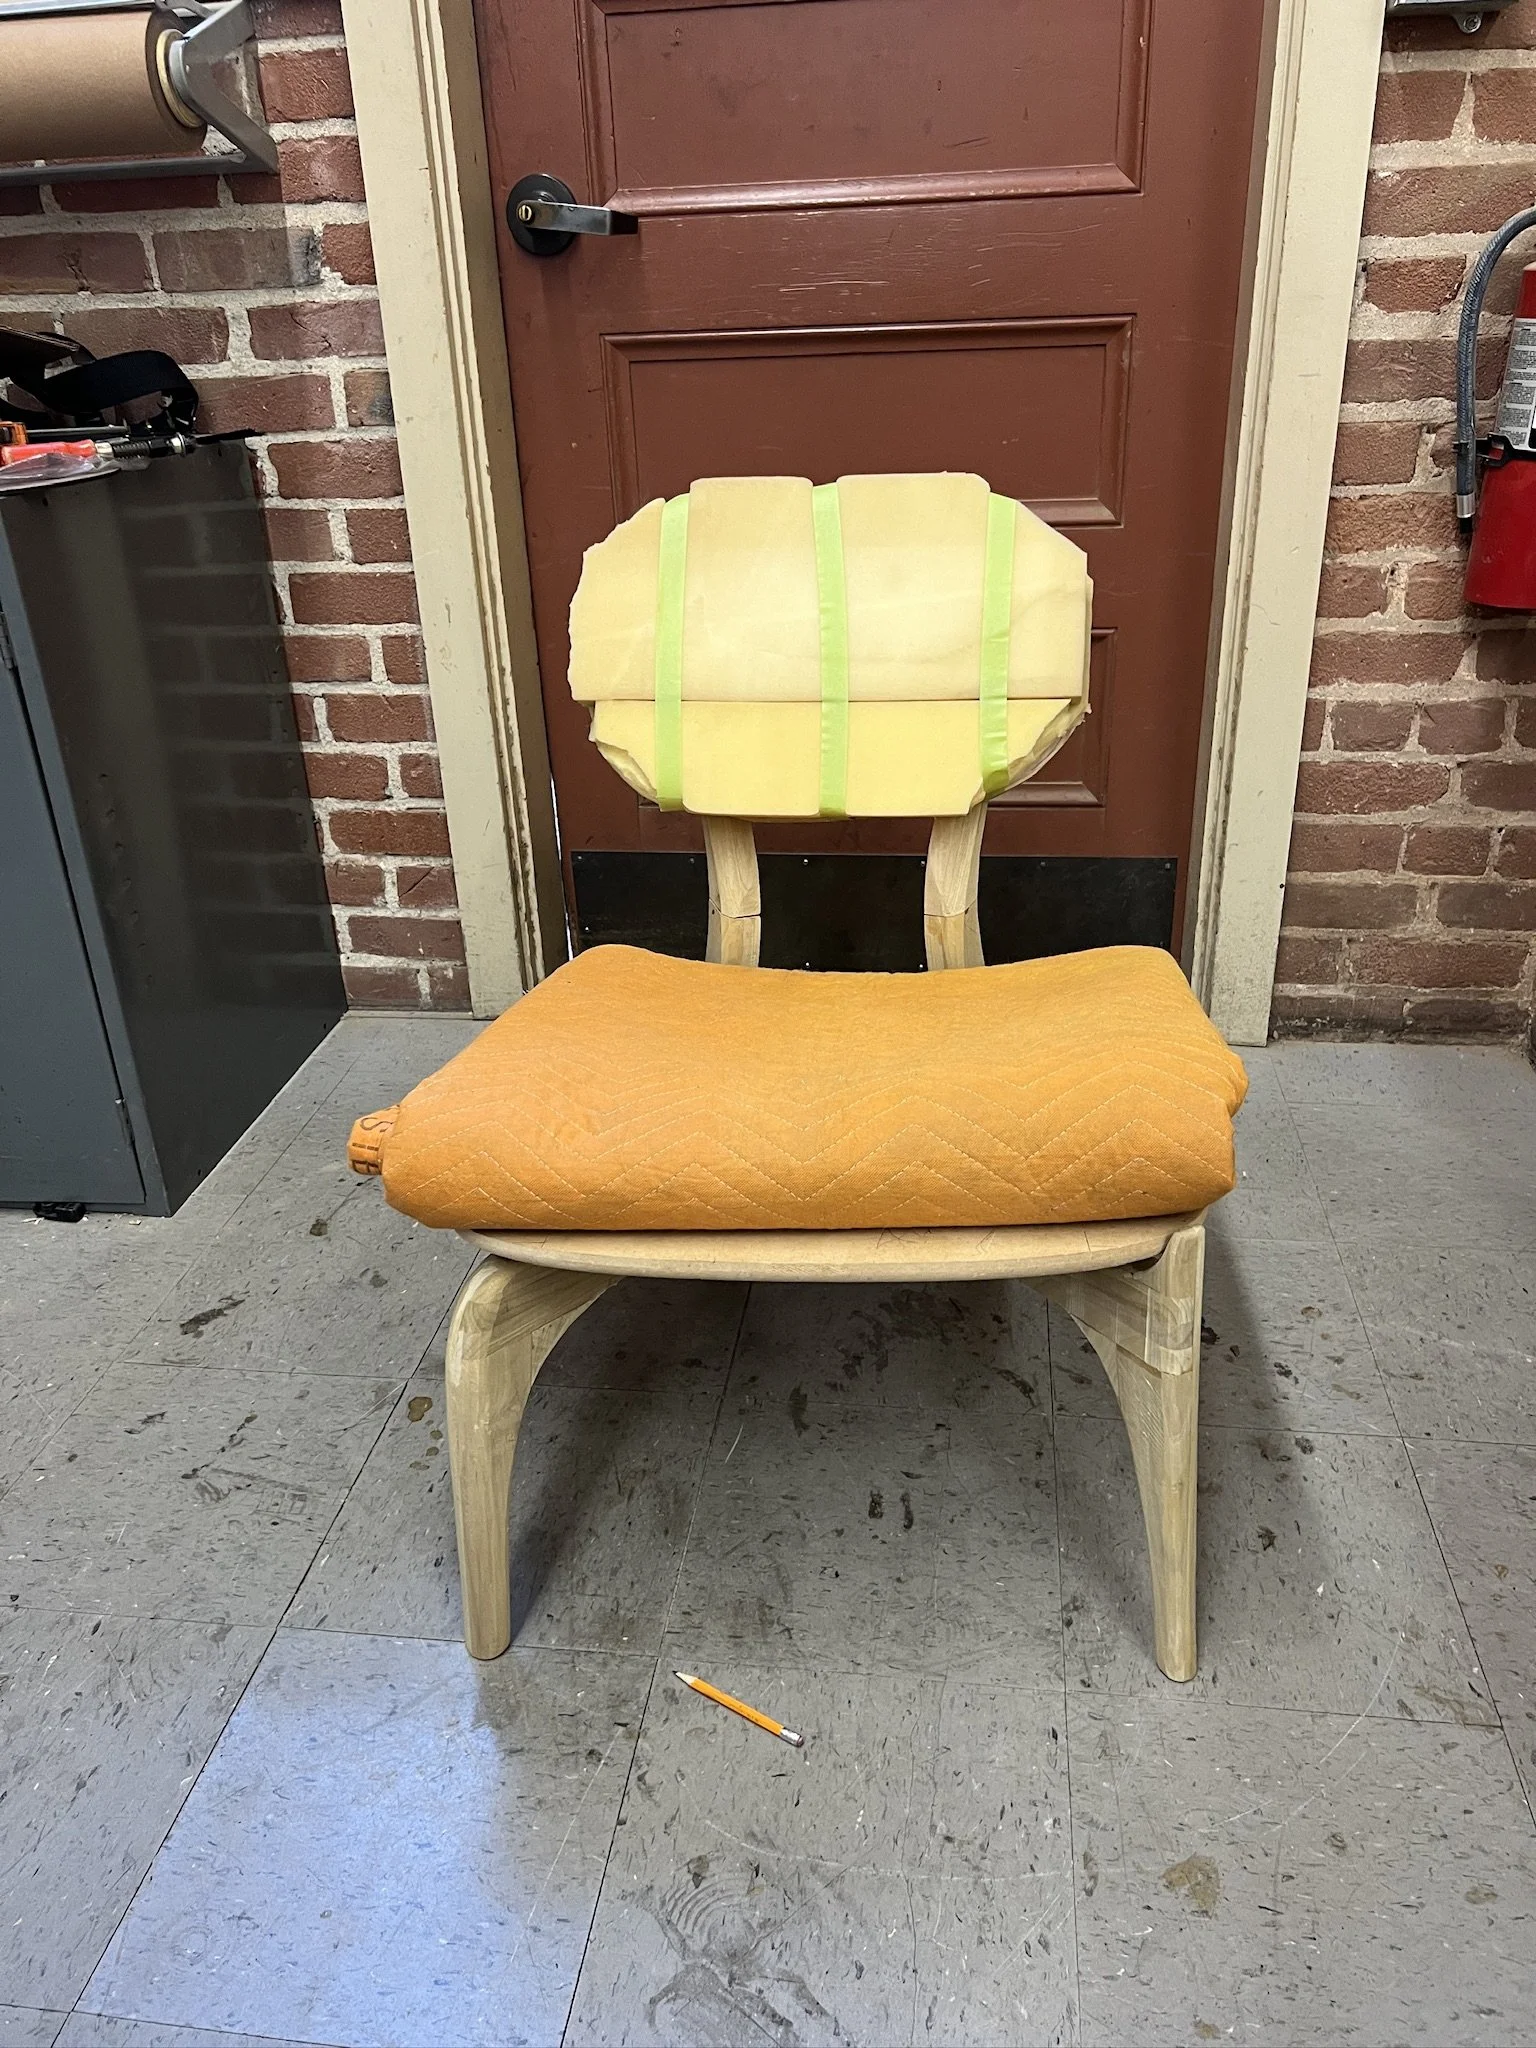
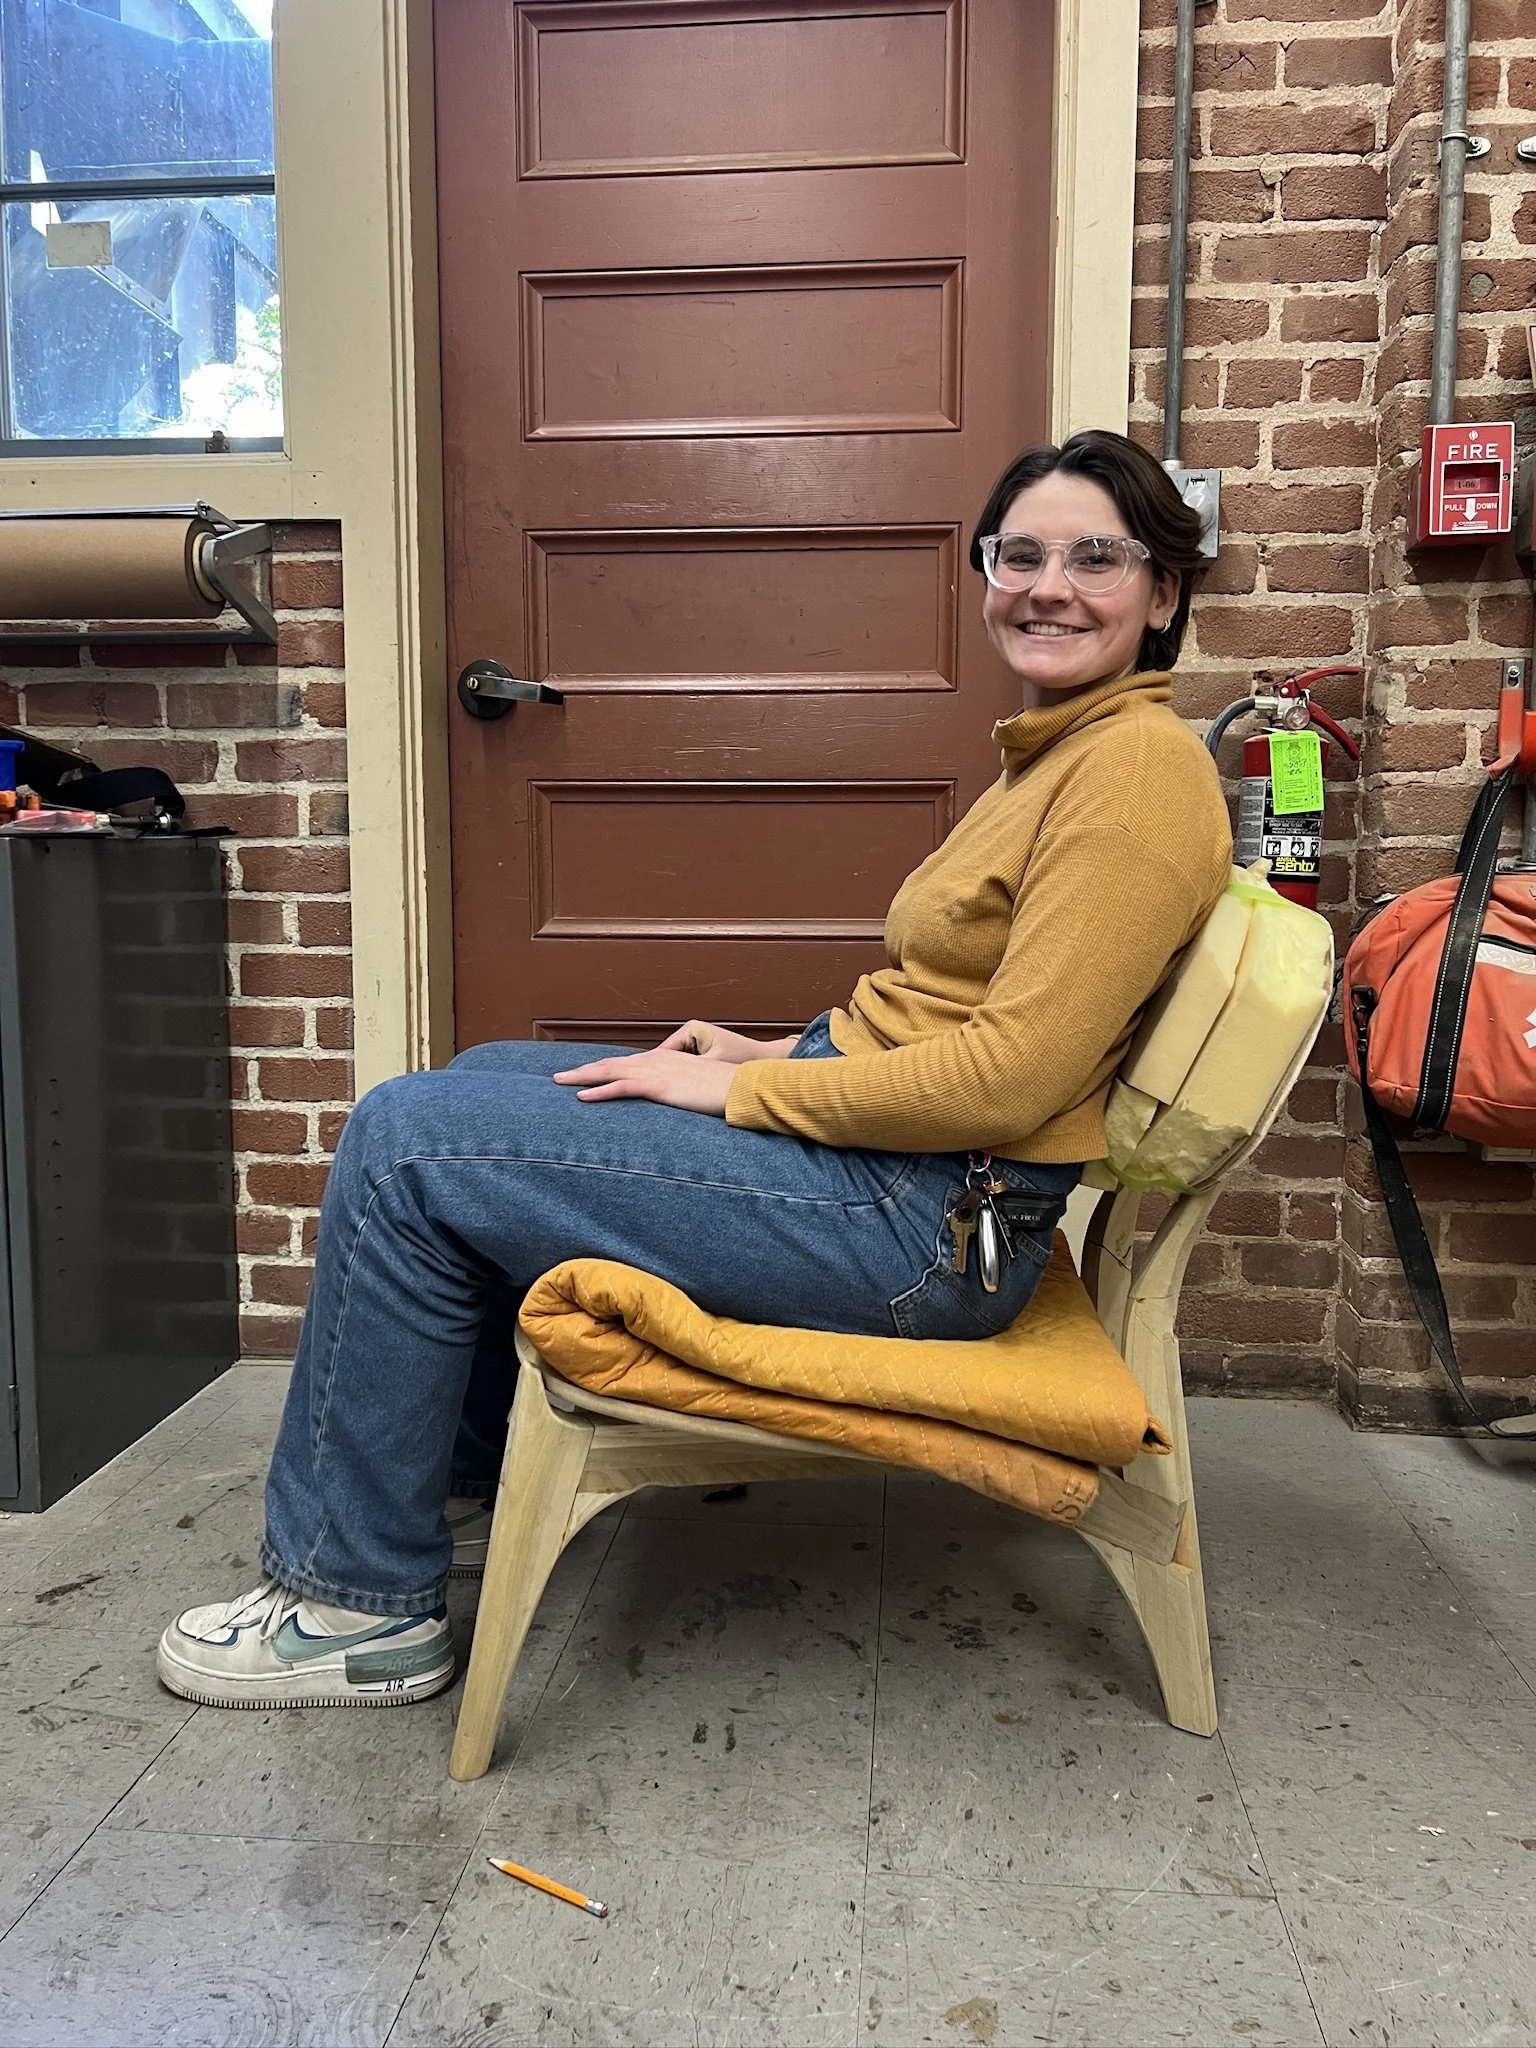
Through the prototyping process, I would learn that such a combination doesn’t exist for good reason. When that far angled back, much more pressure is placed on the back and as such a wooden back would be painful. My inspiration was largely taken from dining chairs, which are much more upright and therefore much less pressure is put on the back. The back rest would then need to be upholstered to create the desired sitting feel. In the second iteration, I made adjustments to the seat height, size, and all of the chair’s angles to get the right feel. Once assembled, the back rest looked too large relative to the whole chair, so I made some adjustments and tested the general feel - it’s quite comfortable!
final concept
build | cutting members
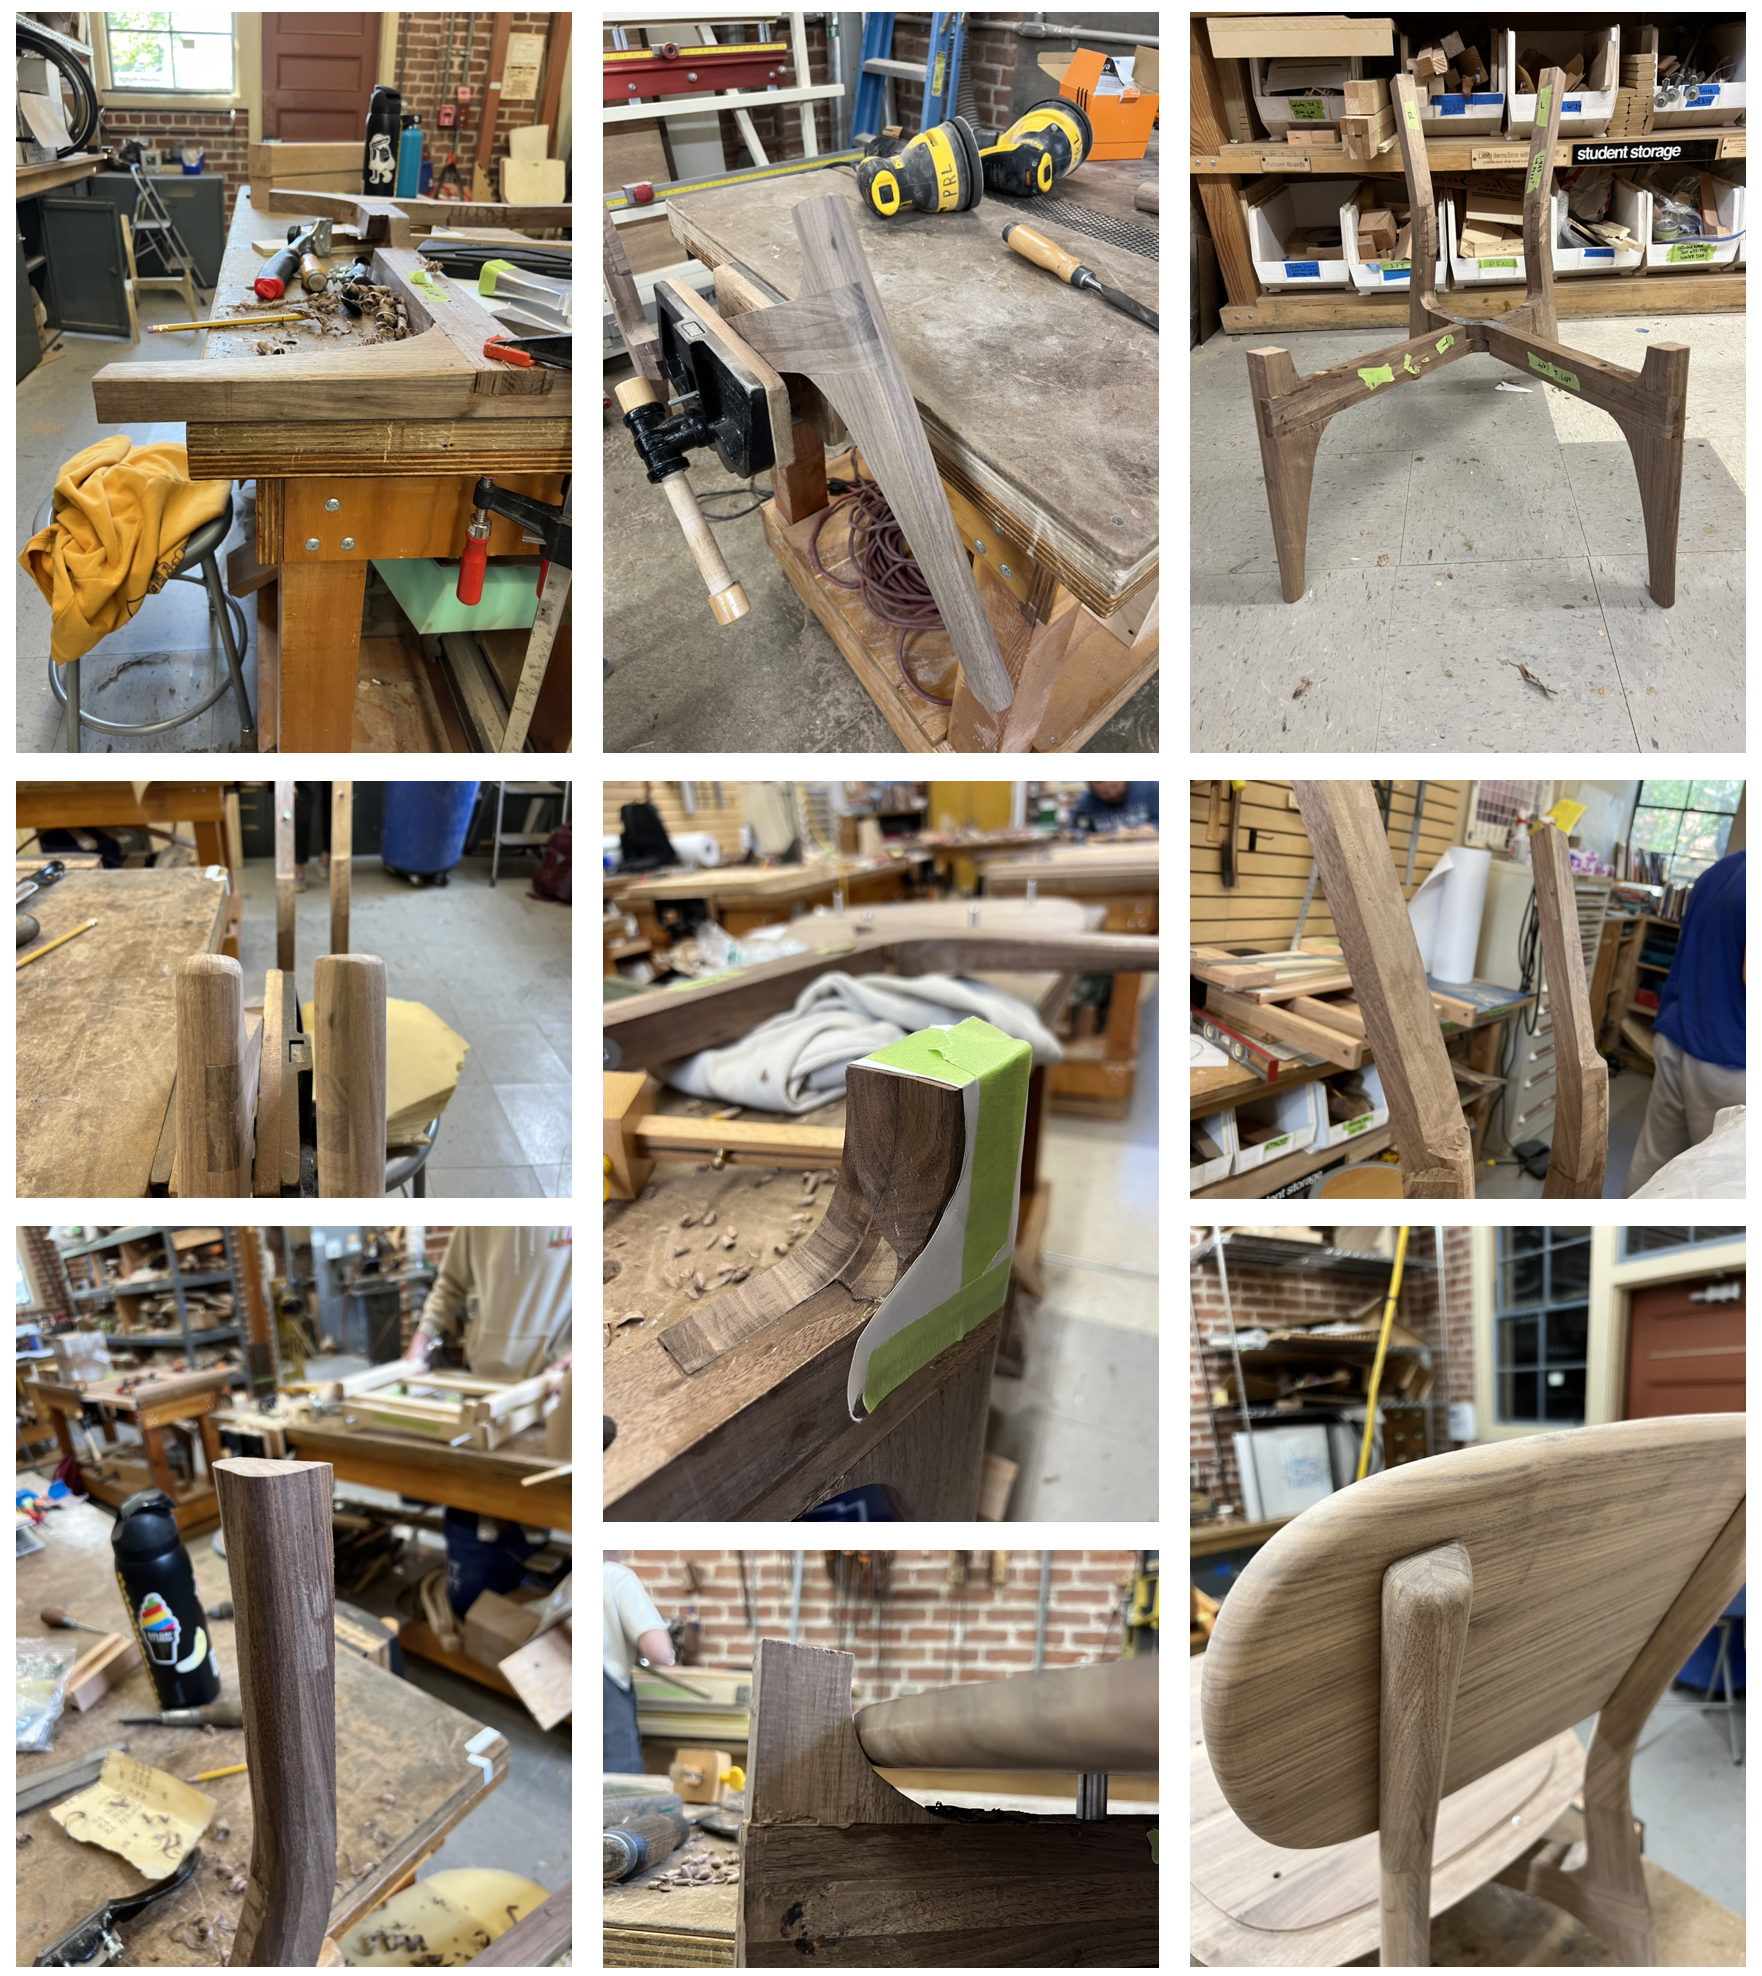
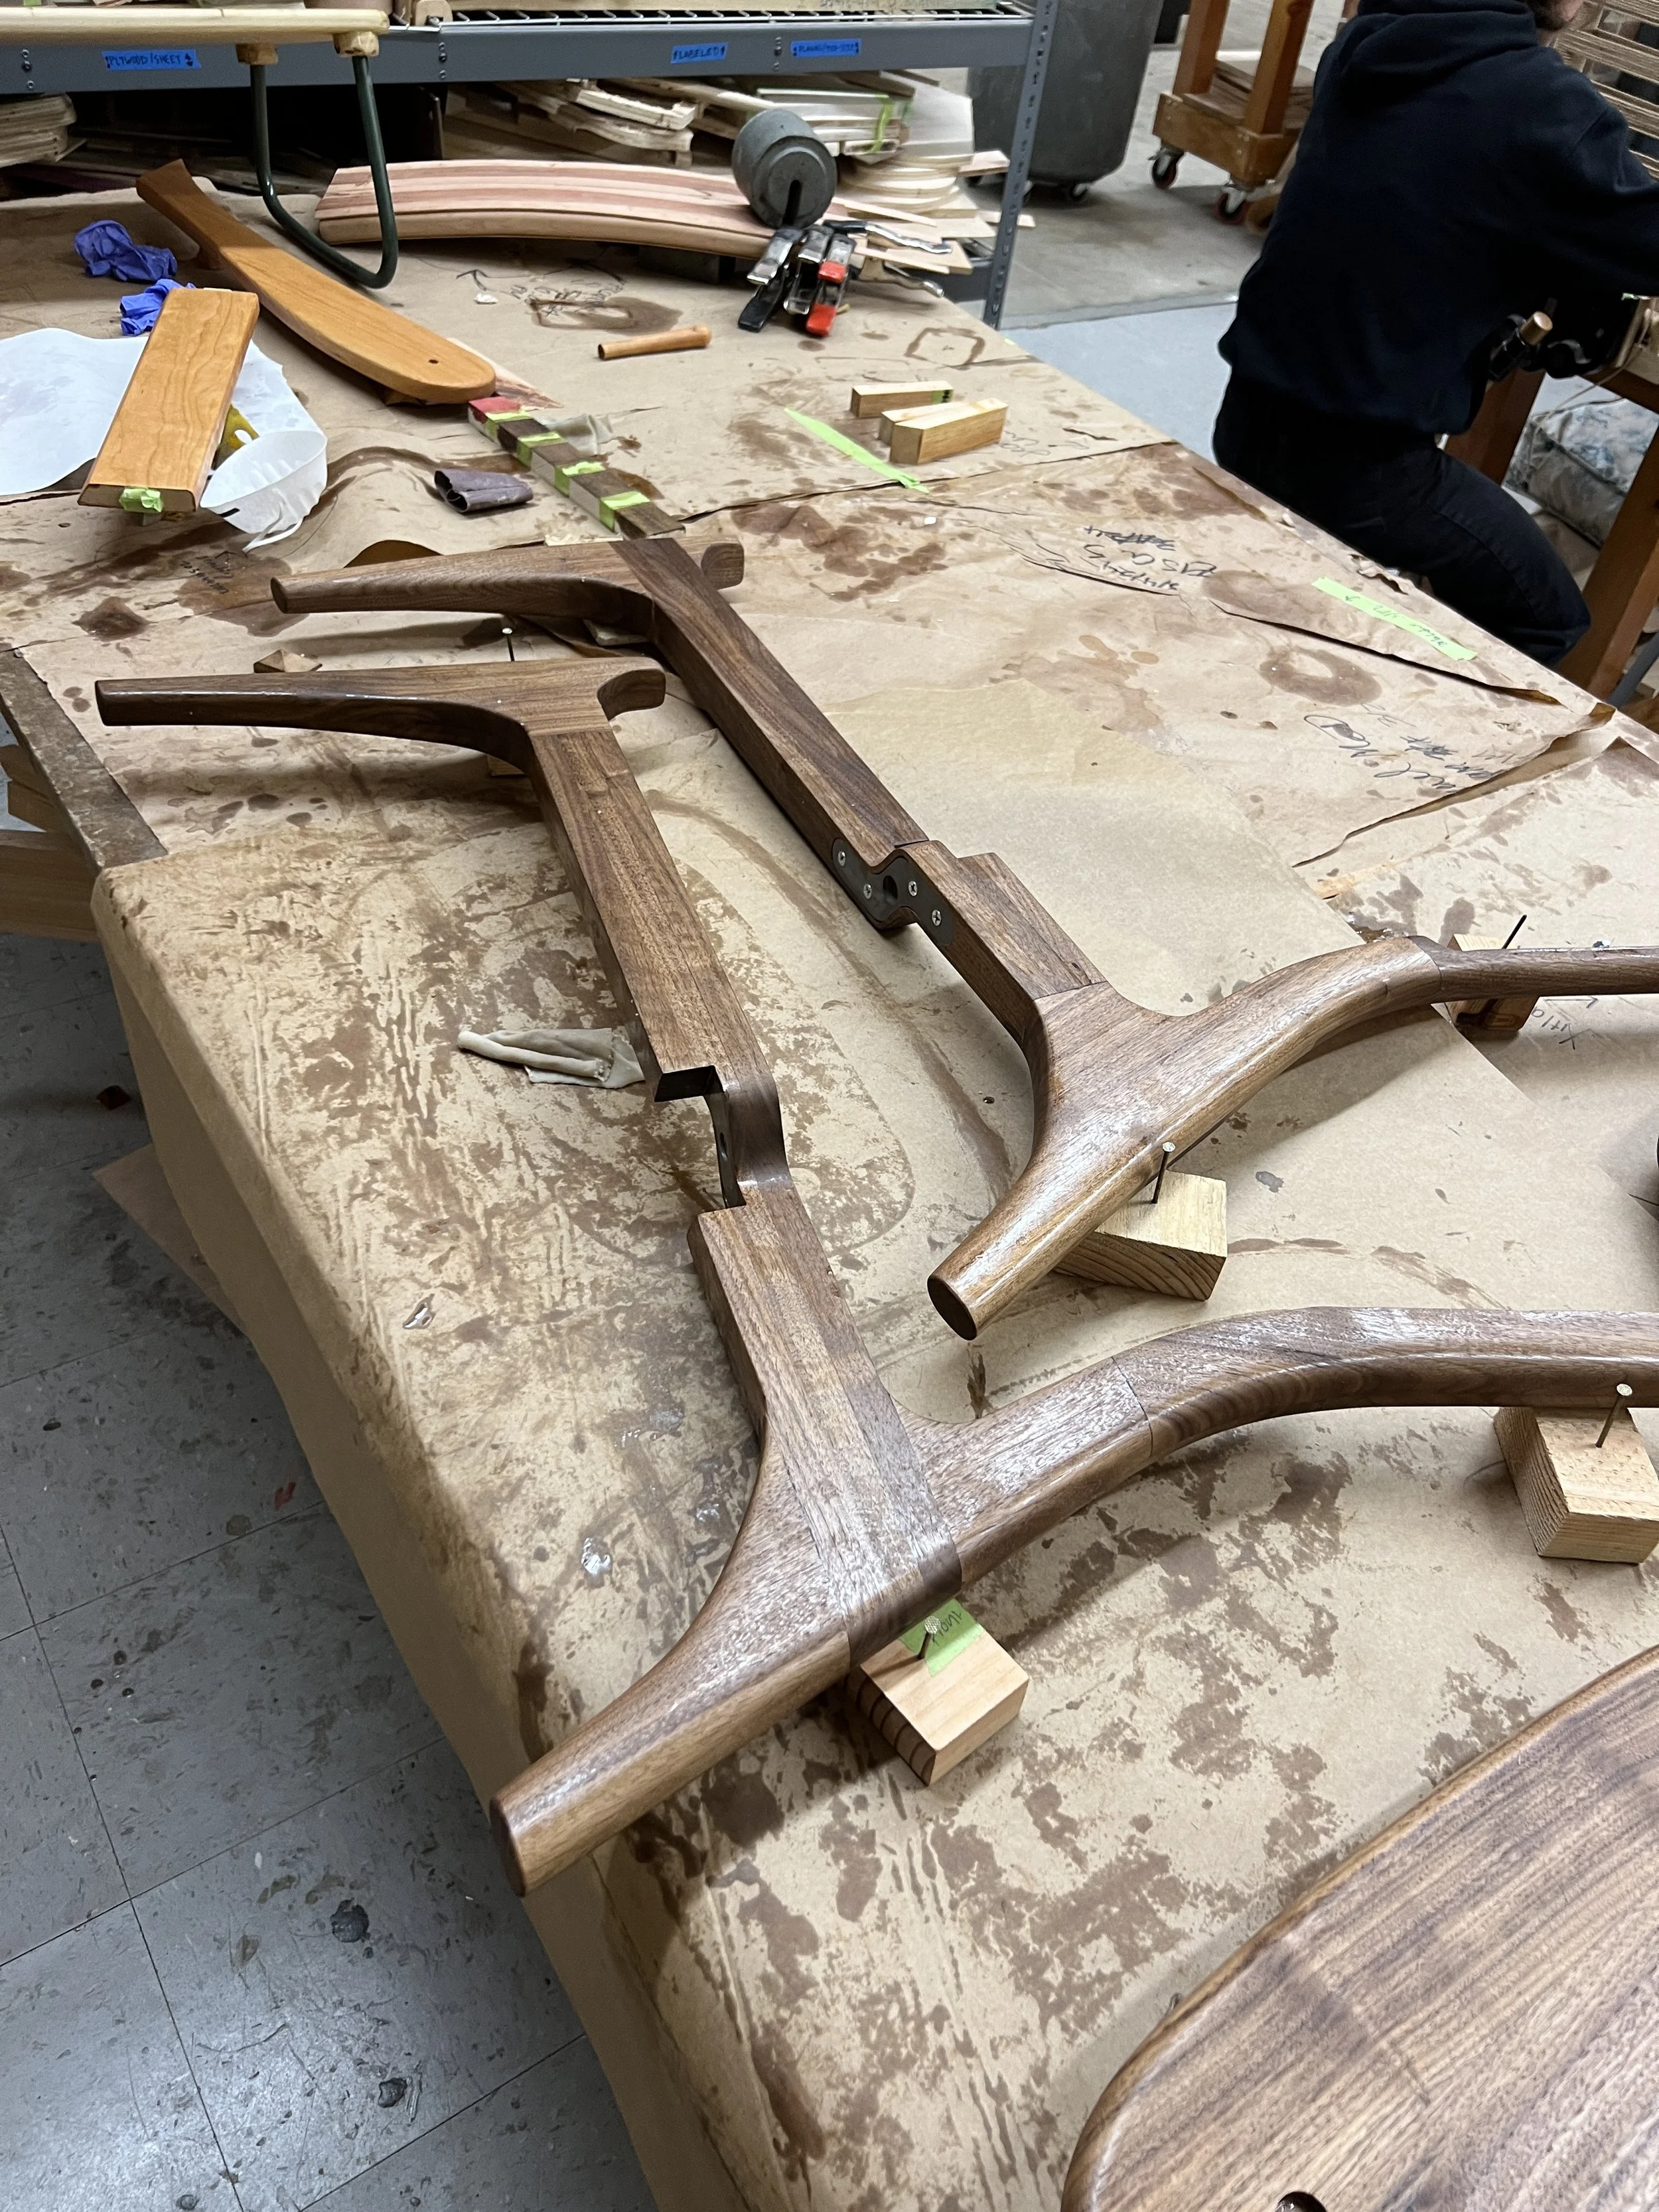
I laser cut the templates for each of the members. The templates for the cross bars were the top view to maintain the accuracy of the pints and slots. The front legs and the upper and lower back legs used the side view as the template. The templates included the full geometry and the sectioned geometry with the lap joint sections removed. This helped with alignment of all of the members when routing. Each of the members were roughly cut with the band saw, and flush routed. The lap joints were cut with a hand router.
build | metal plates
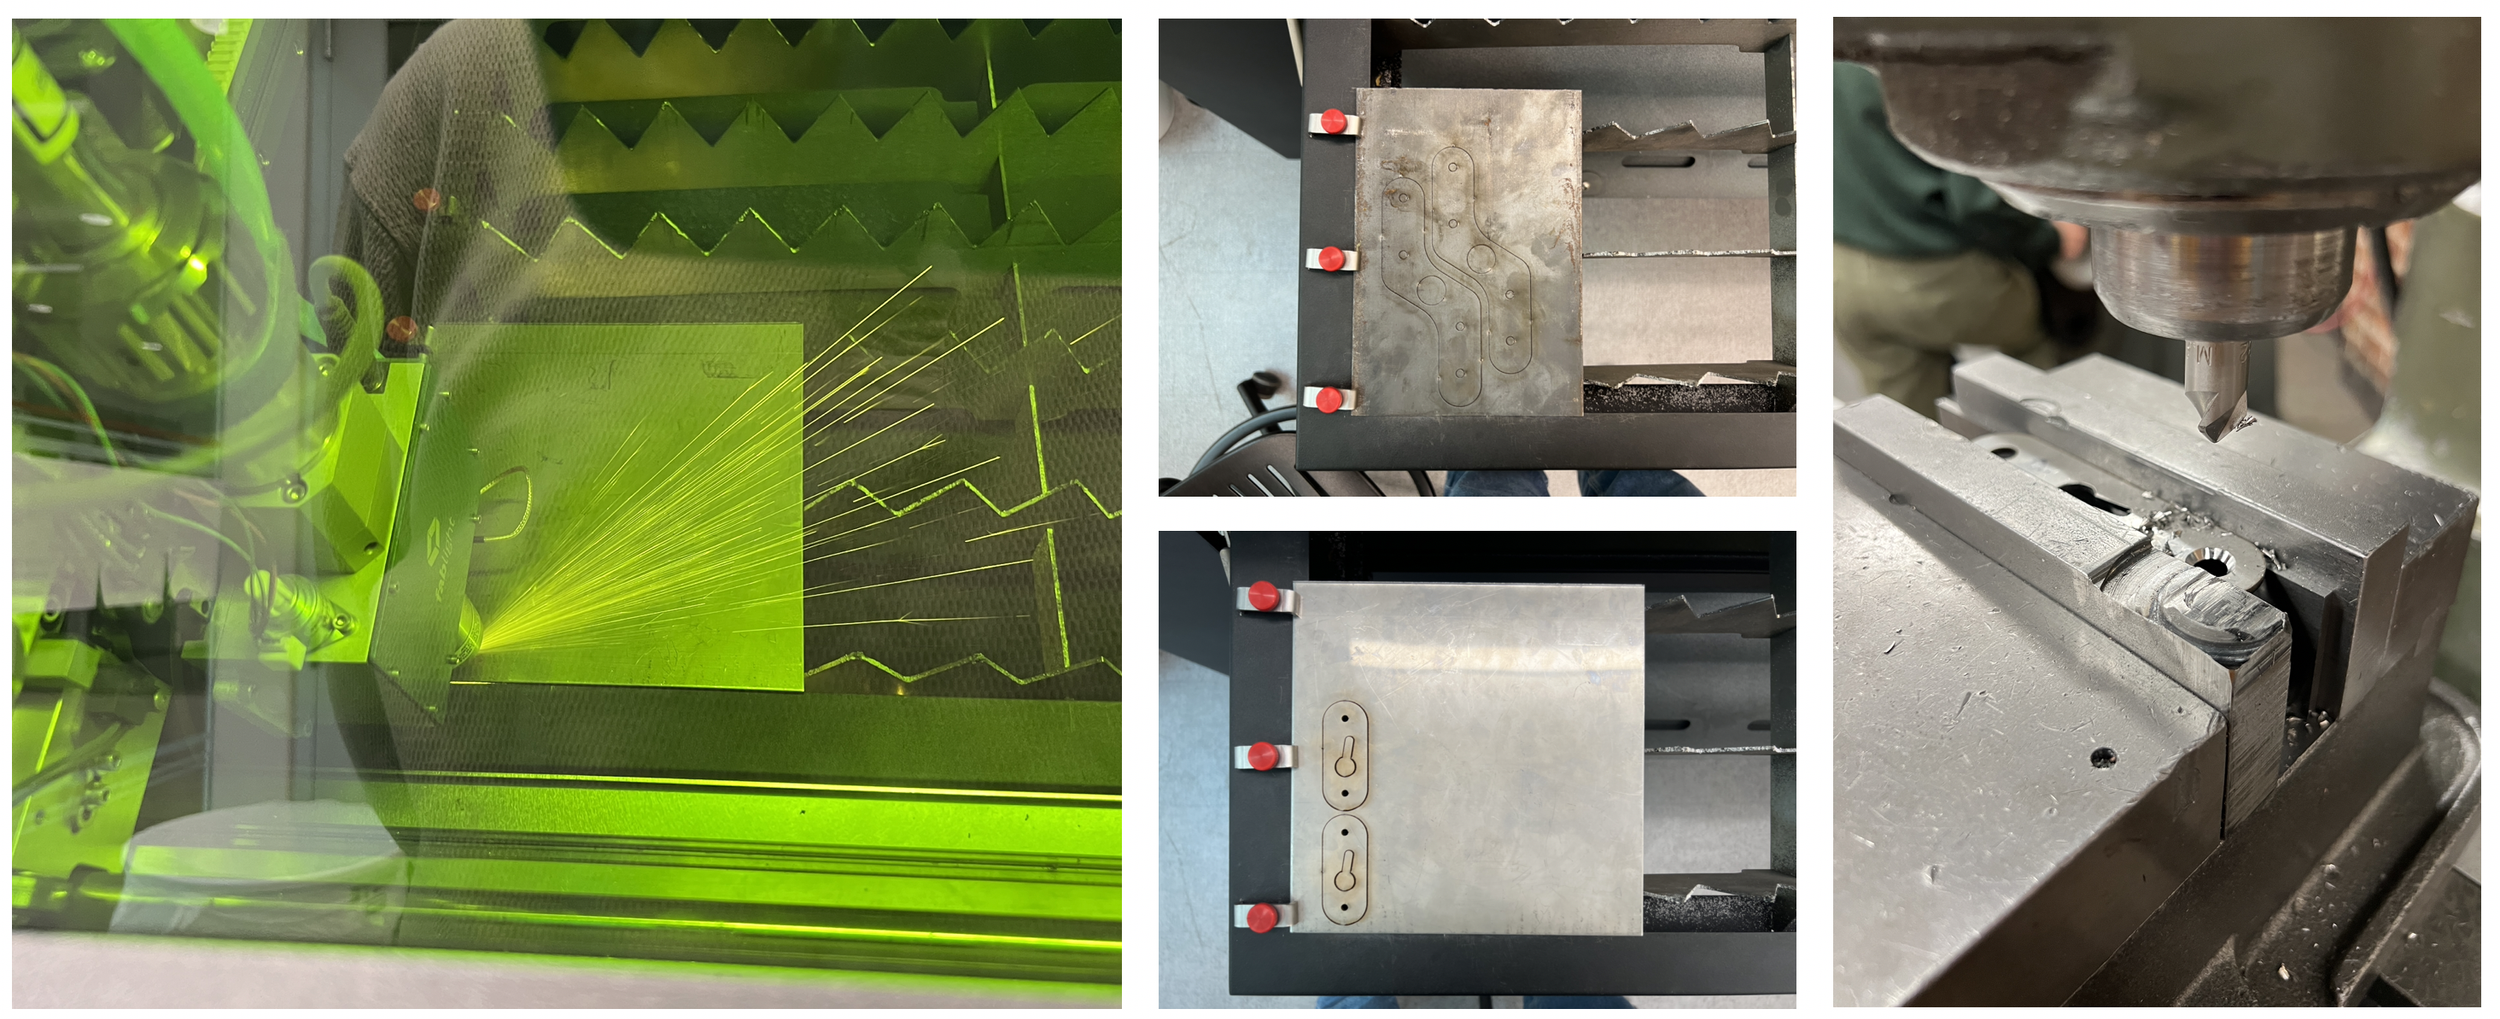
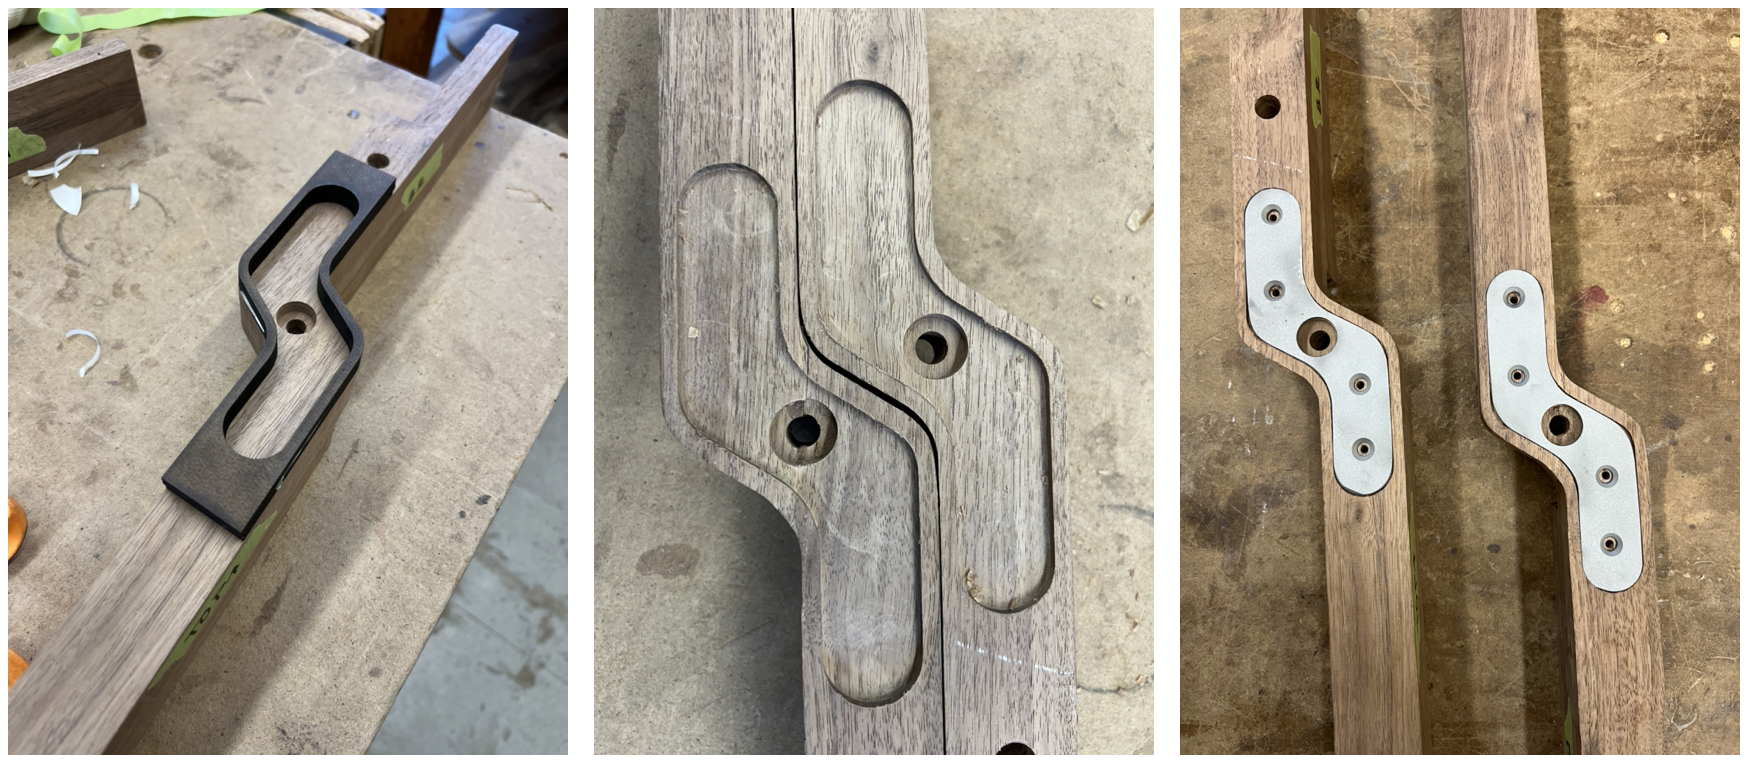
A known weak point in the design of the cross bar legs is the pivot point. Since half of the thickness is cut out so that the legs nest, the area is weaker, particularly when loaded on its side. Although this isn’t a normal load case for sitting, it occurred when handling the legs. I used Lab 64’s Fablight metal laser cutter to cut both the metal support plates and the keyhole plates. I countersunk the holes for the screws such that they sat flush.
build | seat & back boards
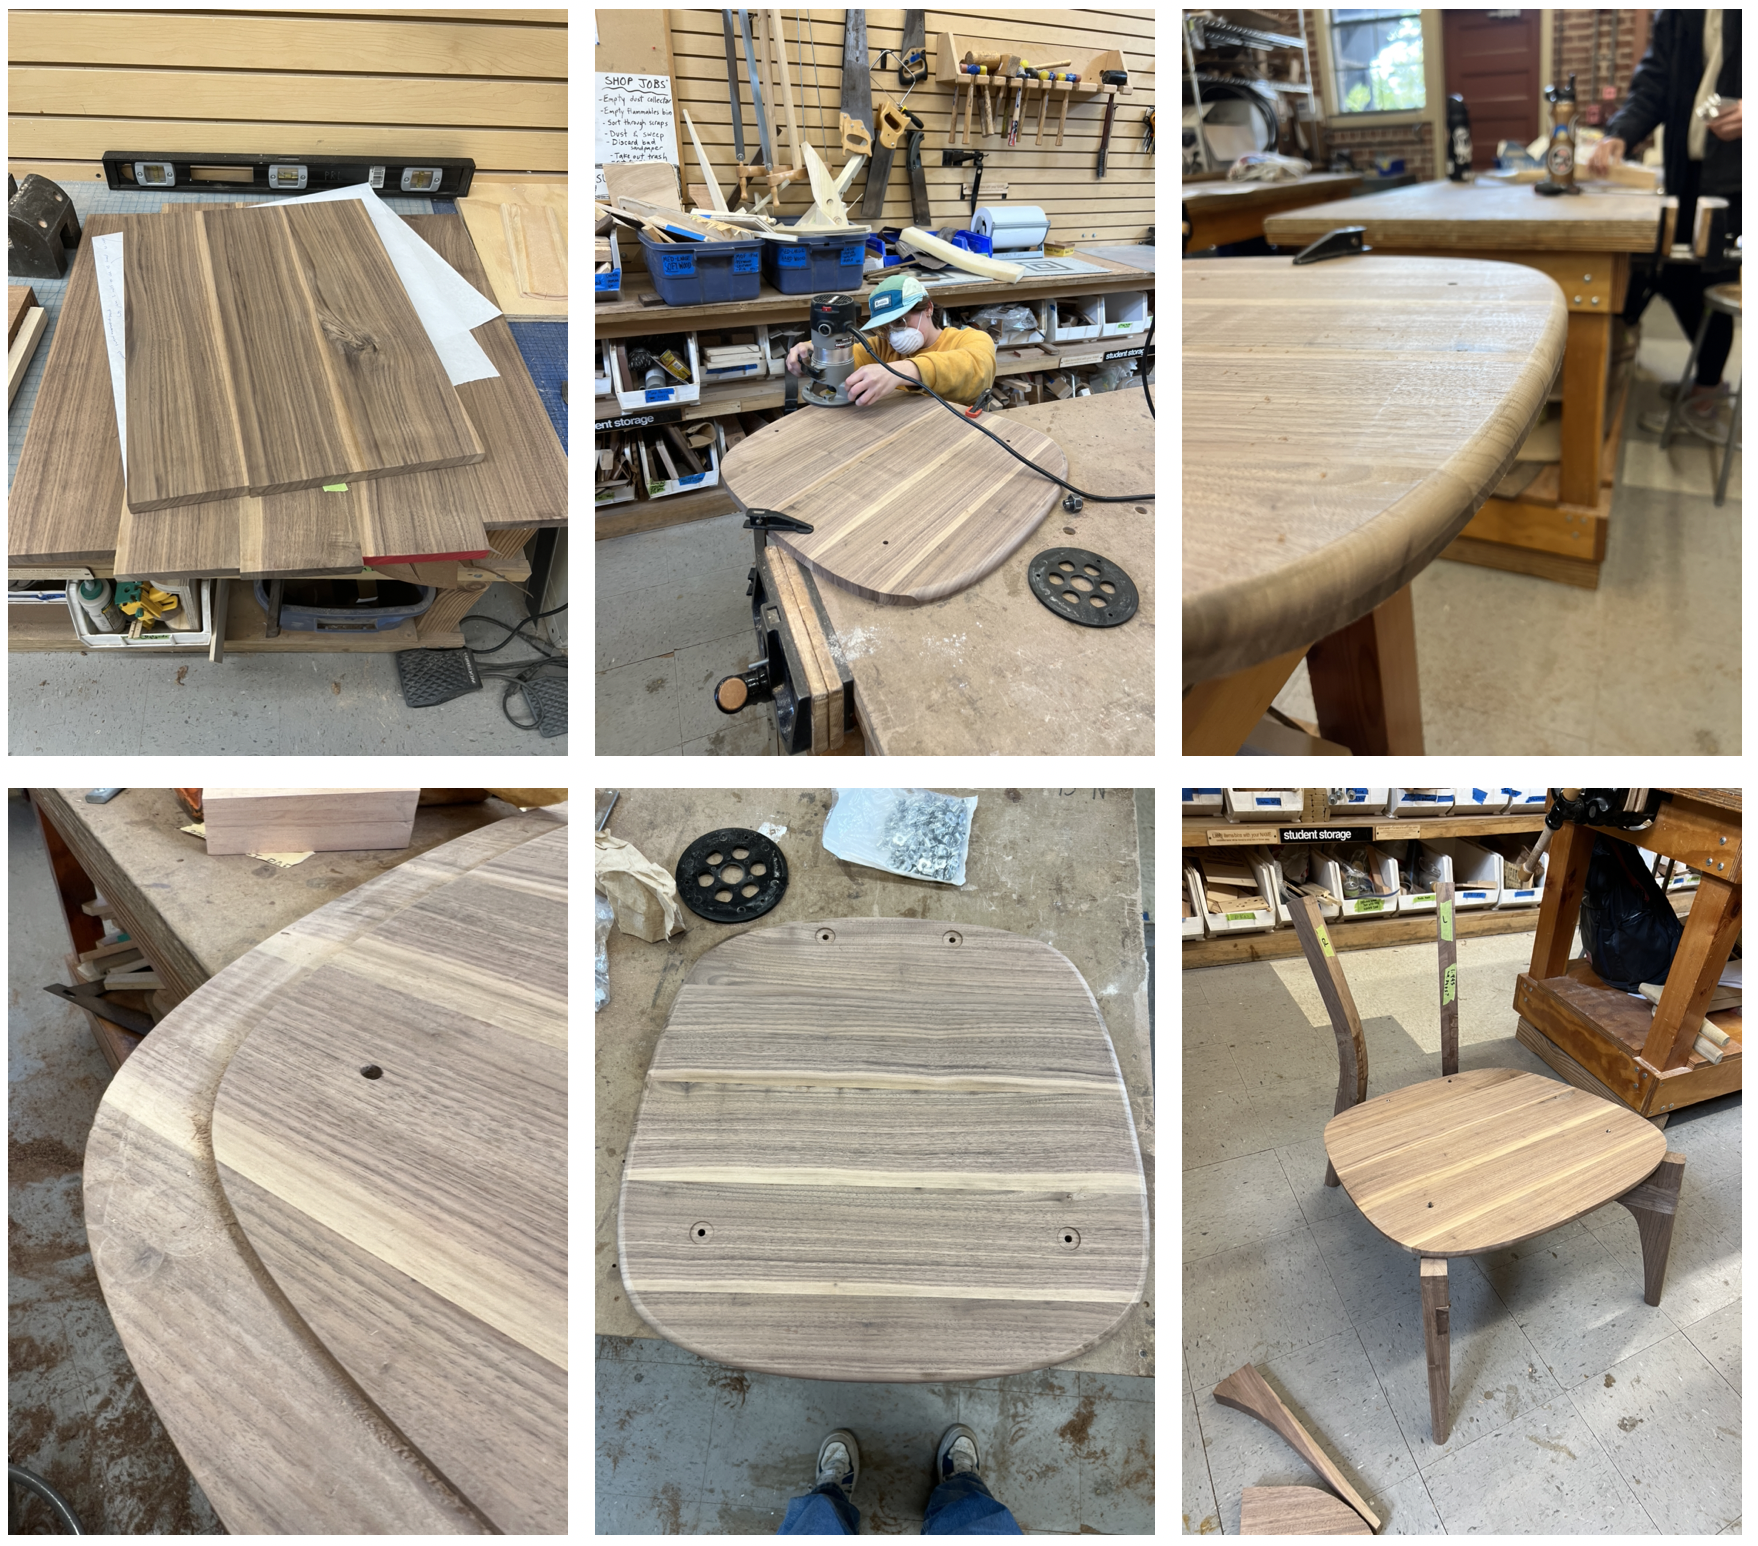
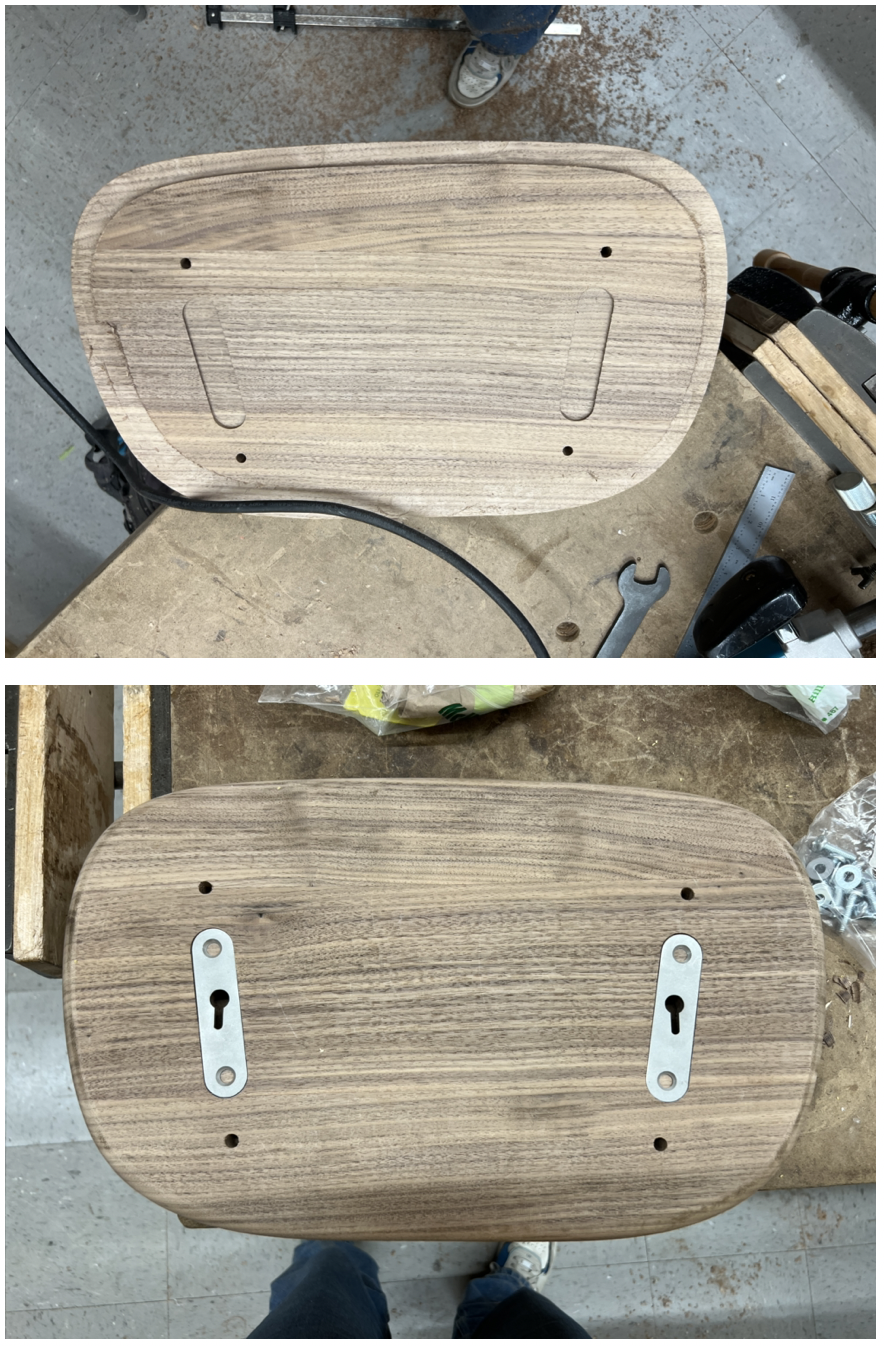
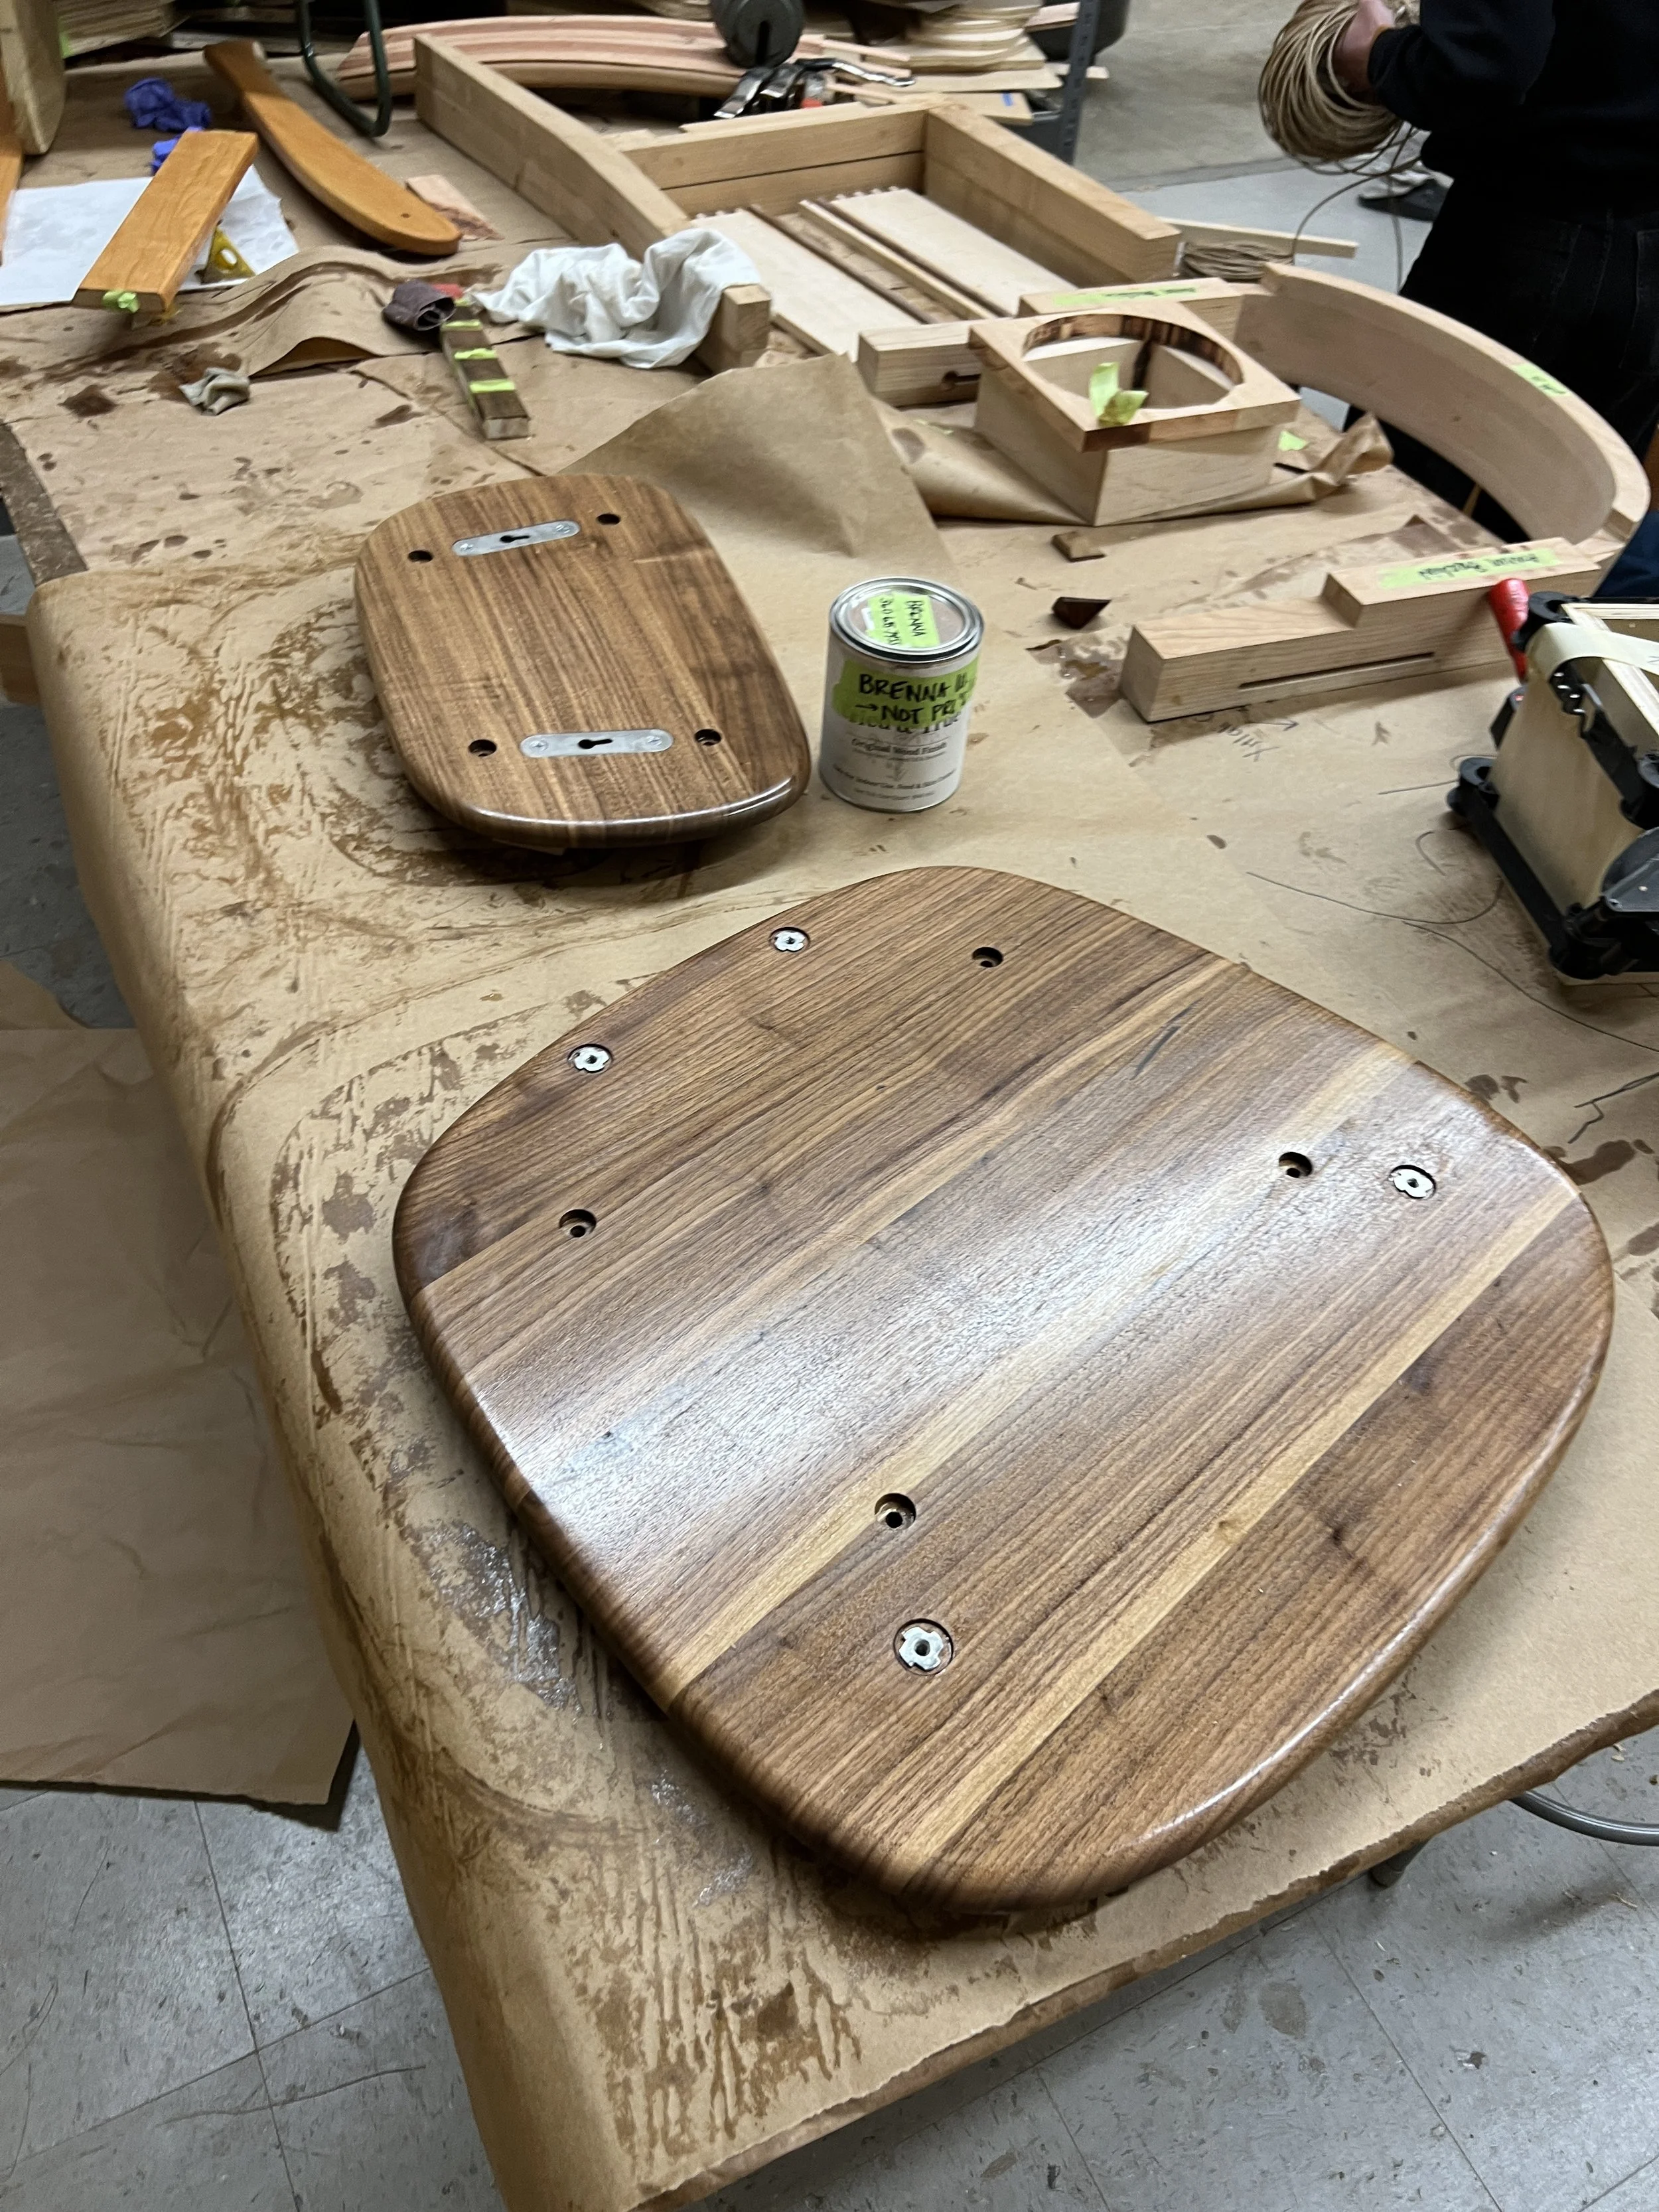
I squared up boards and glued them up to make the wood blanks that would later turn into the base of the seat and back. Laser cut templates were adhered to the wood, roughly cut with a band saw, and a hand router was used to flush trim and round the edges. The holes were drilled for the tee nuts in the seat. I used the edge guide to hand route a shelf in the edge of the boards, with the goal of allowing the additional height created by the fabric, staples, batting, etc of the upholstery would have somewhere to go such that the plywood substate would still sit flush with the hardwood base.
build | dowels
The aluminum rods were turned down to size incrementally until they had a smooth fit. The undersized dowels were cut smaller, with indents to indicate they were the smaller ones. They were internally tapped and Loctite was added to adhere the threaded rod to the dowel.
build | back legs
The most challenging fixturing for this project was getting the tops of the back legs to be cut flat. The challenge is that the side view of the legs in the collapsed state has a bend and once the legs are open, the legs separate from each other in such a way that makes this piece very hard to fixture. Craig’s novel idea was to open the legs and clamp the back flats to a table and use a hand router. The setup only allowed for half of the length of flat to be cut, so a second setup was required to access the lower section of flats.
build | plate installation
The opening for the steel plates were hand routed out in the cross bars and in the seat. The steel plates were cleaned up and tweaked to fit right. For the seat, I wanted to be sure that the plates would not be proud so that the seat board would meet the back legs cleanly.
build | keyhole alignment
The other significant alignment challenge was the key slots. The movement of the back needs to be vertically up and down along the back seat angle, despite the fact that the upper back legs angle out from each other sideways. This means that the angle of the key slot plates needed to be parallel to the legs, but the slots themselves vertical. The back was temporarily fixtured, allowing the pins to be marked out, and the hanger bolts were drilled there. The nuts were seized on each other to act as the head of the pin at such a location that the back was held taut towards the legs.
build | shaping
In order to highlight the form of the wood, lots of shaping went into the legs with hand tools. This includes: tapering down the front and back legs, rounding the legs and forming the horns, shaping the inside of the horn to meet the seat base with a nice gap, and rounding the tops of the horns and ends of the back legs.
build | support plate
Late in the build, one of the legs split at its weak spot. The leg was clamped into a vise, and I accidentally ran into the other side of the leg, which applied a sideways force with a significant lever arm, causing it to split partway through. Since the steel plate was in place, the piece did not snap the whole way. It was still quite disappointing, but it was remedied by applying another steel plate with epoxy to the internal side of the cross bar’s joint cutout. This provides structural support, but more importantly, it creates a horizontal support that goes against the grain along which the break occurs.
build | upholstery
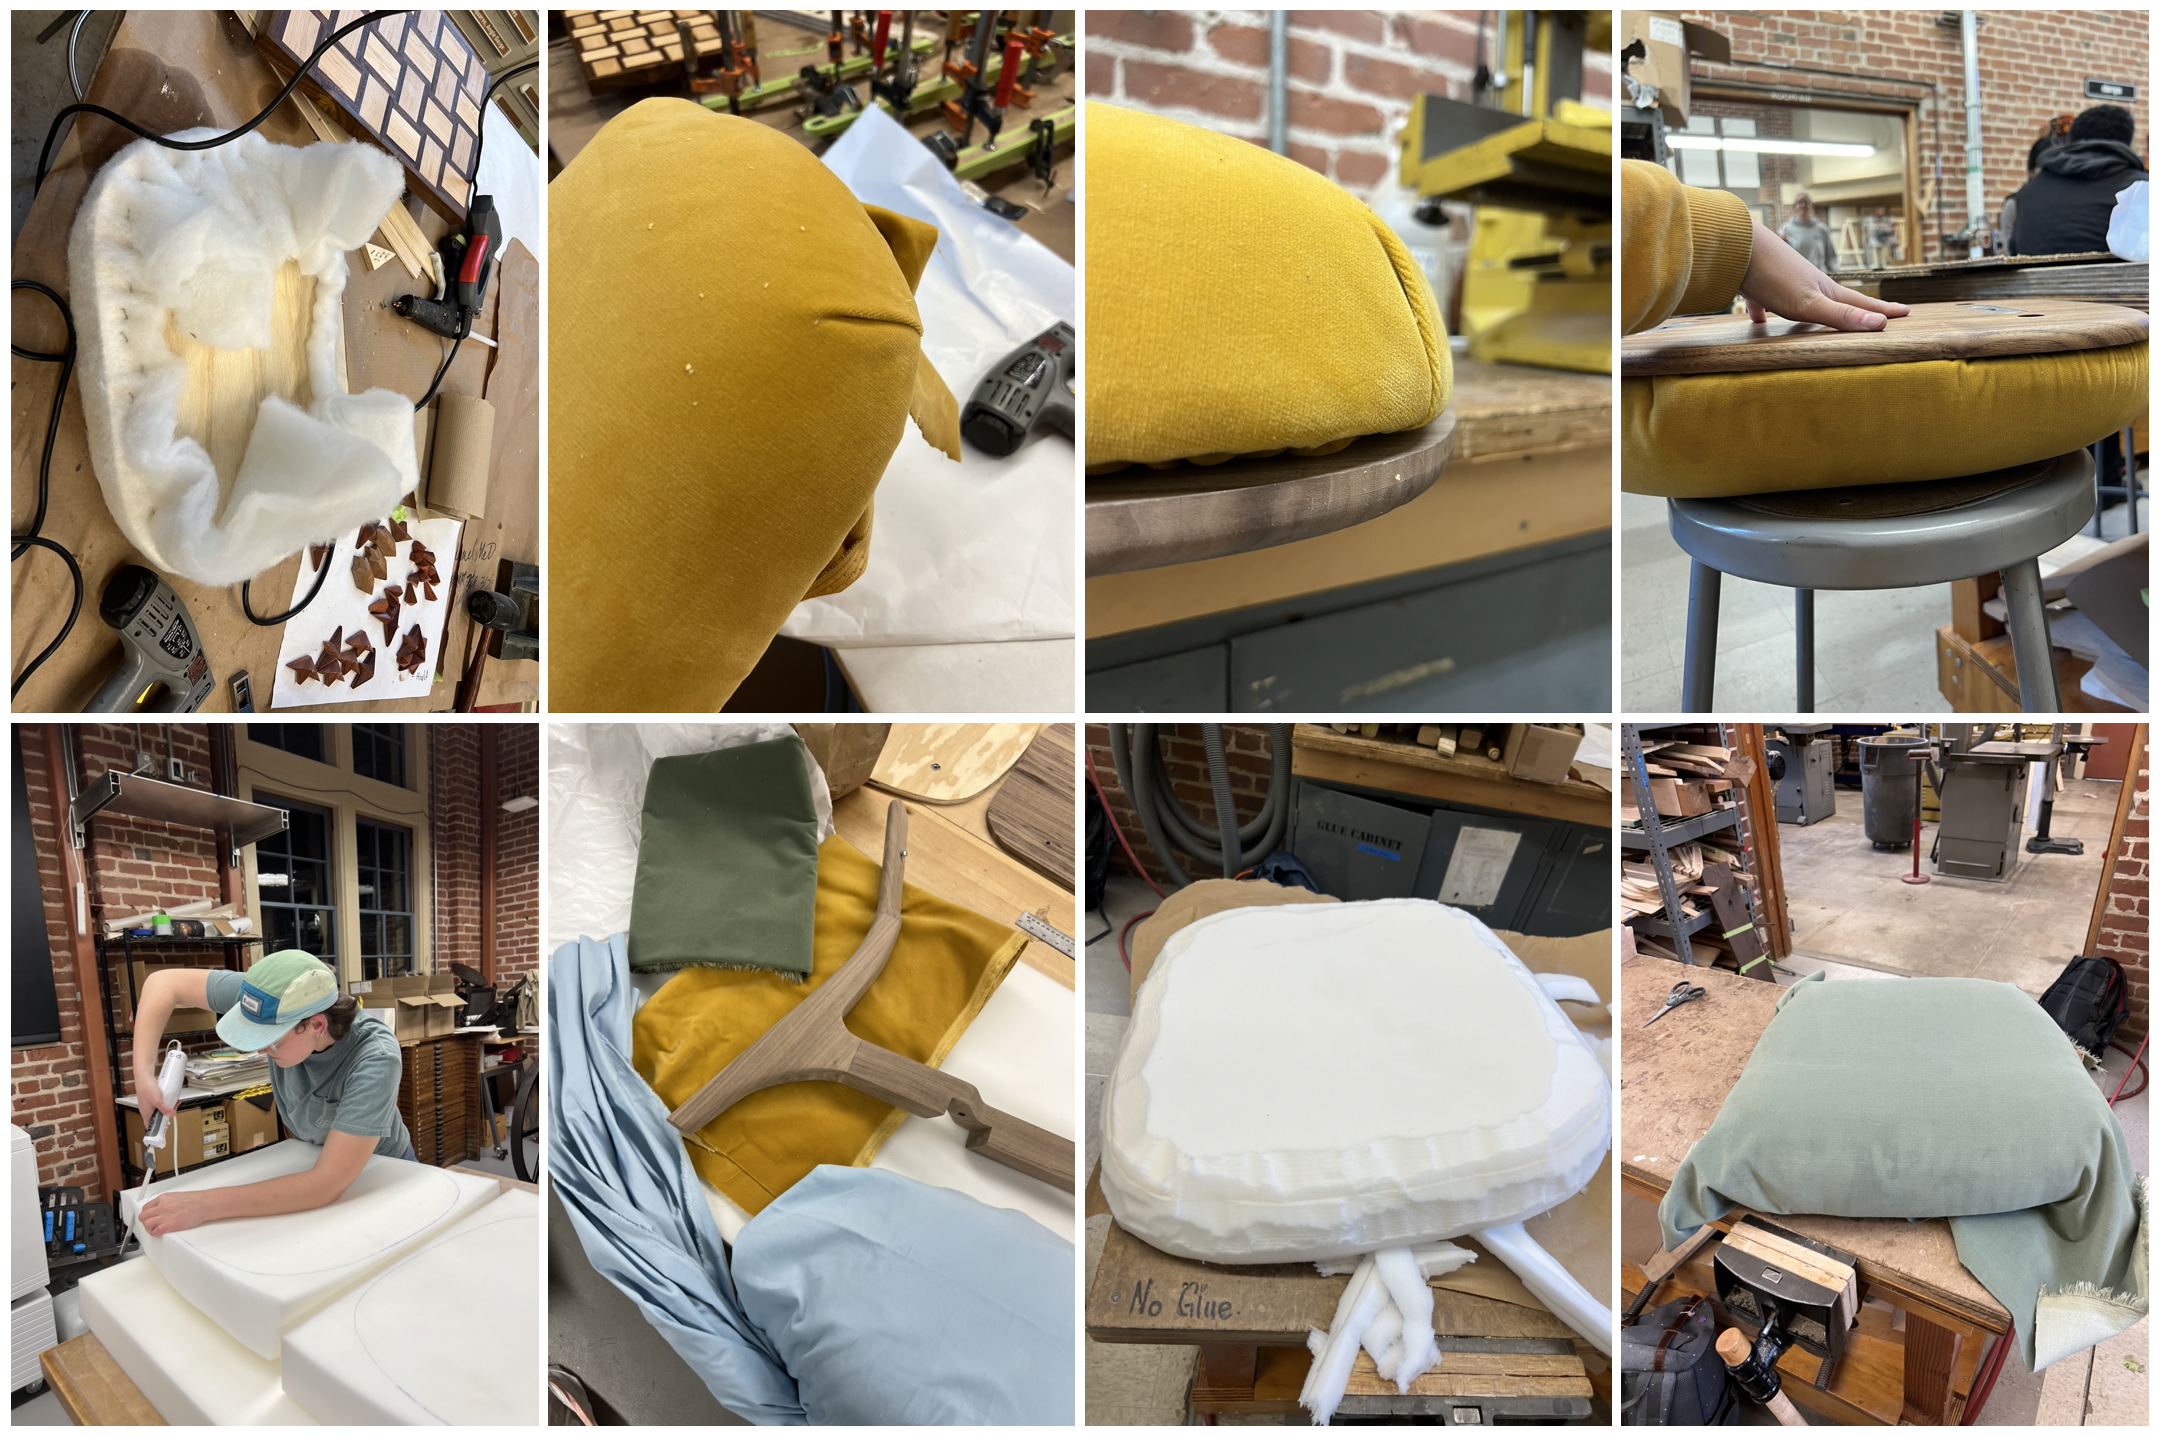
I wanted to make my upholstery meet really smoothly with the upholstery from a side view, so I did some test upholstery. The shape was generally easier to achieve than expected. I played with different ways to address the corners, and decided I liked the single pleat better than many little pleats. I noticed that even with the shelf cutout in the seat and back base, there was still a gap between the upholstery and wood. I tested adding an additional border of foam on the underside of the plywood to create a squishable ledge around the edge - which worked quite well! When doing the final upholstery, I was deciding between three colors and landed on the sage green. A benefit of this design is that the plywood of the upholstery can be easily unscrewed and swapped with another down the line. I stacked a combination of high and medium density foam and adhered them together, used an electric carving knife to get the general shape, wrapped batting around the shape and pulled the fabric taut around the foam. I thought the pleats came out well. Although the meeting point between the upholstery and wood was not seamless, I was generally happy with the look.
build | finishing & disassembly
The last steps were leveling the legs and oiling. Since the seat is at an angle, the legs each contact the ground at a point. I flattened them by marking a flat relative to a known thickness reference and used a hand saw to cut the ends off. Once everything was oiled to 400 grit, I applied Tried and True Traditional Finish (polymerized linseed oil and beeswax).
In order to disassemble the chair, you lift the seat upwards and unscrew the aluminum dowels, lift the back up and out of the key slots, and collapse the legs. The biggest challenges with assembly are getting the legs open the right amount to get the pins lined up perfectly, and the biggest challenge with disassembly is removing the back such that the openings in the keyhole slots are aligned to the pin heads, since you can’t see the slots in the assembled state.
