Leaf
Brief: Create a product using the Product Realization Lab’s tools
Processes: Sand casting, milling, waterjet cutting
Duration: 10 weeks
Context: Individual project for my Design and Manufacturing course
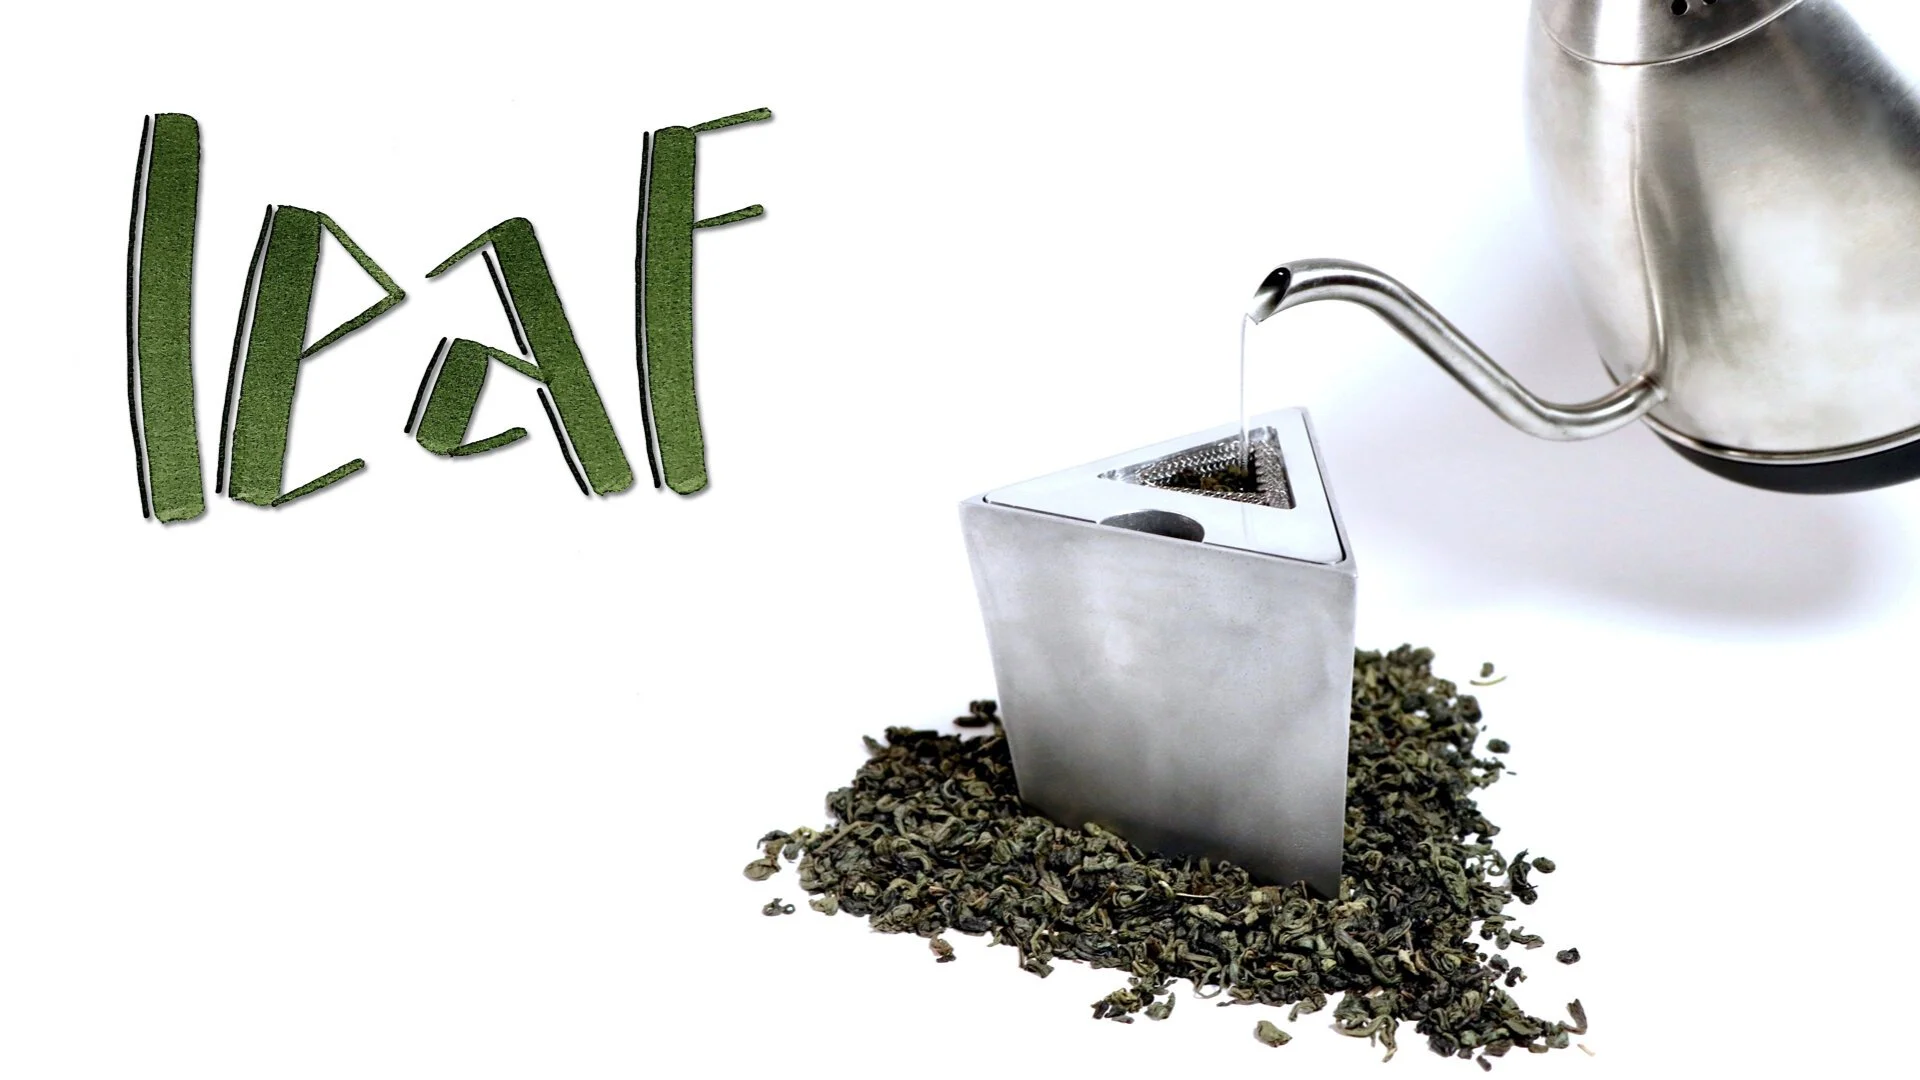
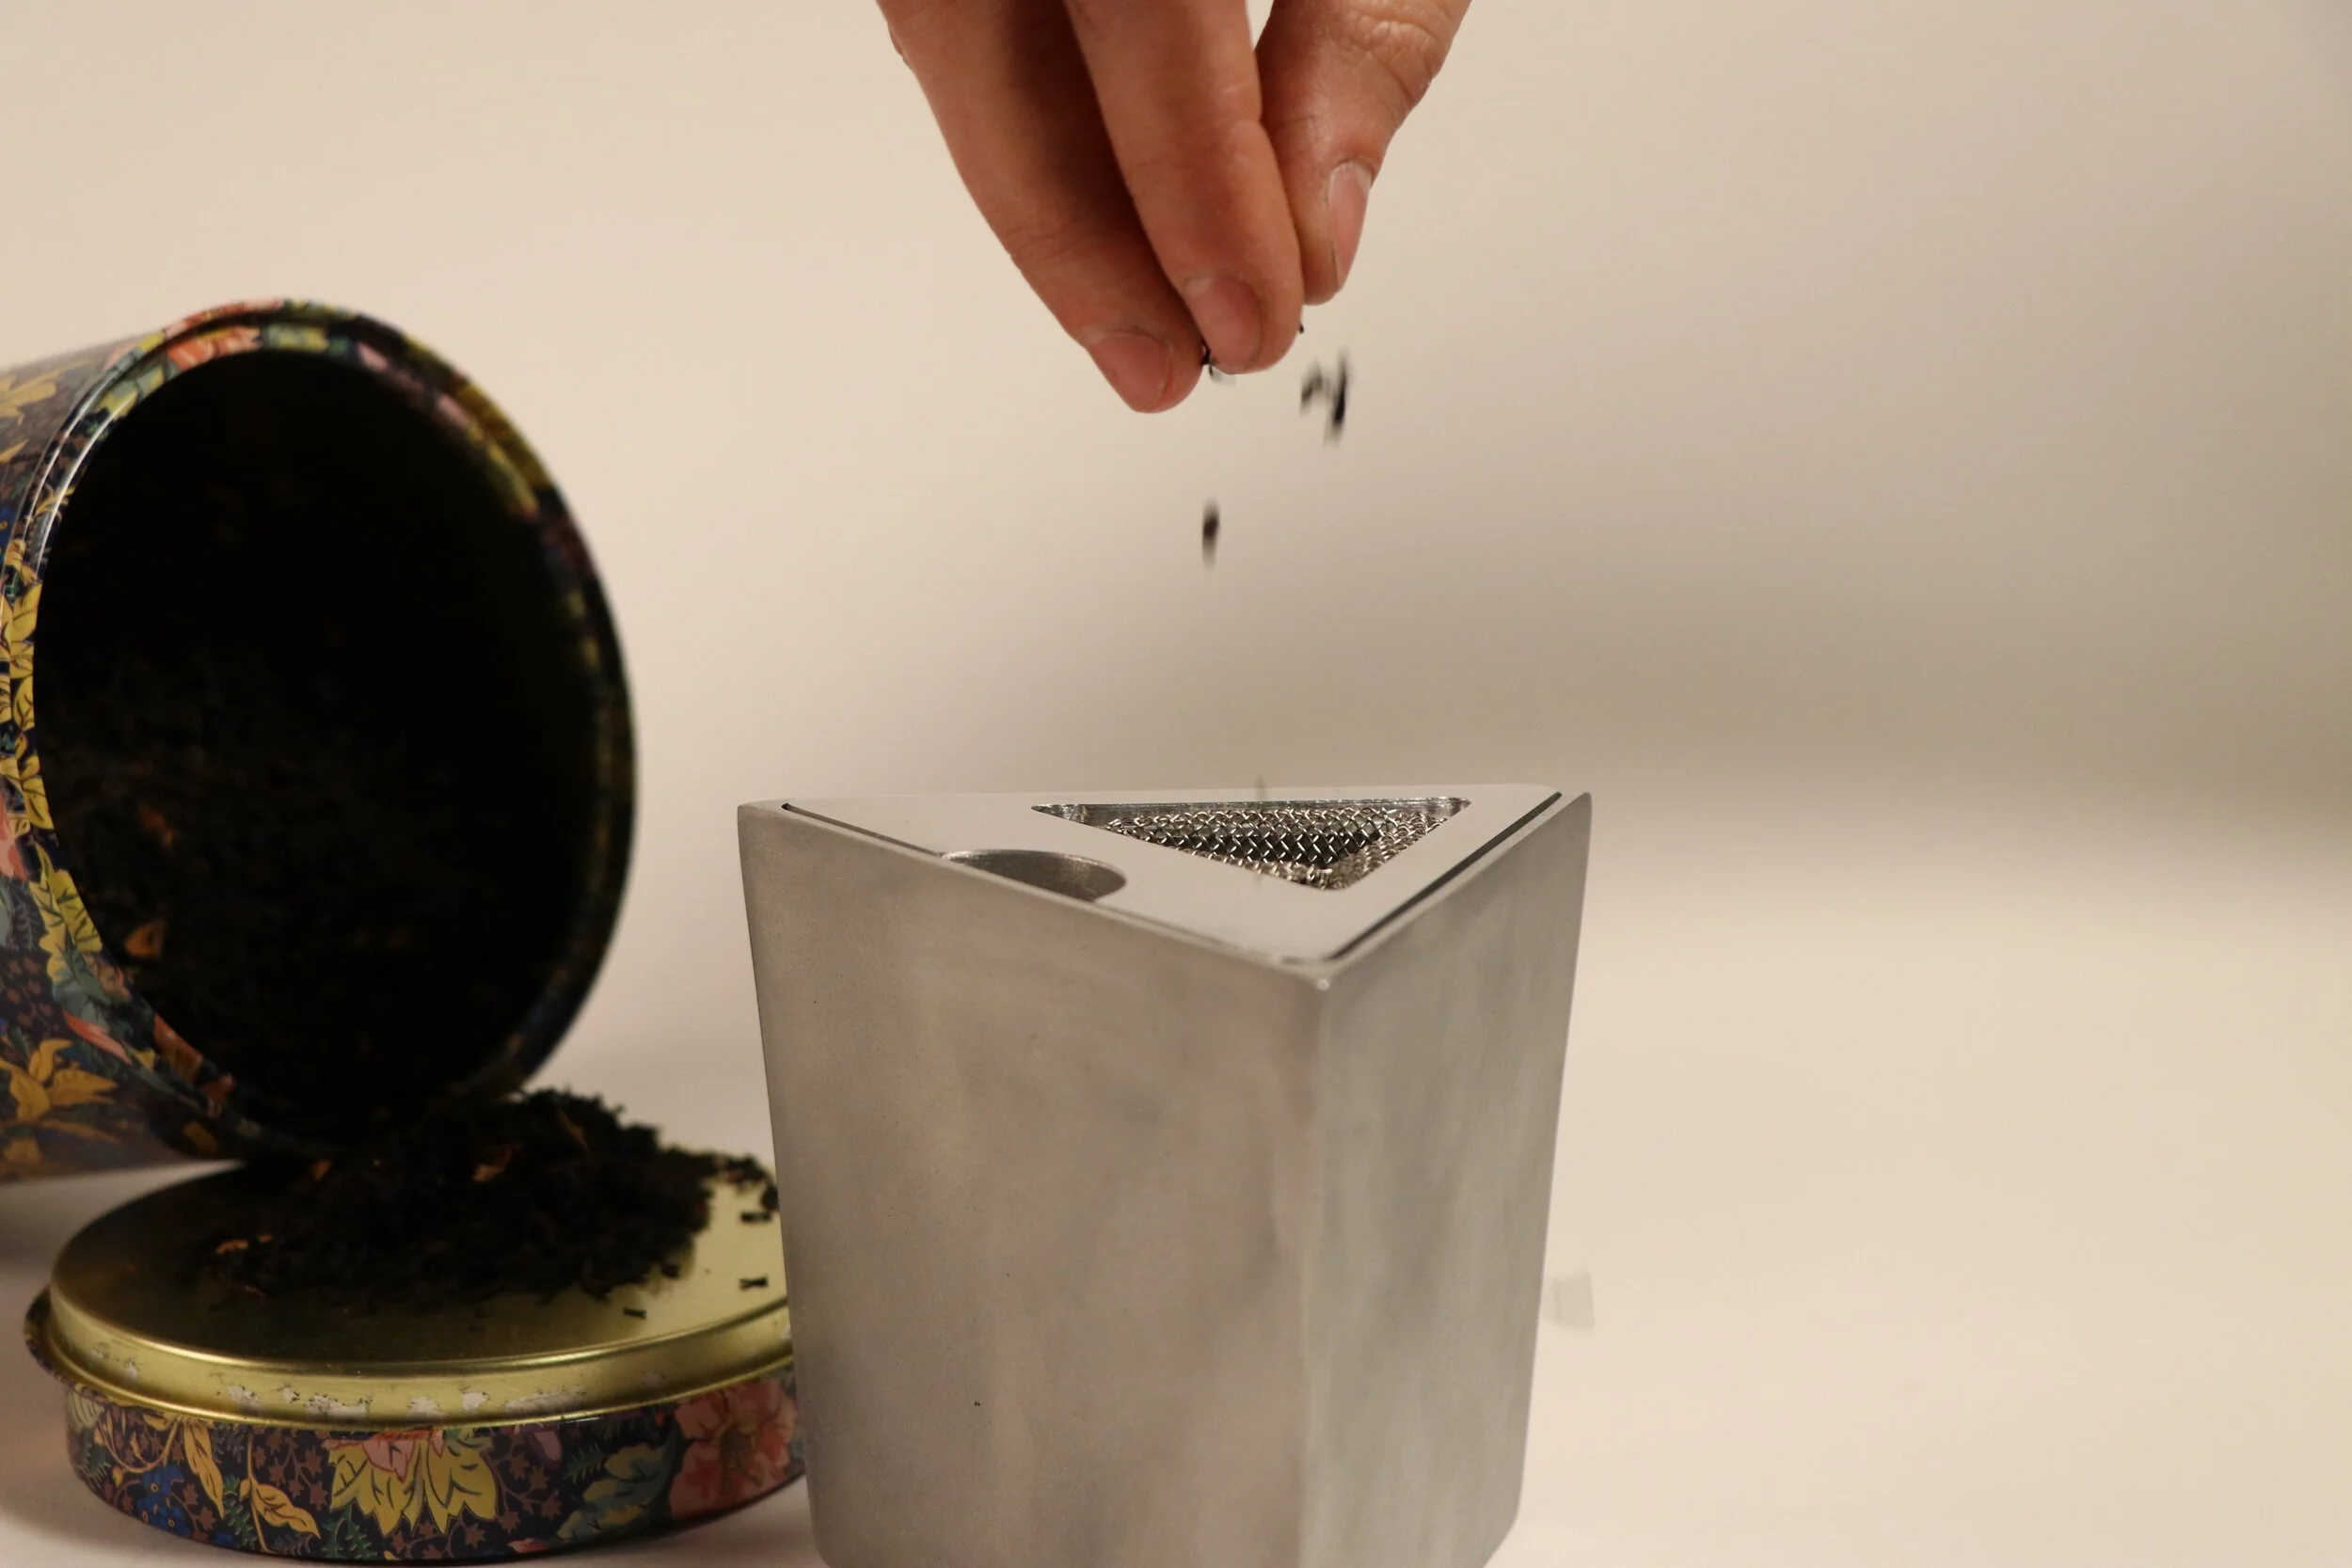
Manufacturing courseIn a world of fast-moving technological innovation, little attention is given to timeless delicacies. The traditional process of steeping loose leaf tea is rather excessive for a one-cup drinker. So, here’s to letting individuals enjoy a bit of relaxation, without all the hassle.
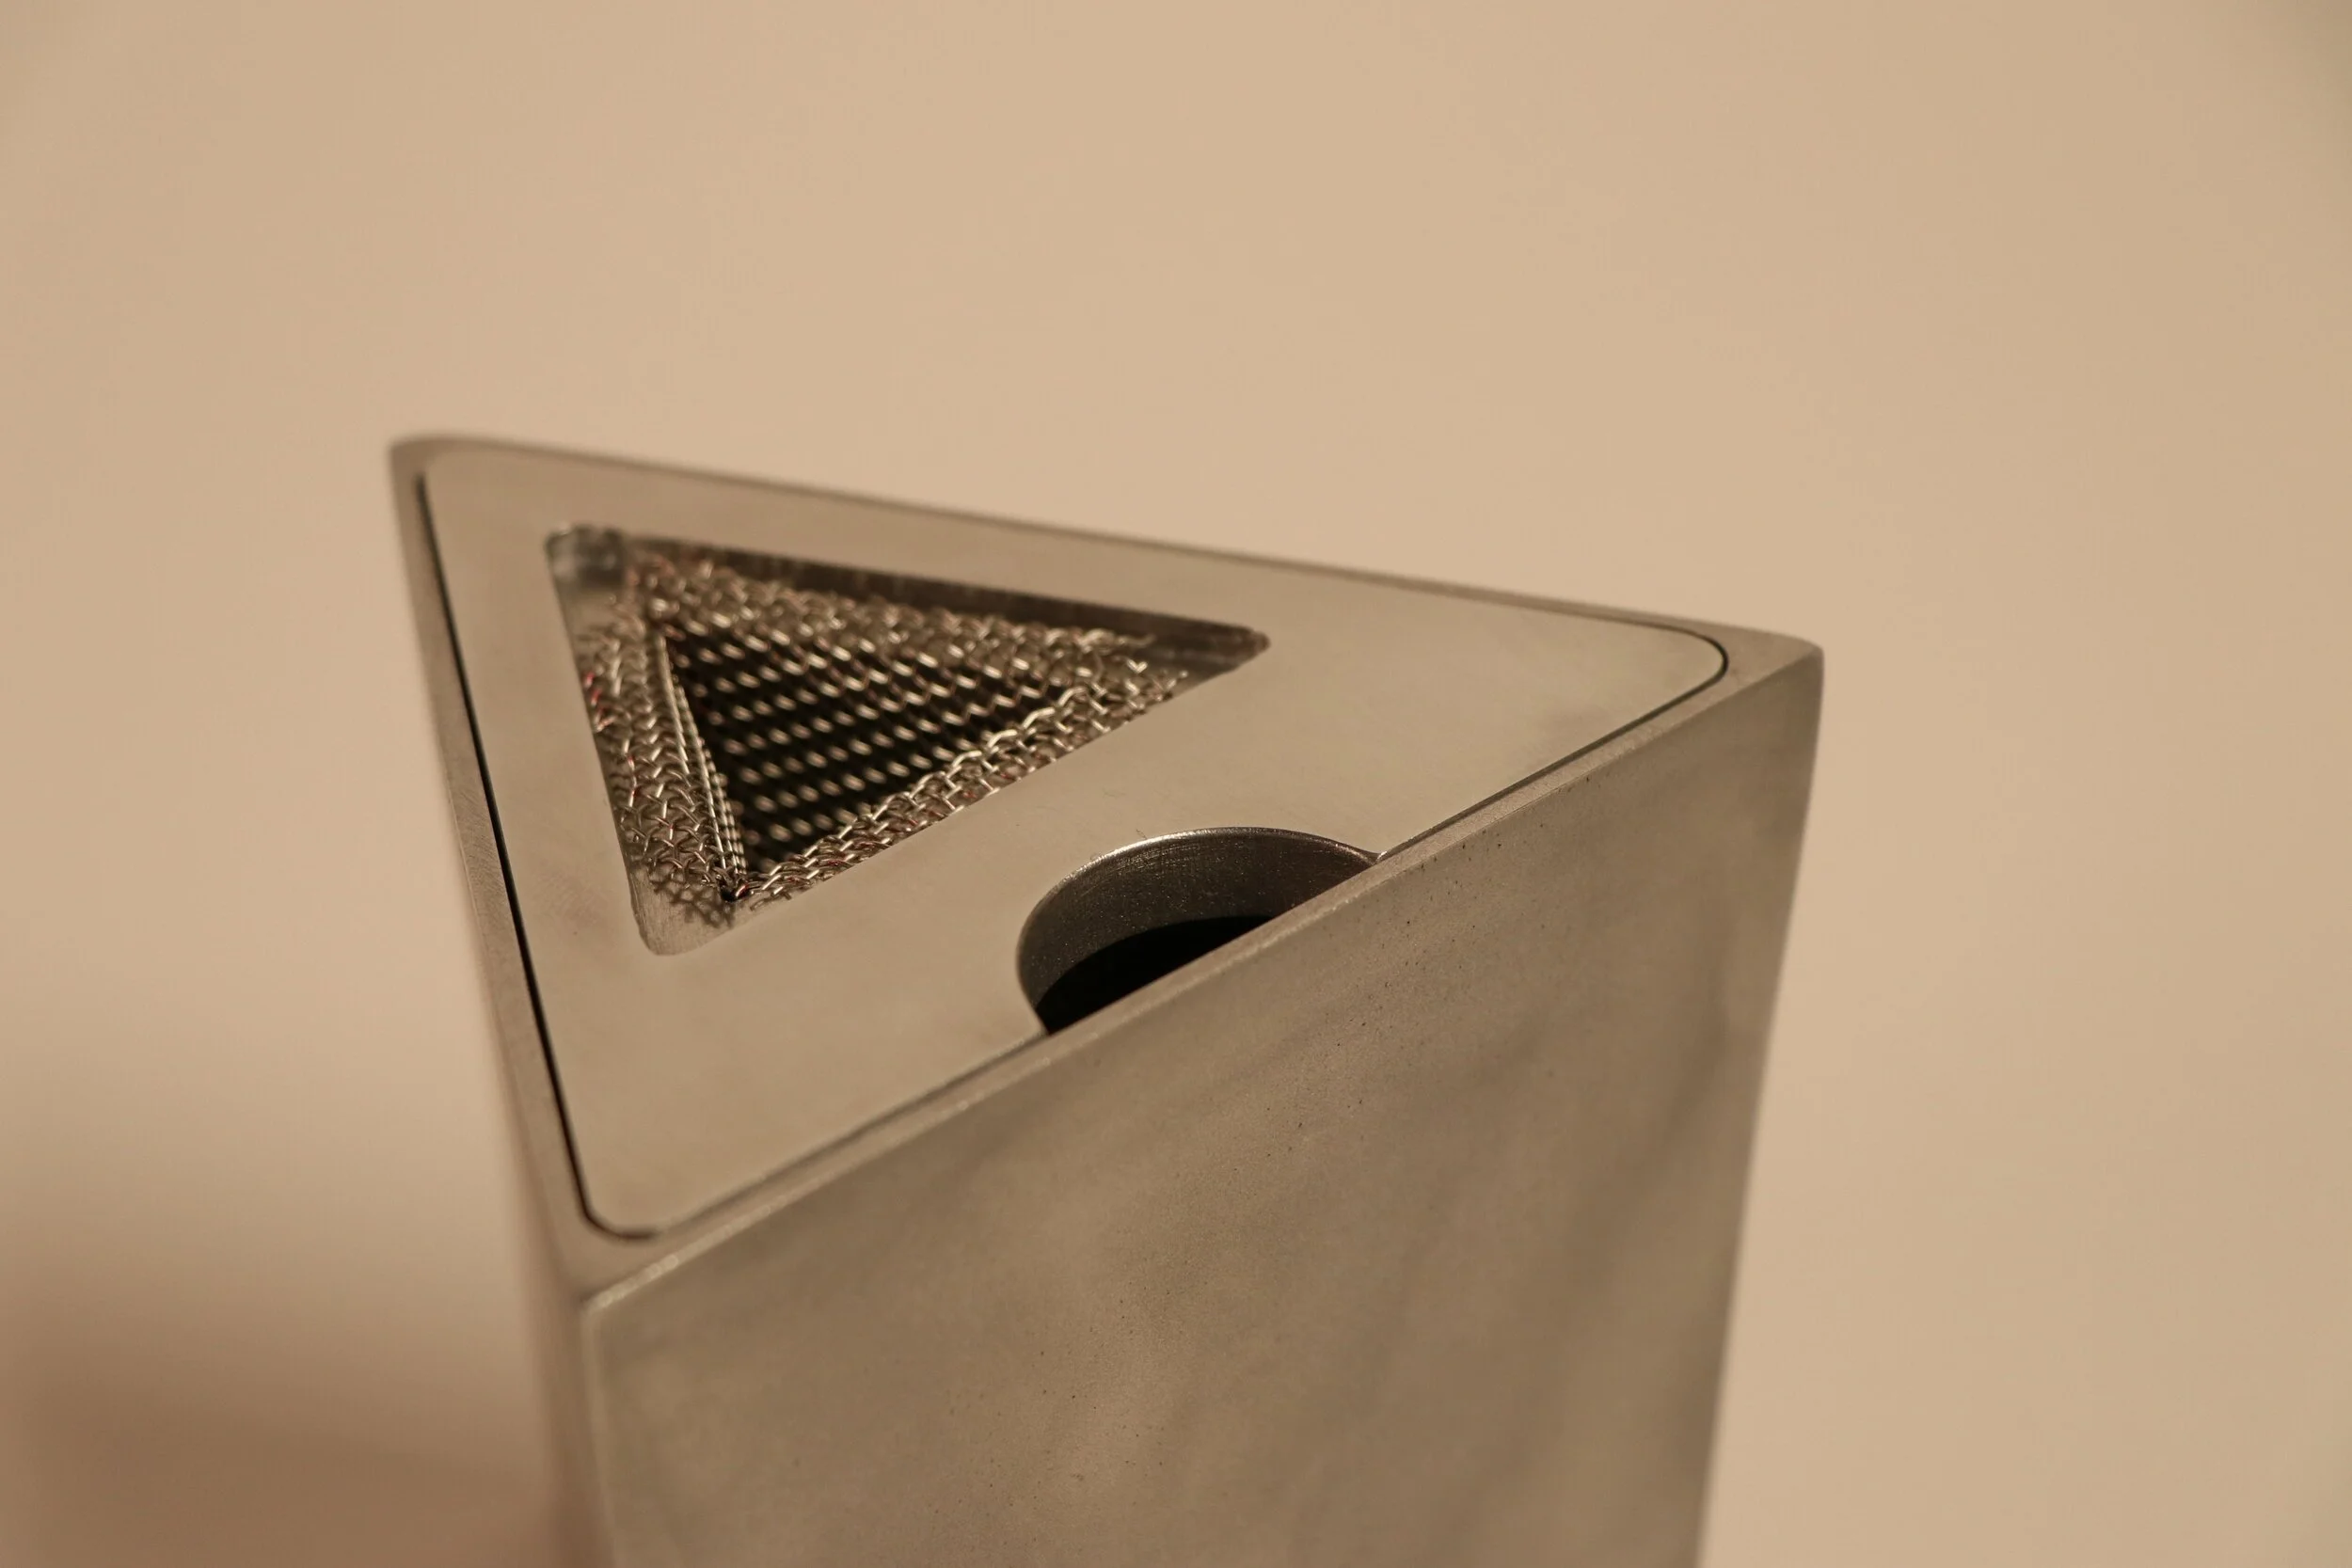
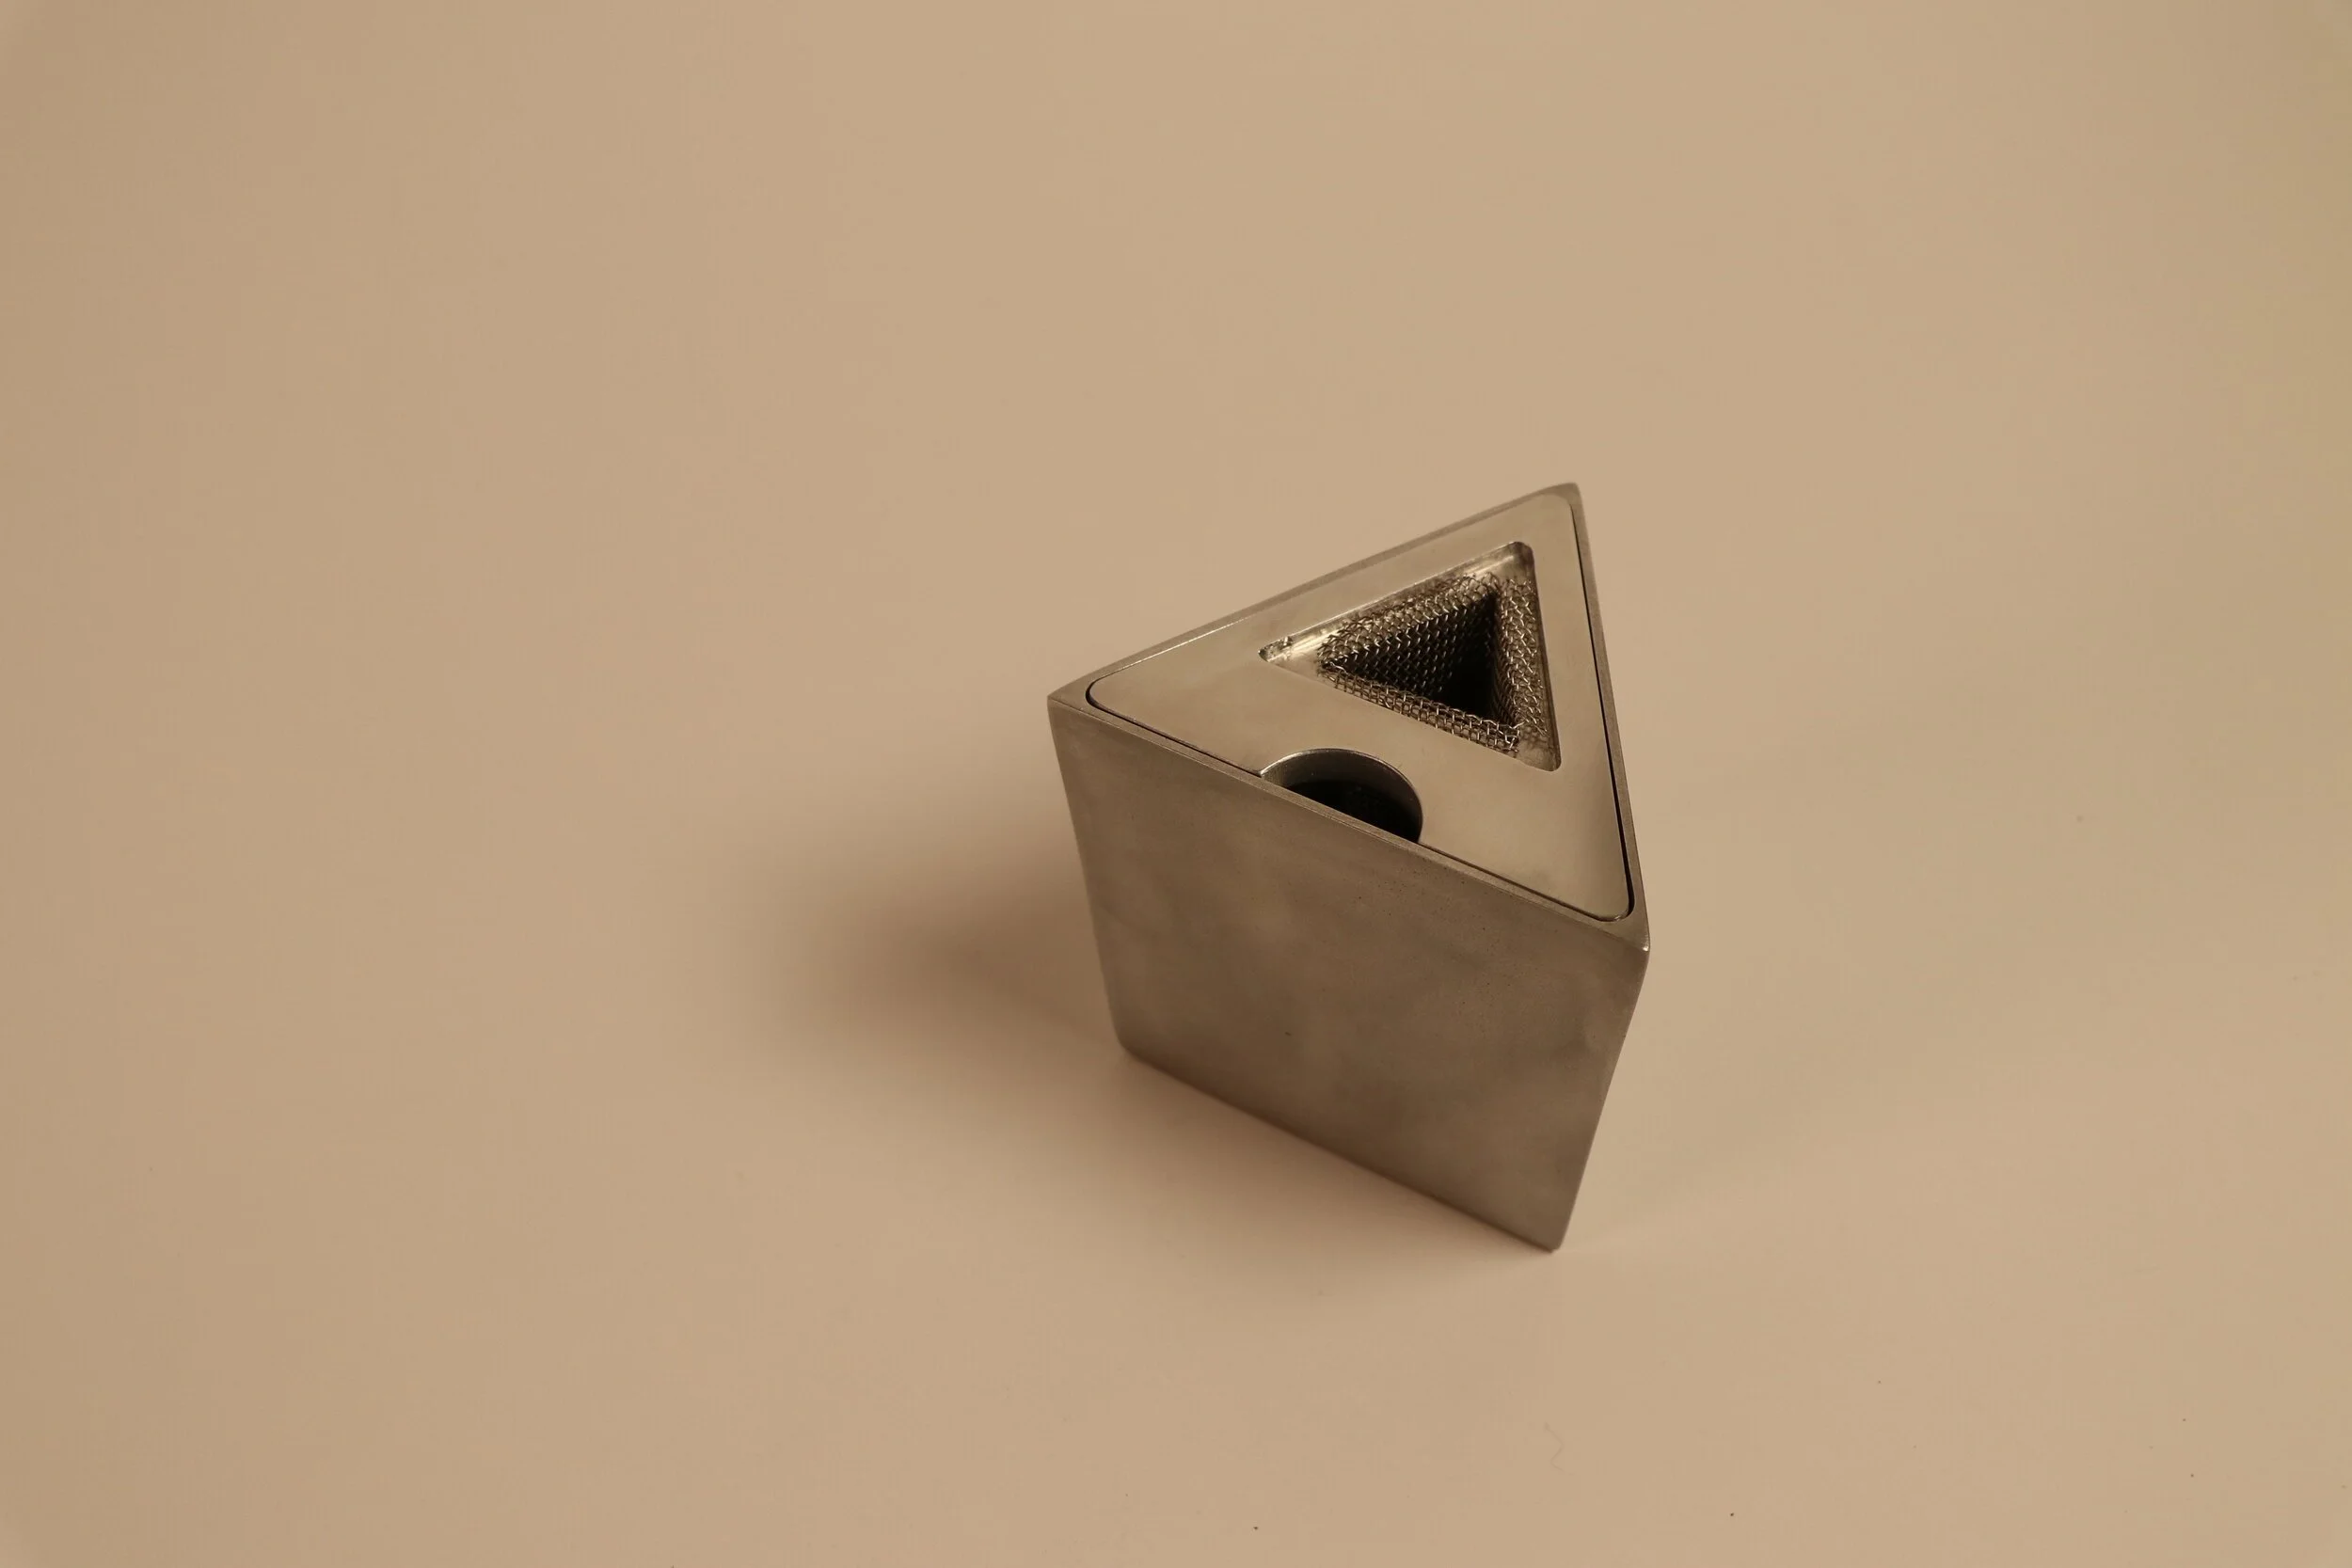
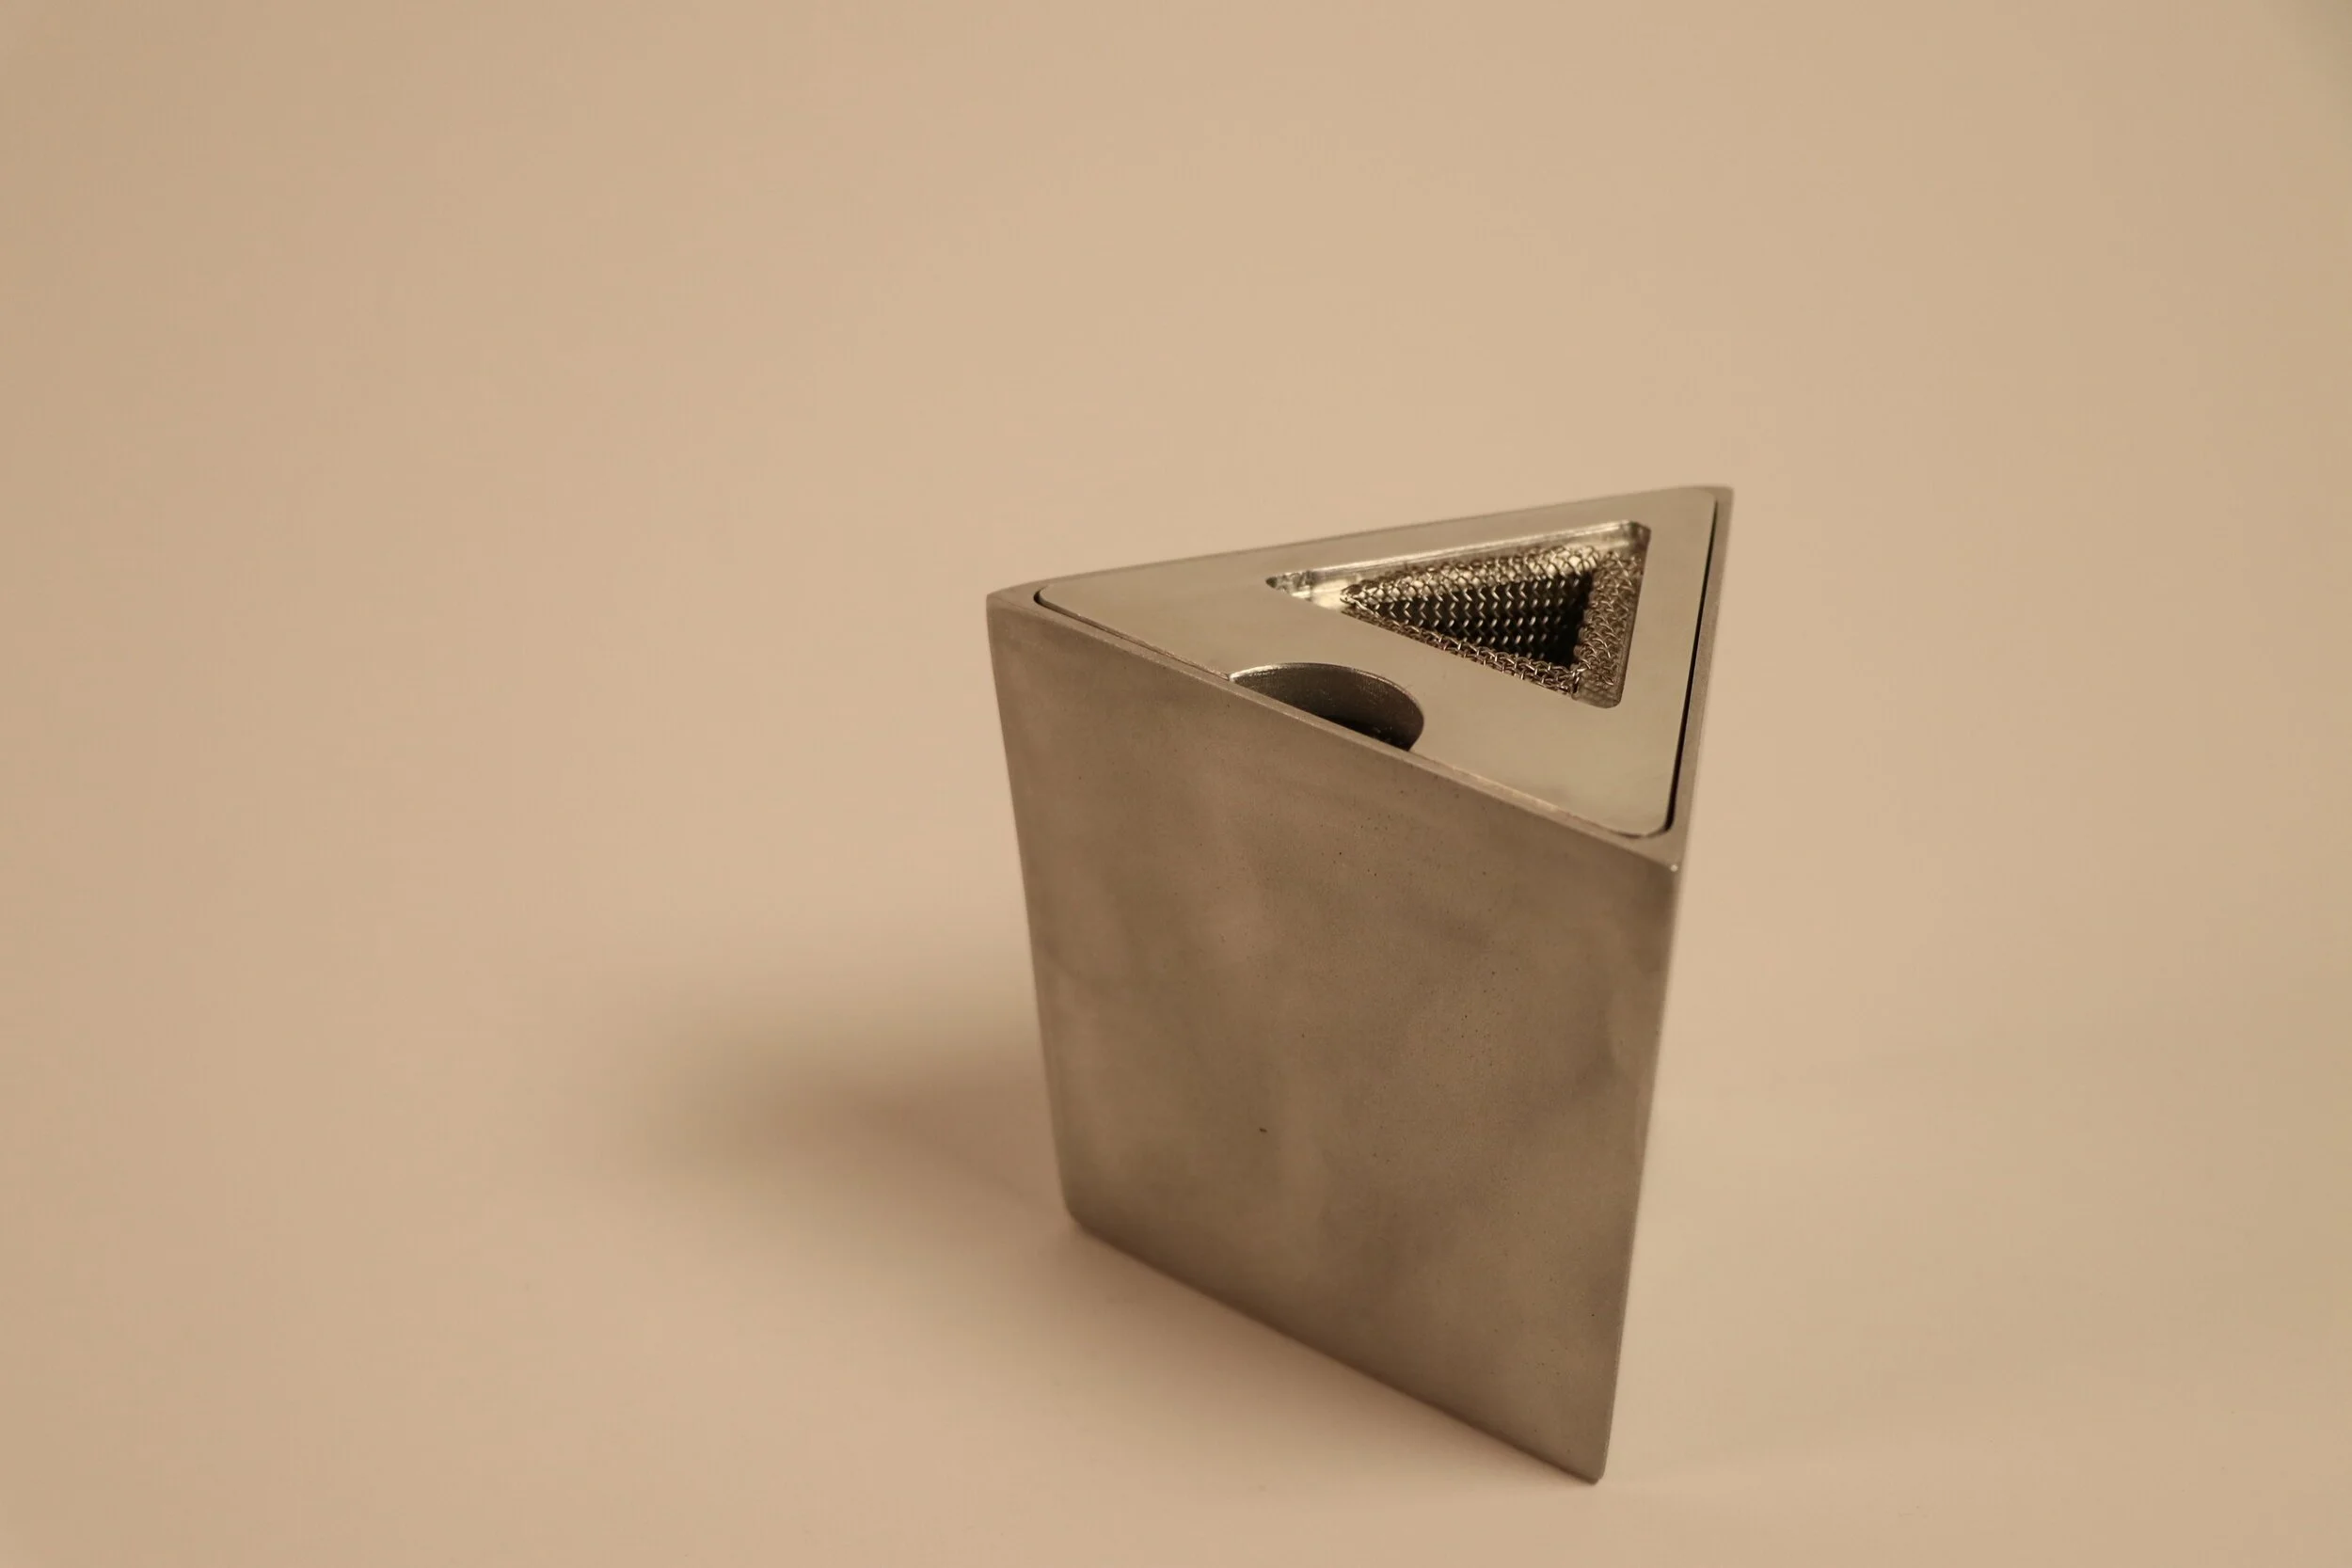
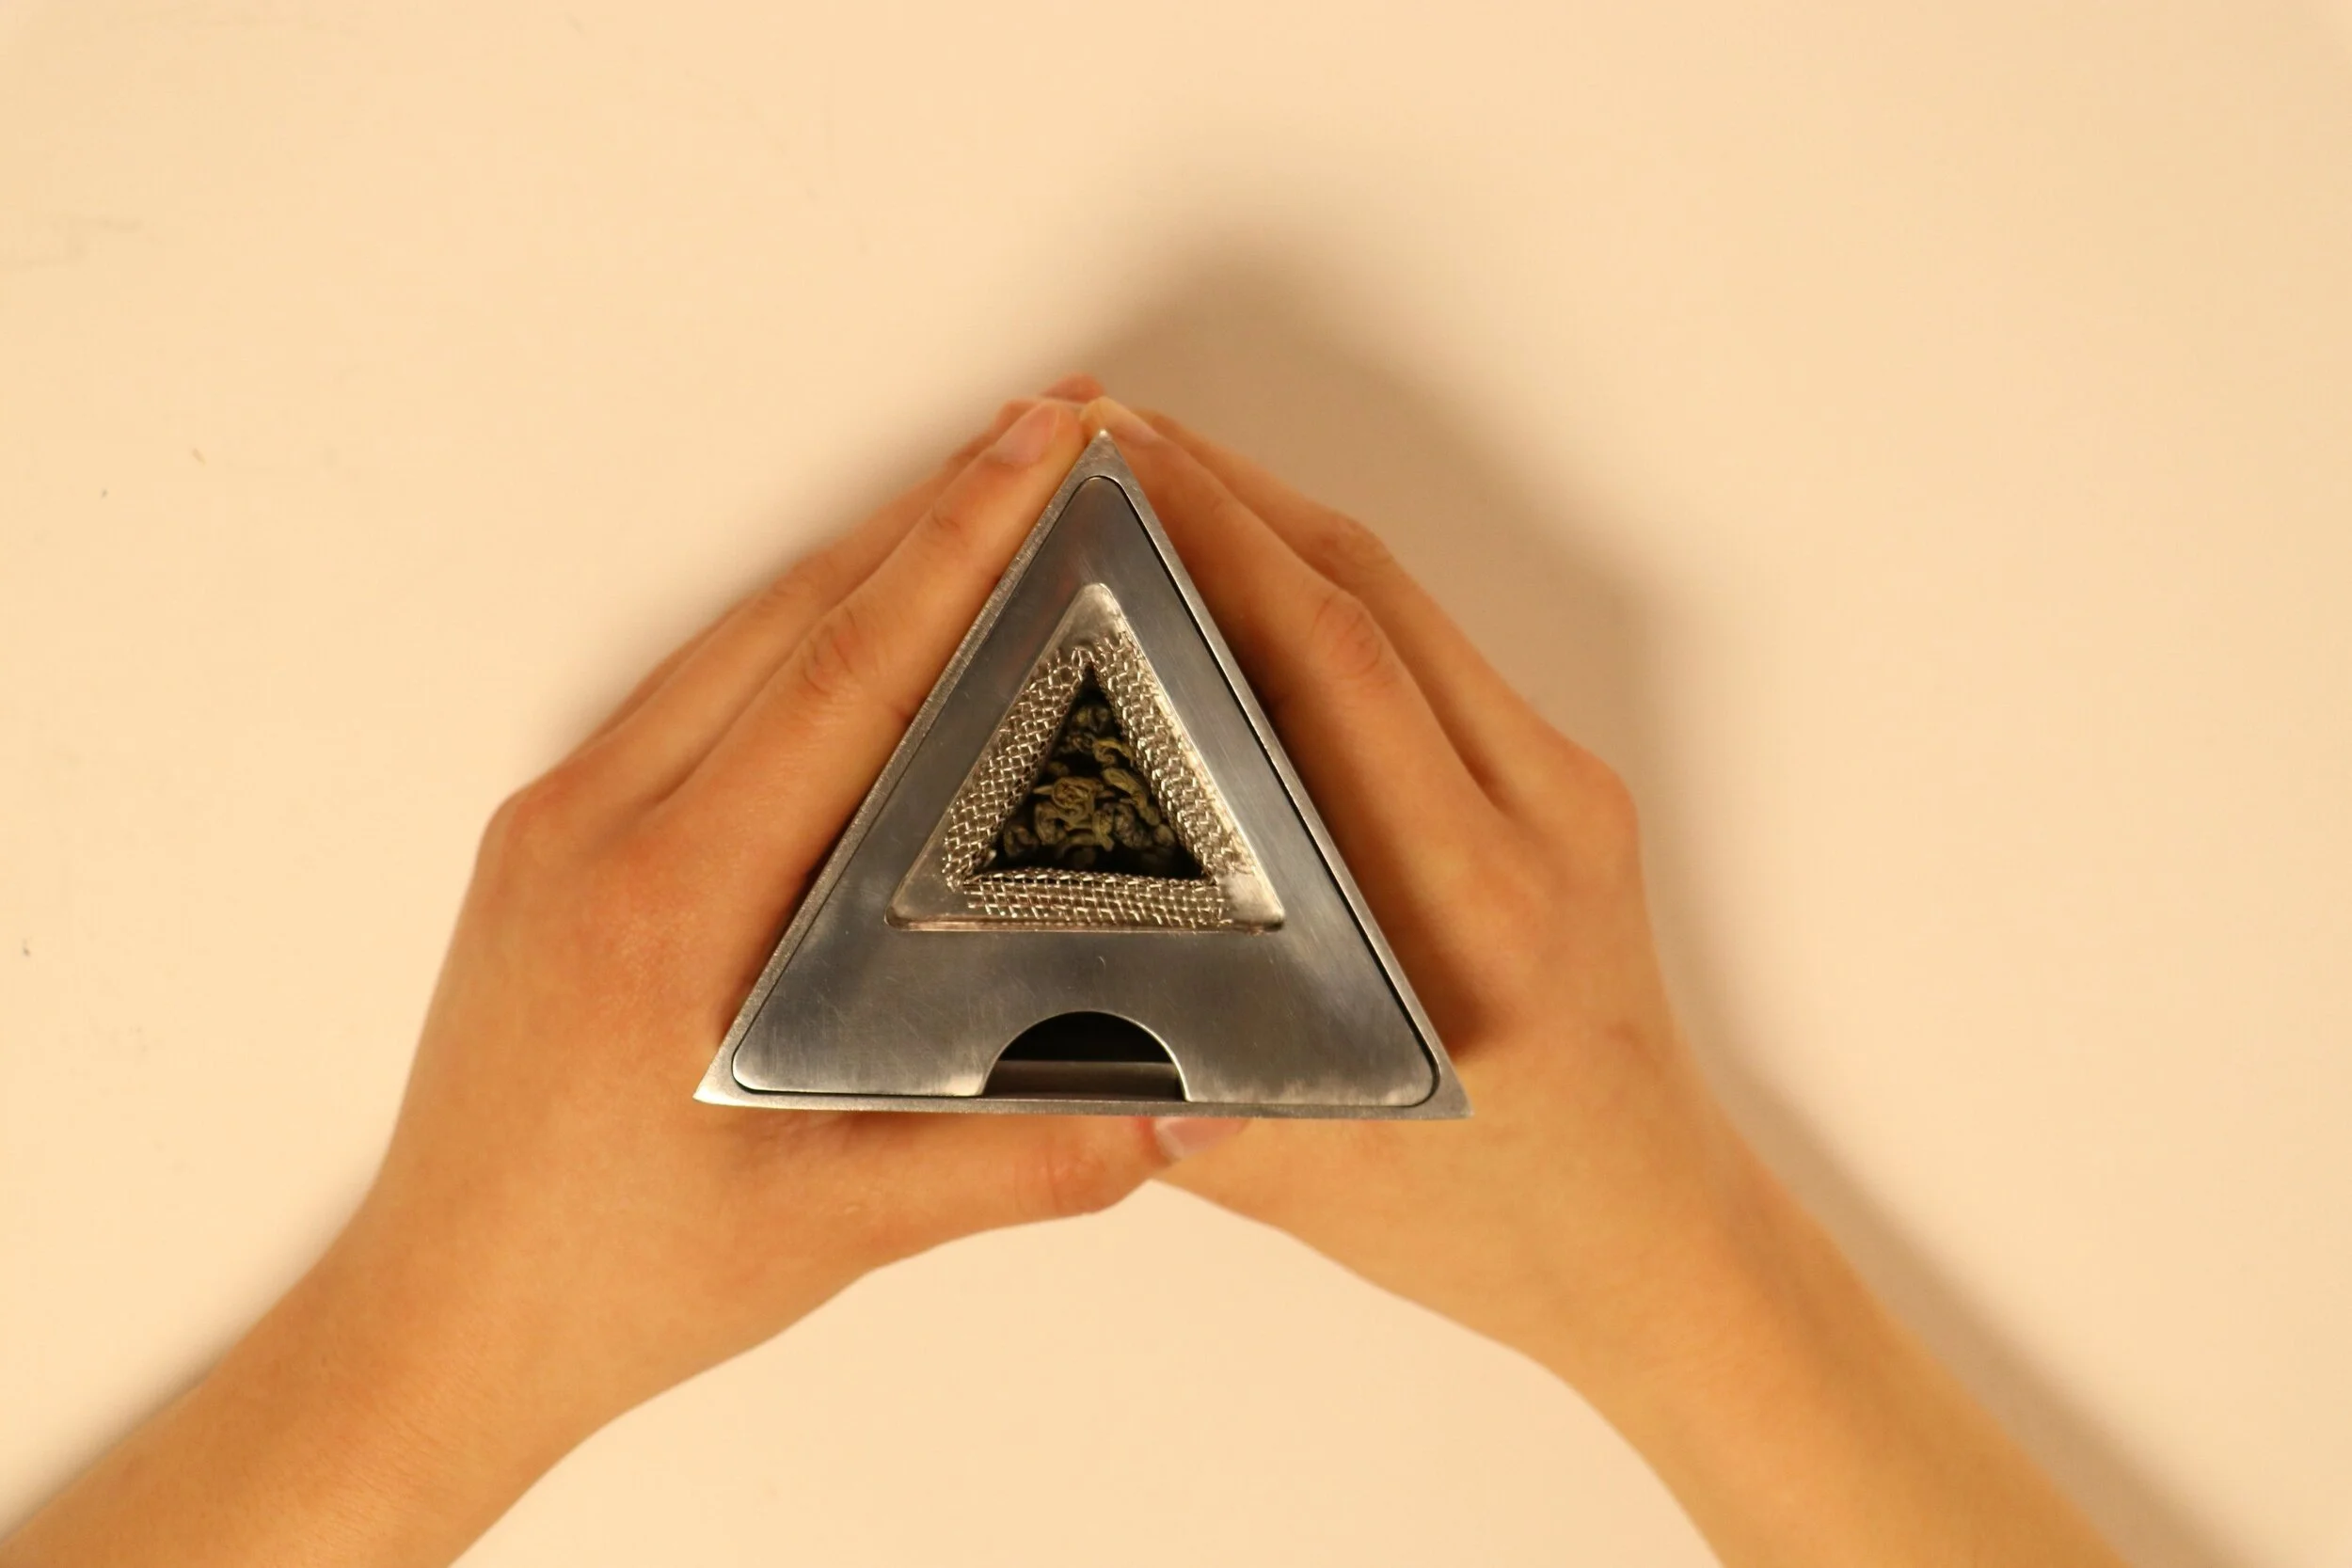
LEAF is a mug and loose leaf tea strainer in one, designed with the theme of embedded triangles for aesthetic quality. The removable lid and tea strainers make for easy use and cleaning. I created this product for my Design and Manufacturing class, where we applied various manufacturing processes to develop our products from ideas to prototypes to final products.
Ideation
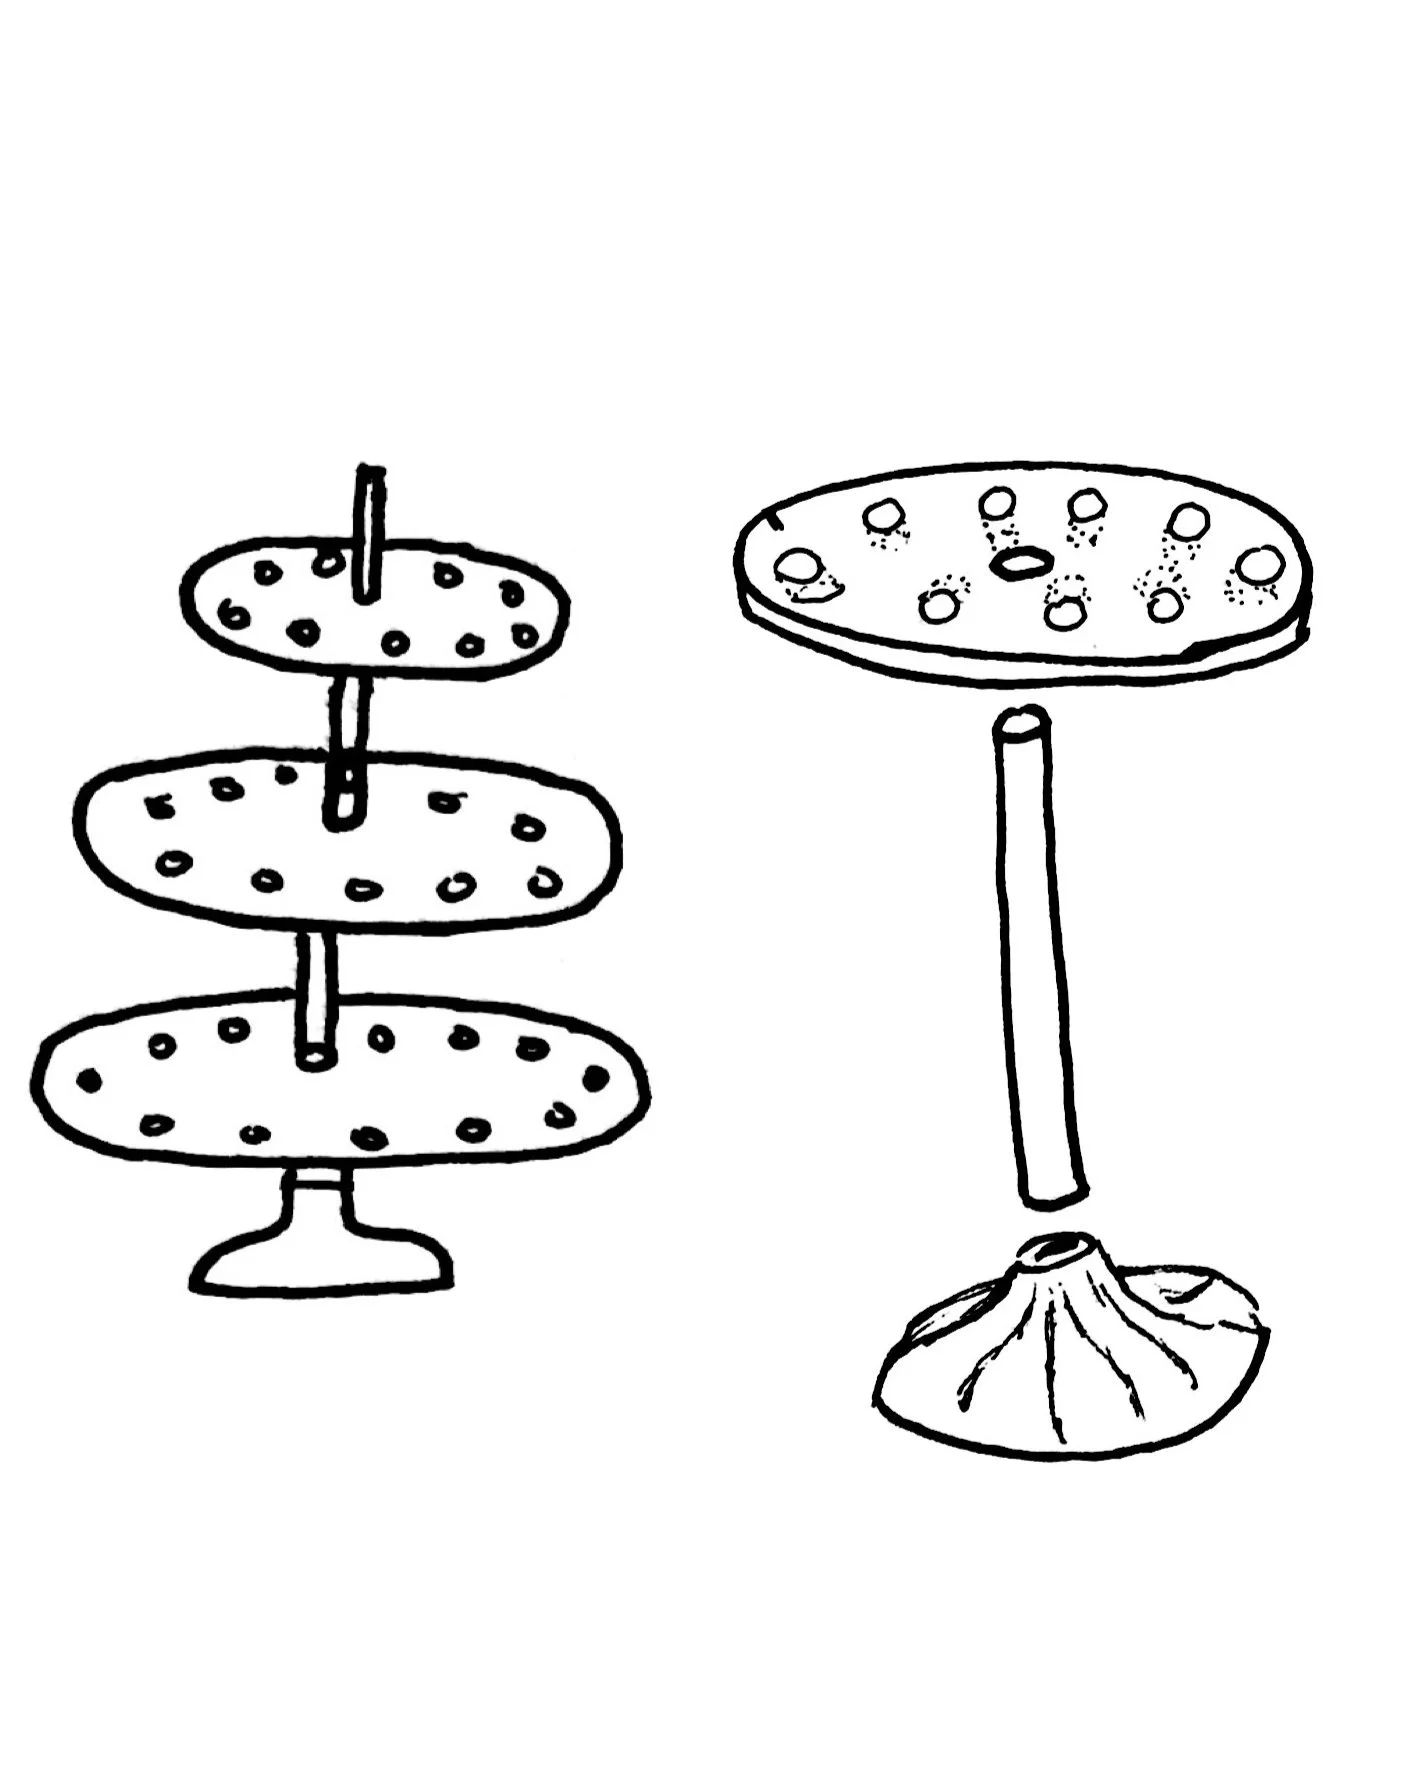
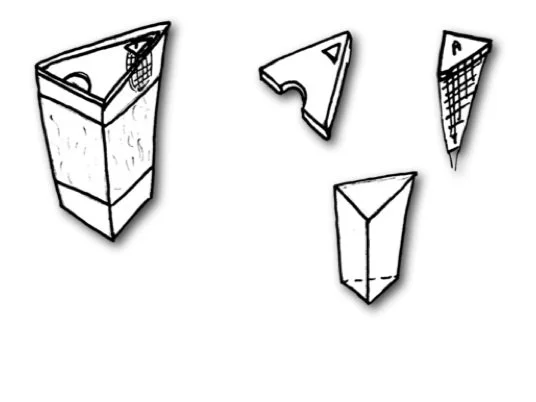
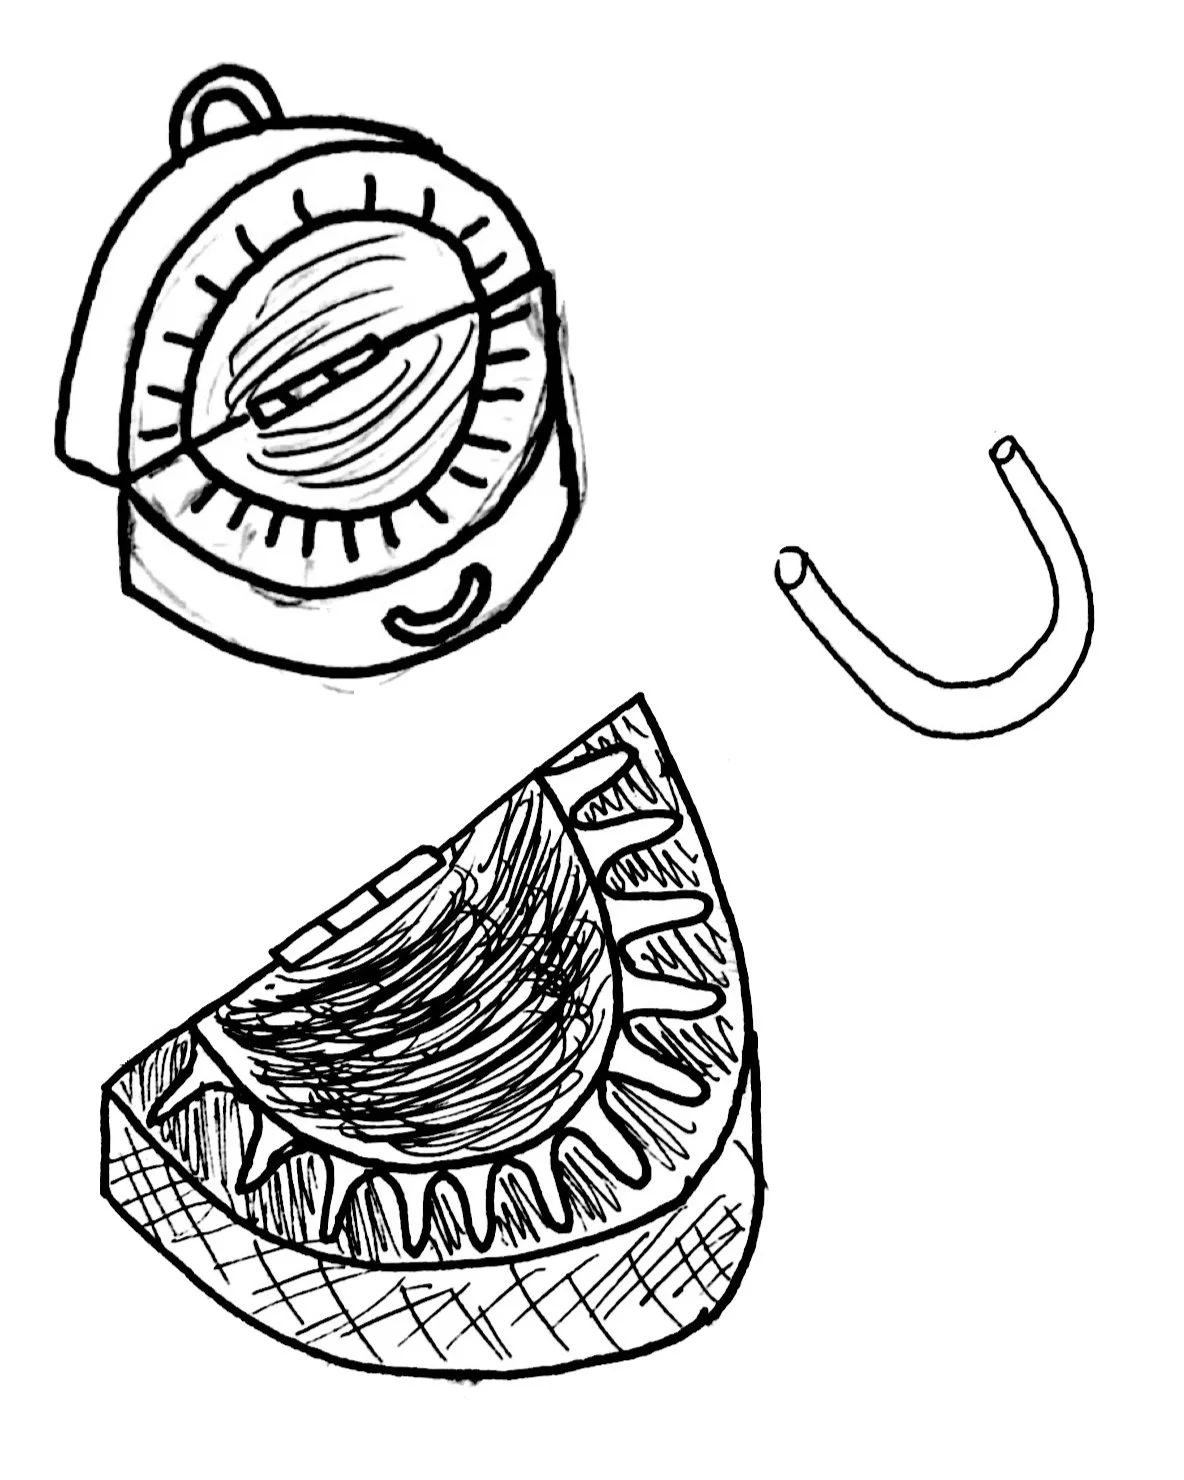
I explored various concepts for my project, ranging from the the original version of LEAF, an empanda press, and a rotating pen holder. Ultimately, I decided to pursue the mug and loose leaf tea steeper. This project would combine both personal passions and the manufacturing processes that I was most interested in applying.
Initial Prototyping
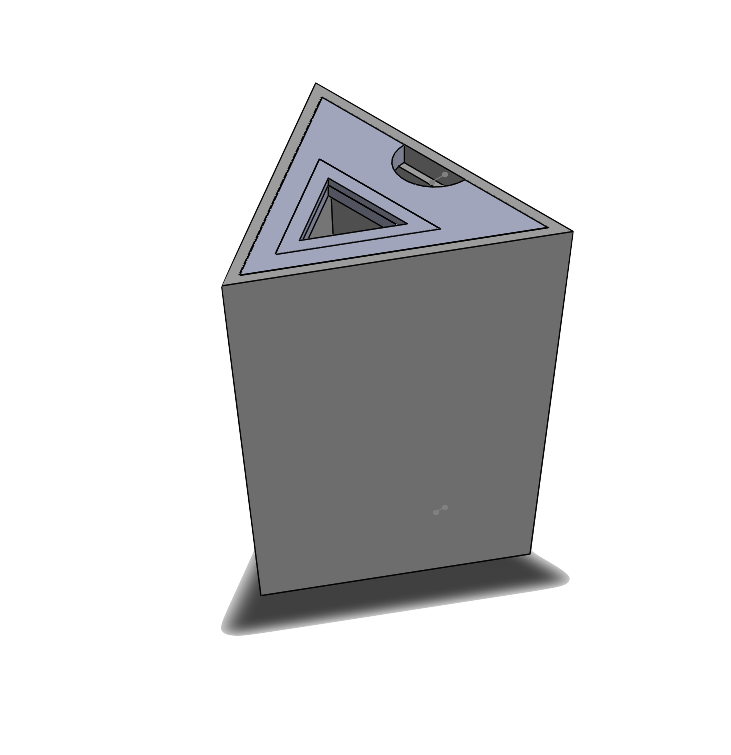
CAD: Iteration 2
Critical Part
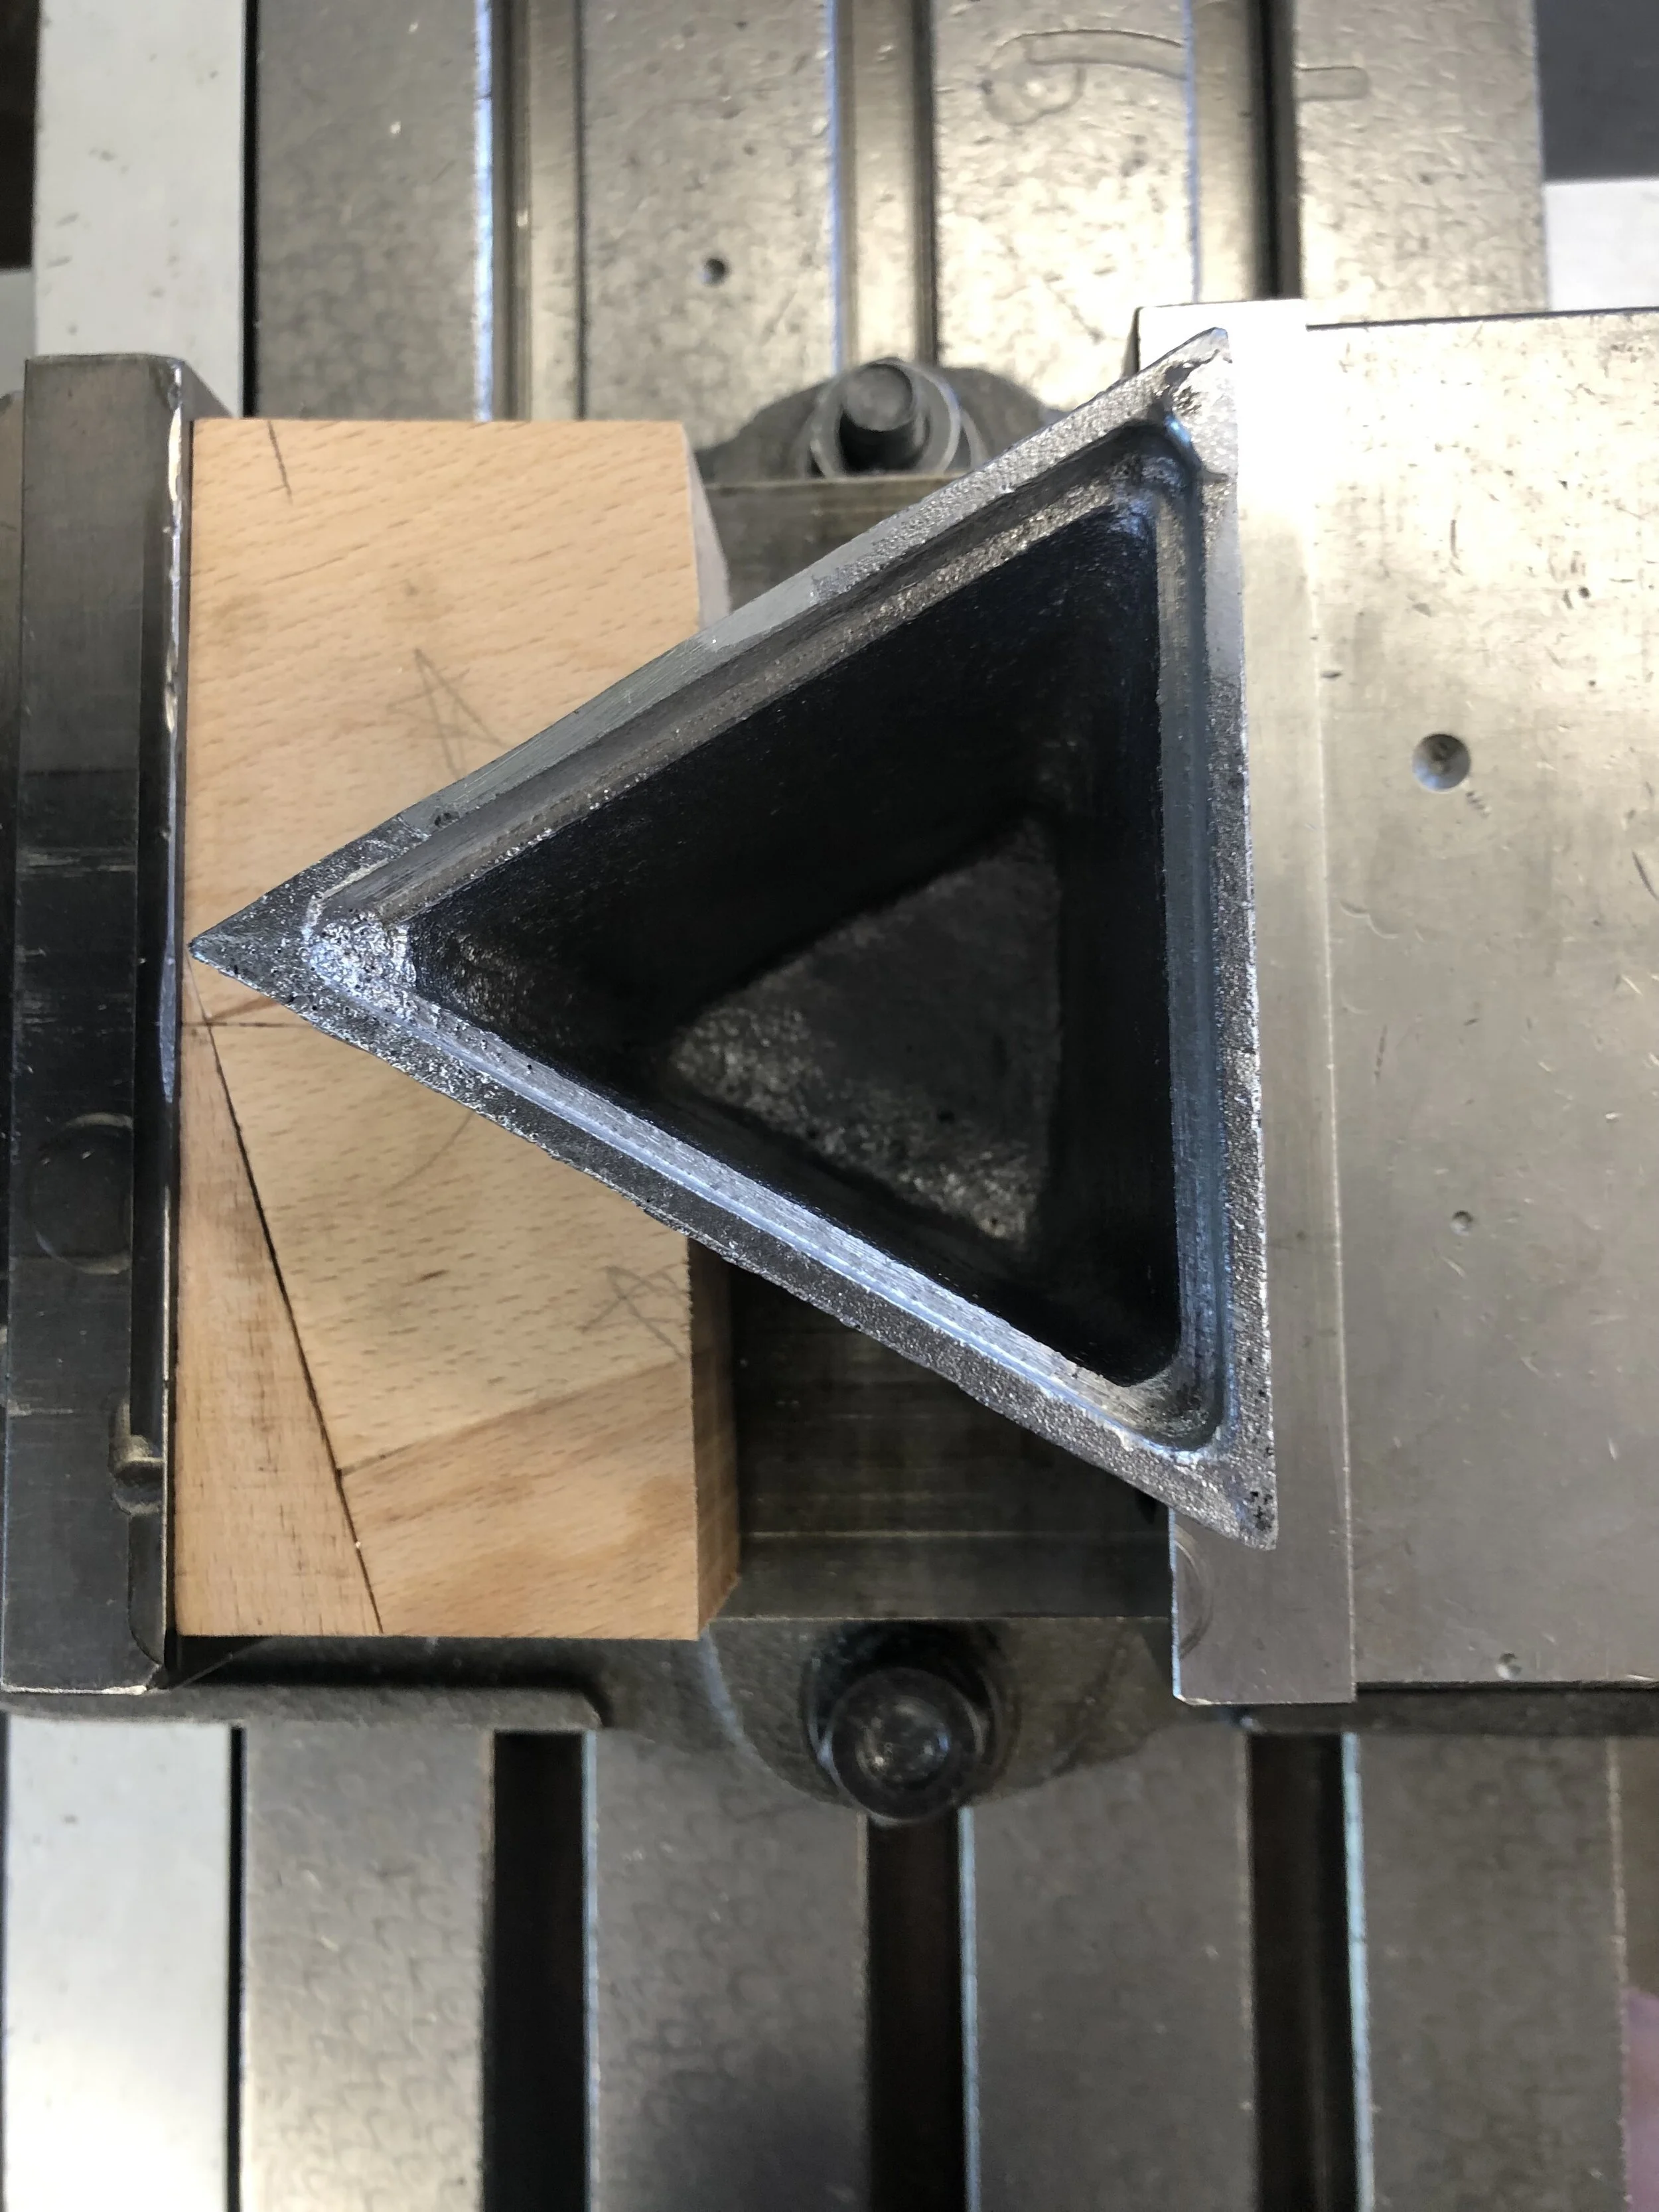
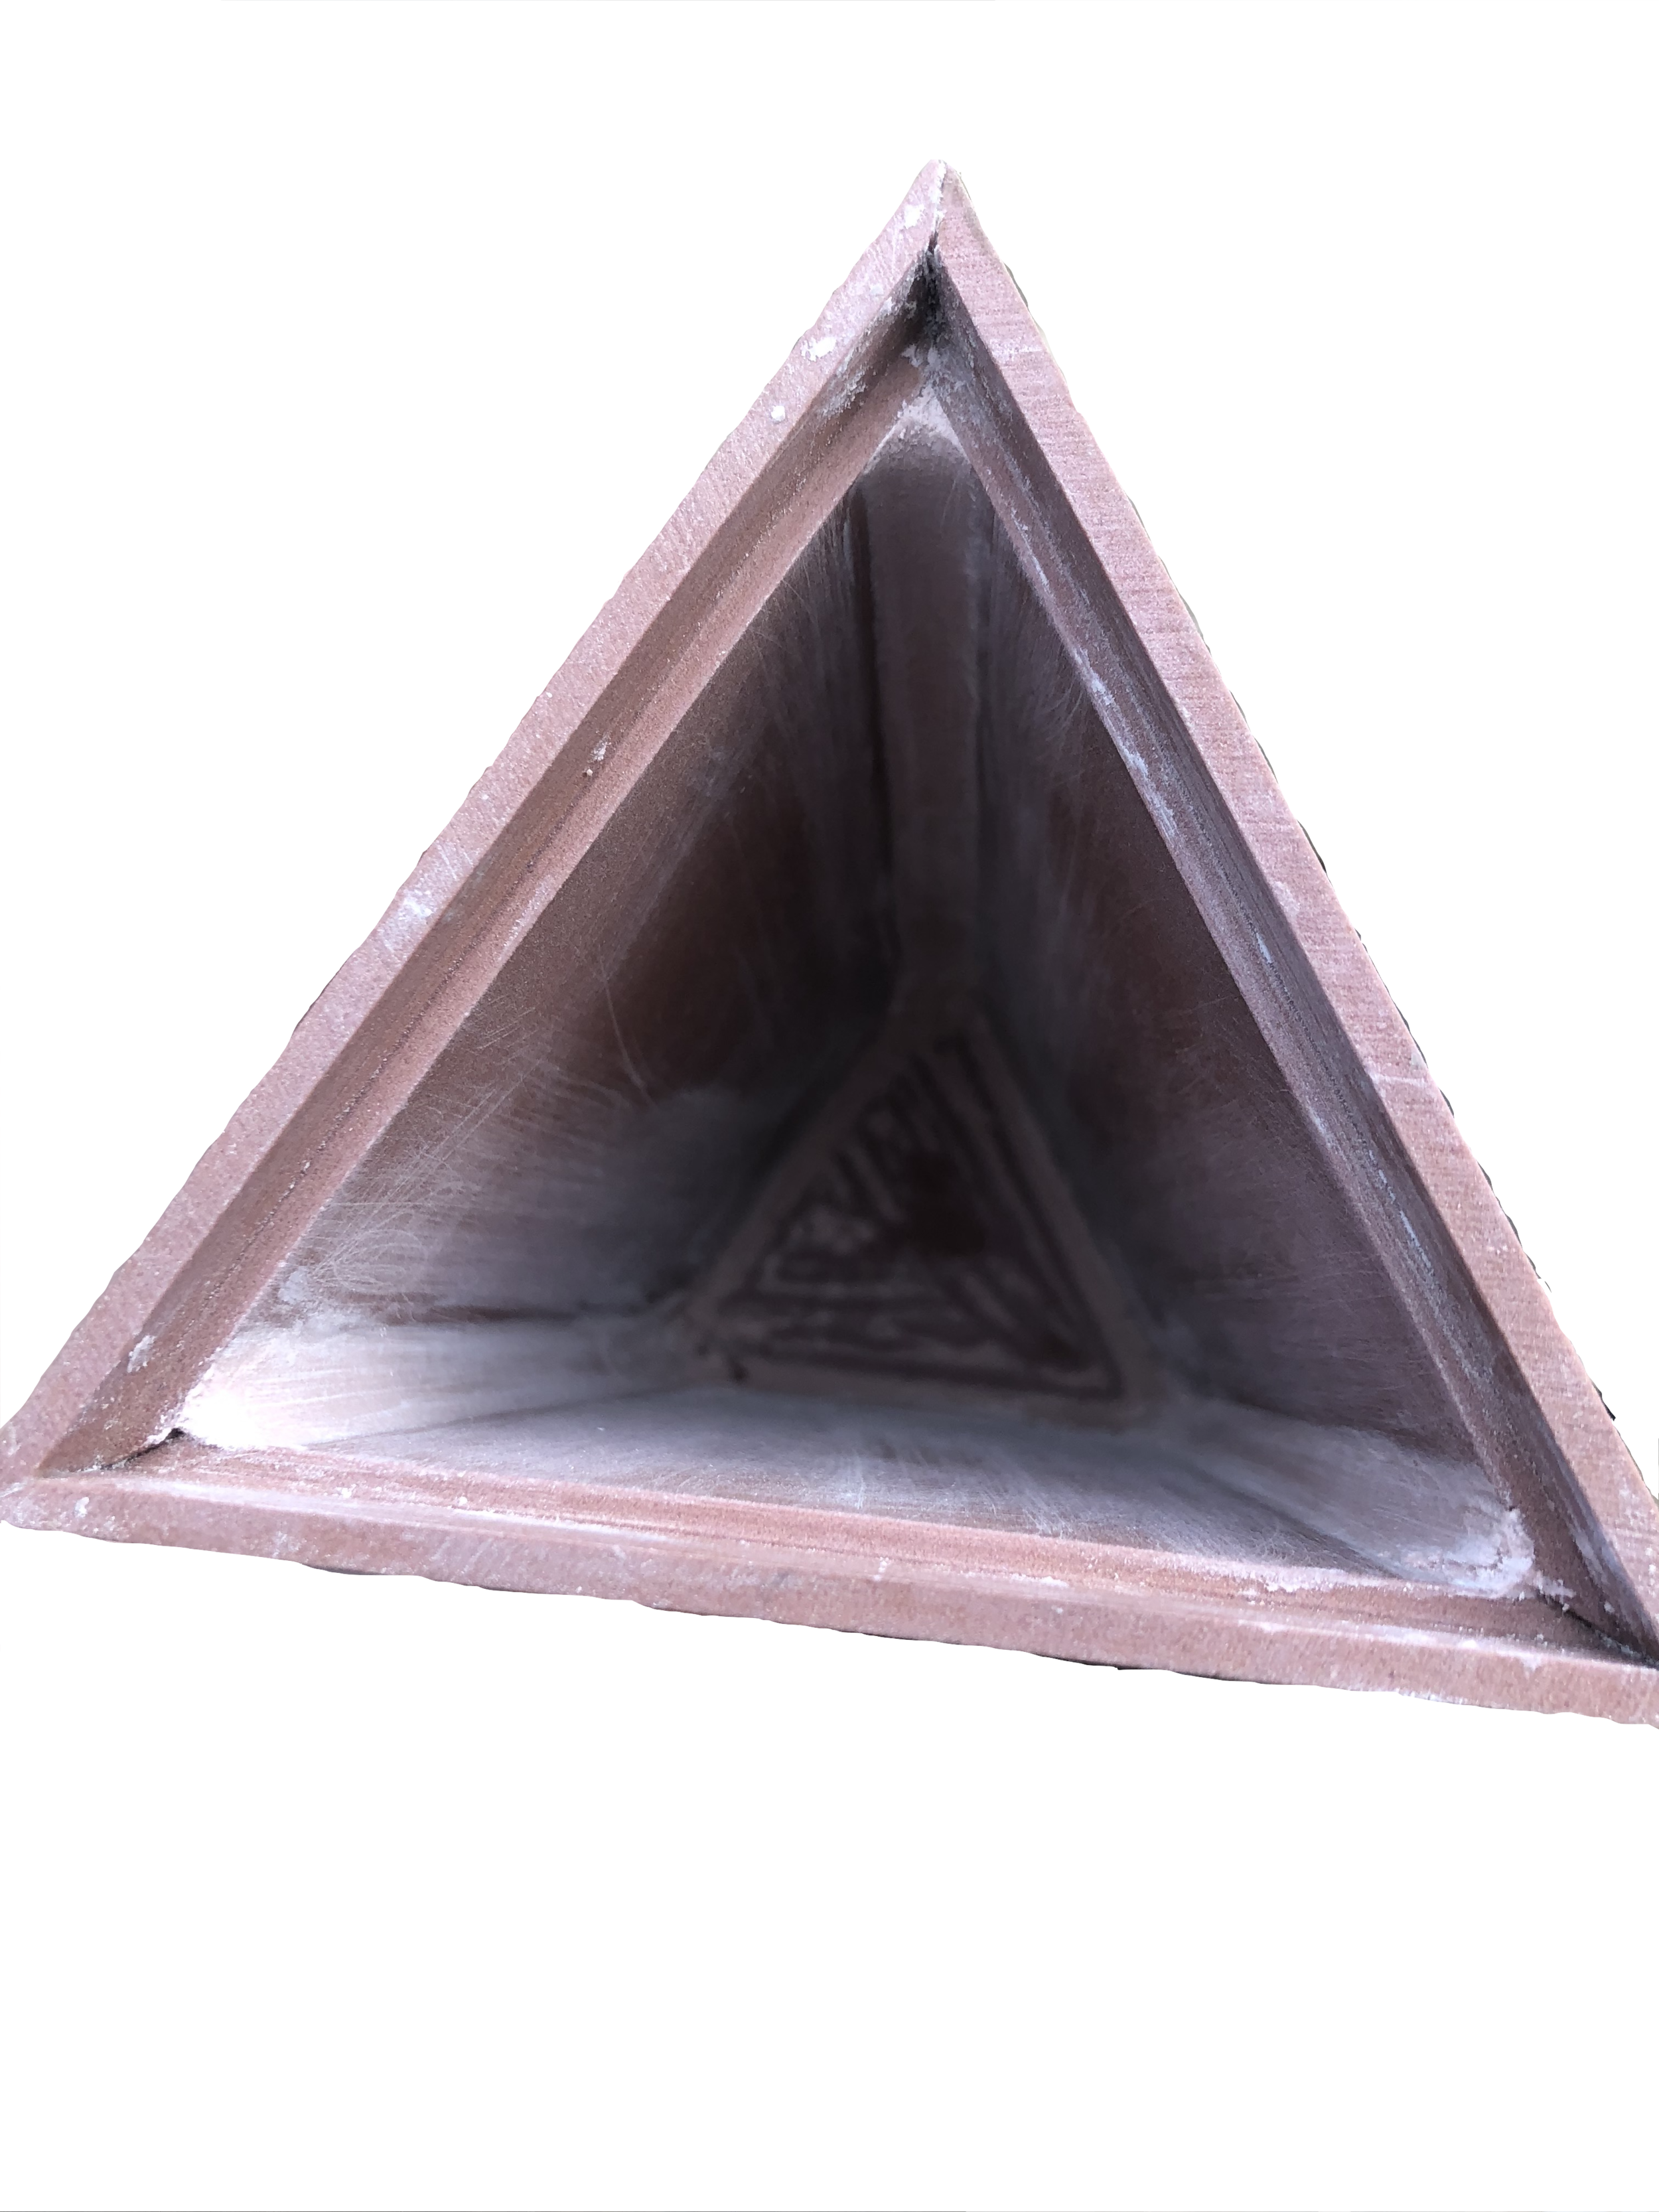
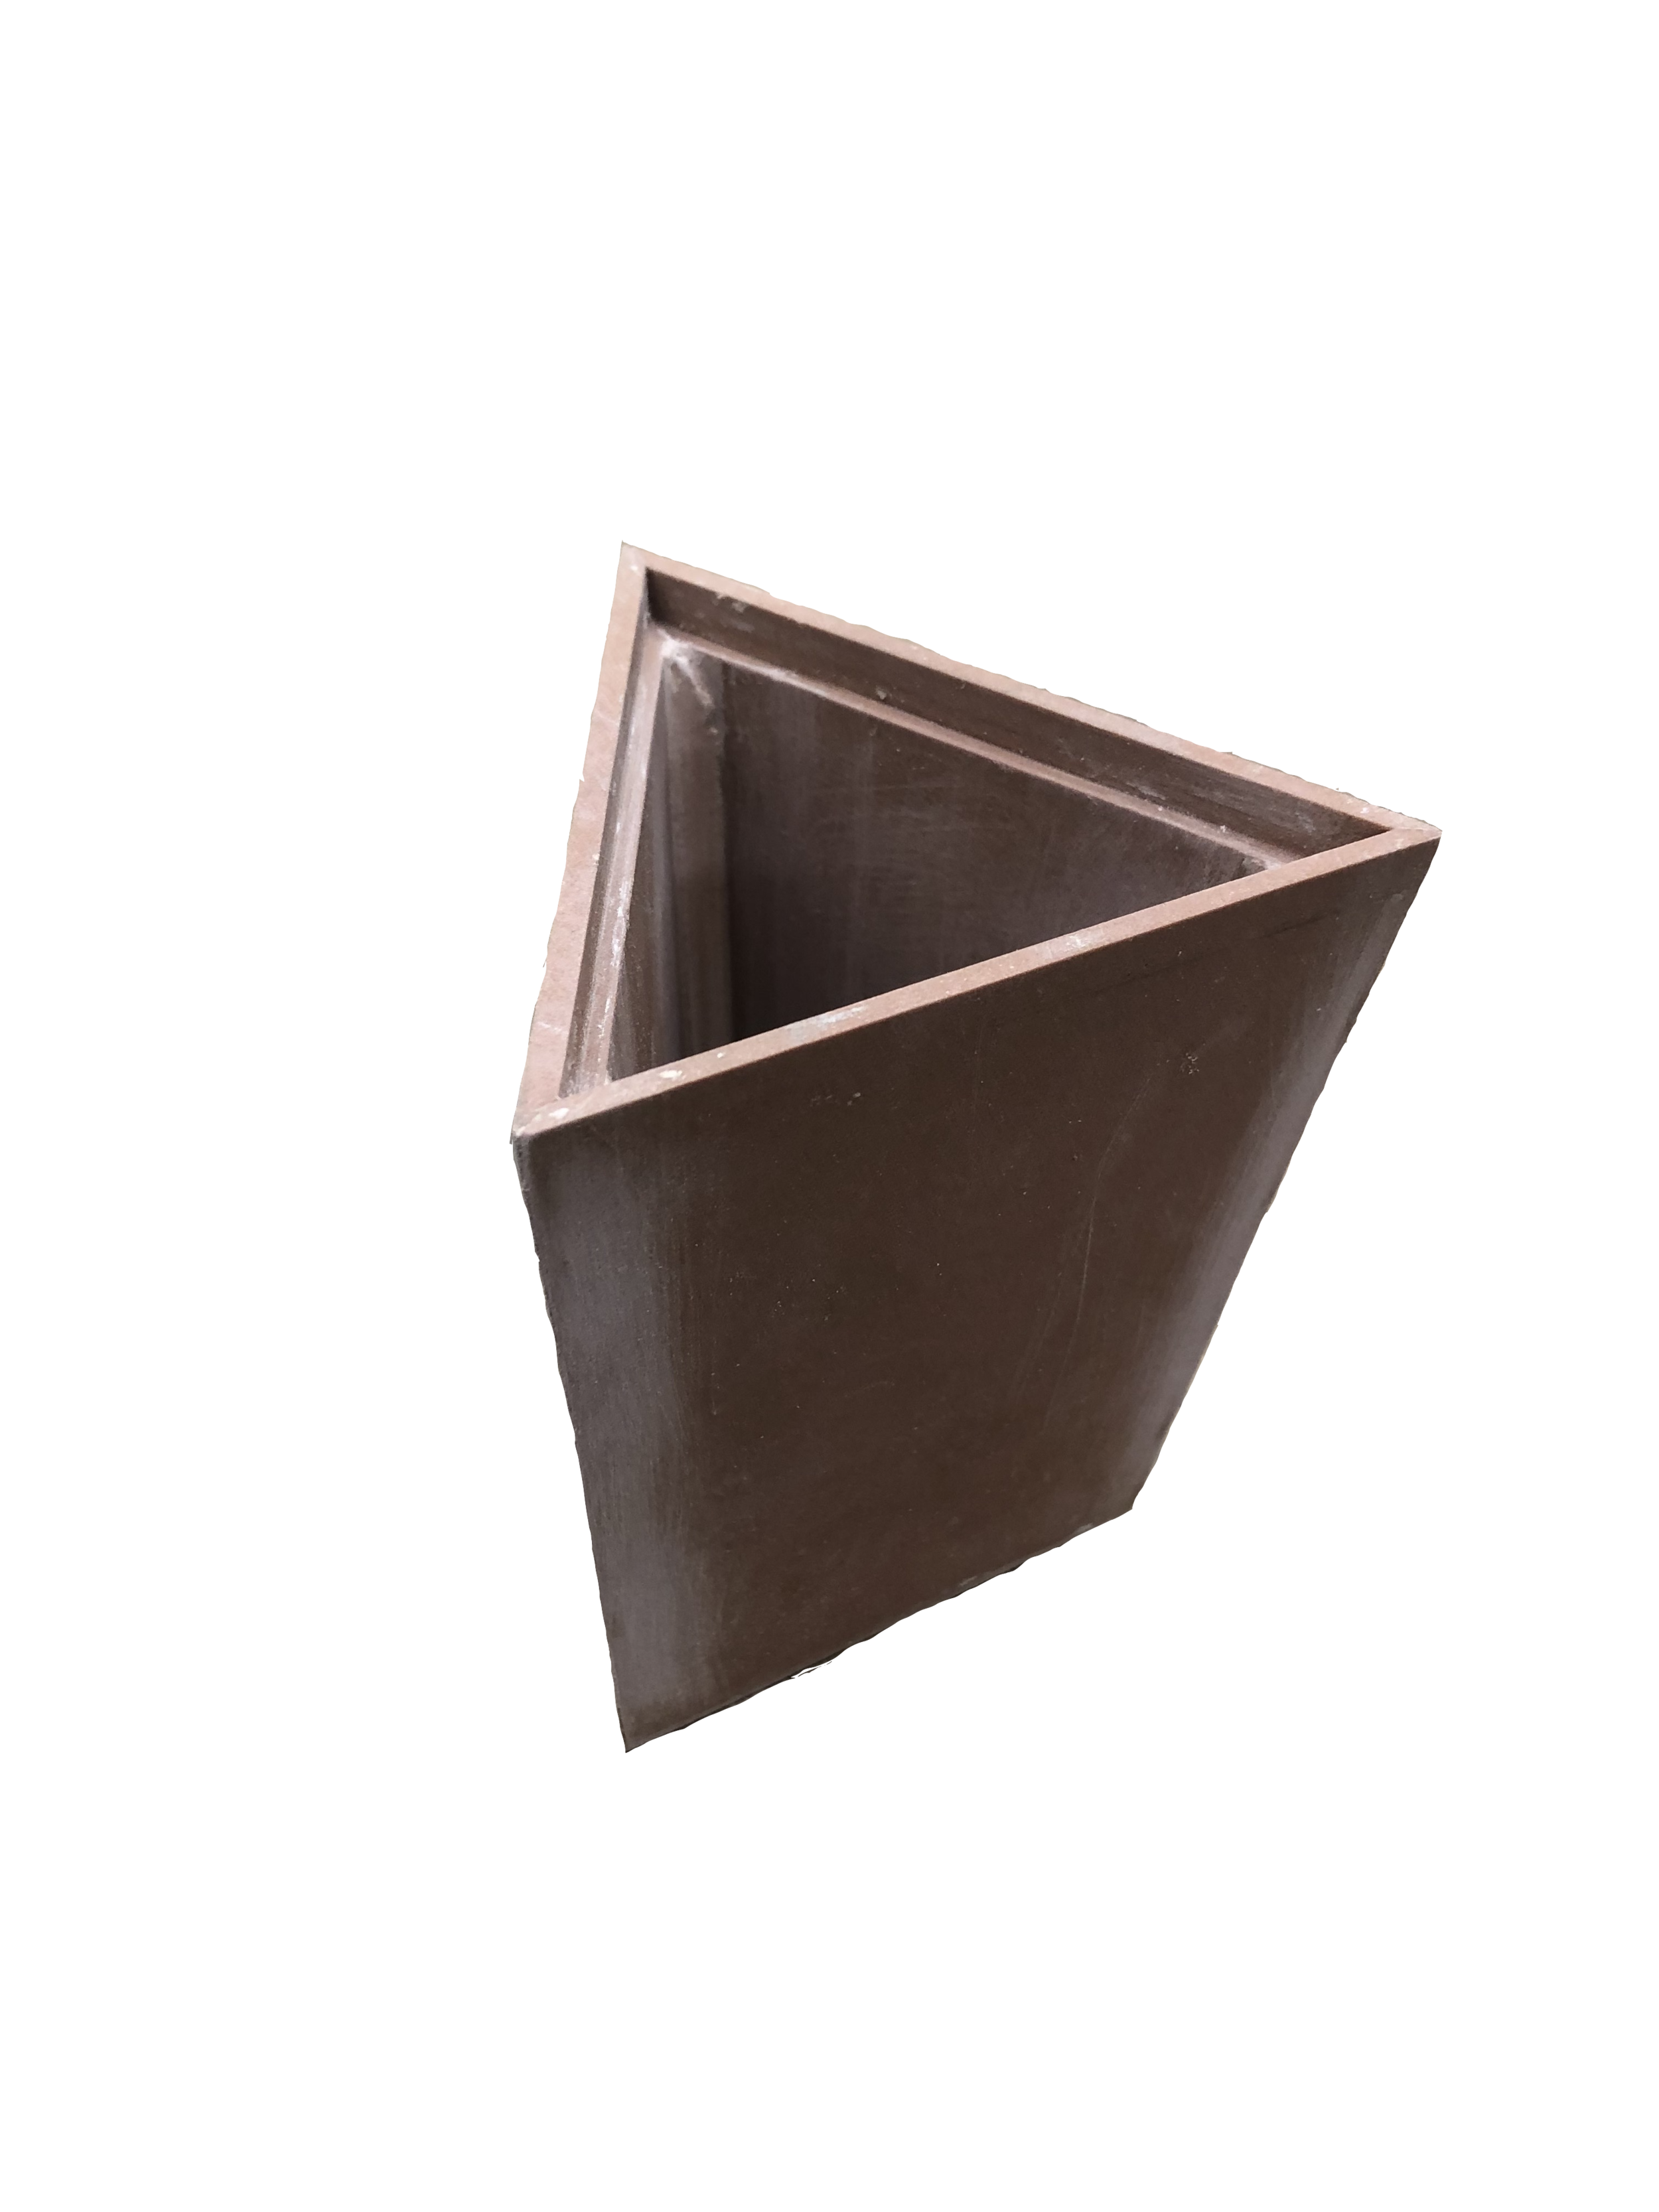
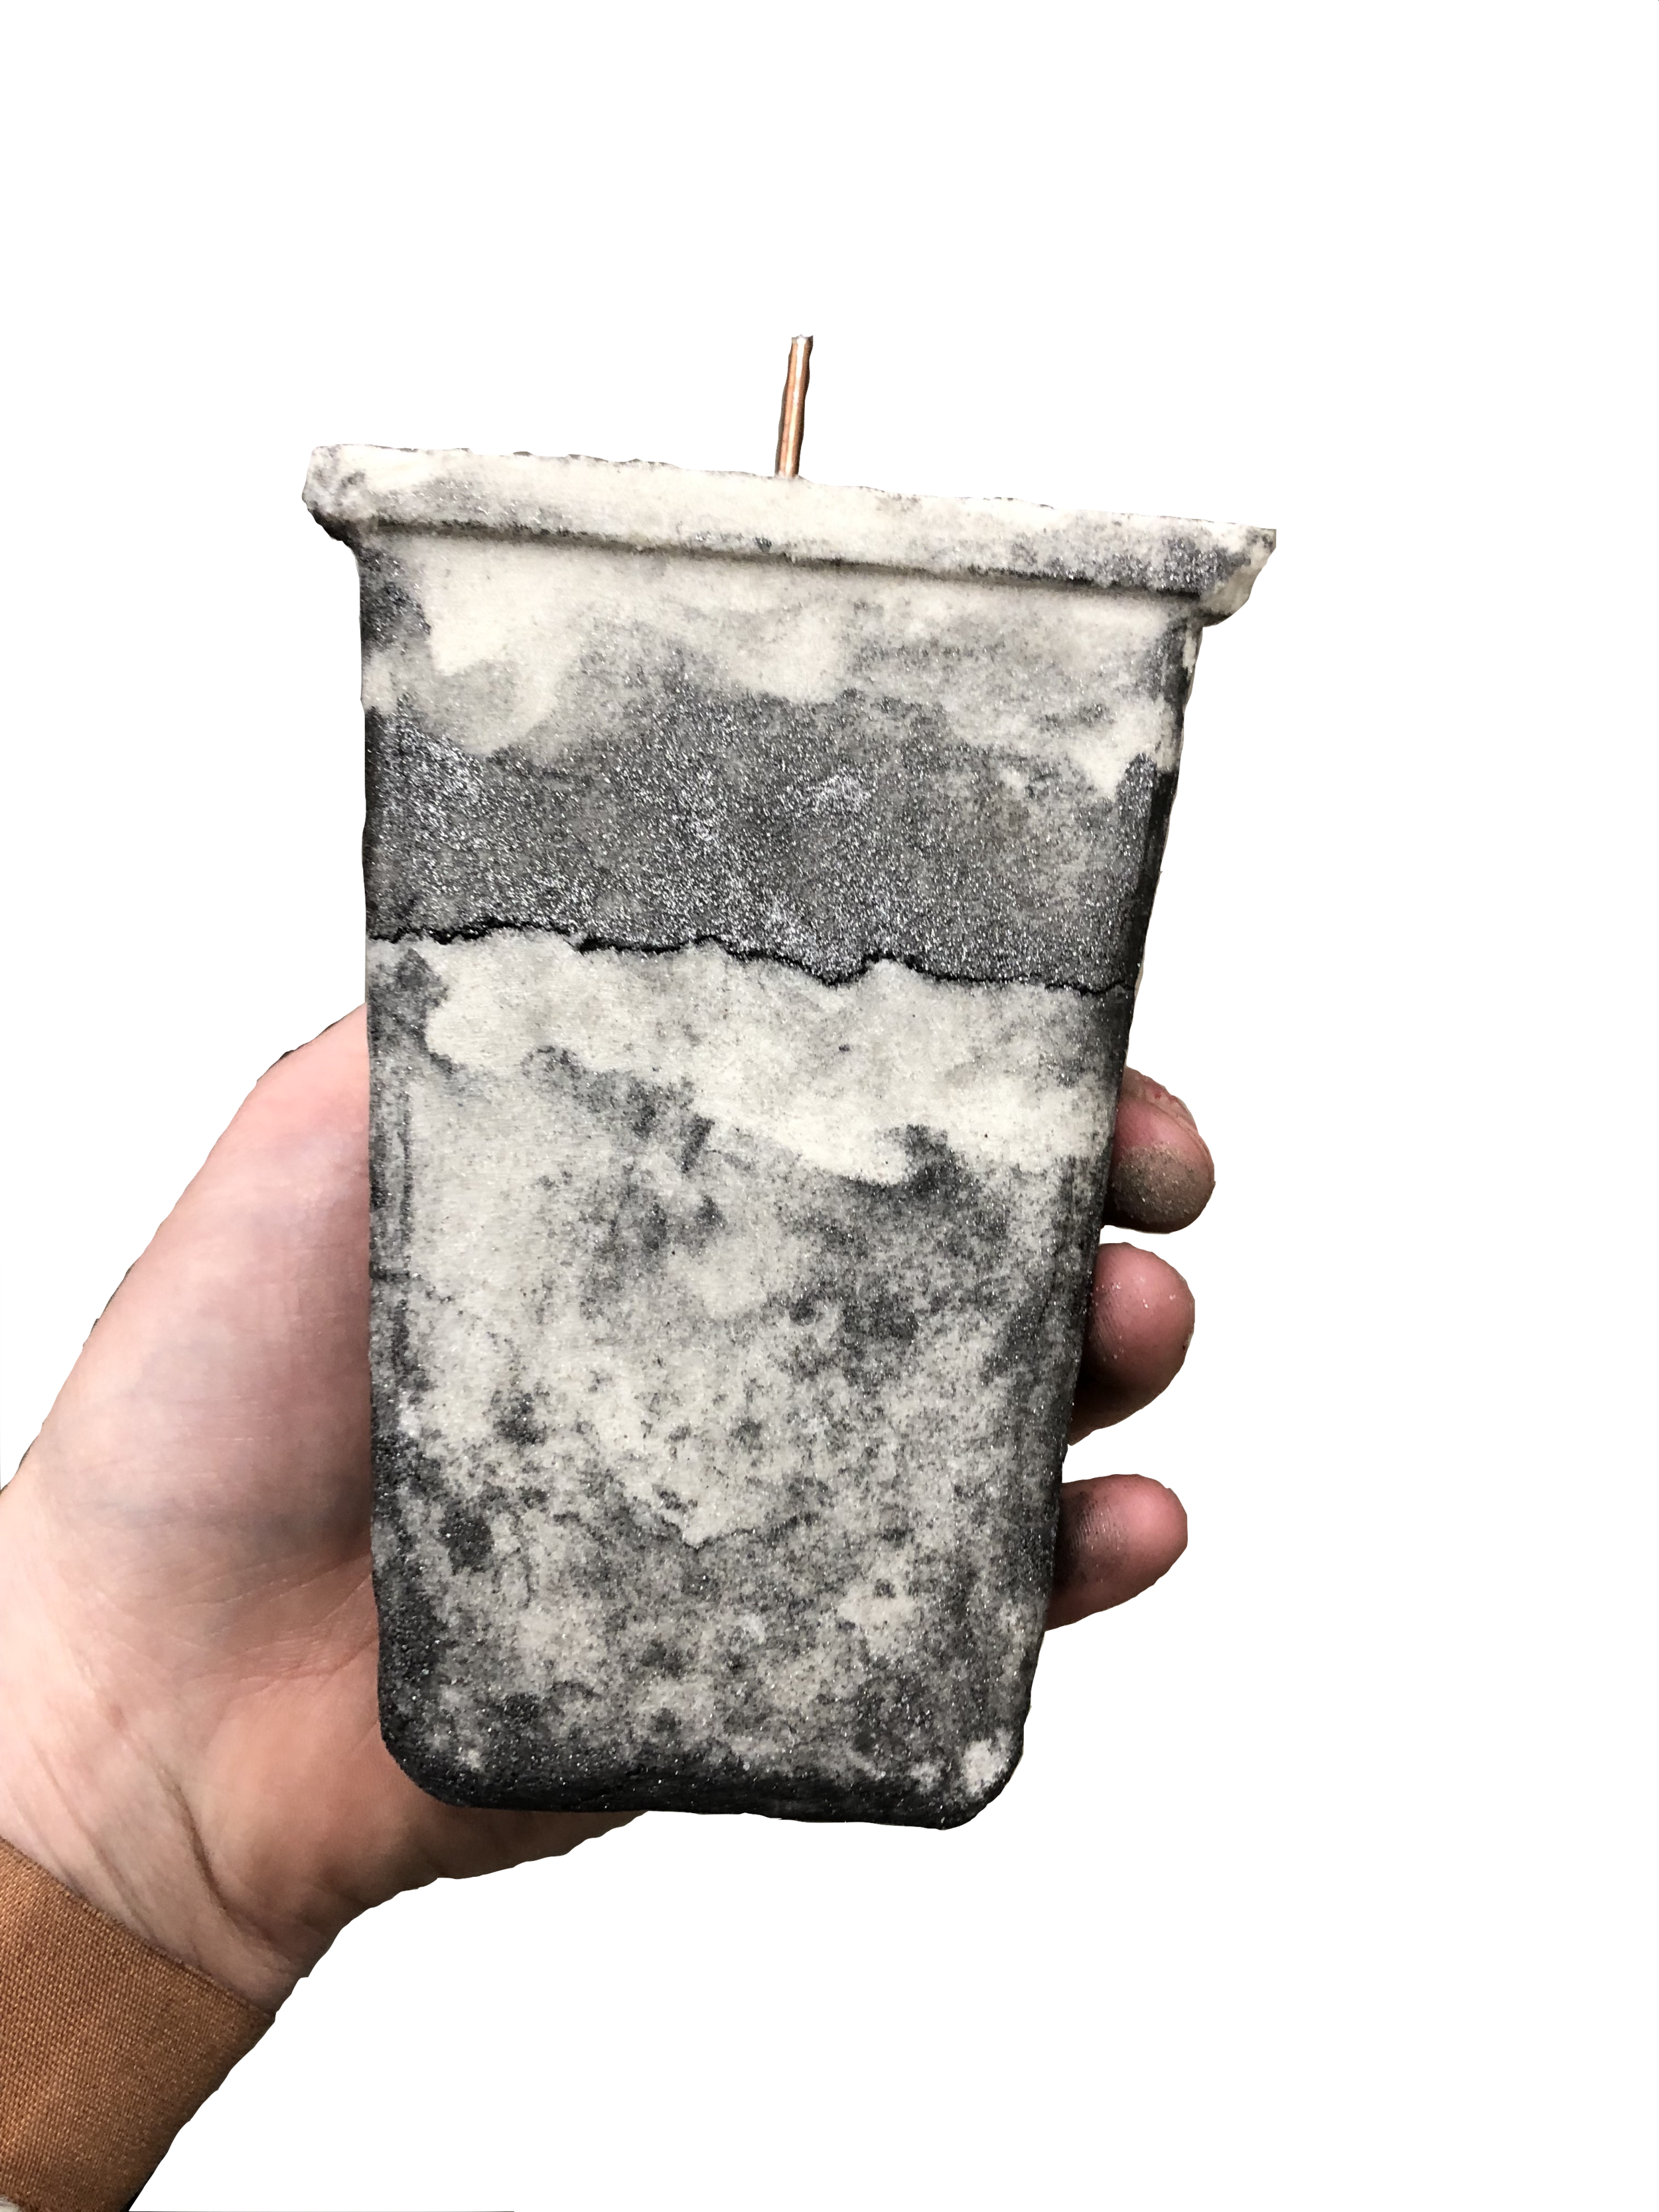
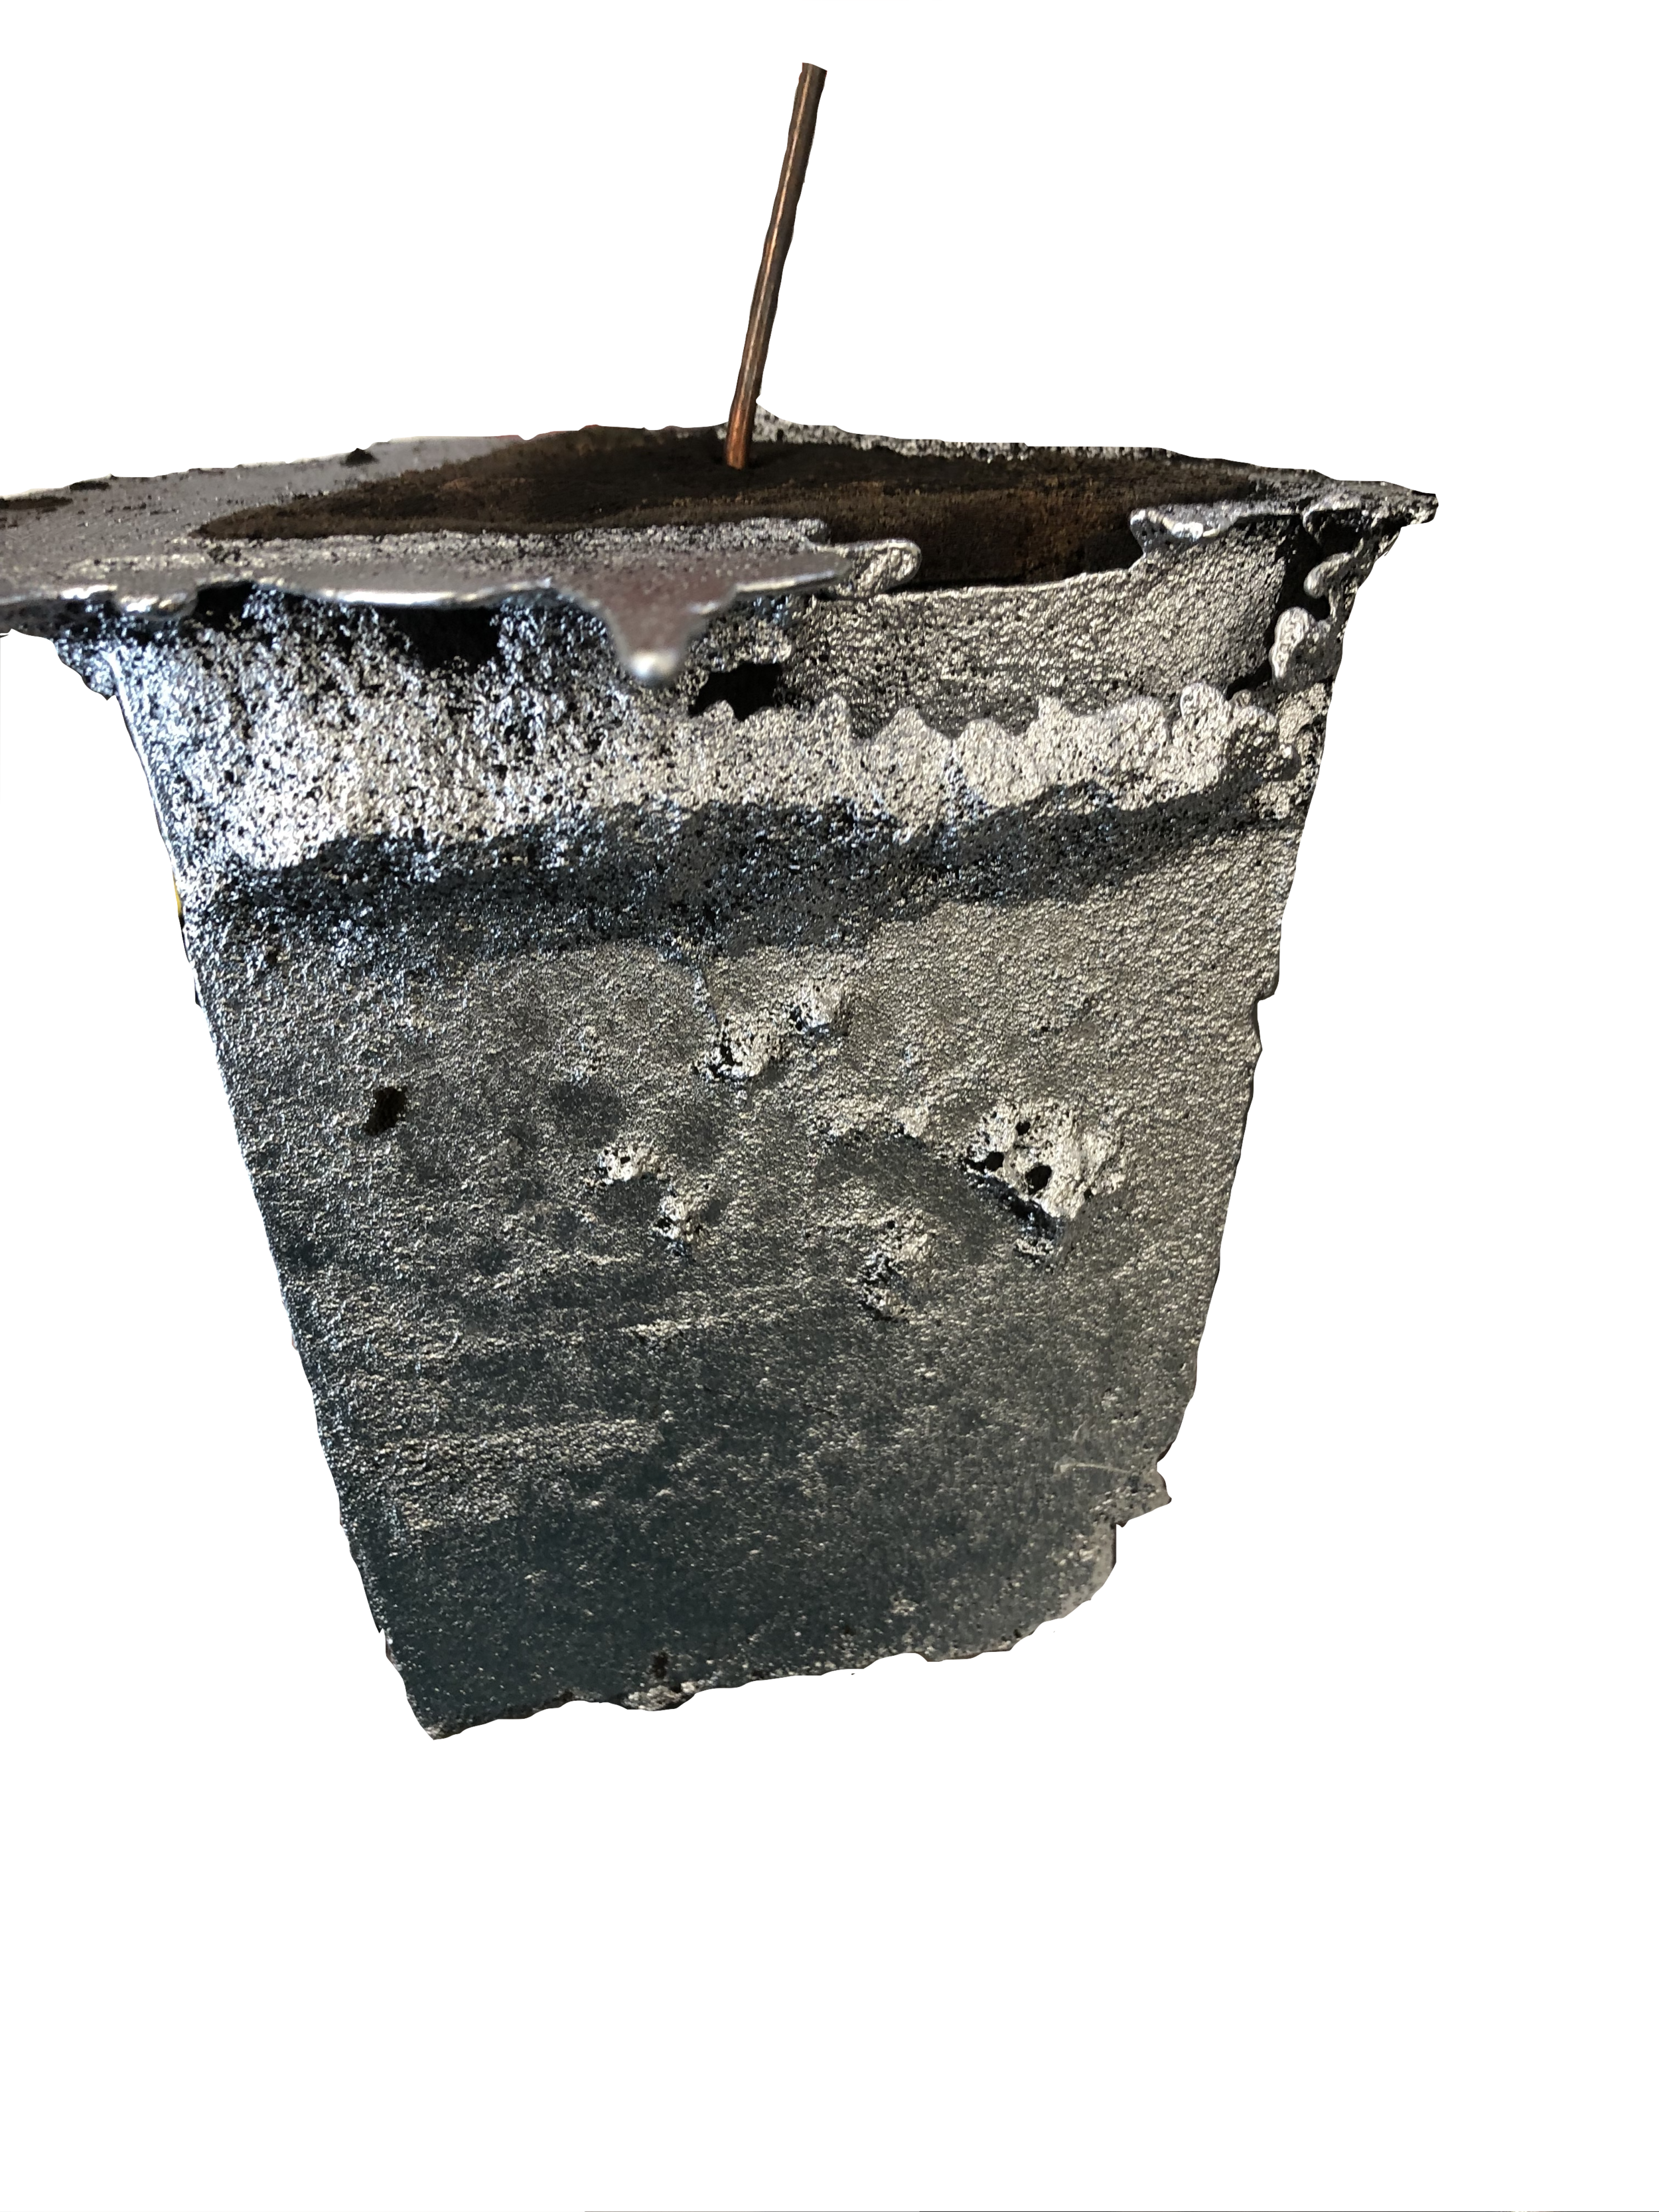
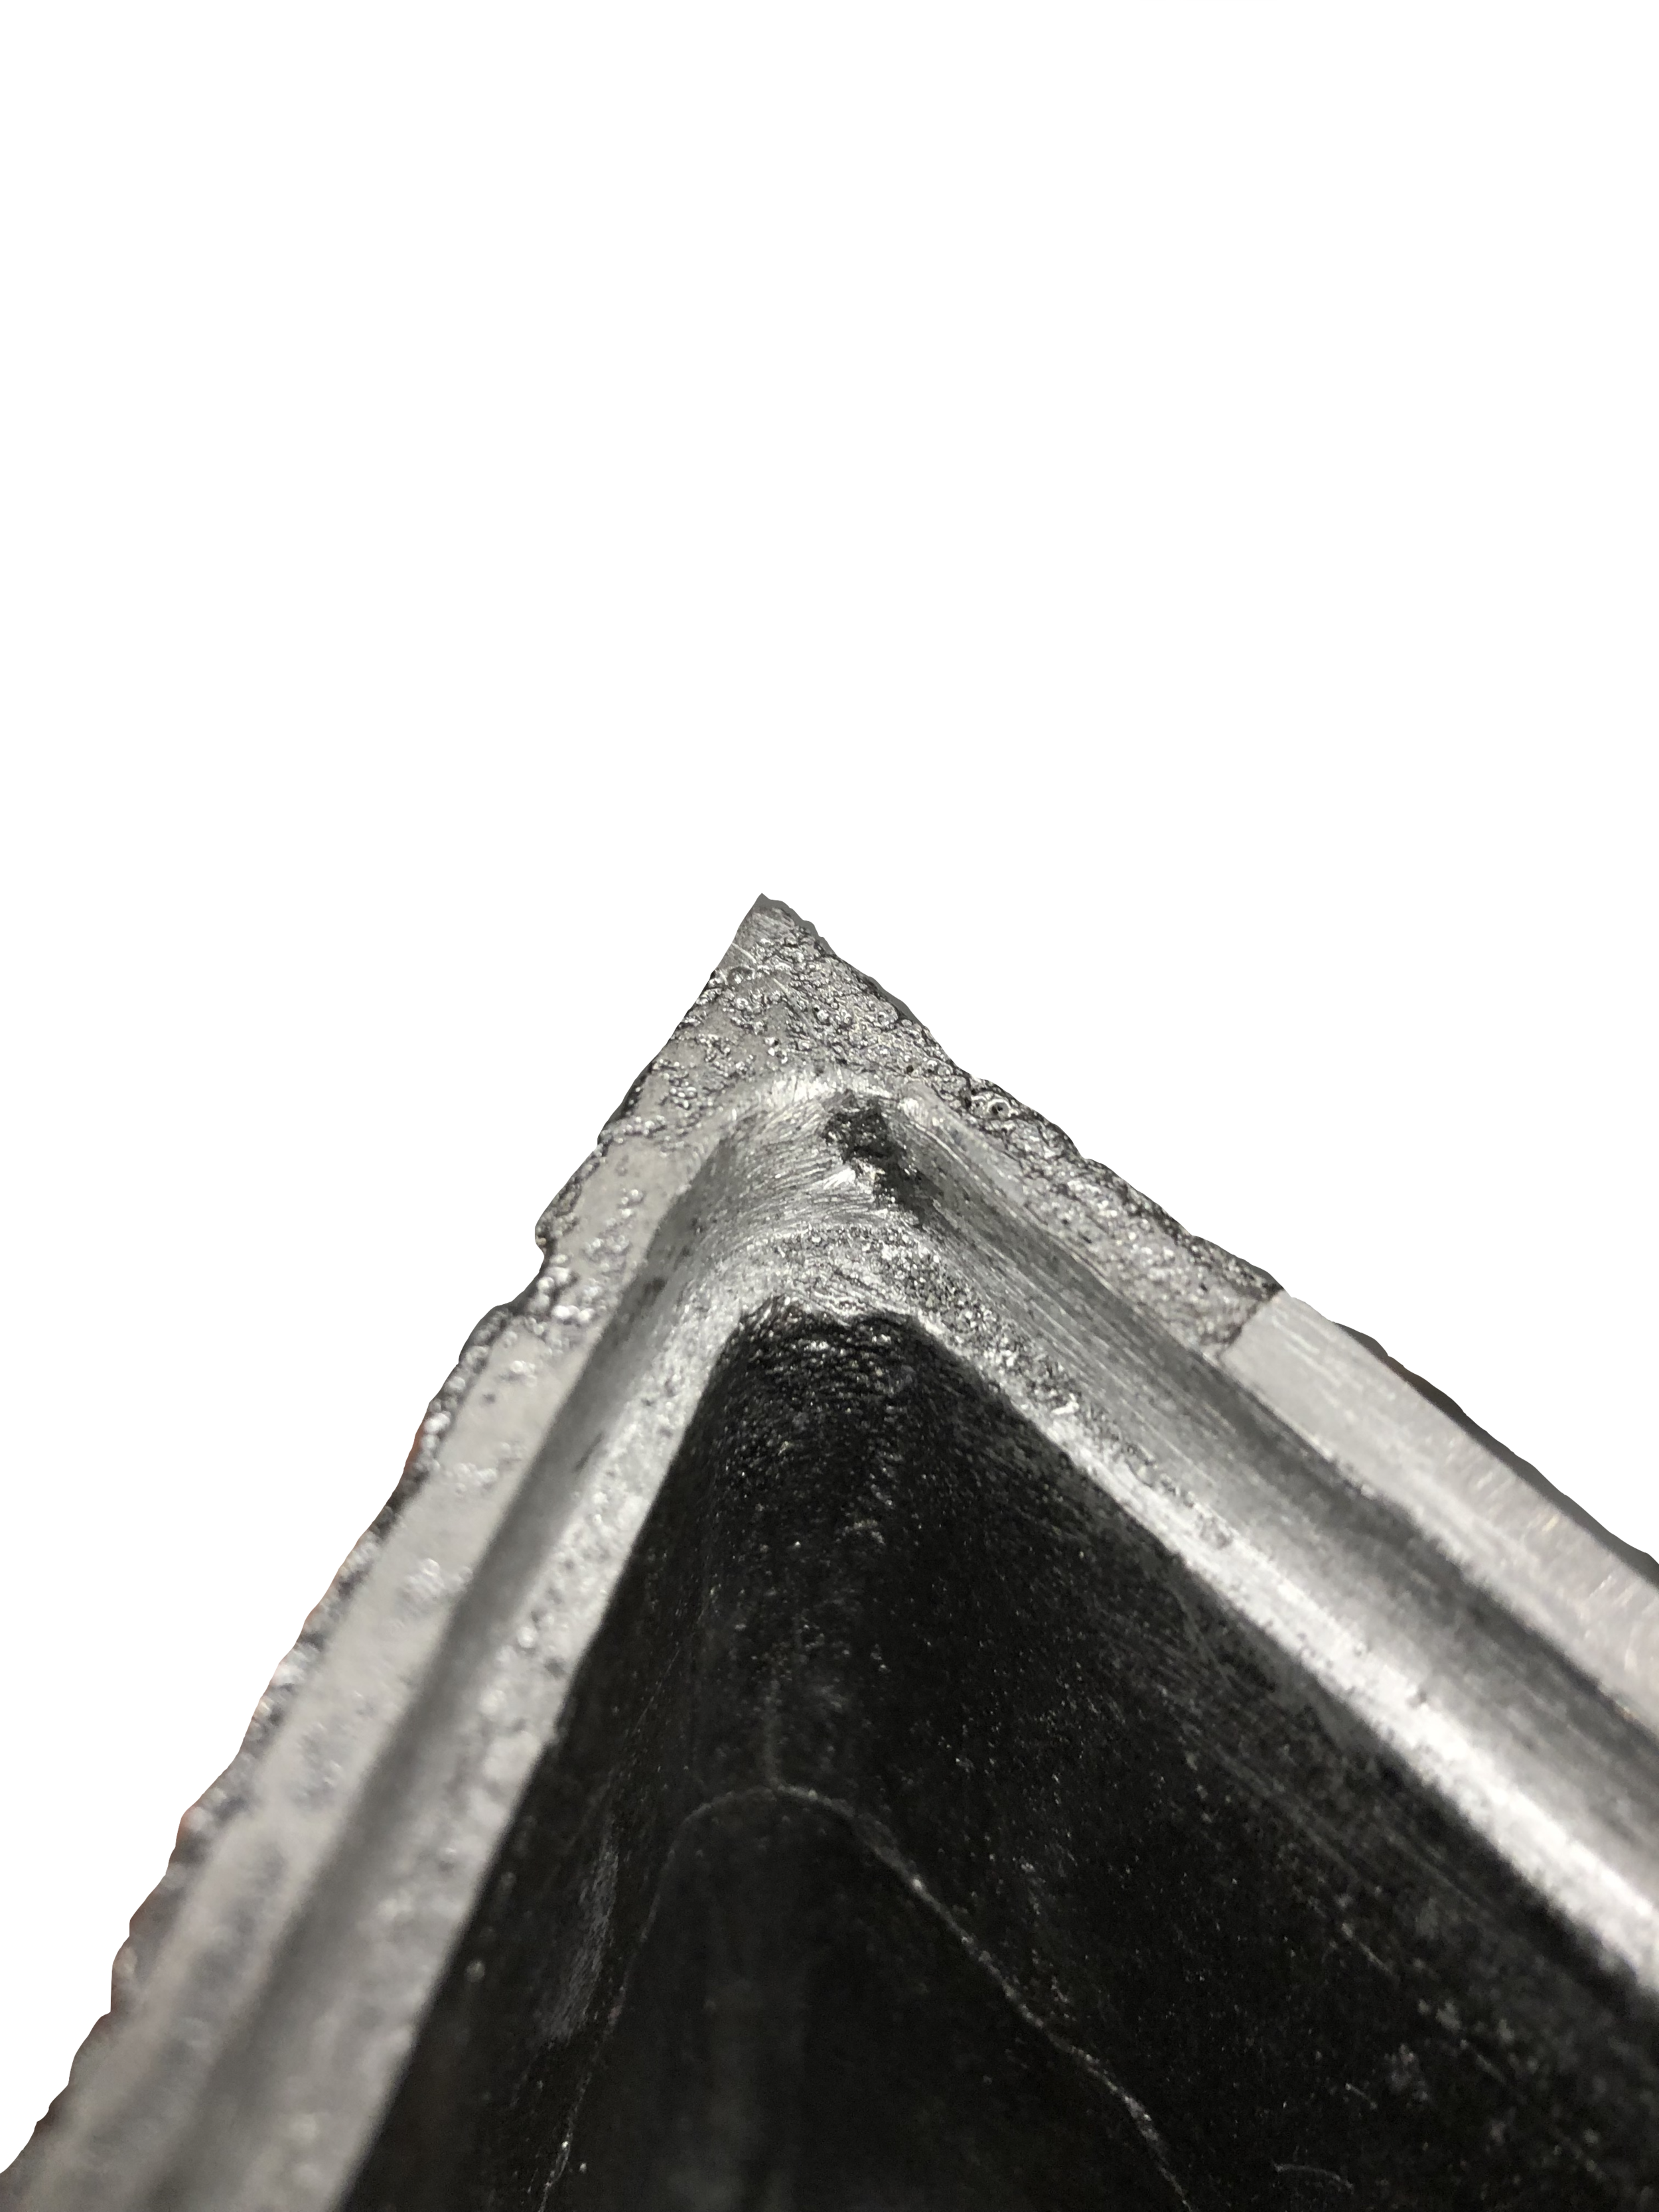
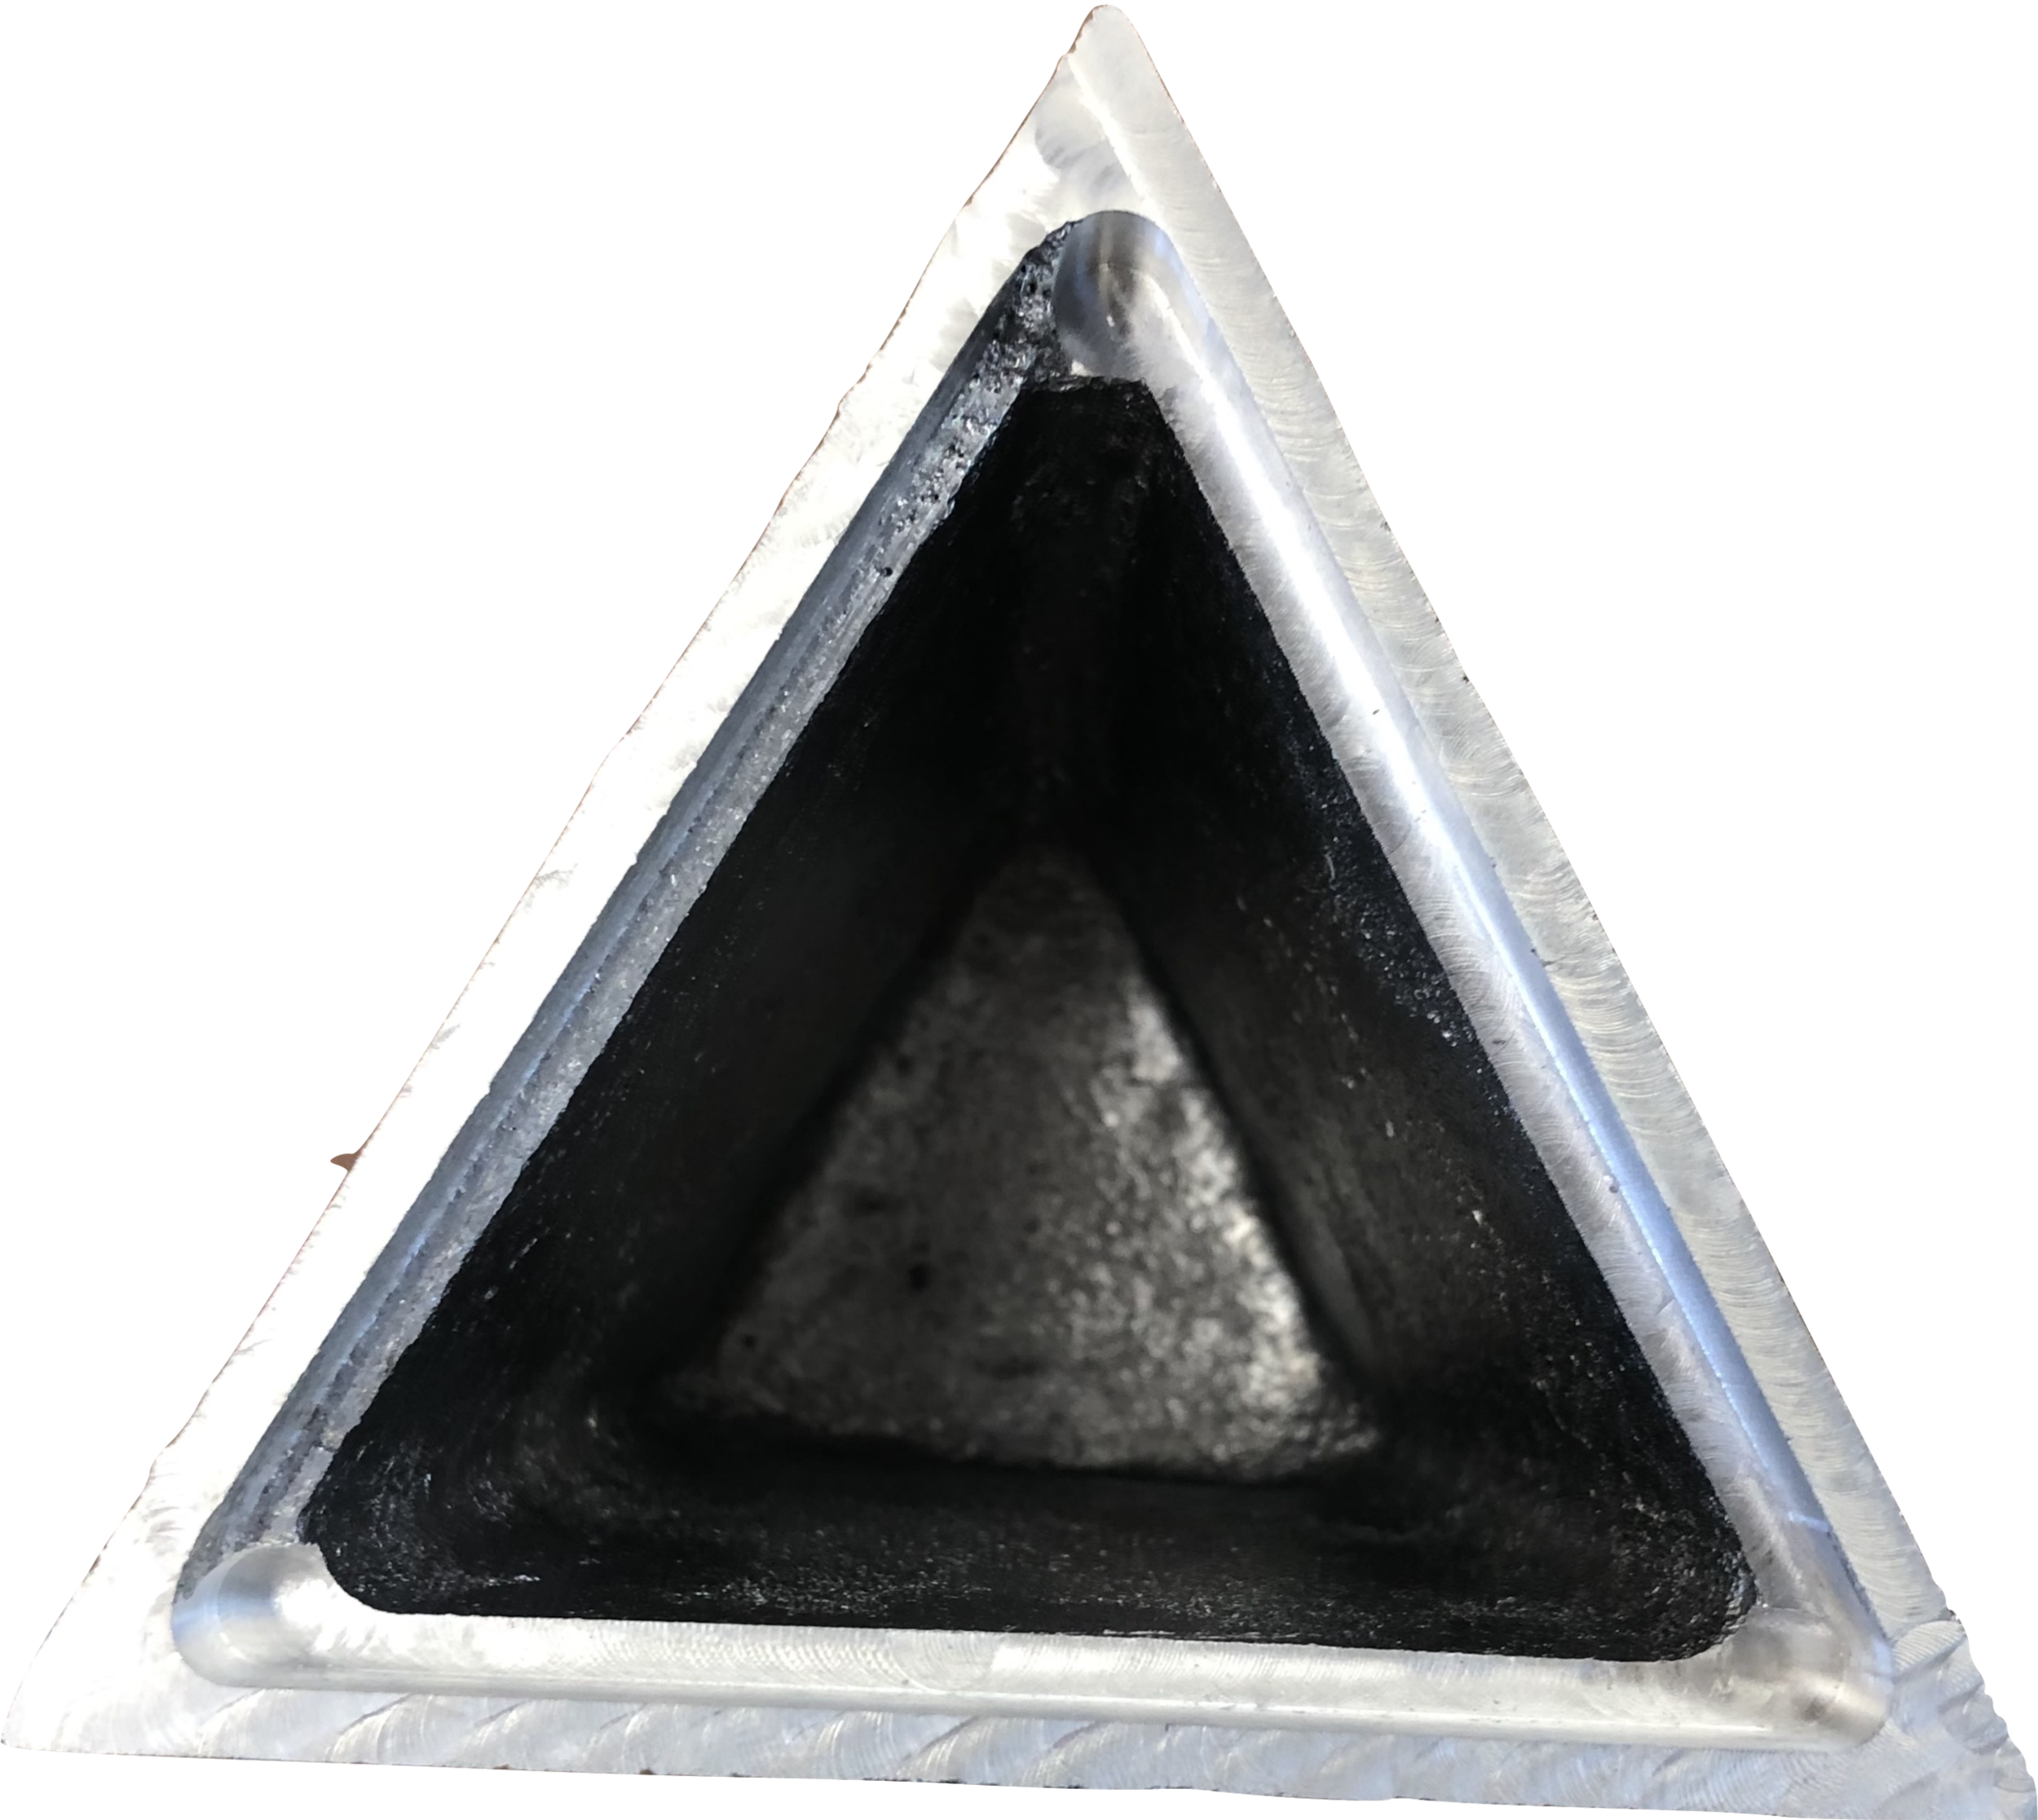
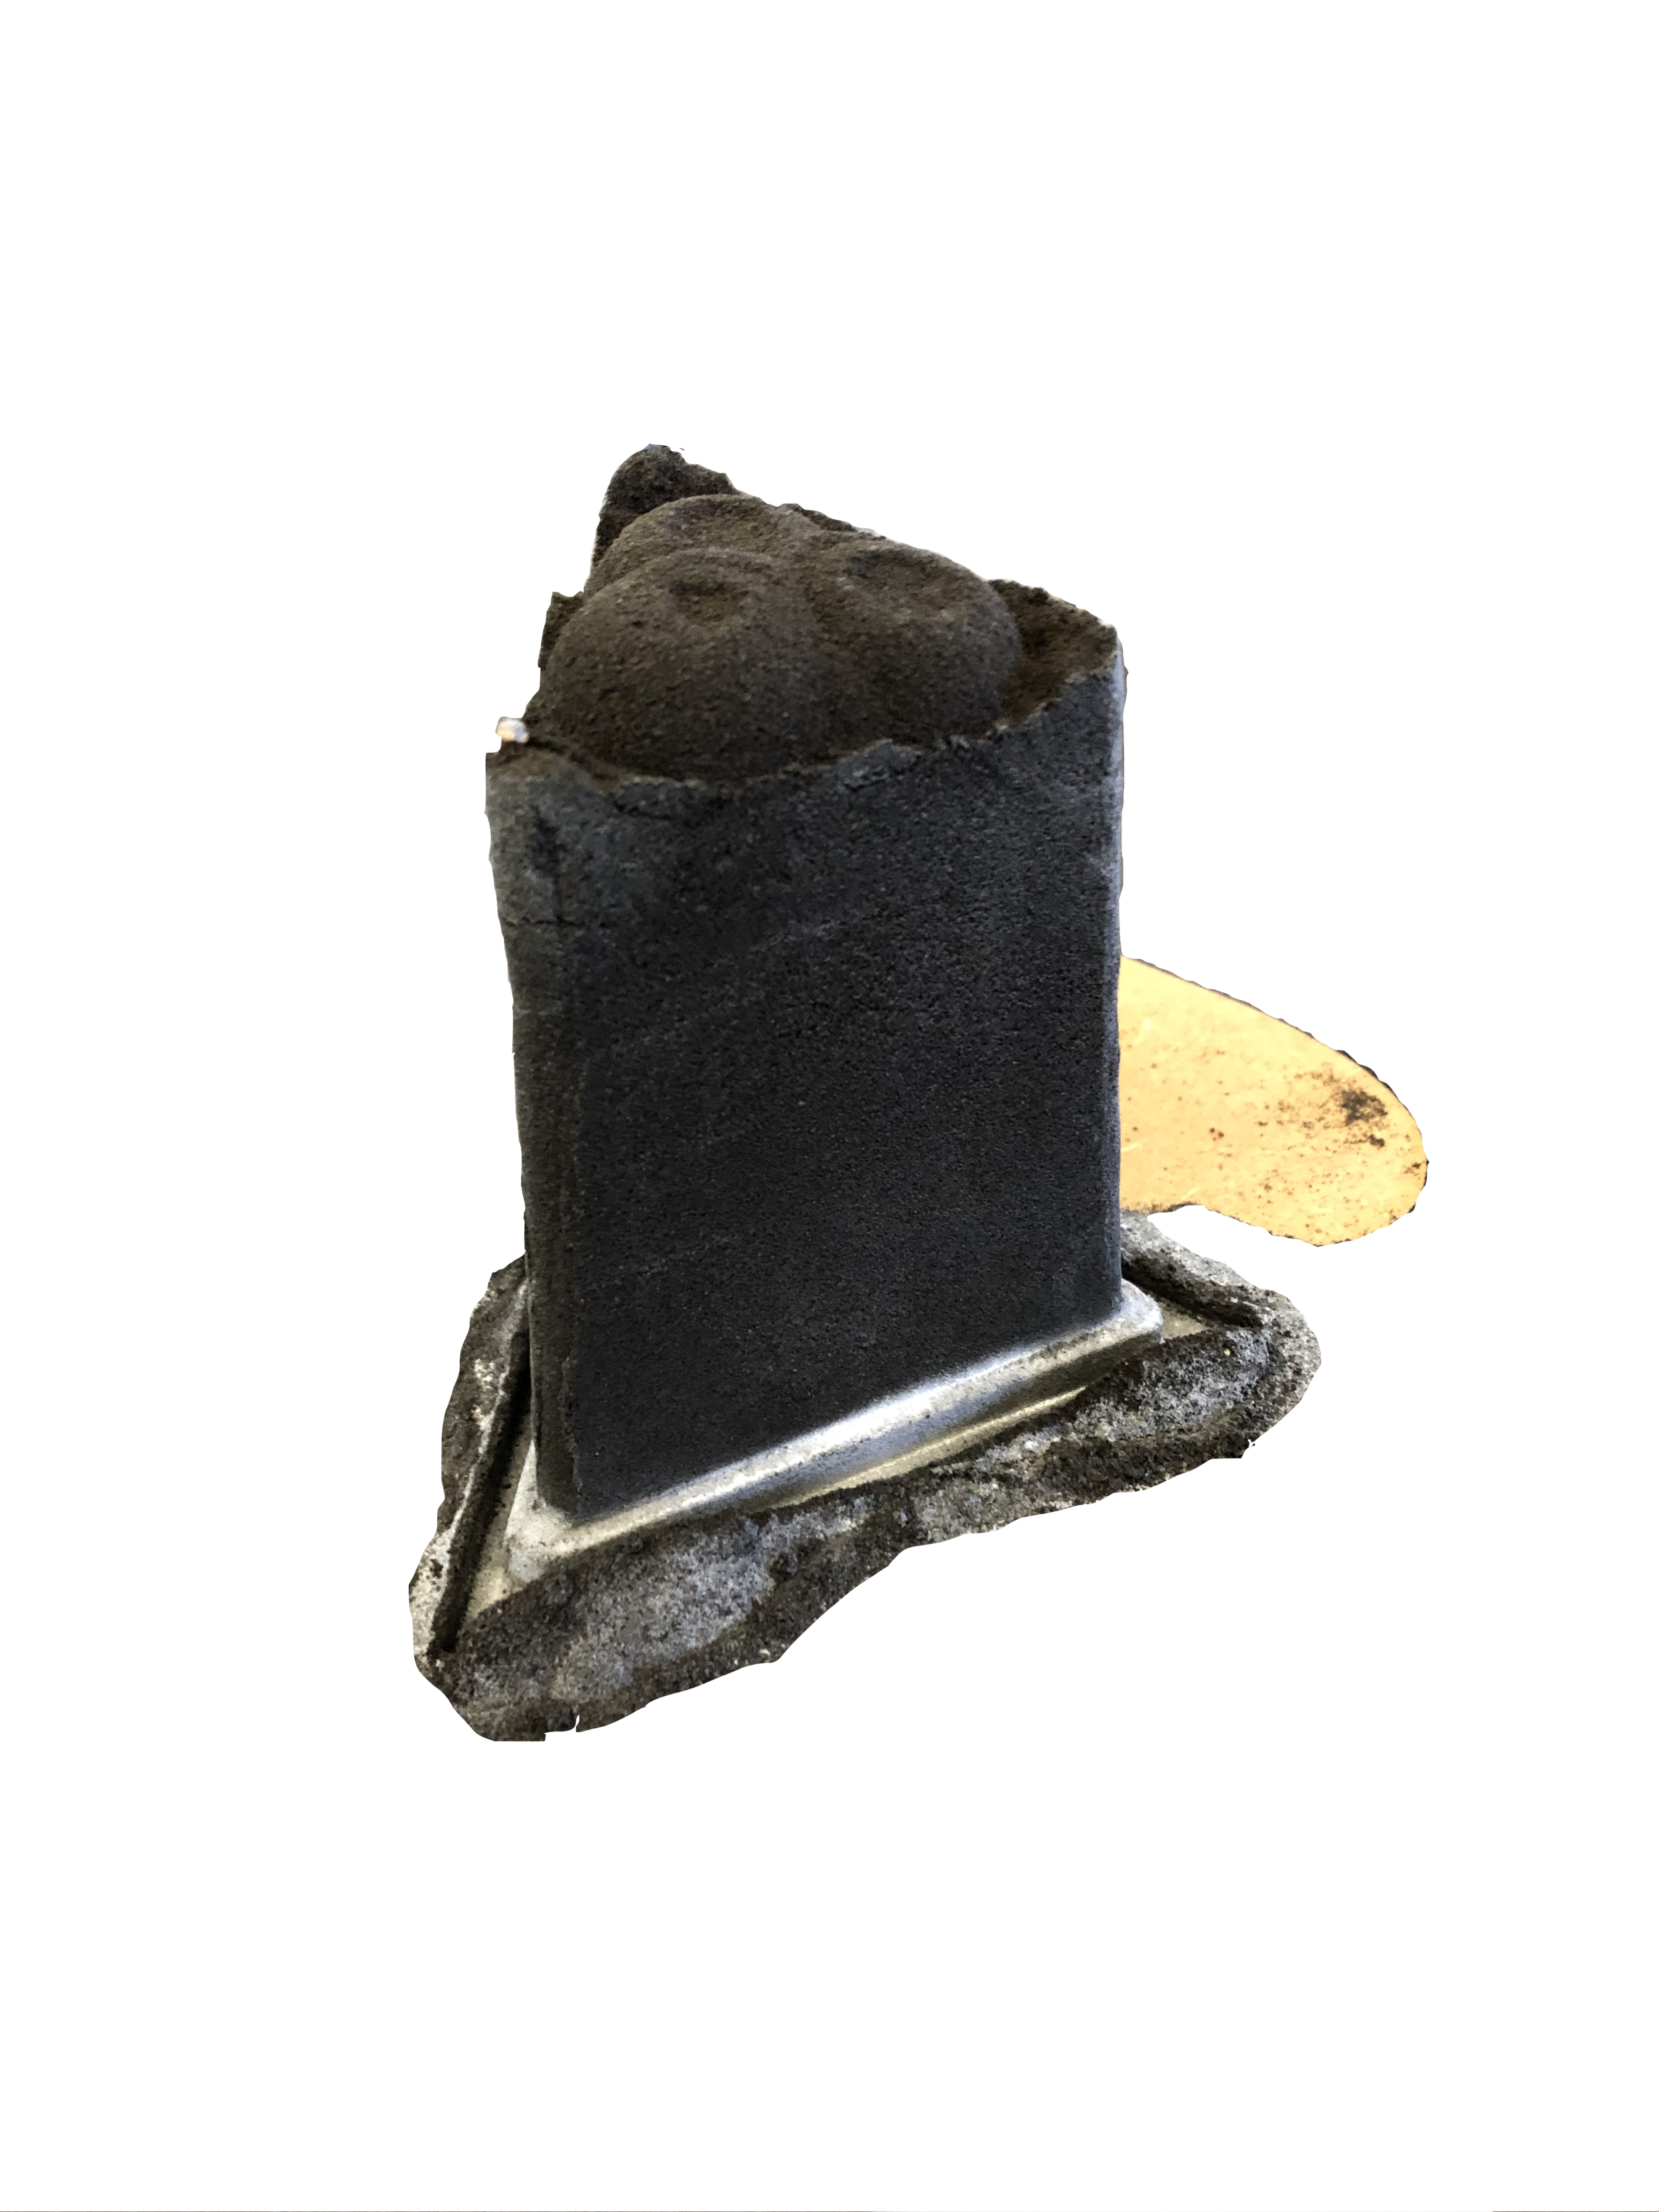
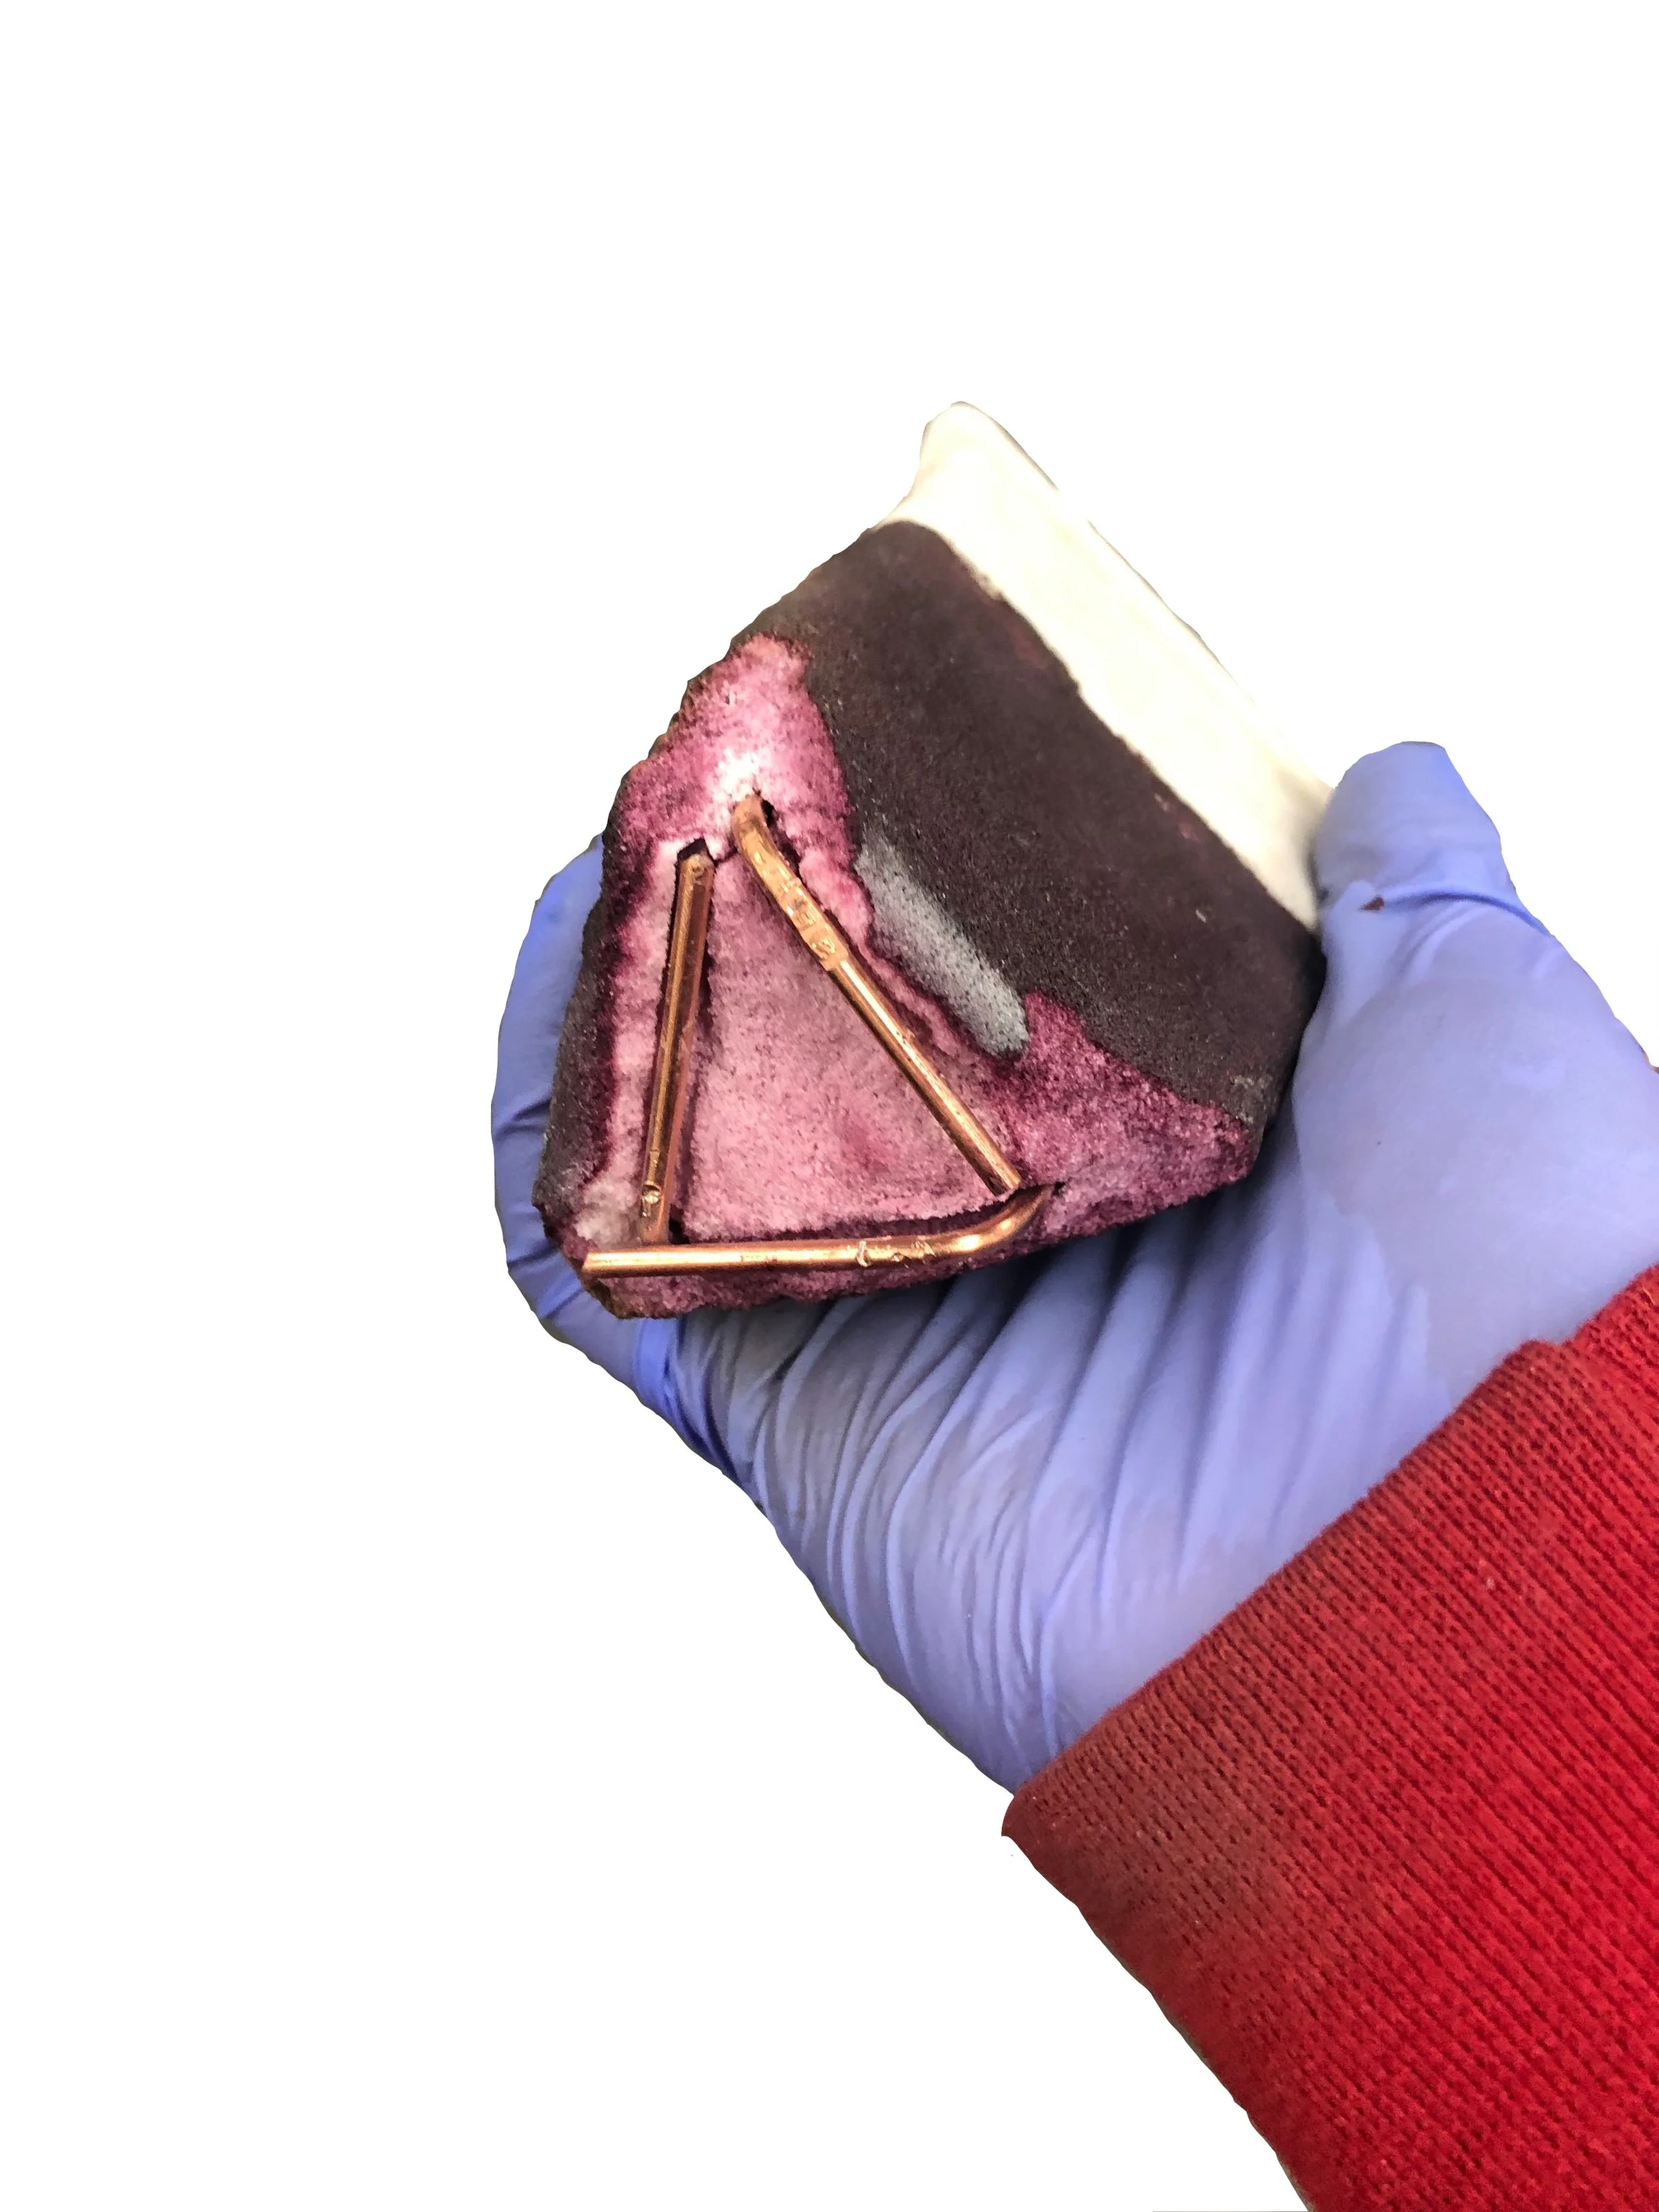
The process of making my critical part (i.e. the base of the mug) was quite challenging. Throughout this process, I rammed up about 14 times, making small changes to my process each time. However, after the ram up that produced a pull that was almost the right height (pictured above), we realized that this was the closest I was going to get, but the sand was simply too soft to create a good pour. Then, the idea of core sand was suggested to me. I had to make a two-part core, because it wouldn’t cure properly if I made the core in one round. The first core was pretty choppy, since it was very hard to pull out and was damaged in the process. This low-quality proved that the core would work (see pour at top right). A new, sleek core (pulled far more easily with graphite lining the pattern), created a far more successful pull. The core was slightly not perfectly centered, so one of the walls is thinner than the others and it created a bit of a lip. However, I was overall really happy with the pour because the edges are crisp, including the lip, and the inside was very smooth, with the exception of the small line showing the division in the core. I used a file to define the lip and curved corners.
Product Assembly
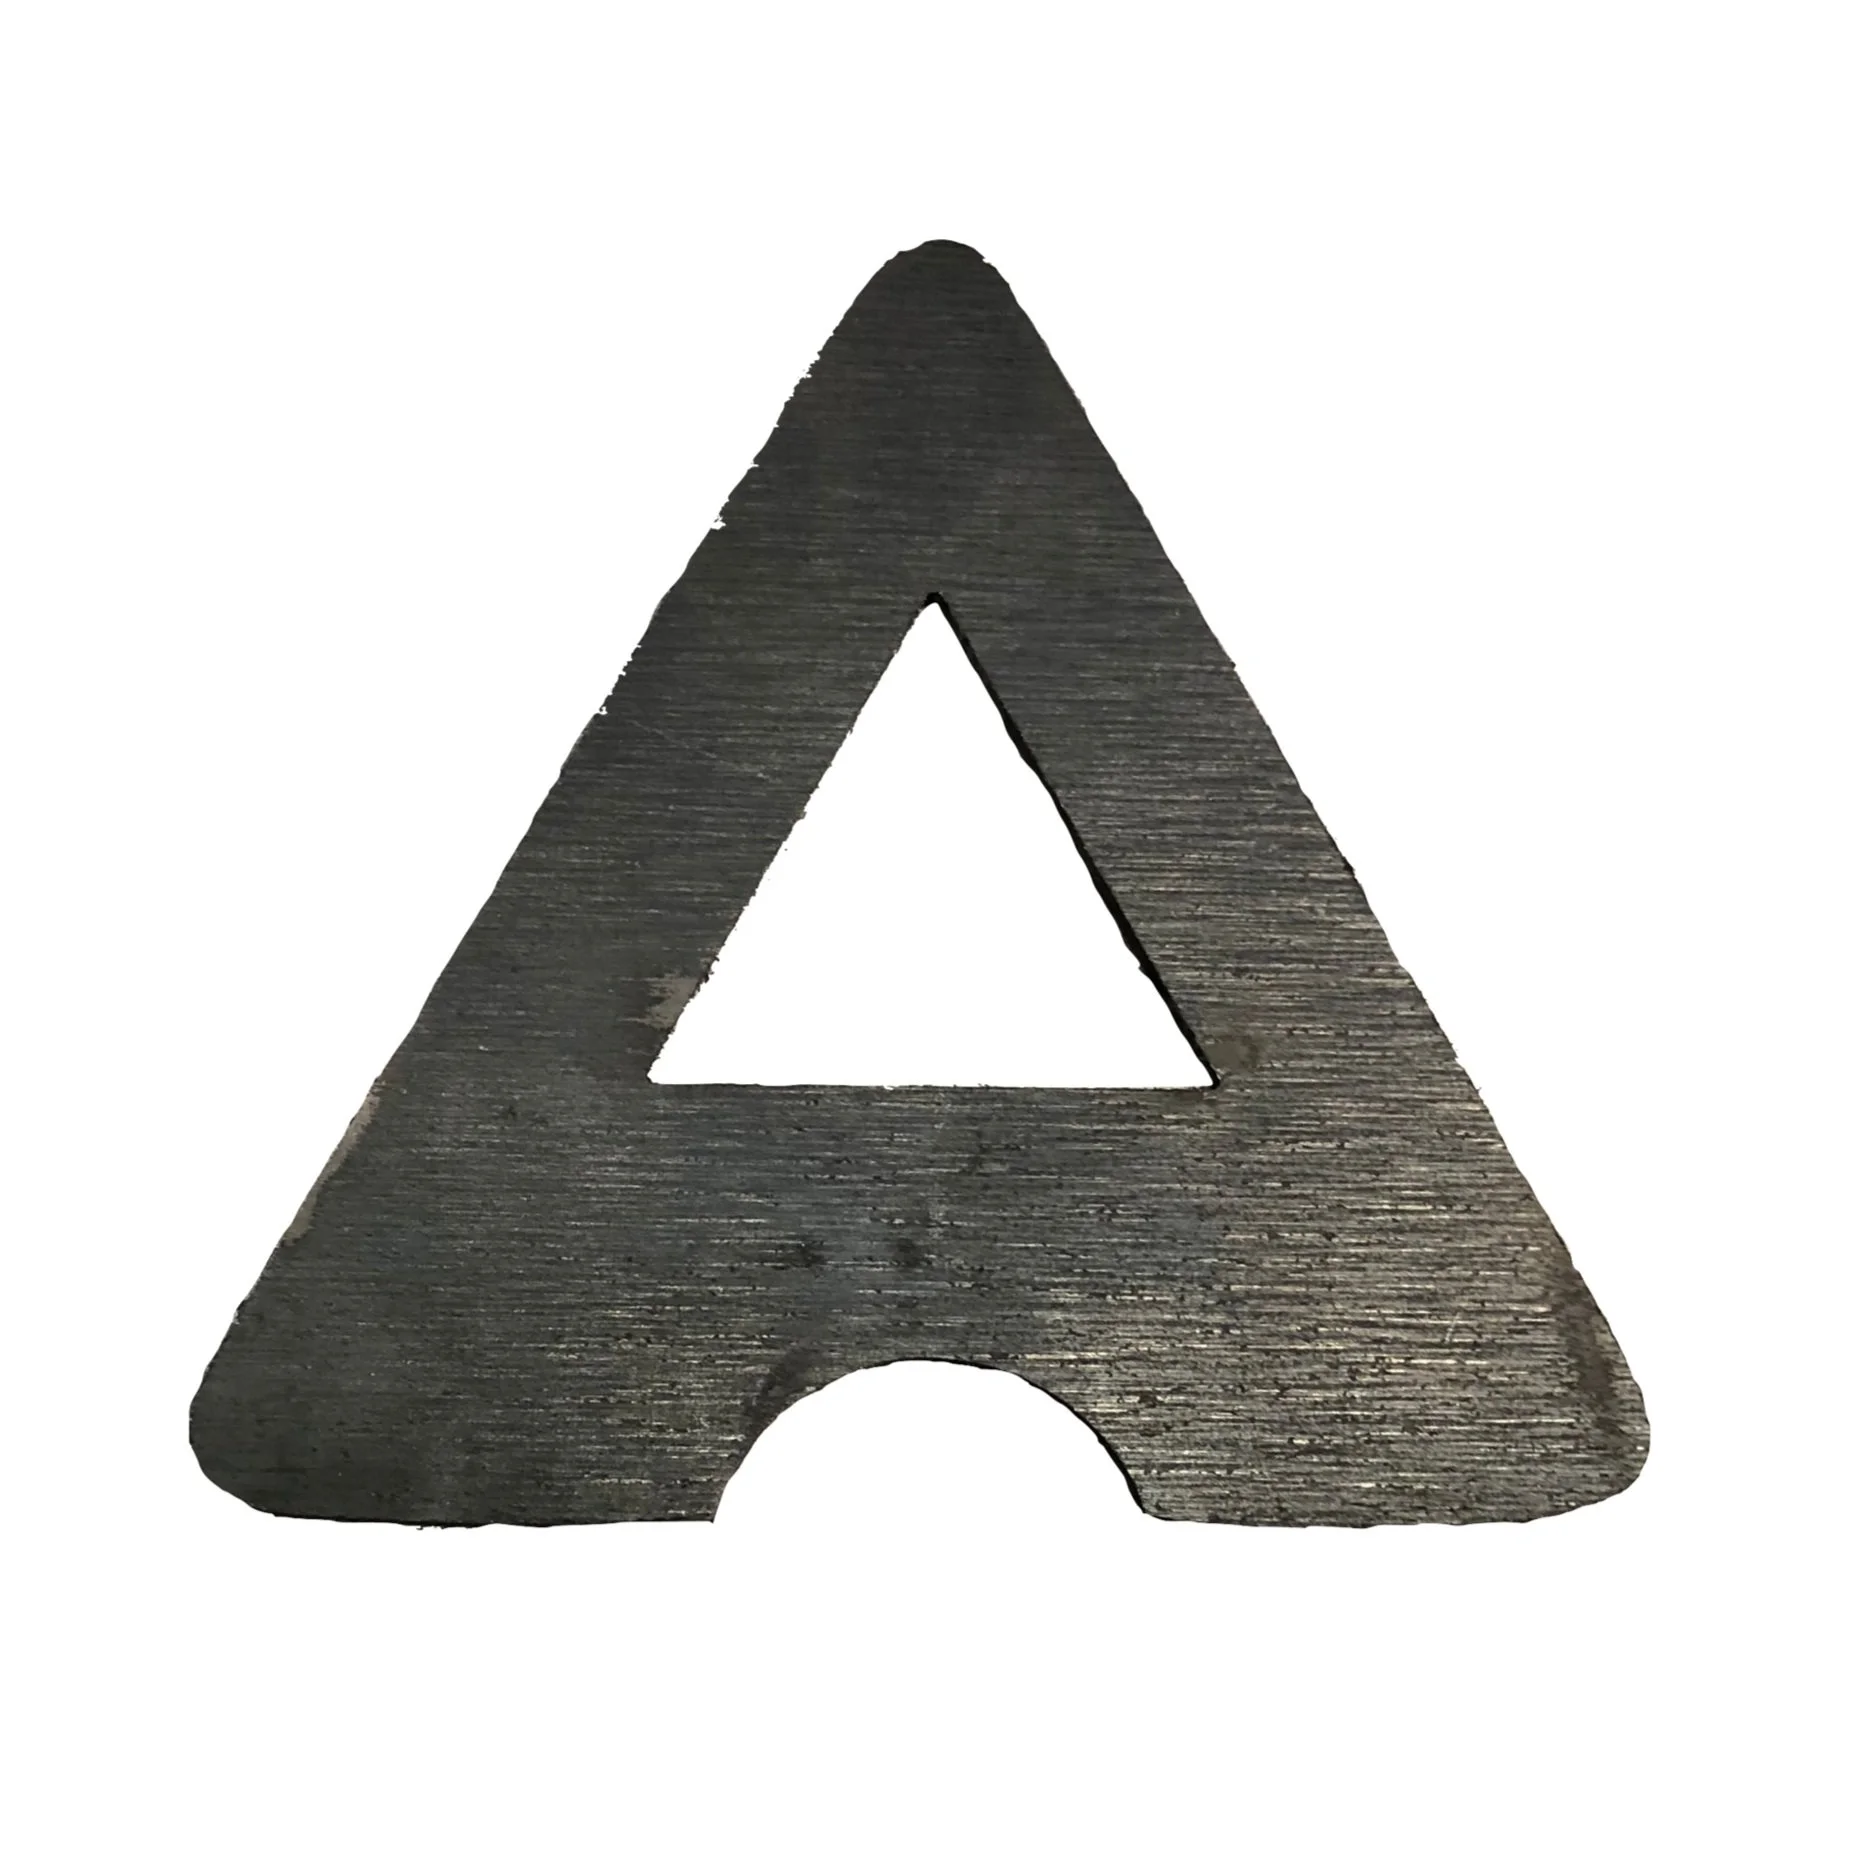
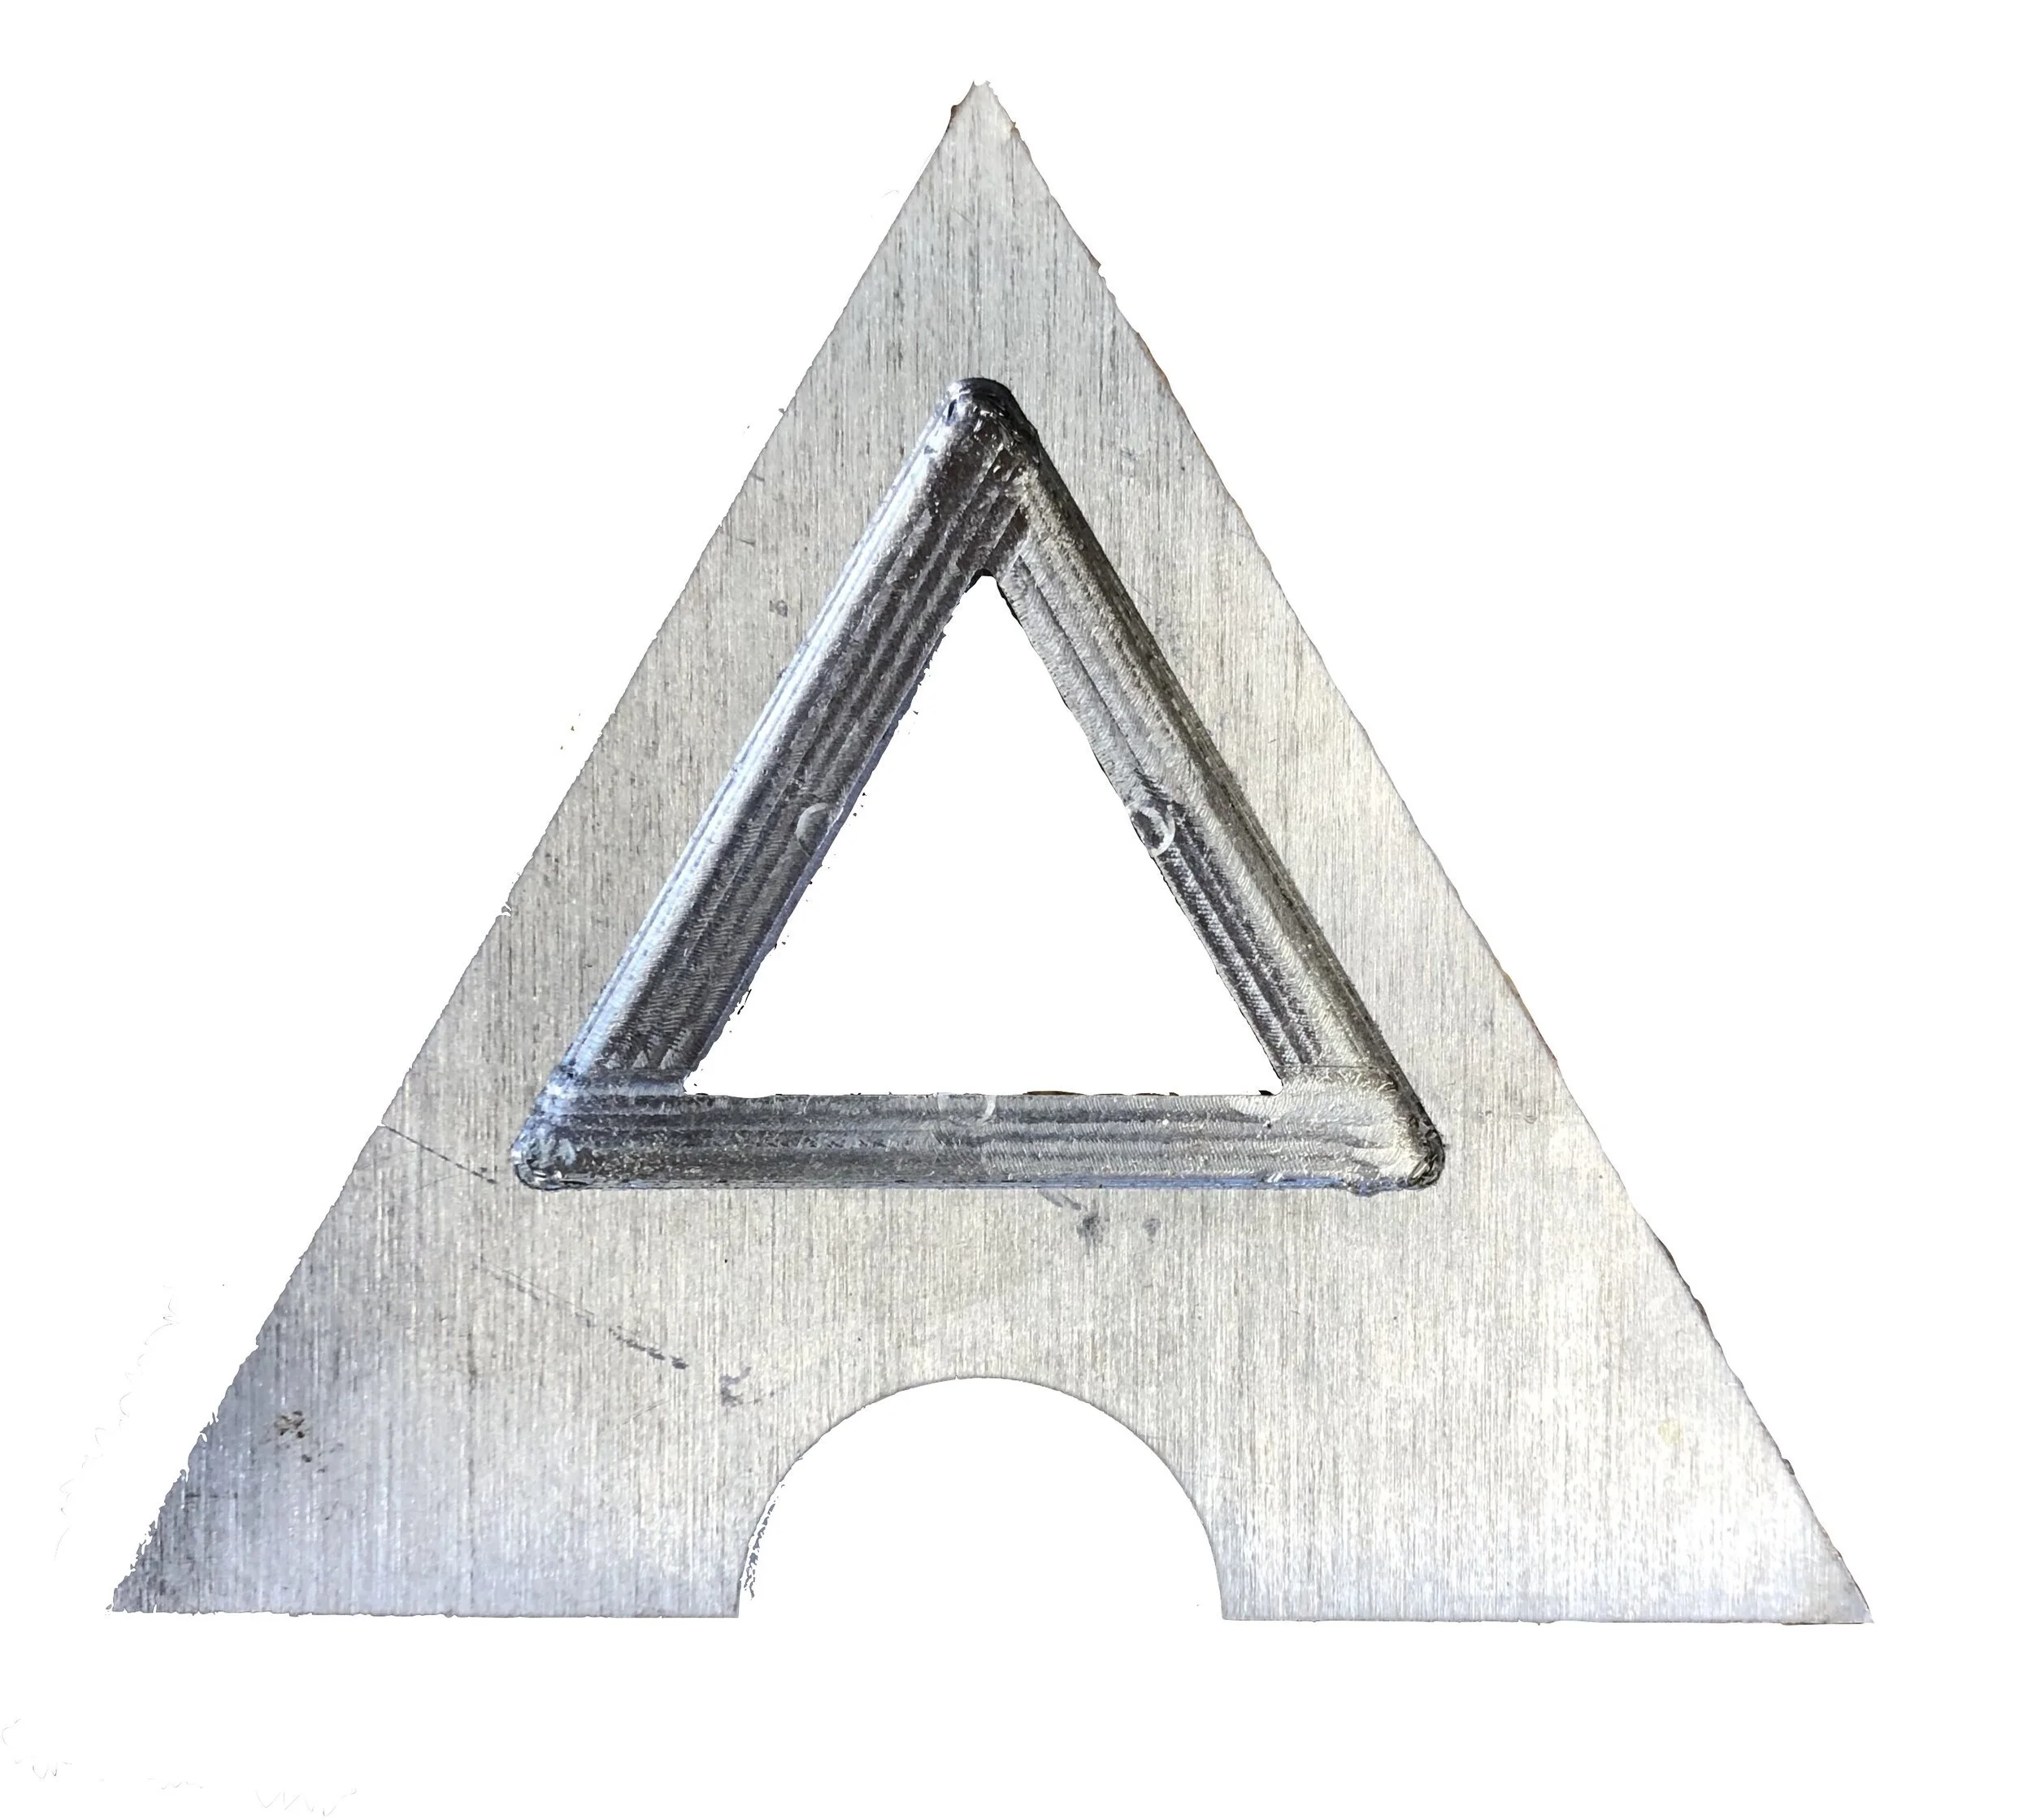
To create the finished product assembly, I sanded down the body for functionality , focusing on create a smooth lip and interior lip corners to let the lid sit properly. Next, I used the water jet cutter to cut the general shape of the lid out of mild steel. Then, I used the metal sander to sand down one of the edges (I should undersize my file next time), and to create my rounded edges. I think that using the sander is more productive for edges. Once I got the lid to fit properly in the mug, I attached the strainer into the lid and it fit perfectly! The fit is snug so it won’t move, but not so snug that it cannot be removed for cleaning, etc. For the next round, I plan on water jet cutting this patter out of 0.25’’ aluminum and mill an inset for the strainer to rest. Overall, I think the finished product is pretty successful, considering the challenges that went into the cast part. The mug feels really nice to hold, the mouth opening is a good size for drinking tea and large enough to function as a place to grab the lid to remove it, and the lid feels secure in the mug so it won’t fall as someone drinks tea from it.
CAD
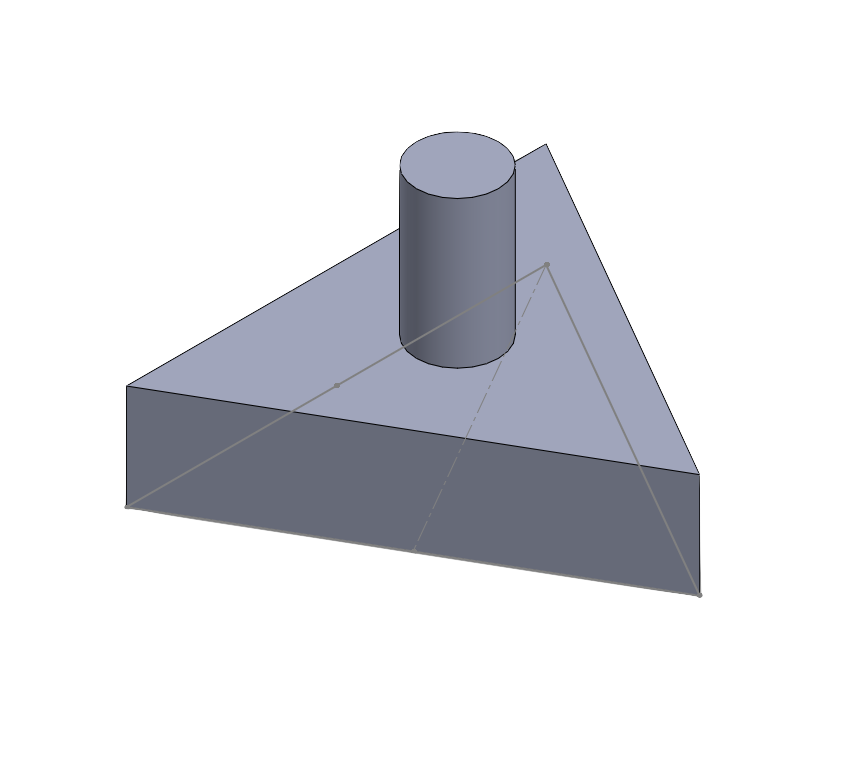
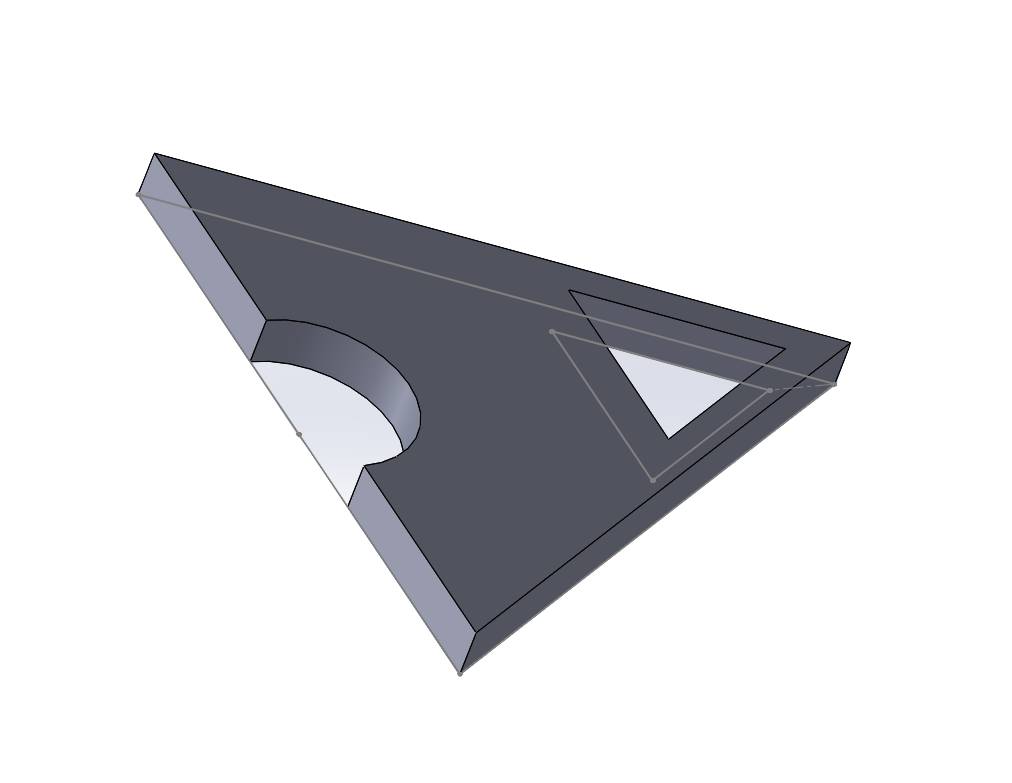
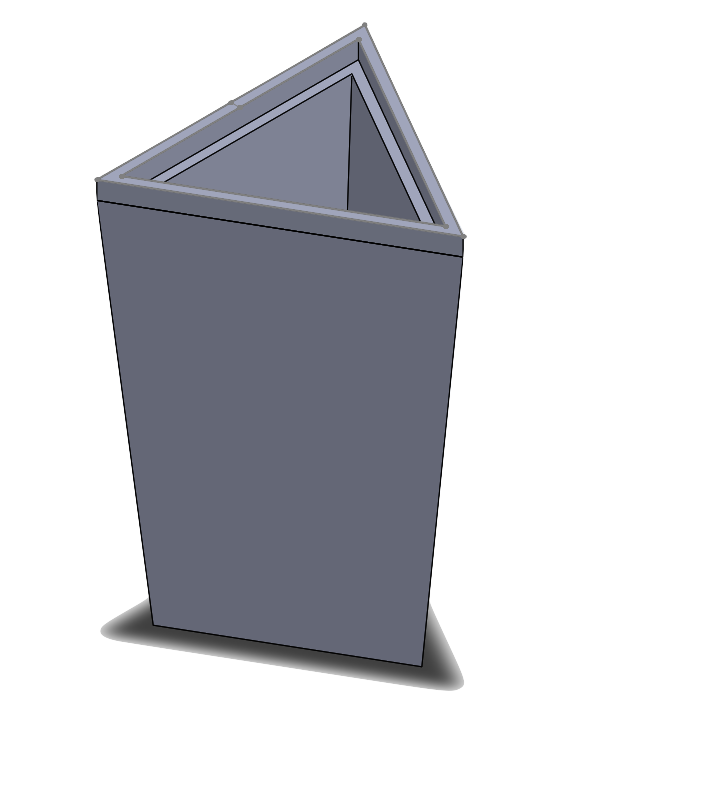
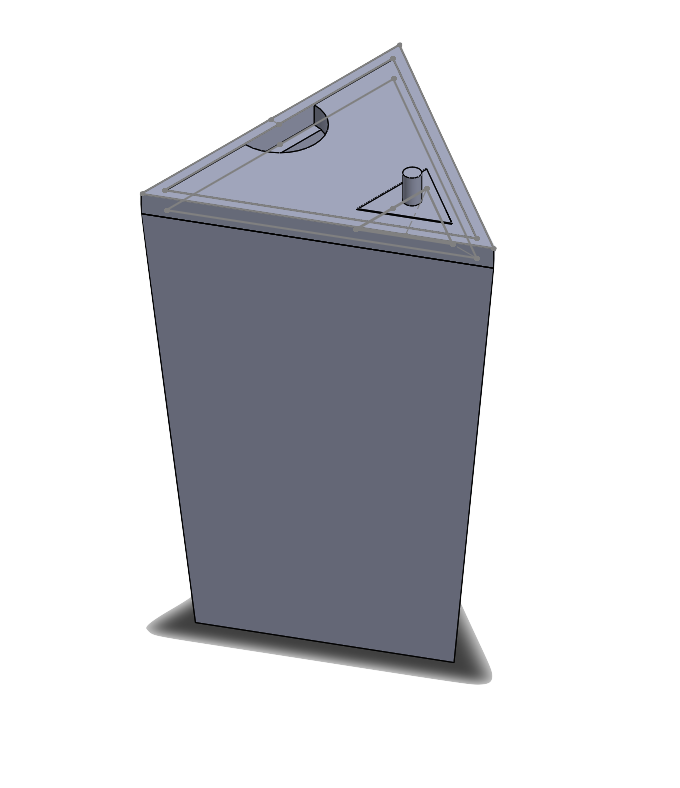
Although the original idea for this project was to cast the base, discussion with CAs lead to deciding that welding is the only feasible option, given the height and my desire to keep the body’s shape. Initial prototyping involved creating mock versions of the body to play with height, tapering, and size. Now, the focus is on the functionality: holding loose leaf tea. My original plan was to buy a strainer and attach it somehow, but none of the options were in the ballpark of the right dimensions. So, I bought 1mm hole great stainless steel mesh, which I shaped into a triangle, with lips for mounting, and then sewed the seam. After a few iterations, I found the right dimensions for the strainer. I realized that this strainer occupied more room than I’d anticipated, so I adjusted the triangular opening and its location on the lid, although I’m still not sure if this is correct. After trying a few options, I decided on one that fit snugly. For now, the idea is to create a sink in the top of the lid to allow the lips of the stainer to sit, and then press fit a machined triangle on top to secure the strainer to the lid. I also learned that this mesh is very sturdy and a good mesh fineness, but the edges are incredibly sharp, so I will take that into account for my next iteration. Now, I plan on attempting to create a press fit after machining the lid. I am a little concerned that the lid will not sit flat in the body, but it’s possible that the geometry will take care of that once it’s made of metal.
Manufacturing Prototype
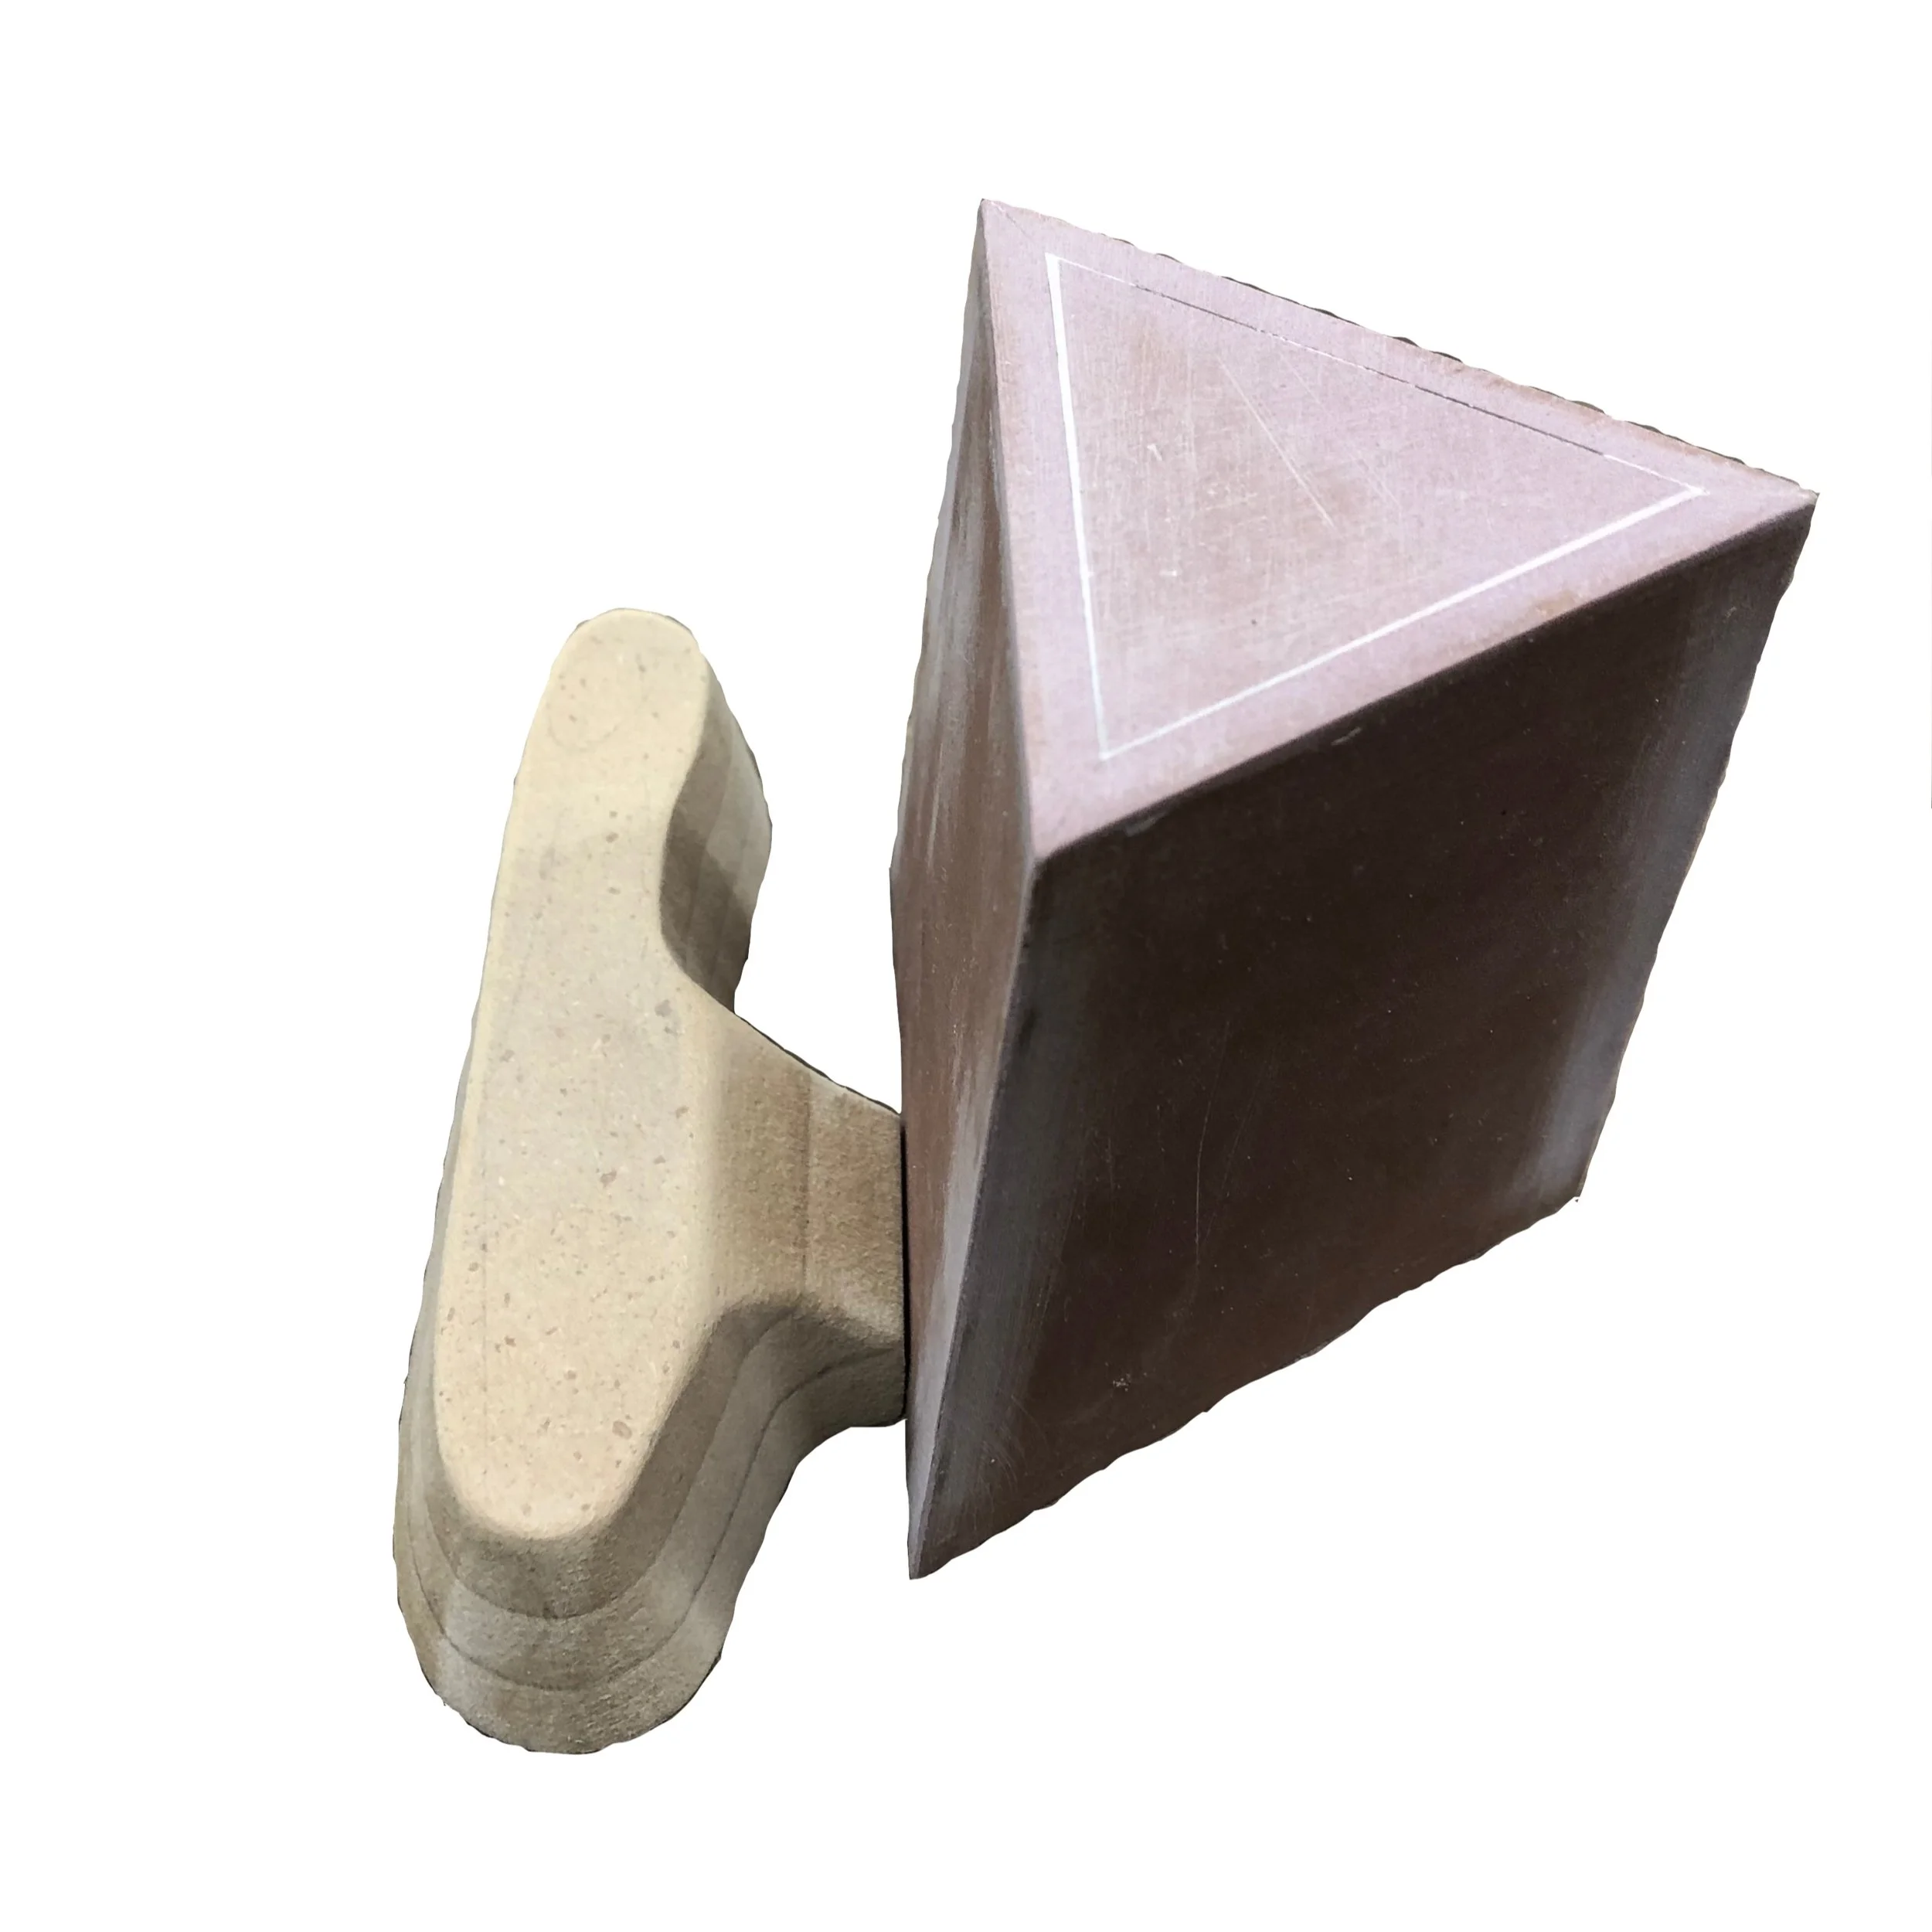
For my manufacturing prototype, I created the loose pattern and gate & runner for my cast part, the body of the mug. This is the most challenging component of my project building-wise, especially considering it will require the use of an upset. The original design was thinner and taller, but I made adjustments to allow for a more reliable pull and hold. Through this process, I learned about the challenges of creating exact 60 degree angles on the edges of the sides to form a perfect equilateral triangle. It took a few tries to get the sides right, which was necessary to create an optimal amount of surface area for a good bond between sides. Inserting the triangular bottom was challenging without risking breaking the side connections, so I undersized the bottom and used bondo to fill the gaps. I used bondo to fillet the insides to allow for a cleaner pull, but it was hard to remove all the excess bondo since the mug is too small for my hands to enter fully. Bondo fillets, however, proved to create very strong connections which will ultimately be very useful.
When I performed a 12th ram up, having made an adjustment each time, I realized that it was impossible for me to create a good pull for my pattern using normal methods, and I remember feeling frustrated and disappointed. However, I was told about core sand, and much progress was made! In the process of reaching that point, I had so many iterations of my pour: trying different sand/packing methods, different metal supports and differently-oriented legs, different amounts of parting compound/graphite. None of these methods worked well enough to prove to me that this process would ever work. It was quite saddening. My first core, however, was also quite unsuccessful. I didn’t use graphite to line the pattern, so it was incredibly hard to remove. So, when it came out, it hit a hard surface and broke the bottom, exposing the metal supports that would then melt into the part when poured.
Final Processes
For the body, I end milled the top edges, creating a planar surface. Next, I used a 0.25’’ endmill to create the inner lips, so that the surfaces were all flat and the curves accommodating of the required tight fit with the lid, ensuring that no liquid will spill when drinking.
The lid was created first by waterjet cutting. Then, I used the mill, with the help of a laser-cut duron guide, created the interior lips where the legs of the strainer will sit. Next, I used the metal sander to create the curved edges. Finally, I sanded all components, polished the lid, bead blasted the body, inserted the strainer into the lid - and voila!

