Wood Processing
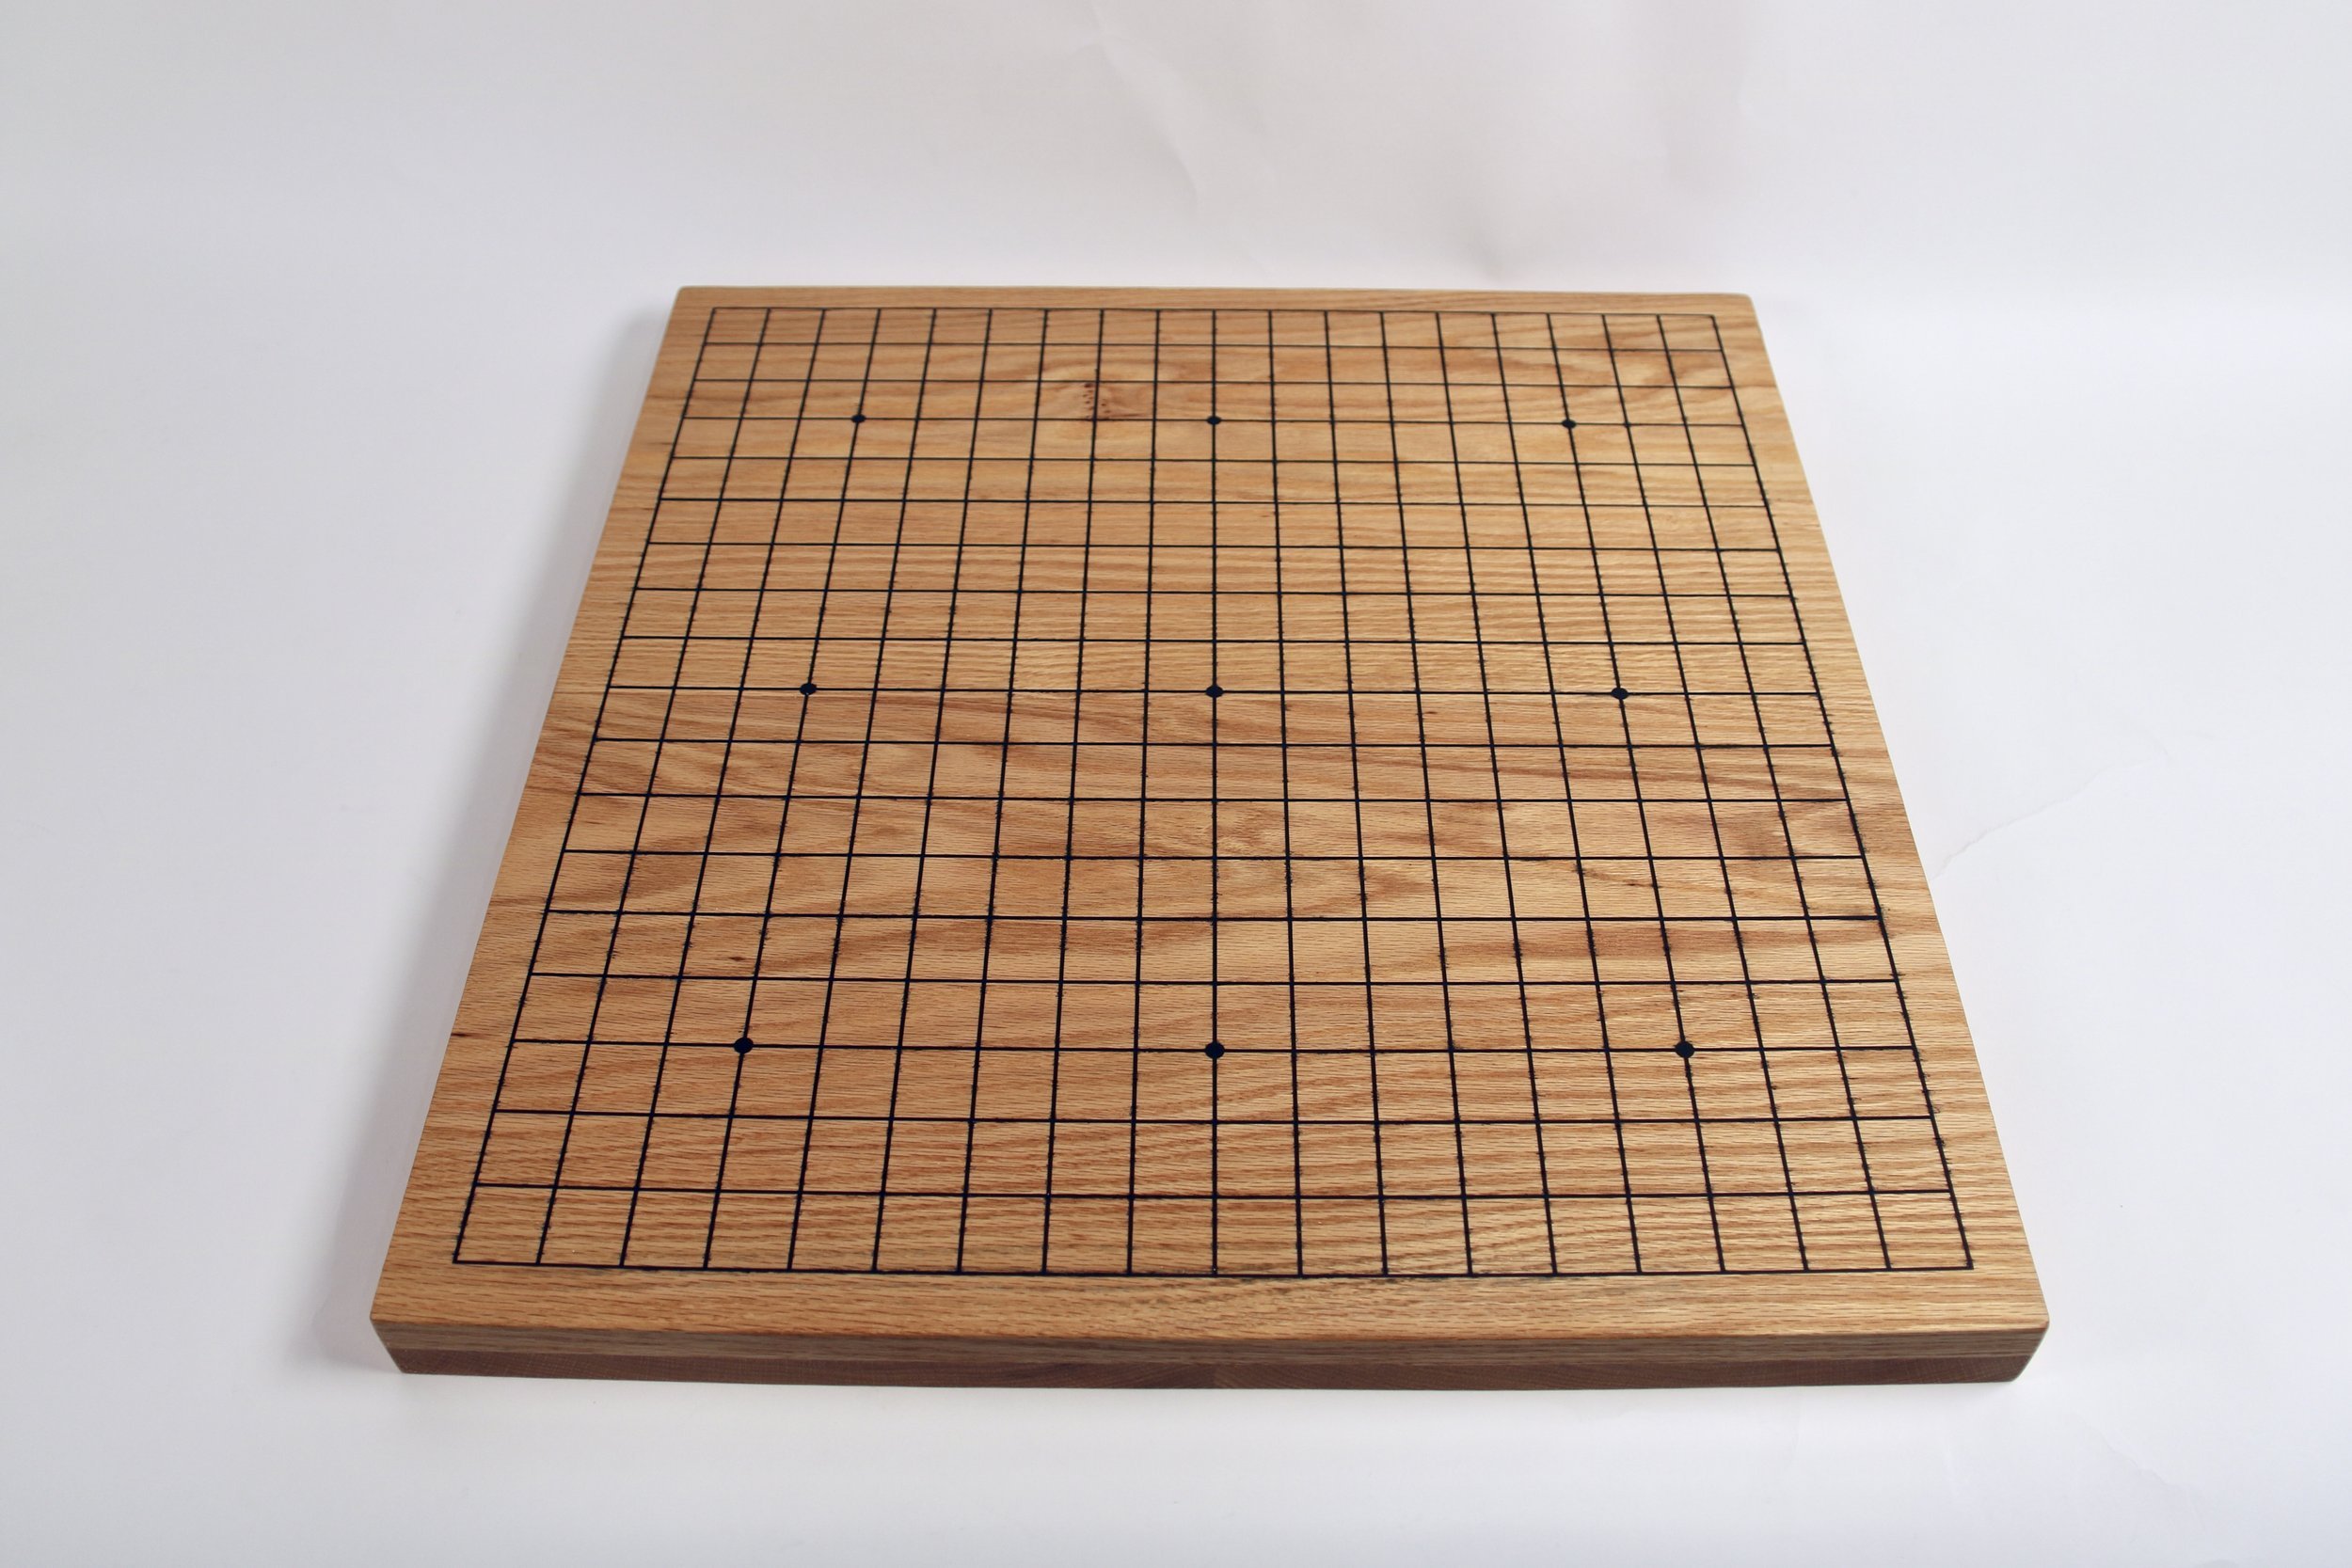
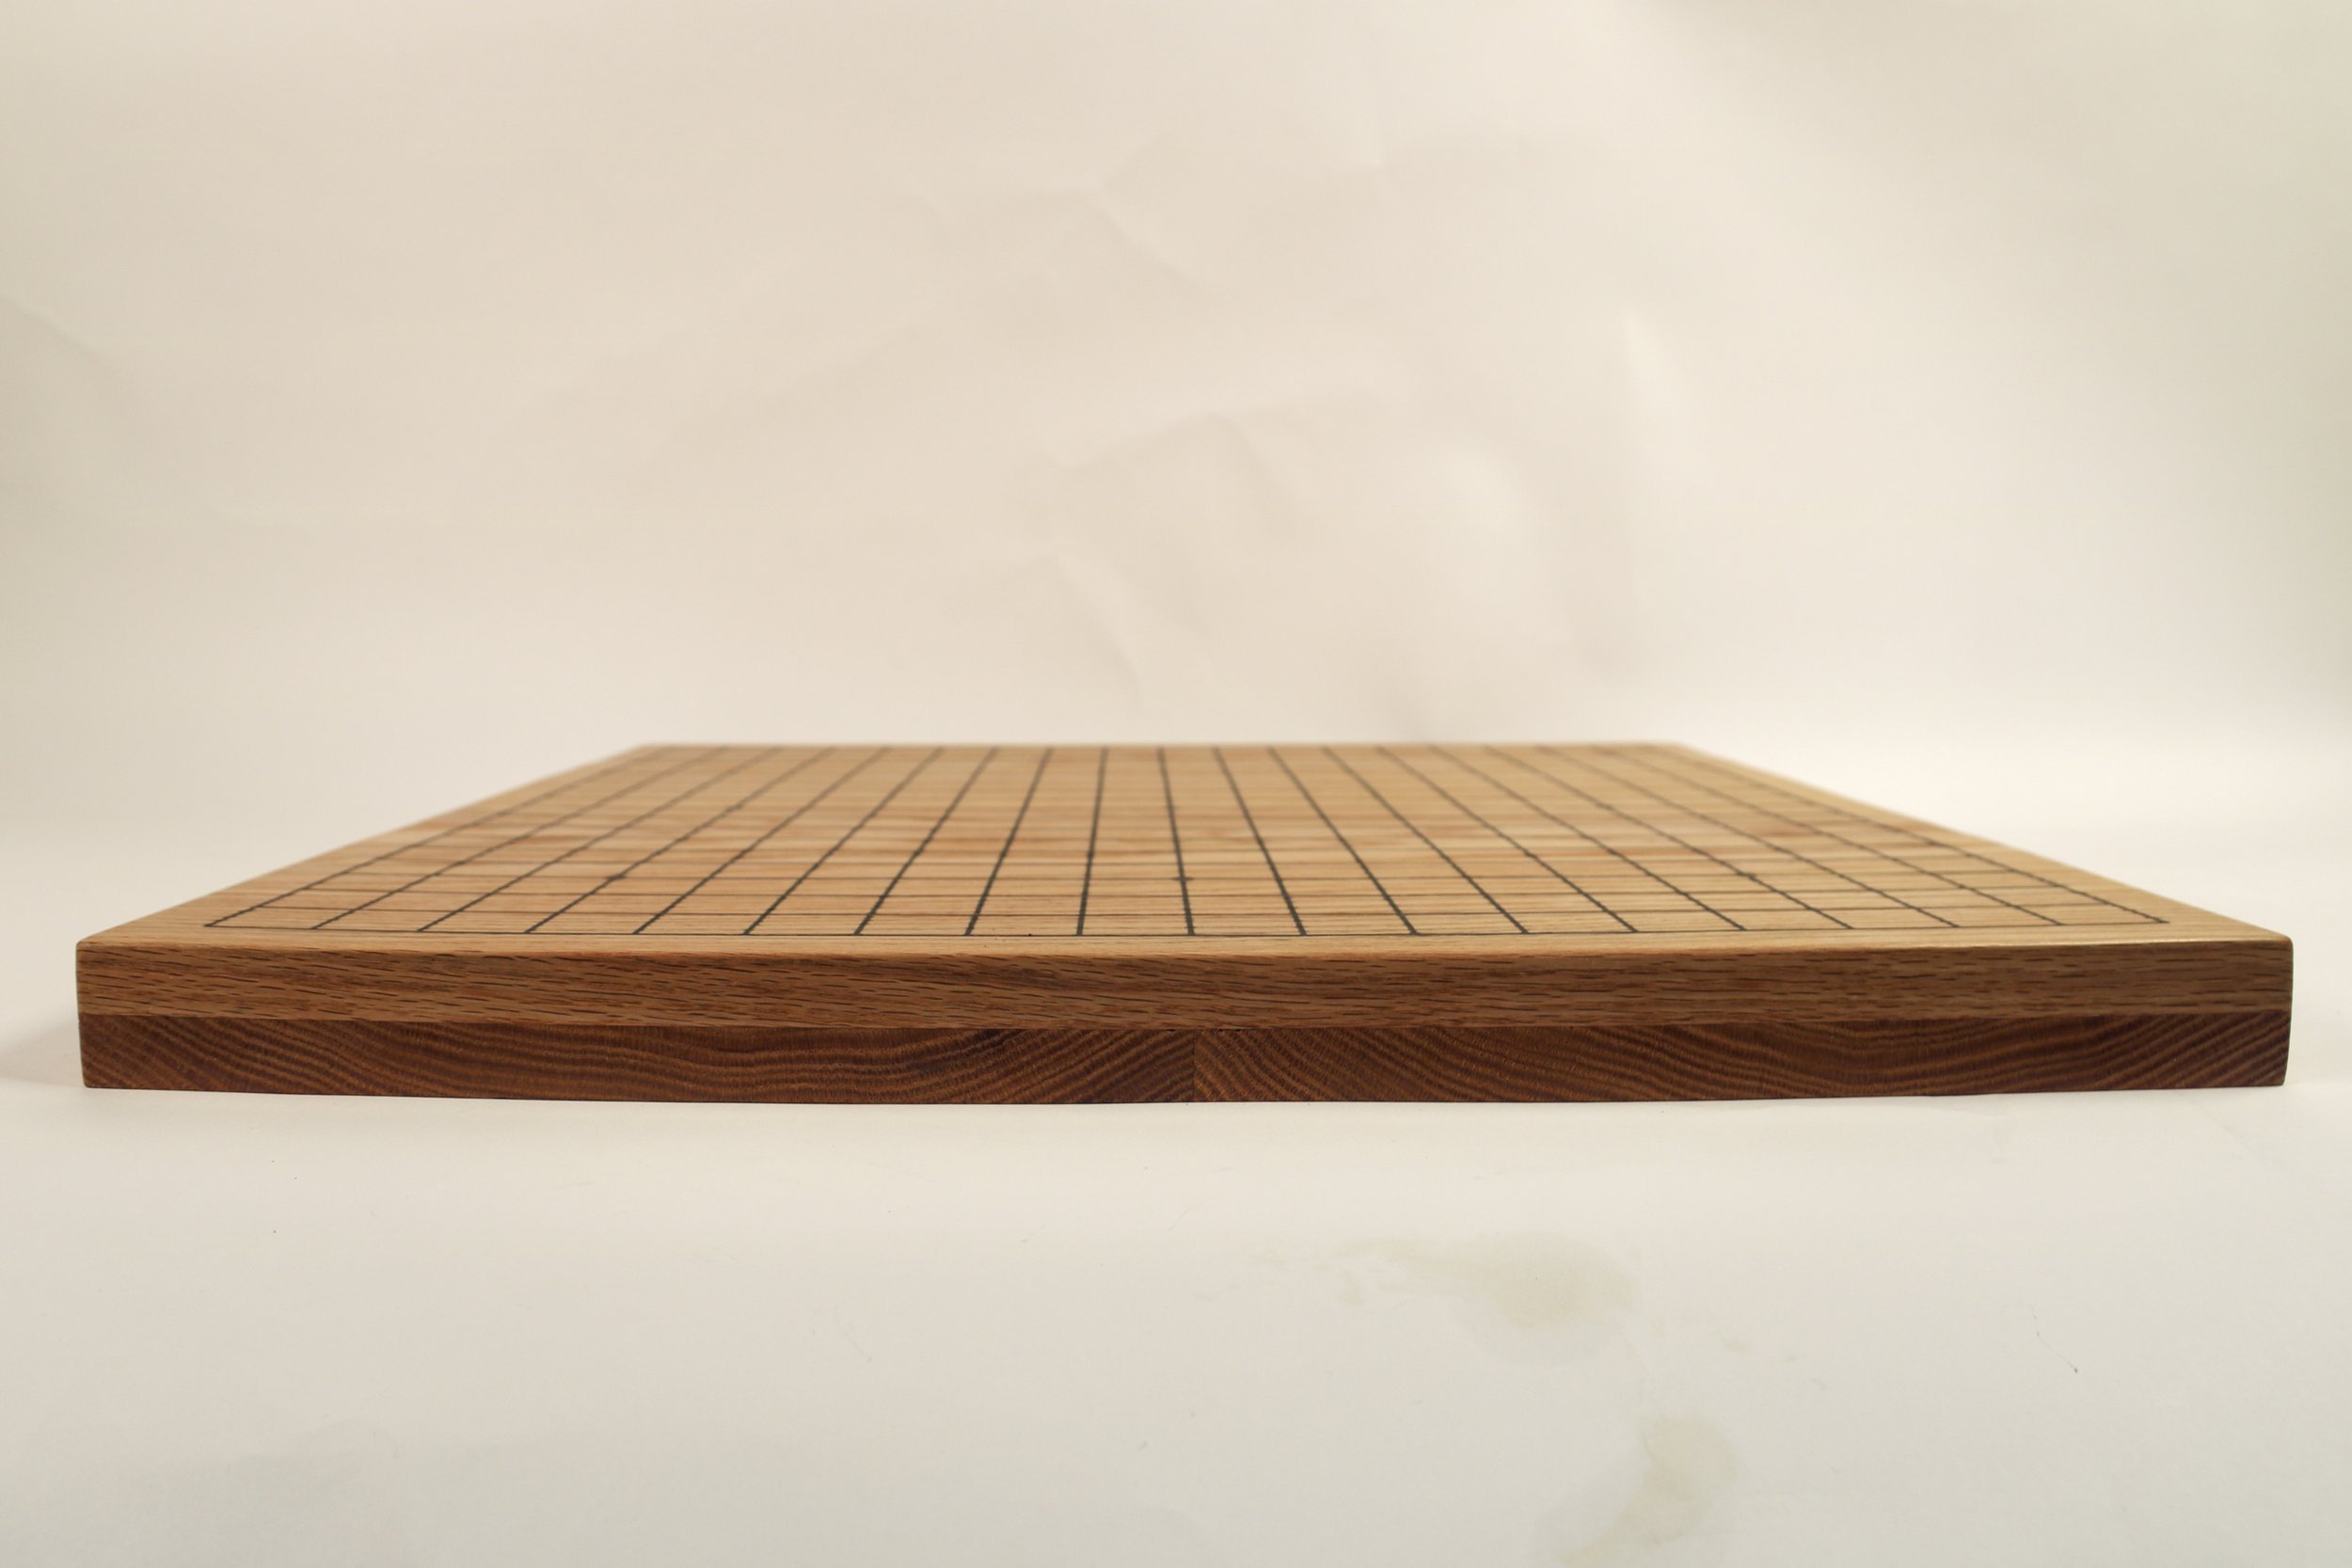
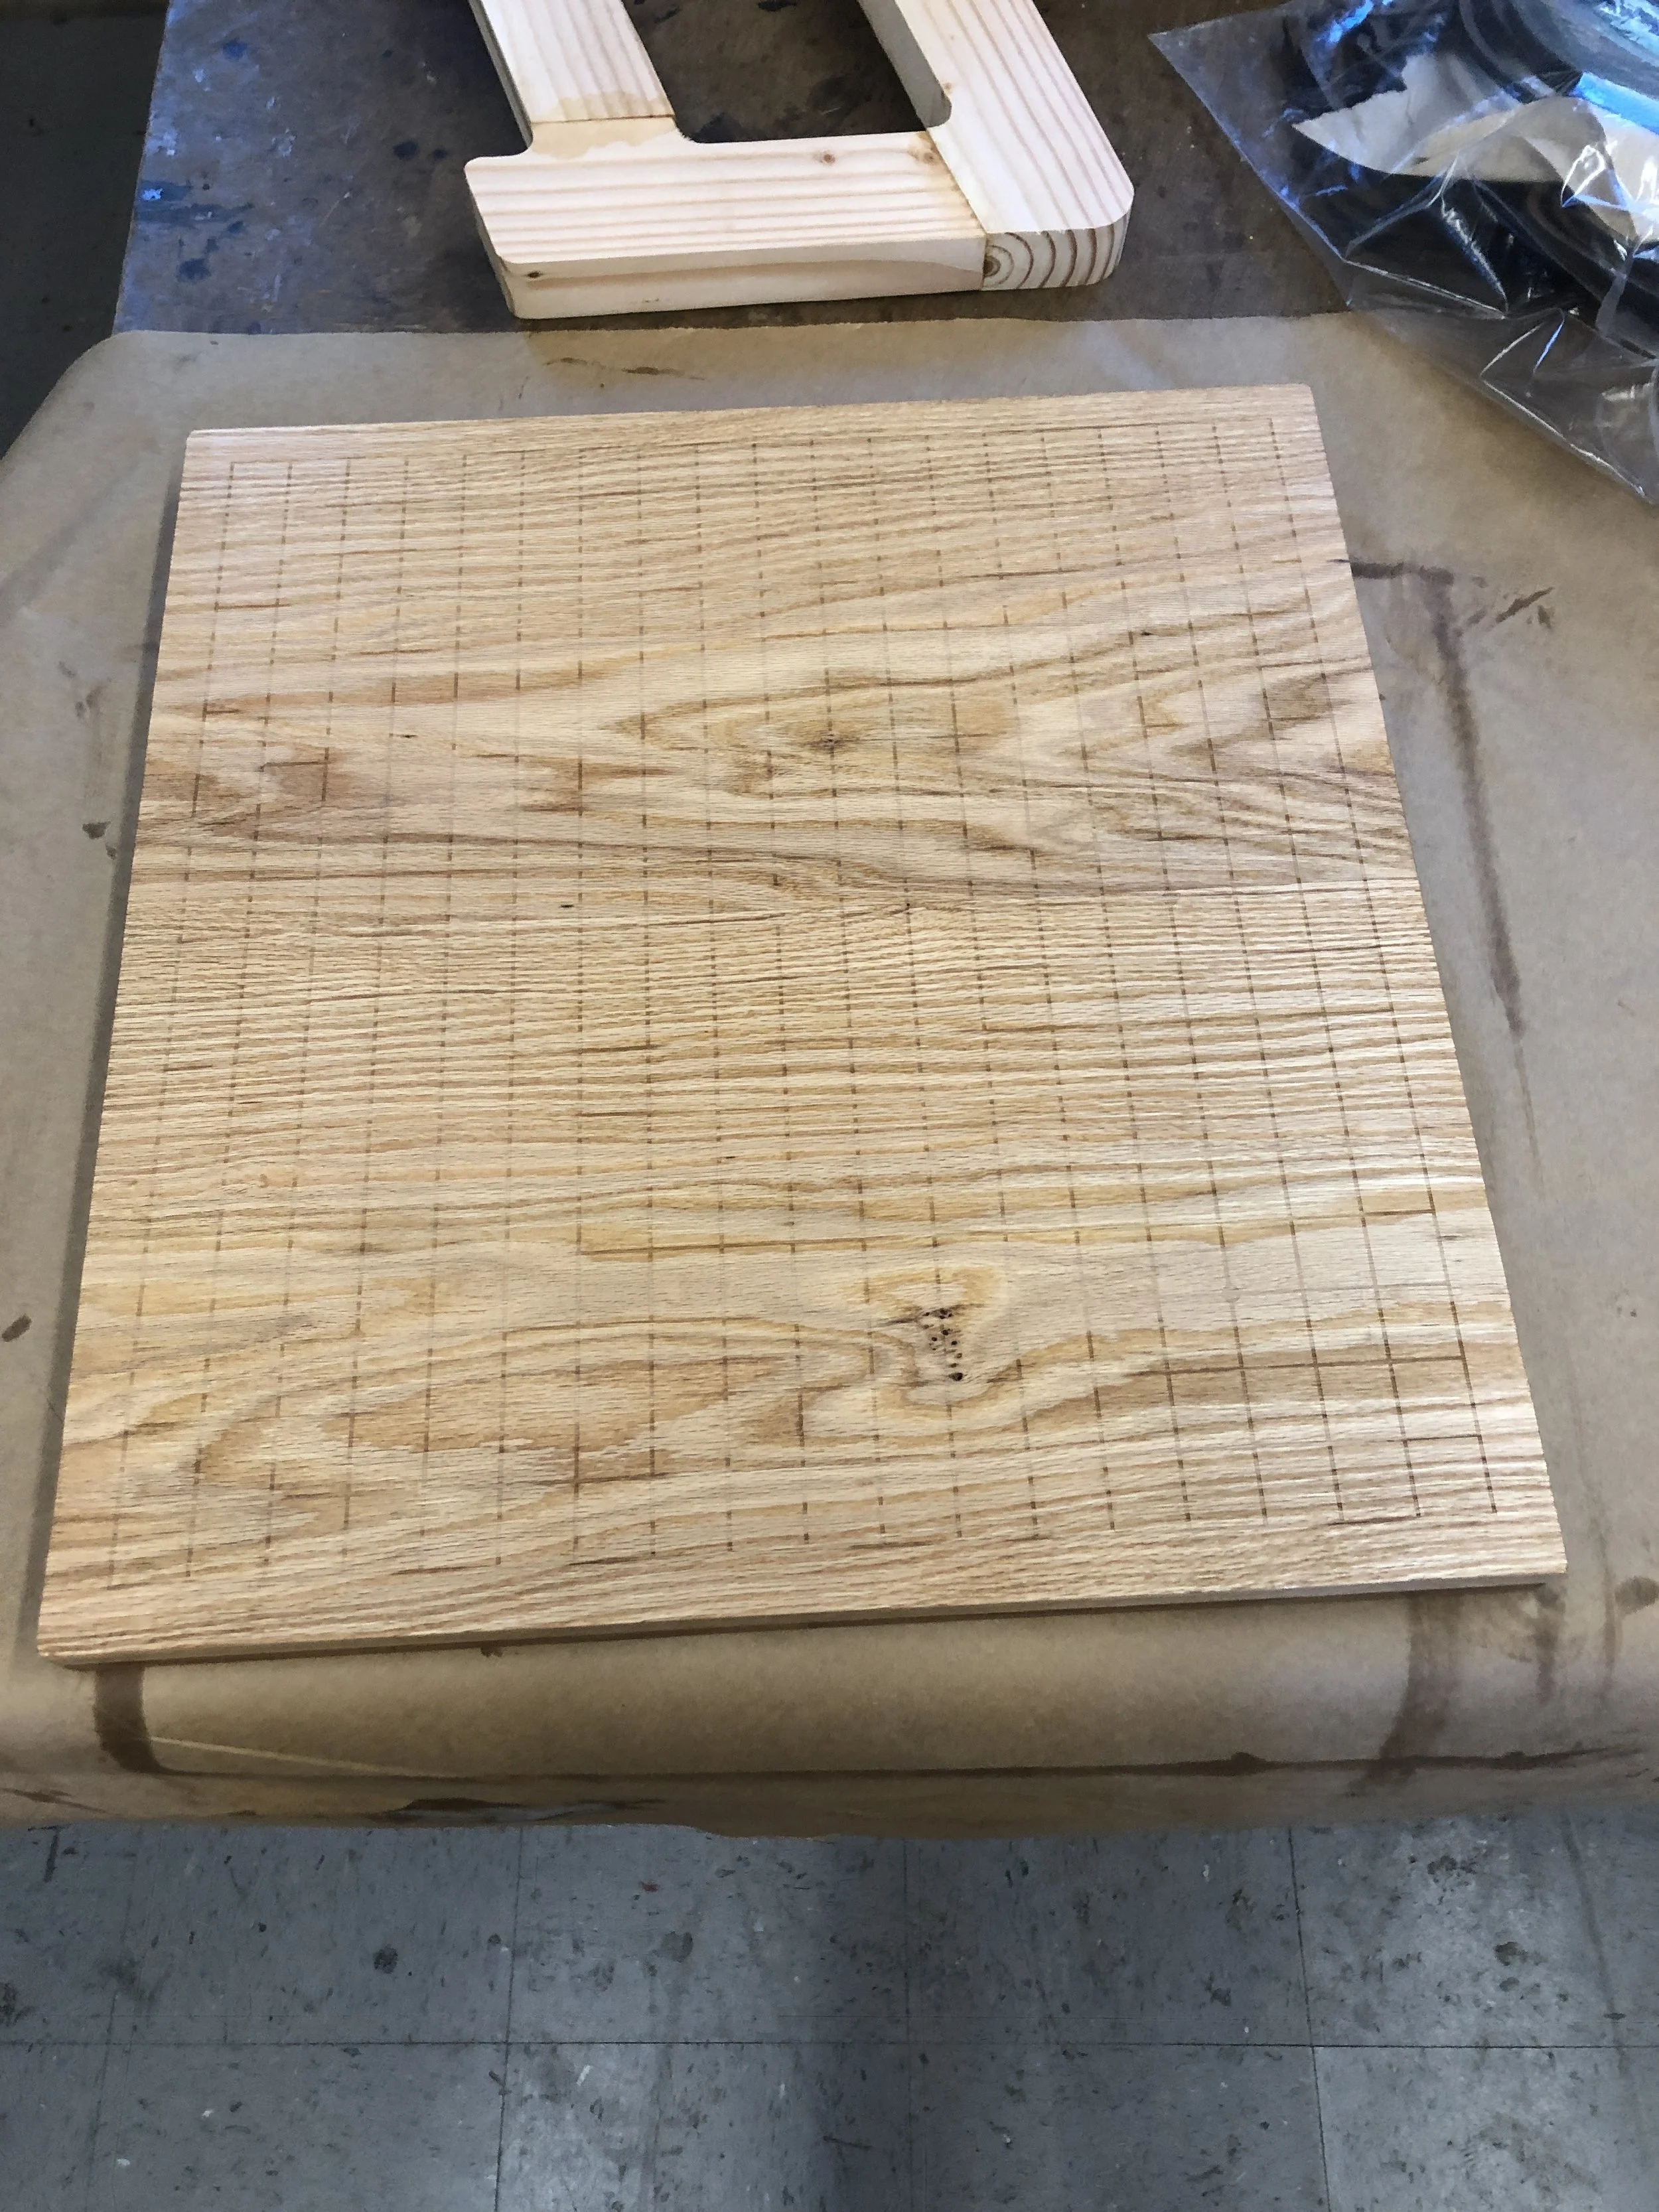
The oak started as a 10” plank, which was cut into 4 pieces and flattened using the planar and jointer. My goal was to create the original 21x21” board, so creating parallel surfaces was important to creating strong joints along the long pieces. The pieces were glued together in two phases, first by glueing the two sets of planks along their lengths to create two square boards, and then rotating the two layers and glueing vertically, so that the glue joint did not experience excessive loads.
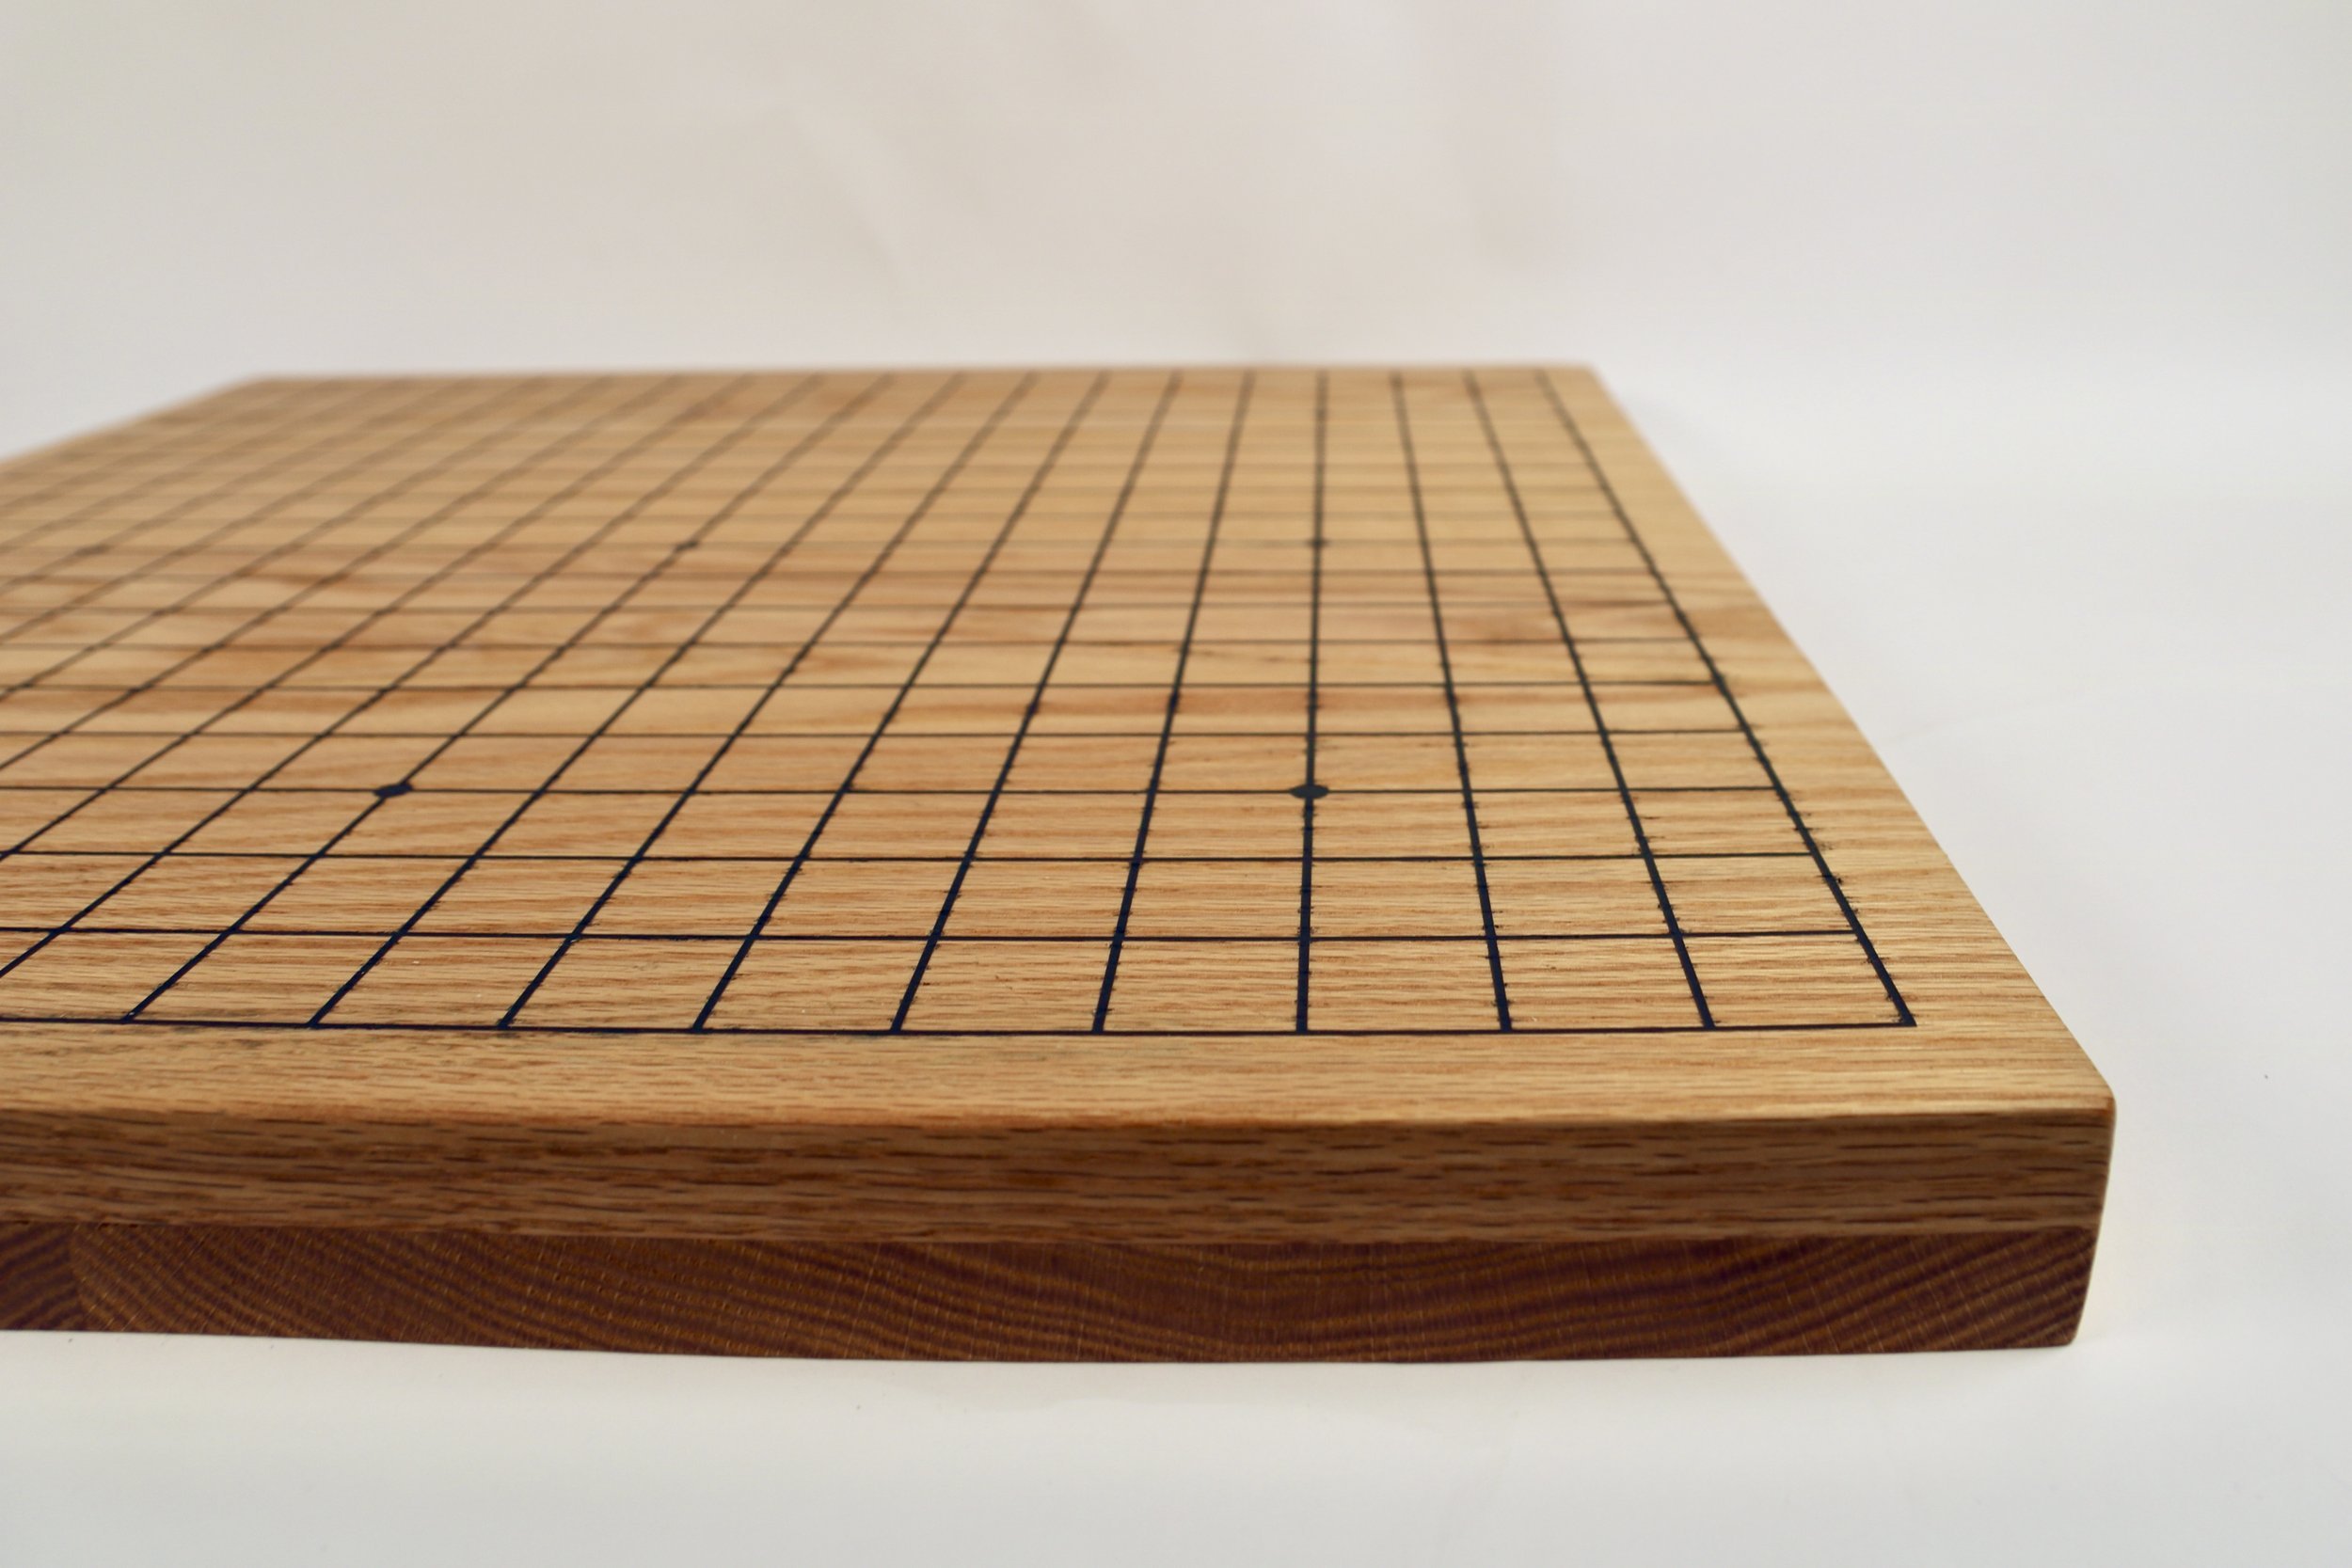
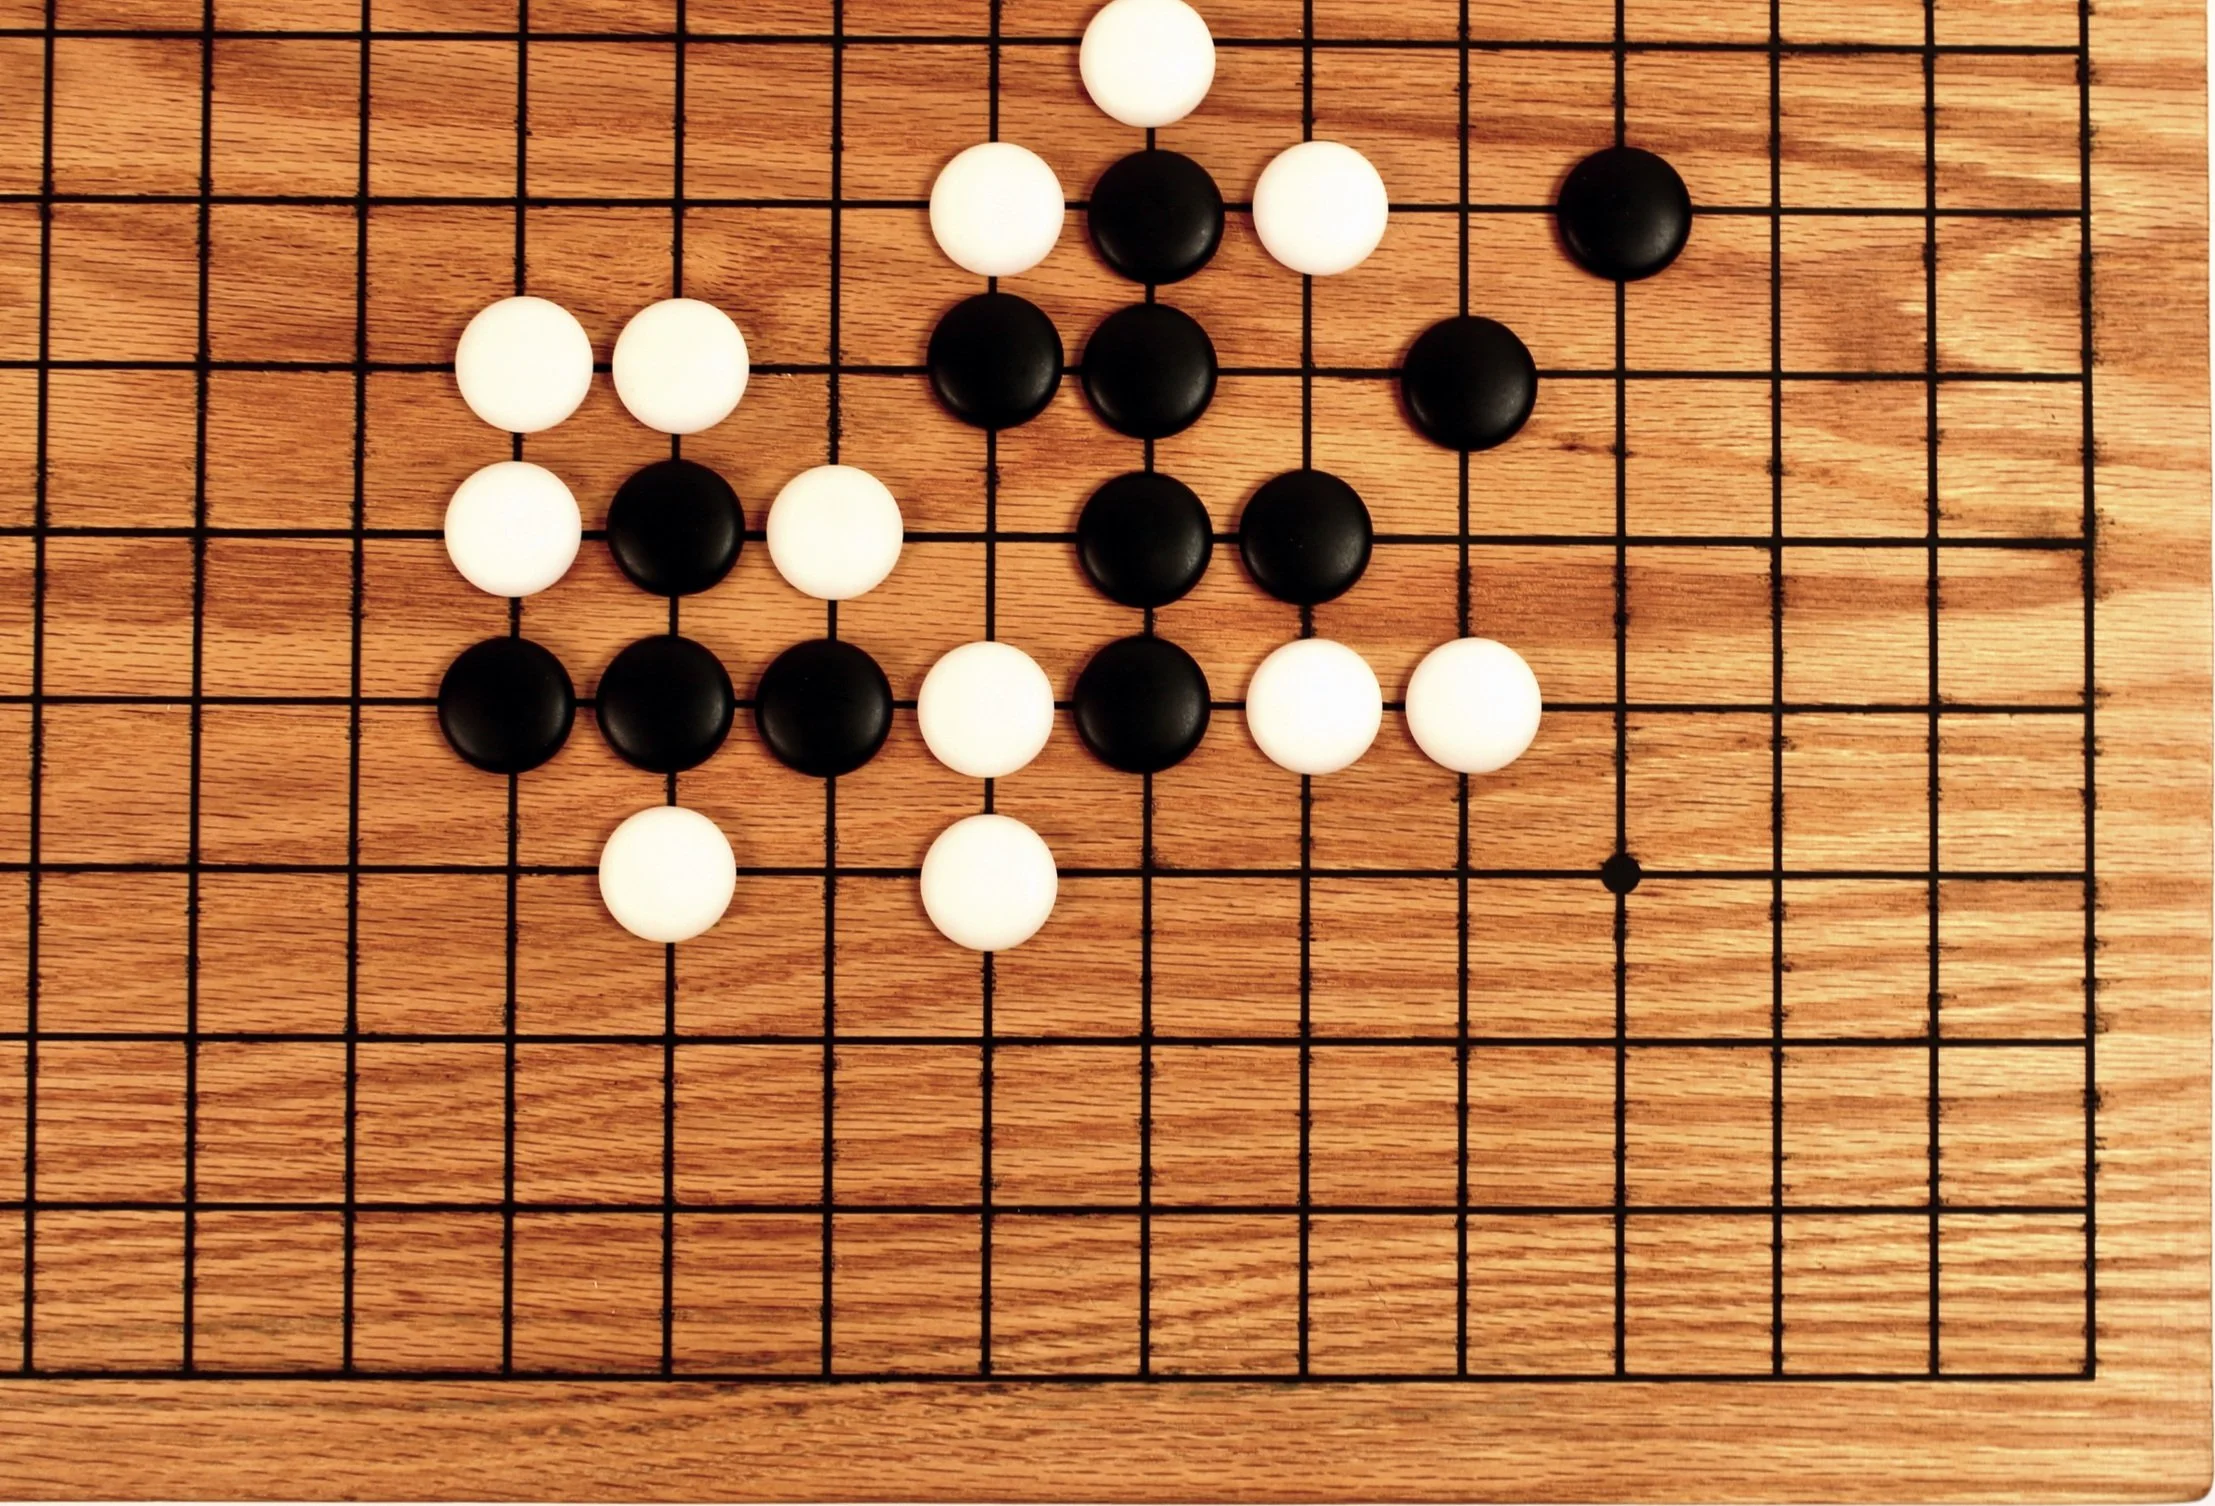
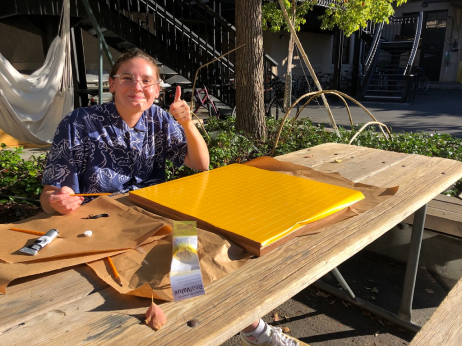
Instead, I used a vinyl cutter to create a stencil for the areas I wanted to paint. The process of removing the excess material and aligning the vinyl properly within the wooden frame were both challenging, but the end result came out nicely! I first tried to use oil paint and found that it took too long to dry, so I opted for black spray paint and was happy with the result.
Detailing
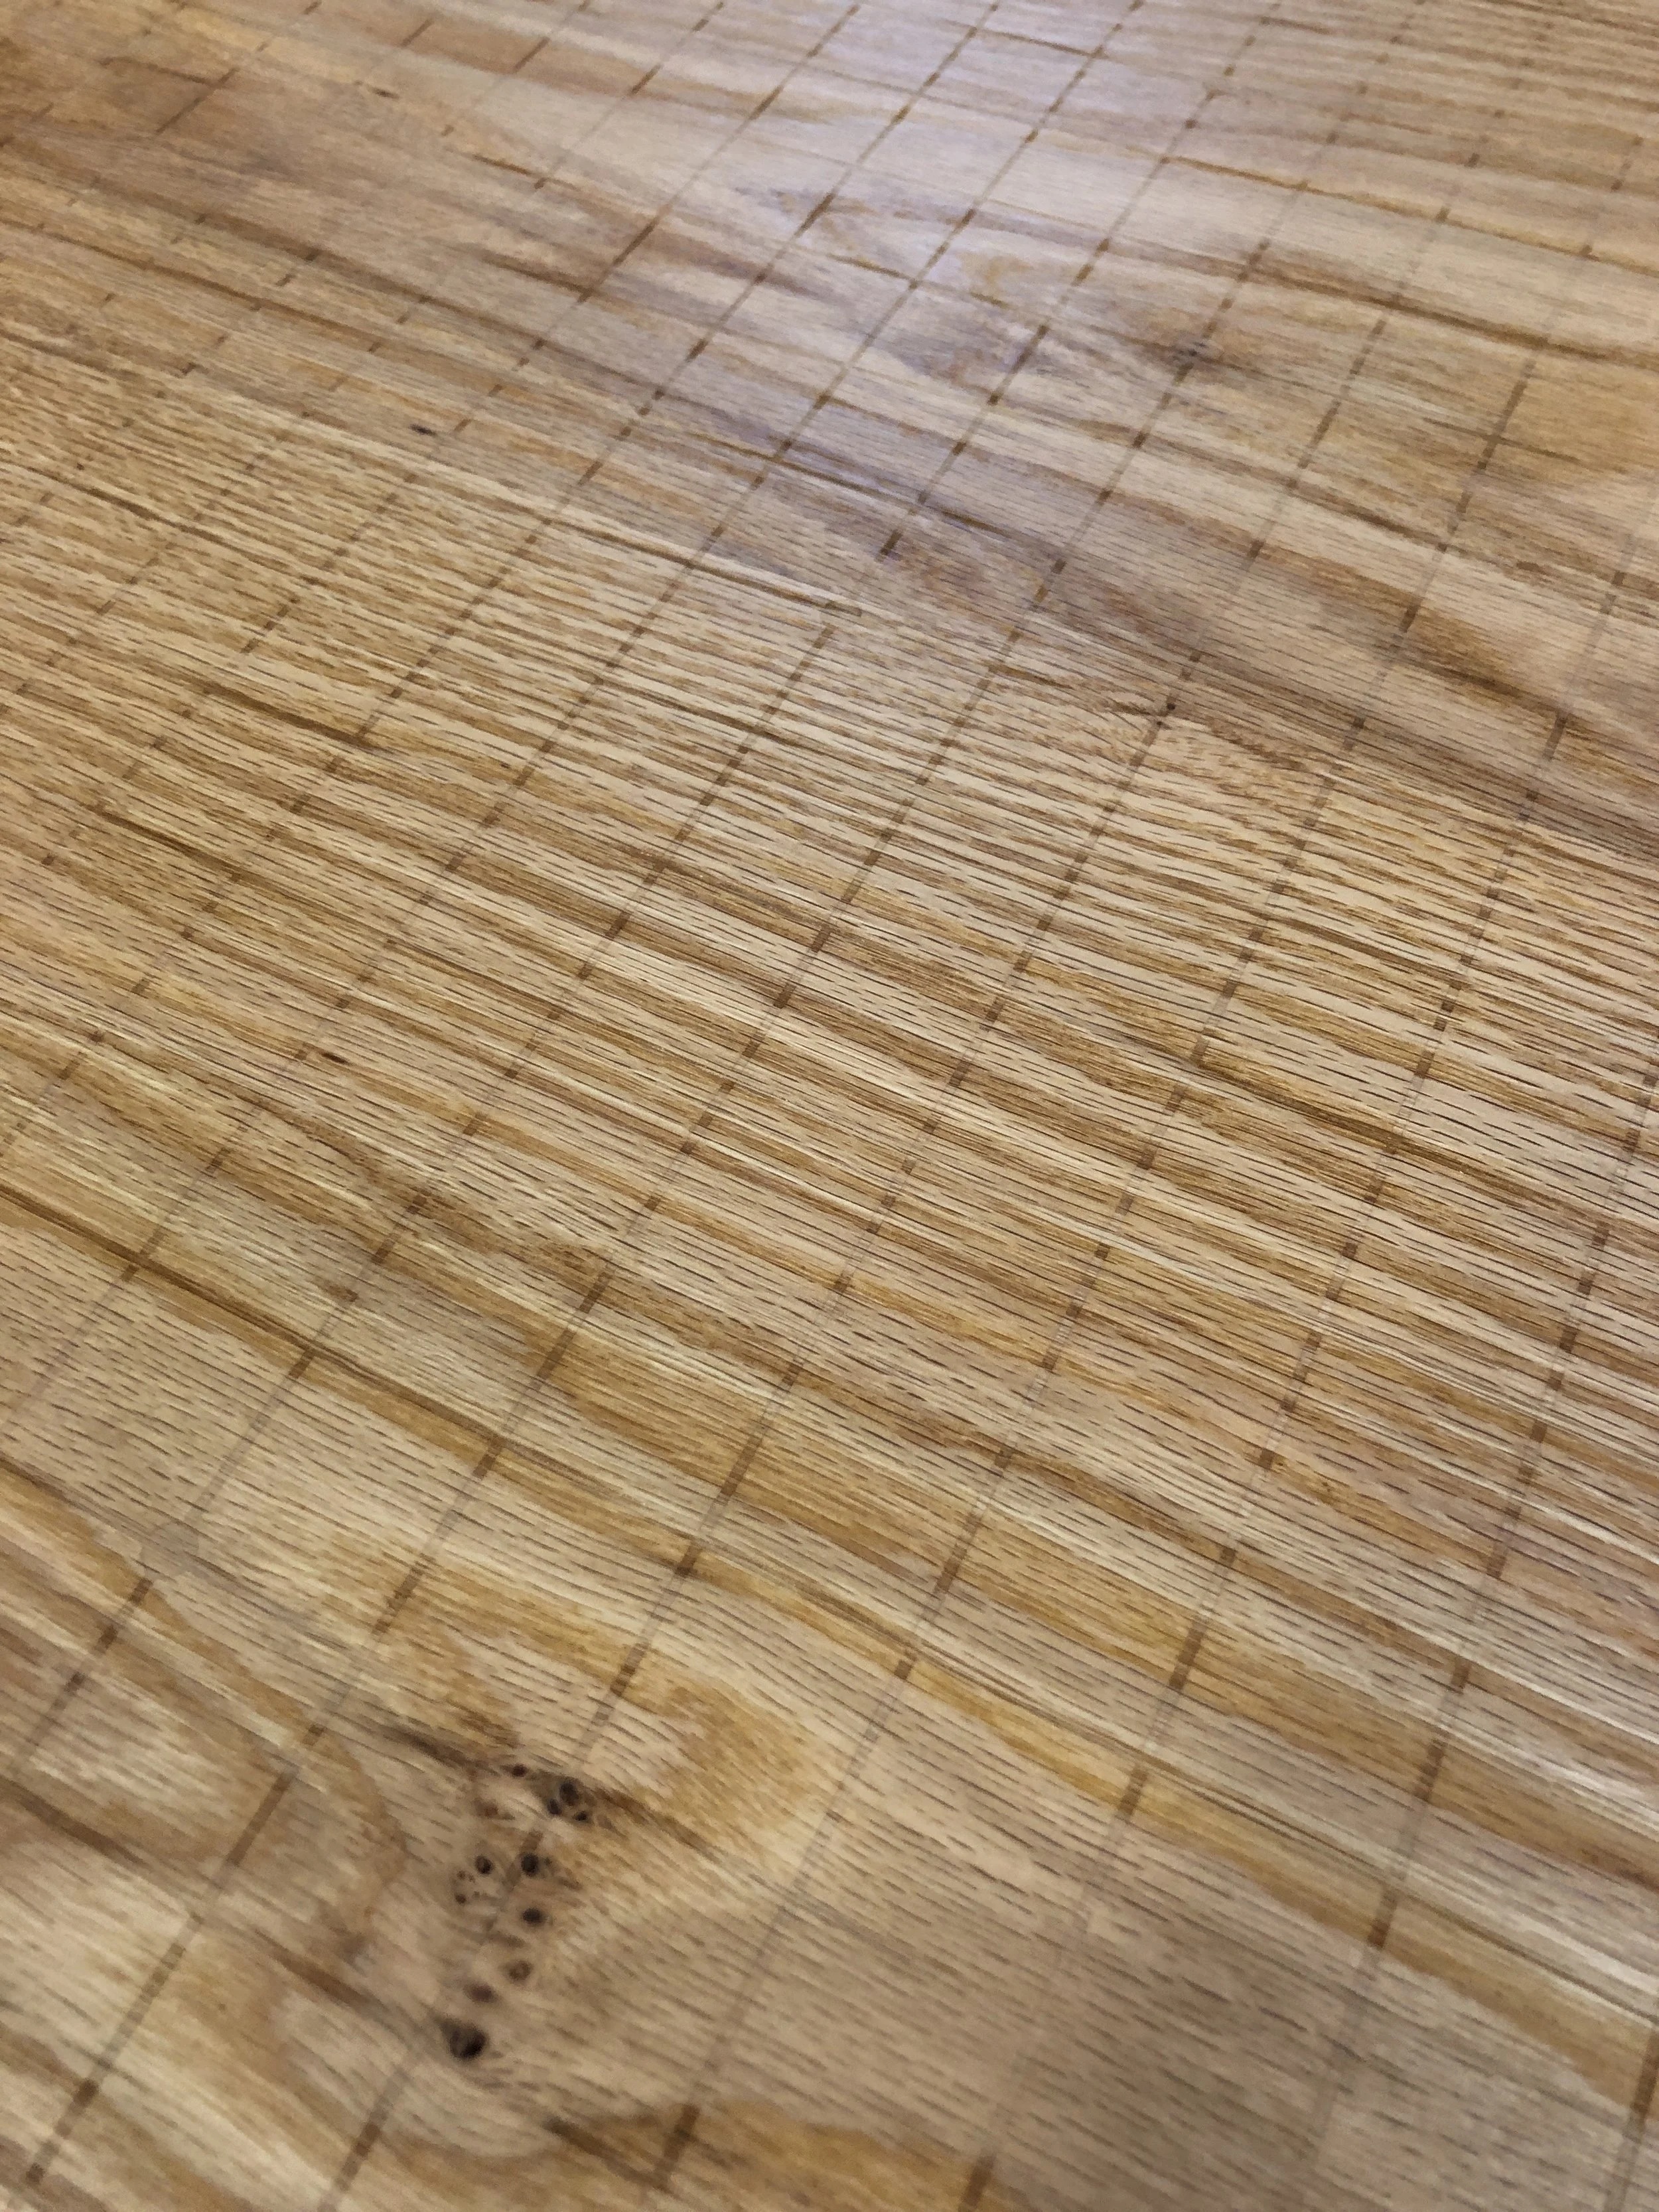
The largest challenge of this project was creating the bold symmetrical lines and circles that are critical to Go. Painting by hand would result in asymmetries that would be unappealing, so I first tried to create indentations for paint to sit into using various passes of engraving on a laser cutter. The goal was to paint the lines loosely, and sand the top surface to reveal clean lines. However, I found that the path of the laser is relatively not uniform, creating uneven depths along the lines. This meant that some sections would be so minimally recessed that they would be sanded away after painting.
Go Board
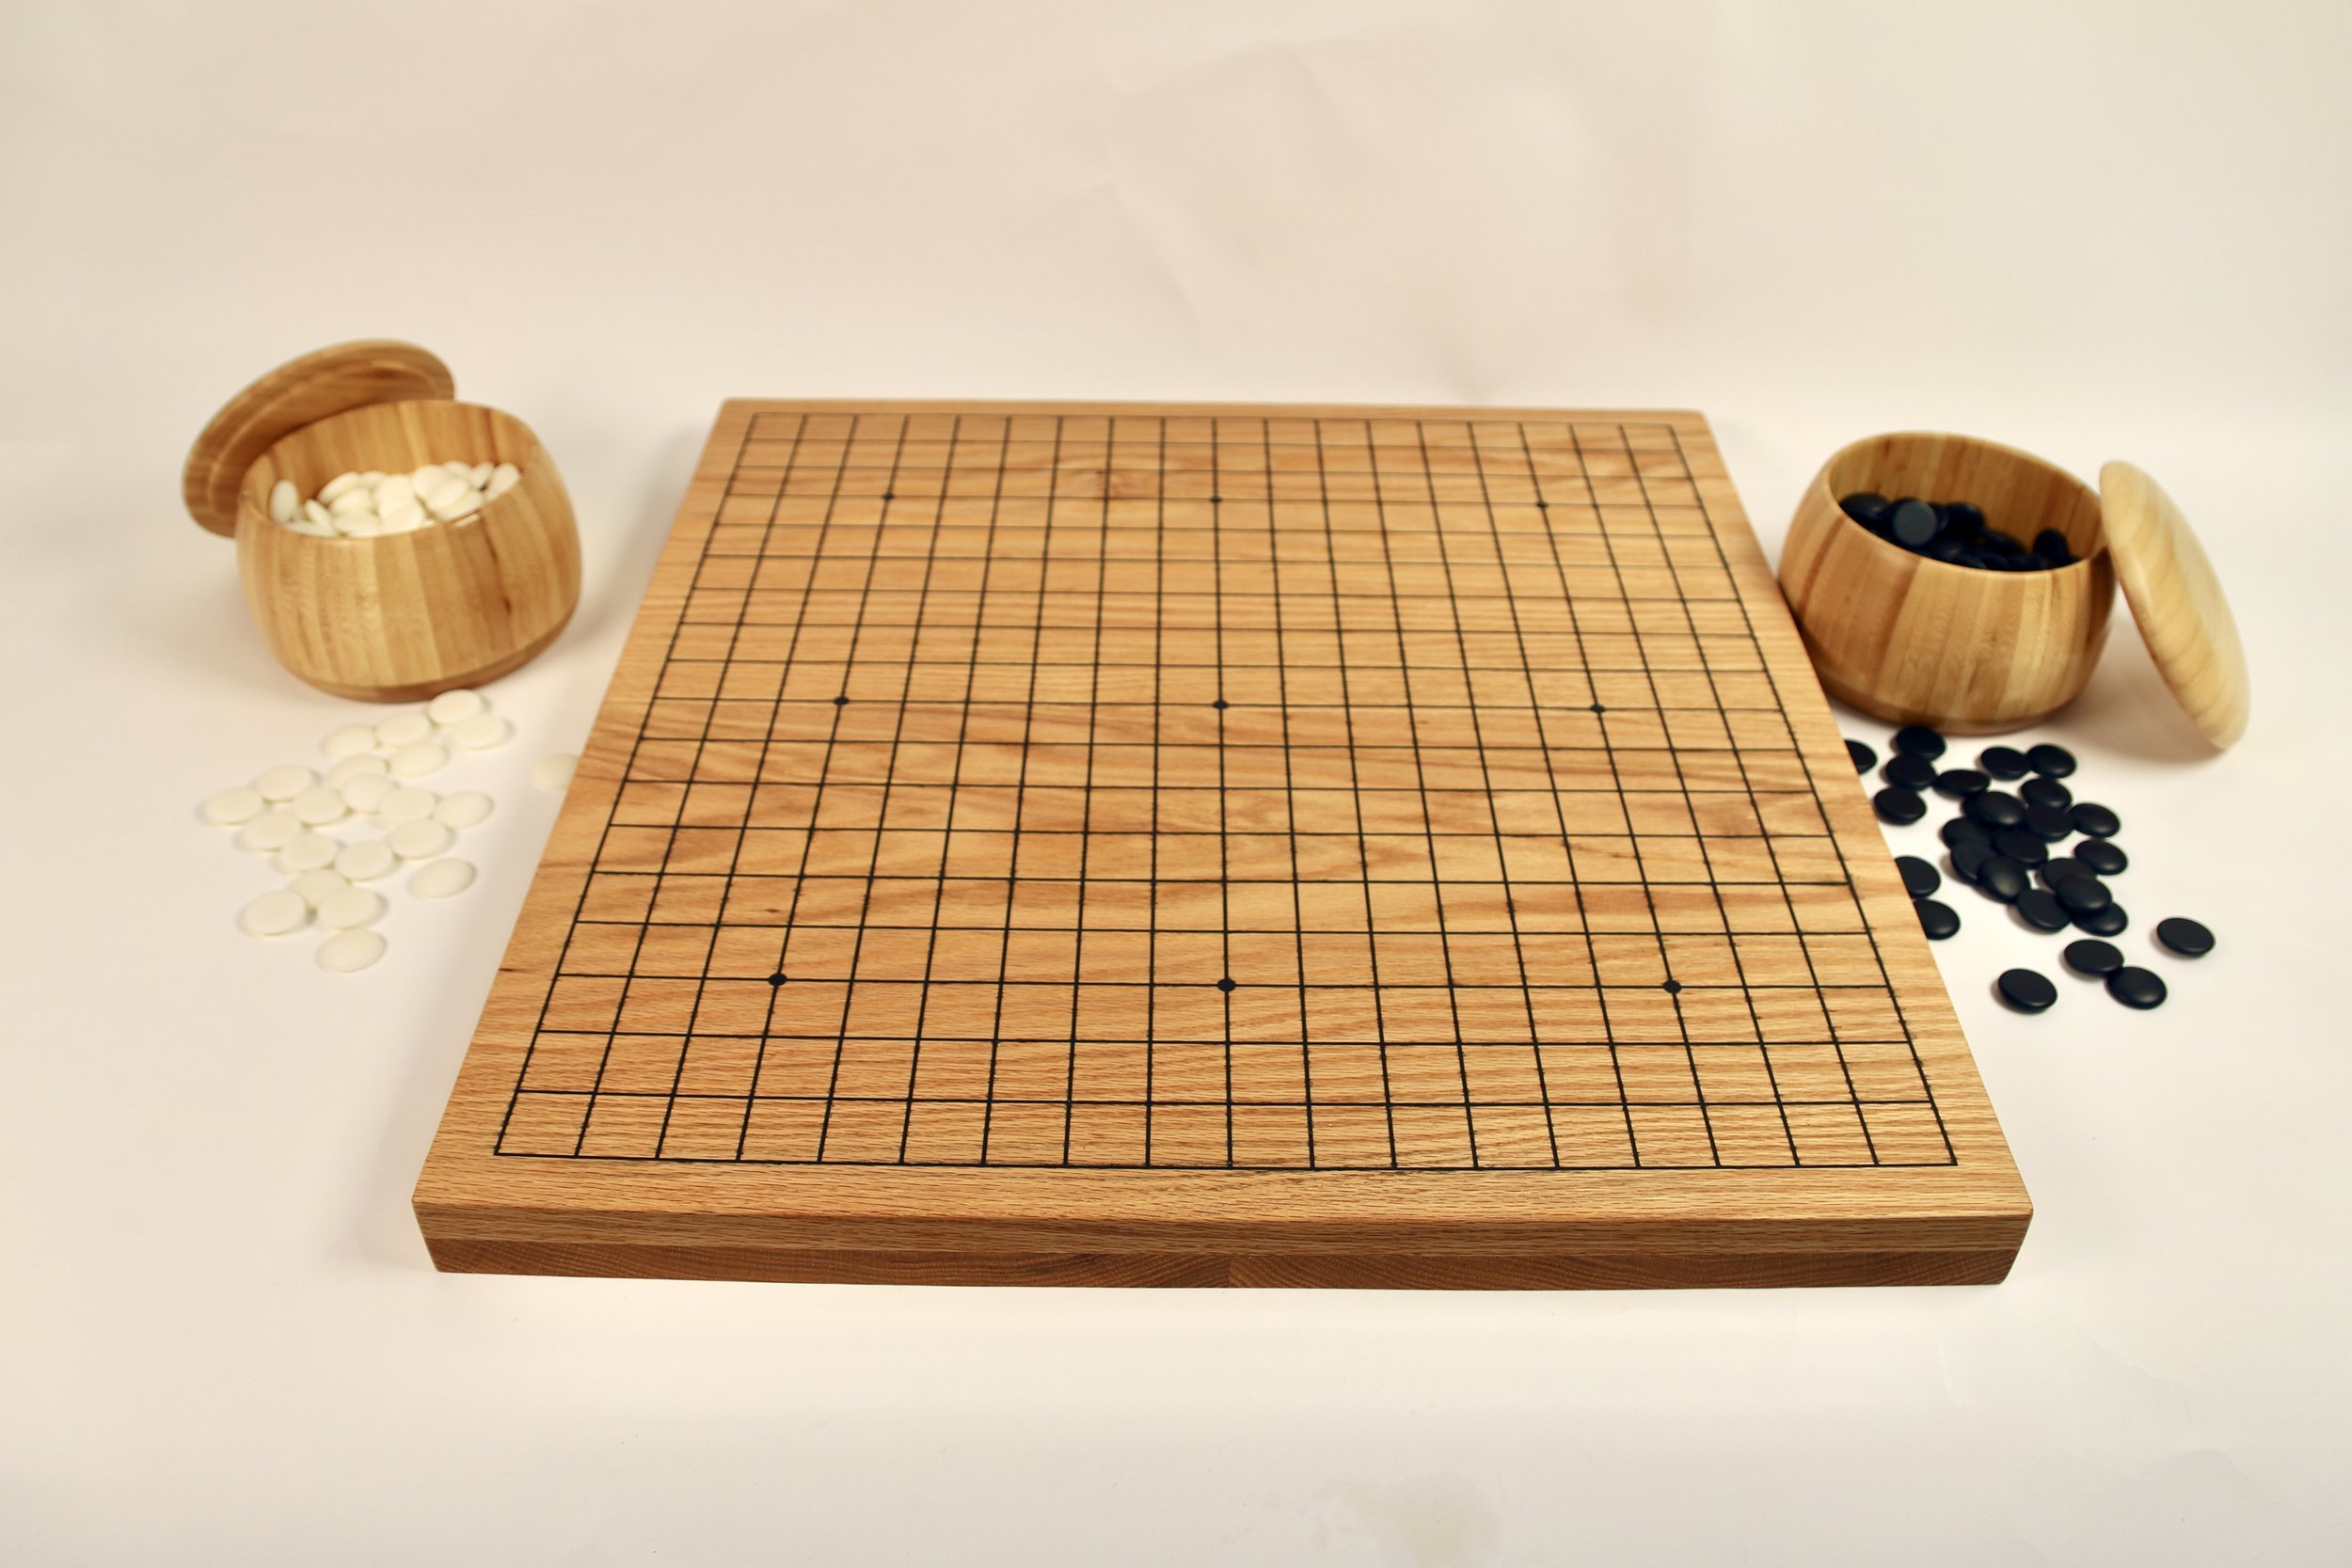
Brief: A go board for a friend
Processes: Woodworking
